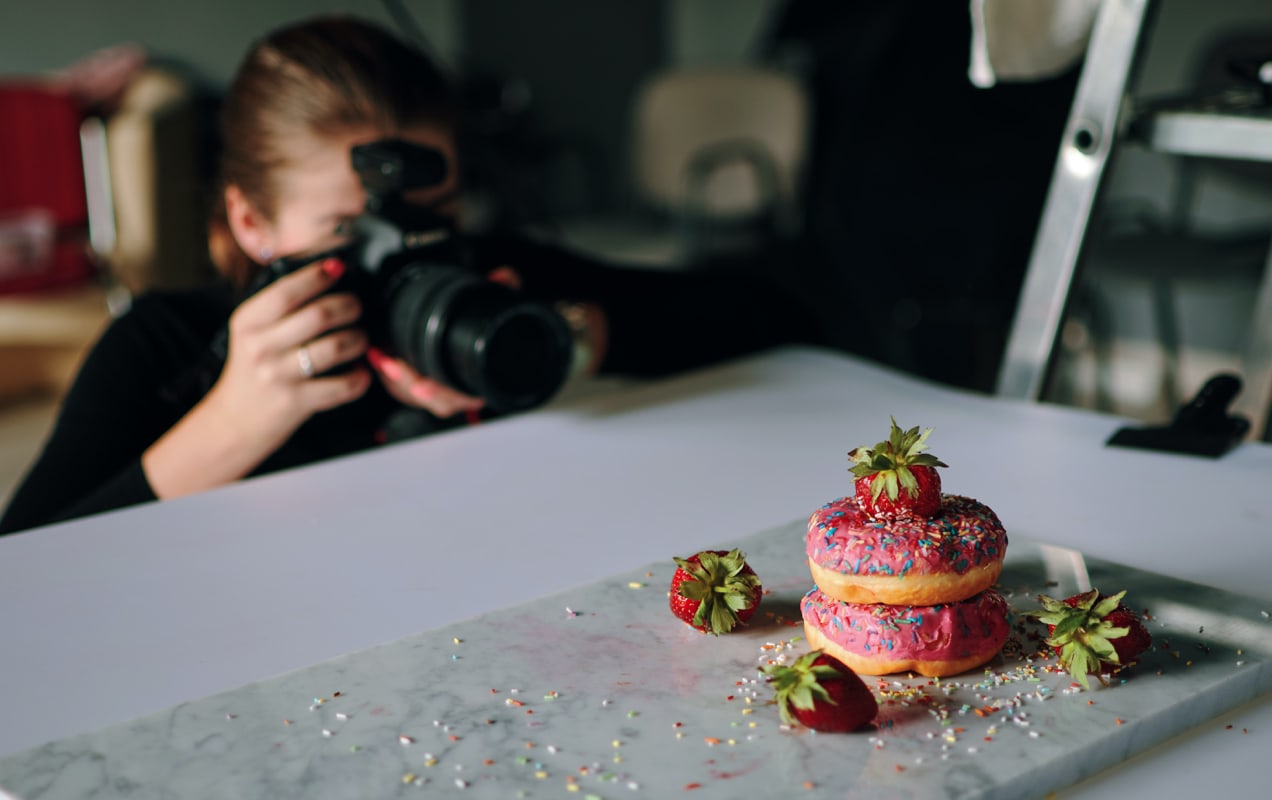
Engaging, well-executed images have been a critical sales driver since the days of mail-order catalogs. Customers should be able to view your product from multiple angles, examine details, compare color and size options, and see the product in real-world contexts — so your online store mimics an in-person shopping experience as much as possible.
It’s crucial that your photos are well lit and composed to present the product as clearly and accurately as possible, while also reflecting your brand’s style. For some businesses, the best solution is hiring a professional photographer. But if you’re on a tight budget, all you need to take high-quality product photos yourself is some relatively inexpensive equipment and basic knowledge of photography principles.
The equipment you’ll need
- A digital single lens reflex (DSLR) camera or smartphone with at least a 12 megapixel resolution
- White paper sweep
- Tripod
- Surface to set your product on (platform, table, mannequin, etc.)
- Natural light source
- Room or area of a room you can dedicate to shooting
- Masking, duct, or gaffer tape
- White foam core or card stock
- Photo editing software or smartphone app
Get to know your camera
Spend time learning about your camera’s features and settings. Whether you’re using your smartphone or a digital SLR camera, you’ll want to know what your tool is capable of and how to maximize its functionality.
Take the time to learn about exposure, focus, and color balancing. If you’re working with a smartphone, download an app that allows you to manually control these settings so you can create more consistent images. Becoming comfortable with your camera’s features and learning how to use settings appropriate to the type of photos you’re taking will not only help you produce better images, it will speed up your process and keep you working more efficiently.
Choose the right lens for the job
If you’re using a DSLR camera, you’ll want at least a standard 35mm lens and a 100mm macro lens for detail shots. There are also third-party manufacturers that make lens add-ons for smartphones. Depending on your needs, you can add macro, telephoto, wide-angle, and anamorphic lenses to your smartphone to help improve the quality of your images.
Capture the largest file size possible
You can always downsize your photos, but if you take them at a low resolution, you won’t be able to increase their clarity and quality. You may want to use your photographs for printed marketing materials or as hero images on your website. These images will need to be higher resolution to display well in those contexts, so it’s always best to start with the biggest file size and create smaller versions as needed.
If you have a digital SLR camera, shoot in RAW format and save edited copies as jpgs. If you’re using a smartphone, use your rear-facing camera to capture the highest-quality image and make sure your settings are set at the largest file size.
Use a tripod
No one likes a blurry photo. A tripod will keep your camera perfectly still so your image is more likely to be clear and in focus. Set your tripod up in consistent positions for each angle you shoot. Mark your tripod positions so that you can set it up exactly the same each time. Keeping consistent angles and shooting distances across all your products will help your customers compare them and provide a more seamless flow when browsing your website.
Shoot on a white paper sweep
If you’re not familiar with a sweep, it’s a seamless background that provides a clean, unbroken backdrop for your product photography. Setting a product on a background with a hard corner (where the horizontal and vertical planes meet) produces a distracting line and shadow. A sweep eliminates that problem. While you can create a sweep with a variety of materials, a large sheet of white card stock or a white paper roll would be the most economical option.
For small products, you can simply tape one end of your paper to the wall and the other to the floor or table top, making sure that there’s a gradual curve to the paper. Also ensure that your paper is large enough to frame your product within the white space with little to no outside background in the photo. You can always crop out small amounts of background that appear in the frame when the situation is unavoidable — like shooting large pieces of furniture — but minimizing additional background in your images will make editing easier later on.
Sweeps can be a variety of colors, but most product photos are taken on white backgrounds because:
- They keep the focus on the product. A clean, white background eliminates visual interruption and keeps the customer’s eye focused on your product features.
- You can easily cut and paste. They allow the object to be more easily cut out from the background and moved around or composited with other images.
- They maintain color consistency. Using the same white sweep for all your products will keep your colors consistent. Colored sweeps will cast their hues onto the objects being photographed and while they may be fun, they can give an inaccurate depiction of your product’s actual color.
- They minimize file size. Although you can and should optimize all your photos before adding them to your website, a white background will also help keep file sizes small.
Keep in mind that when photographing on a white sweep, your result will not be a true white. Most often, your background will render as light to medium grey — depending on your lighting and exposure — and there will be shadow fall-off toward the edges of your images. If you want a pure white, you can use image editing software to select and remove the background.
Avoid mixed lighting
Whether you choose to use natural or artificial light, you should pick one and be consistent. Light sources have different color temperatures and can cast different hues on your subject. If you’re using a cool LED light on one side of an object and a warm incandescent bulb on the other, you’re going to get inaccurate color results that can be hard to correct. If you need to bounce extra light on an object, consider using a reflector card.
Turn off your flash
On-camera flash, when used correctly, can produce great results for certain types of photography. But if you’re new to photography, it’s best to turn the on-camera flash off and use alternate light sources that you can more easily control. Using your on-camera flash can cause a variety of problems:
- Unwanted glare and reflections
- Hard shadows
- Difficulty working from a long range
- Mixed lighting issues
- Shorter battery life
Rather than using your on-camera flash, adjust your aperture, ISO, and shutter speed manually or use auto focus, auto exposure, and auto white balance. Automatic settings may not be quite as accurate or consistent as making manual adjustments, but if you’re not comfortable with manual settings, they’re your next best option.
Shoot indoors using natural light and a reflector card
The easiest and least expensive option for lighting your products is using natural light and a reflector card — made out of white foam core or card stock. For a little more money, you can purchase a folding reflector. They’re easy to store, portable, and some, like 5-in-1 reflectors, come with multiple covers to diffuse or reflect light in different ways.
Using natural light indoors through a window has several advantages over shooting outdoors. While shooting on an overcast day can produce more even lighting, being indoors gives you greater control over the intensity and direction of the light. You can diffuse harsher light by adjusting the distance between the window and your product and using a sheer white curtain to reduce glare and create a soft, natural shadow. Also, you don’t have to worry about whether or not it’s windy or rainy.
Since this type of lighting will be single-direction, it’s important to note that your object will cast a shadow on the opposite side. Depending on how well you’re able to filter the light, you may get heavier shadows on the opposite side of your subject than you’d prefer.
This is where the reflector comes in. Position your reflector on the opposite side of your product, facing the light source. This will bounce light back at the product and create more even lighting. You can play with your reflector’s positioning to get the effect you desire, then mark your reflector card’s position so you can use the same positioning for each product.
Purchase an inexpensive lighting kit
If natural lighting isn’t an option for you or it doesn’t work with your brand’s style, you can always purchase an inexpensive lighting kit. For small products, there are many table-top light boxes specifically designed for product photography that run in the $20-$150 range. For larger products, you may want to invest in a simple and inexpensive studio lighting setup, including light stands with continuous lights, soft boxes, background stands, and sweeps. A basic setup runs around $150-$200.
Check your images for sharpness, color, and exposure
Before you shoot hundreds of photos and upload them to your computer, check your images for sharpness as you go. Closely examine them on your camera and make sure that your product features are clear and in focus. Check your exposure and white balance to ensure that your images aren’t over or underexposed, and that they’re evenly color balanced.
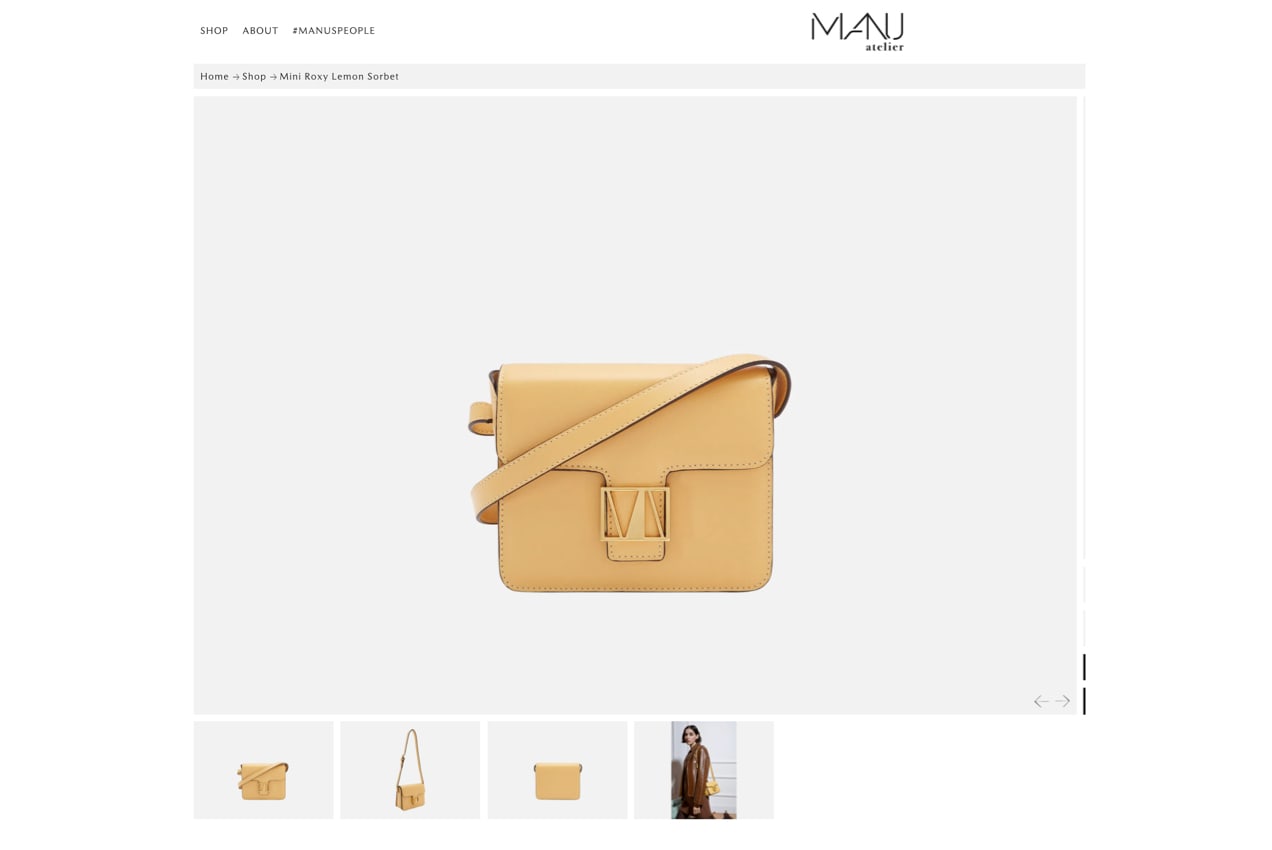
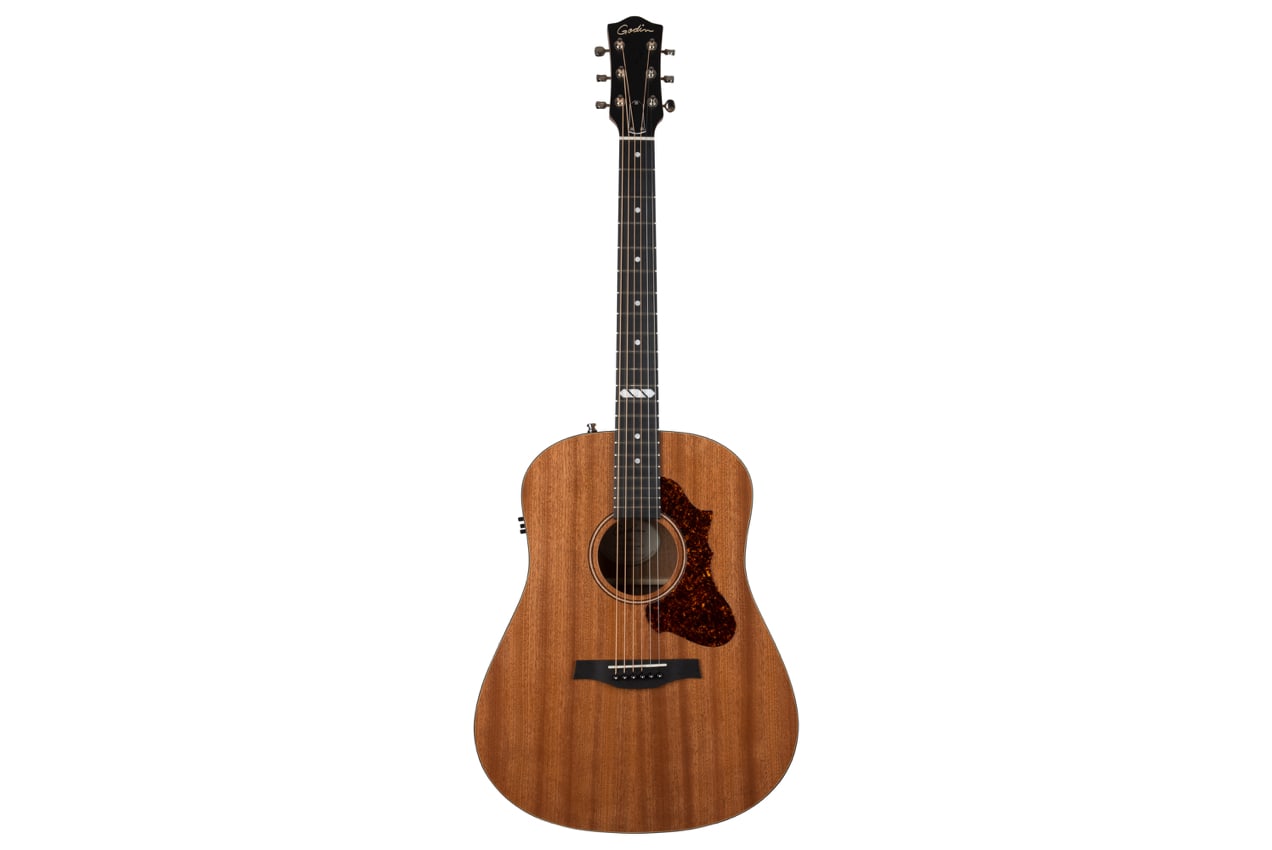
Shoot from multiple angles
Showing your product from multiple angles will help customers better understand it. In a physical store, you can pick up an item and examine the front, back, top, bottom, and inside. In your online store, you should try to give visitors that same experience.
Move in close for detail shots or use a macro lens
Don’t rely on cropping a photo to show details of your product. The result will be somewhat out of focus at best. If you need to zoom in on extremely small details, like fabric weave, you’ll likely end up with very fuzzy images.
If you’re using a smartphone with no additional lenses, simply move in as close to your product as you can while still being able to create sharp focus. You might not be able to achieve the same level of detail you would if using a macro lens, but it will still be much better than if you take the photo from further away and then try to zoom in with your editing software.
If you’re using a DSLR camera or have the option to add a lens to your smartphone, choose a macro lens to get the clearest image with the best level of detail.
Consider your composition
For both isolated product and lifestyle shots, pay careful attention to your composition. For your white sweep product photos, make sure your subject is centered in the frame for most shots that show the whole product. For detail shots where some of the product may be cropped out of frame, use a combination of photos placed to the left, center, and right of the frame. This allows you a variety of options for text placement if you’re placing text on your images.
Use a photo editing software or app
No matter how perfect your photographs are, you almost always want to do some type of editing. Even if it’s just to remove a piece of dust on a product, create a completely white background, or remove a stray hair on a model.
There are many different photo editing programs that range from free to paid. Adobe Photoshop, Photoshop Elements, and Lightroom are the most well-known photo editing products and can be purchased on a subscription basis through Adobe Creative Cloud. GIMP is a free and open-source image editor that is also widely used. Another great option is Pixlr, which is browser-based and includes apps for Android and iPhone.
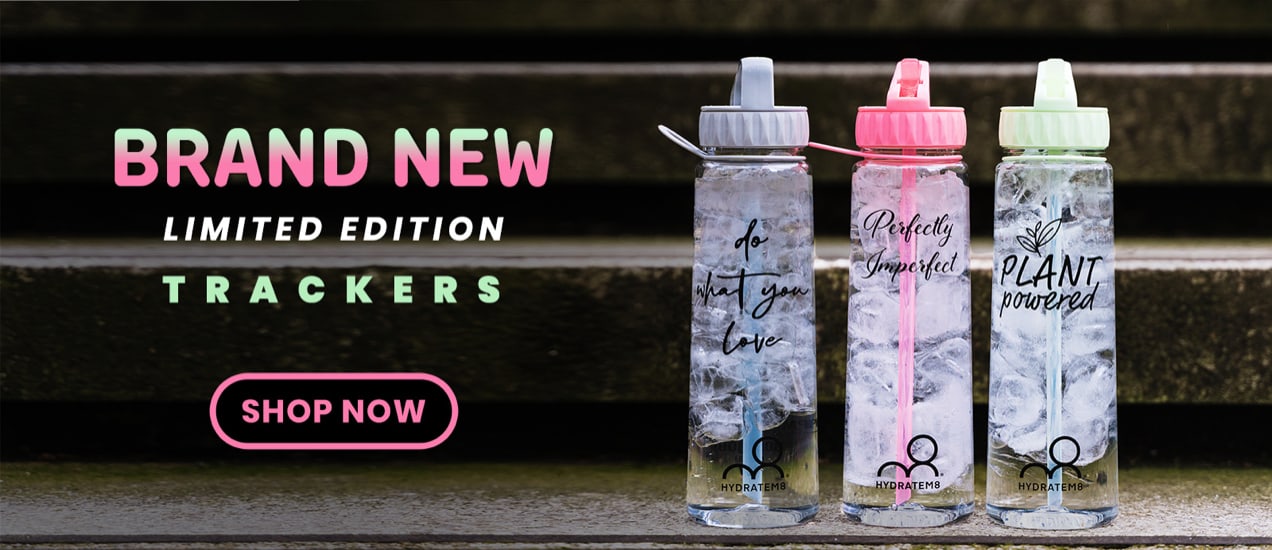
Consider taking lifestyle photos
Product photos on a white background are great for clarity and informational purposes, but lifestyle photos can also sell your product. They demonstrate functionality and help the consumer imagine how they might use it in their own lives. Lifestyle images also tell the story of your brand and establish an emotional connection.
Consider how your images will be used before setting up the shoot, but here are few general rules of thumb:
- Avoid busy backgrounds. Backgrounds with a lot of visual clutter and complex, high-contrast patterns, may detract from your product and limit any text placement that you might want to use over the image.
- Capture multiple orientations. Photograph your lifestyle images in portrait and landscape as well as capturing the product placed on the right, center, and left. This will provide you a better selection of photos to use for different situations.
- Use environments that provide context. Choose environments and props that show scale and demonstrate the feel of your brand.
Document your process
Once you’ve determined your lighting style, camera positioning, product angles, and overall look and feel of your photography, spend time documenting the details of that process. Mark where your tripod, light sources, tables, and reflector cards go for each type of shot. If you don’t have too many different setups, you can use colored duct tape, masking tape, or gaff tape to mark positions. If you have more than three or four setups, consider creating lighting diagrams on graph paper.
Use those diagrams and other details about each setup to create a process guide so that you can work more efficiently and produce consistent results. This will also help you delegate the task of product photography to another employee. If possible, take photographs of your setups for a visual reference to include in your process guide.
Research and practice
The best way to achieve high-quality product photos is to use the right equipment, research tips and techniques, and practice, practice, practice. If you’re not getting the results you want, look up YouTube tutorials (B&H has a free series of beginner tutorial videos for product photography) or sign up for an online course from well-regarded e-learning sources.

Great 😻😻😻😻
I’m definitely going to use this on my future clients!
that is what i’m searching for,I feel very interested on these tutorial thank you so much for these your contributions
That’s great to hear! Glad you found this useful. 🙂
Wow, cool. I like the material presented. Maybe it can be equipped with a video tutorial that is easy to understand. overall, thank you very much
Glad to hear you found it useful. Thanks for the feedback!
Hi Sonya,
Thanks for sharing this valuable article regarding the professional product photo, as an online Indian Grocery owner we really want professional pictures of the product to attract the customers, and this article help us out.