Business Ideas
Gain inspiration with these eCommerce business ideas.
Online Business Ideas
WooCommerce was built for entrepreneurs everywhere. With free tools to start an online business and lessons from industry experts, it’s no wonder that WooCommerce has millions of installs. Hear from store owners about the business ideas that are working for them and get started fast with advice from top performers.
Get Creative with Print on Demand

How to Start a Successful Dropshipping Business

How to Sell CBD Online with WooCommerce

The Best Dropshipping Products to Sell in 2020
Subscribe to Our Newsletter
Delivered to your inbox weekly packed with tips, tricks, and ecommerce inspiration from WooCommerce experts.
Latest Business Ideas Posts

How to Determine the Best Online Business to Start

Online Business Examples: How to Unlock Your Potential

What Are the Best Products to Sell Online in 2024?

How to Sell Online Courses in 2023
How to Start Dropshipping: Your Guide to Success

Get Creative with Print on Demand

From Idea to First Customer: Creating the Product

The Best Dropshipping Products to Sell in 2020

A Guide to Selling Wholesale with WooCommerce
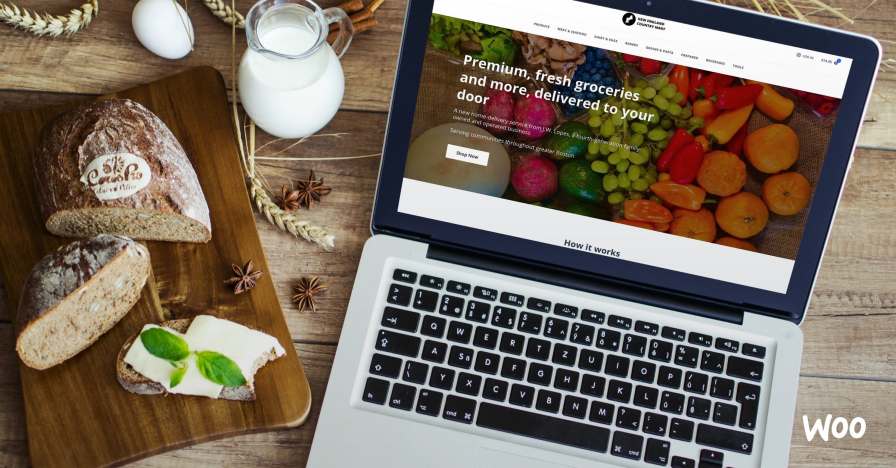
How Four Food Businesses Started Selling Online During COVID-19

How to Choose a Niche for Your Online Store

How to Start Selling Subscriptions Online

The Pros and Cons of Starting a Dropshipping Business

How to Sell CBD Online with WooCommerce

How to Use WooCommerce as a Creative Market Alternative

Why WooCommerce is the Best Patreon Alternative