
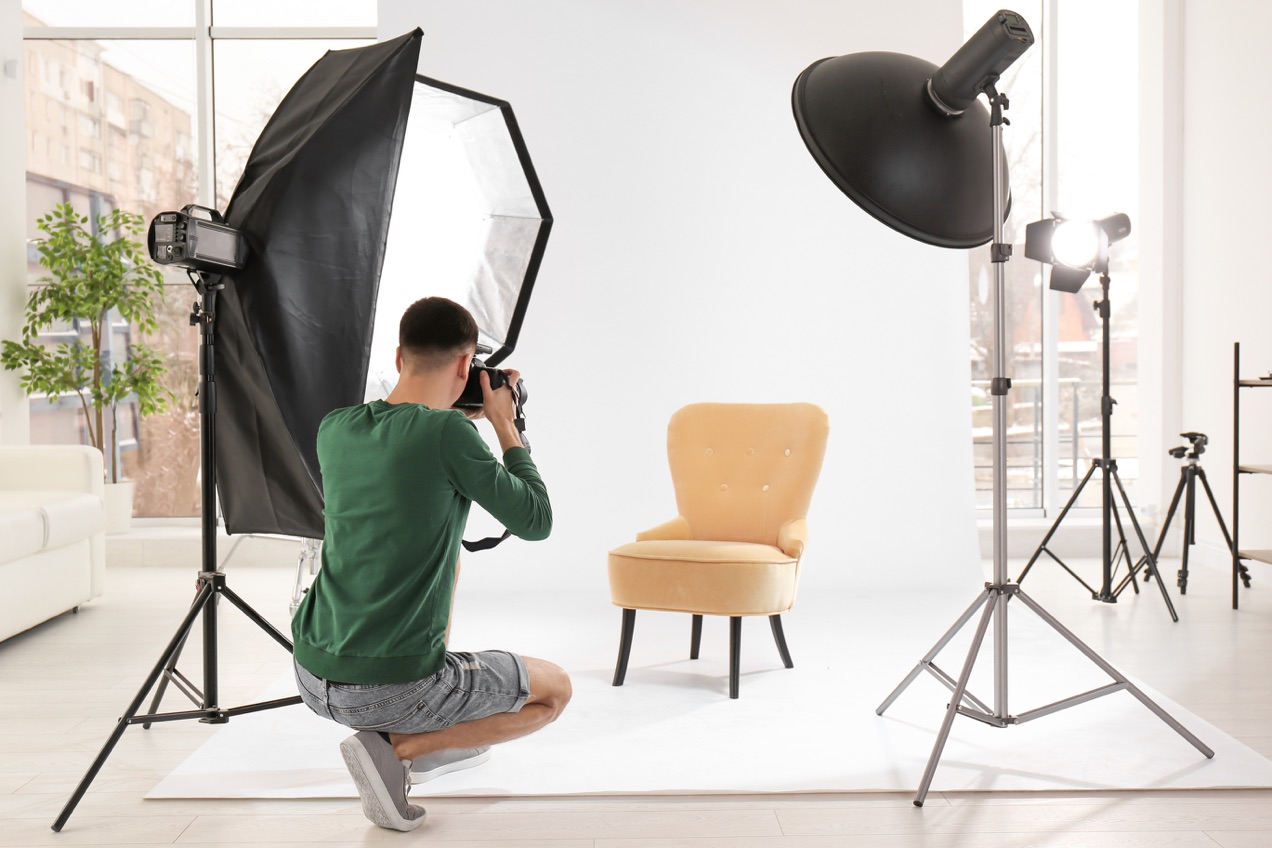
Have you ever found yourself browsing an online store because a beautiful image showed up in your Twitter feed? Welcome to the power of ecommerce product photography!
If you’re launching a WooCommerce store, photos are one of your most impactful sales tools.
Good ecommerce photography attracts the right customers, tells a story, and lifts the overall quality of a store. Bad photography can erode trust, turn customers off, and even be misleading, causing returns and hurting your bottom line.
What if you know nothing about product photography?
↑ Torna in cimaThen you’re in the right place — learn how to plan a photo shoot and get publish-ready photos.
1. Develop a style for your shoot
↑ Torna in cimaMost ecommerce business owners have a lot to do — and often do everything themselves — so aim for a single “shoot day” to shoot all of your product photos at the same time.
To make sure shoot days go smoothly, go in with a clear idea of the style you’re aiming at.
Get inspired with great product photography
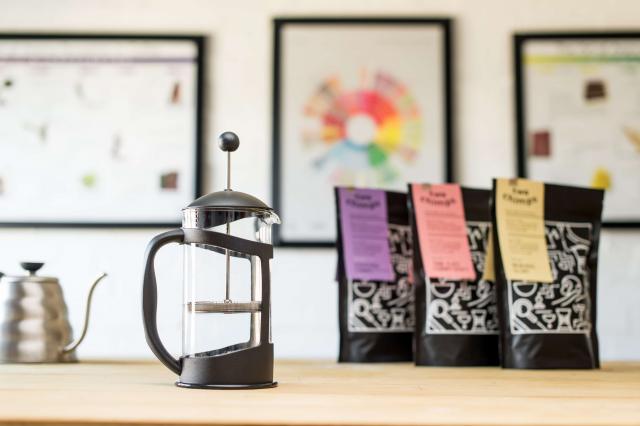
Start by looking at some great examples in your industry. If you’re going to be selling coffee, take exploring how other coffee stores handle their photography.
Pinterest can be a great source of inspiration, and an equally great place to save images you like. If you’re on Pinterest, start a “shoot ideas” board to collect your favorites.
Choose a style that fits your products
Product photography can vary greatly in style and scenic detail — but it doesn’t need to be complicated. Many great eCommerce stores, like GhostBed, use simple pictures of their products on a white background:
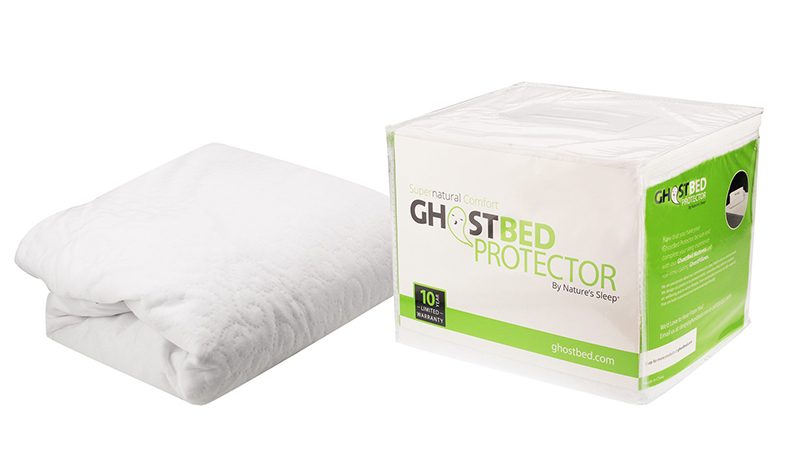
This very simple look can be achieved by shooting a photo of your product against a white background. Build your own lightbox, set up an infinity curve, or simply use a plain white sheet of paper stuck to a wall. For a basic at-home setup, lay a sheet of plain white paper flat on a table, then stand on a chair and shoot straight down.
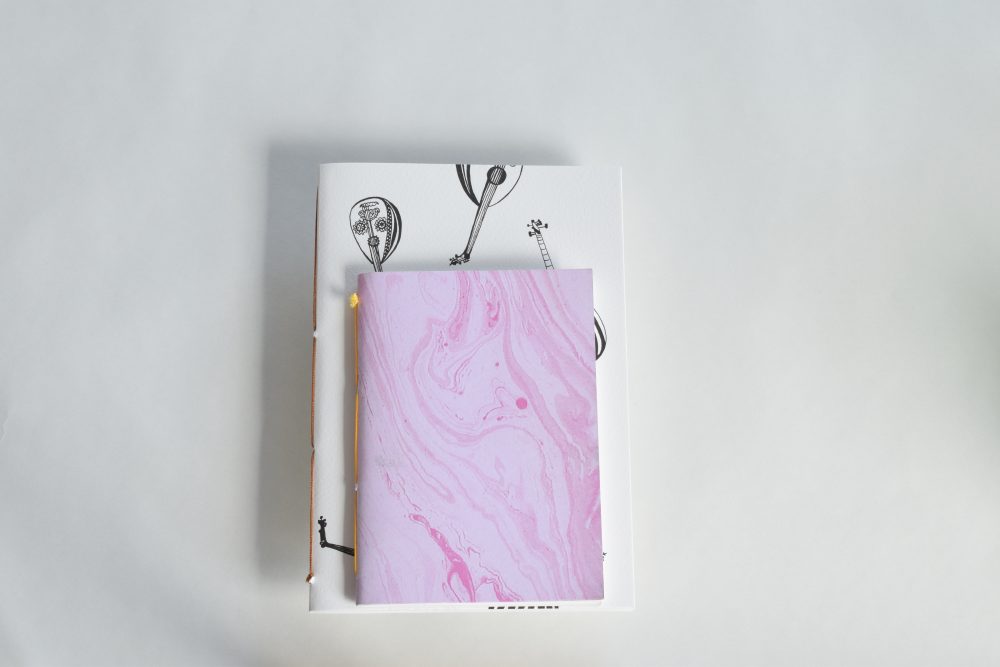
Contrast this white background style to the lifestyle likes of TwoChimps Coffee, who photograph their pillows in an appealing real-life setting:
Decide what you think will work for your products, and gather some props and paper sheets. Textiles, plants, and small objects can all come in handy for styling!
2. Create a shot list
↑ Torna in cimaWhen you’ve settled on a look for your photos, plan a shot list. This should include:
- Which products are in the shot?
- What type of shot is it (e.g., styled, on white, on coffee table, folded or laid out, etc.)?
- Camera angle.
- Important style or setting actions (e.g., overhead light on / off).
- Important objects and props to include.
For example, one shot entry on your list could say something like: Sequined Cotton T-Shirt | Front and Back | Closeup | Half Body Mannequin | Style with red jeans and long gold chain with cat charm.

A shot list ensures that your shoot maintains a consistent pace with little to no interruptions — and that you don’t forget anything on the day! Cross out items on the list when they’re complete.
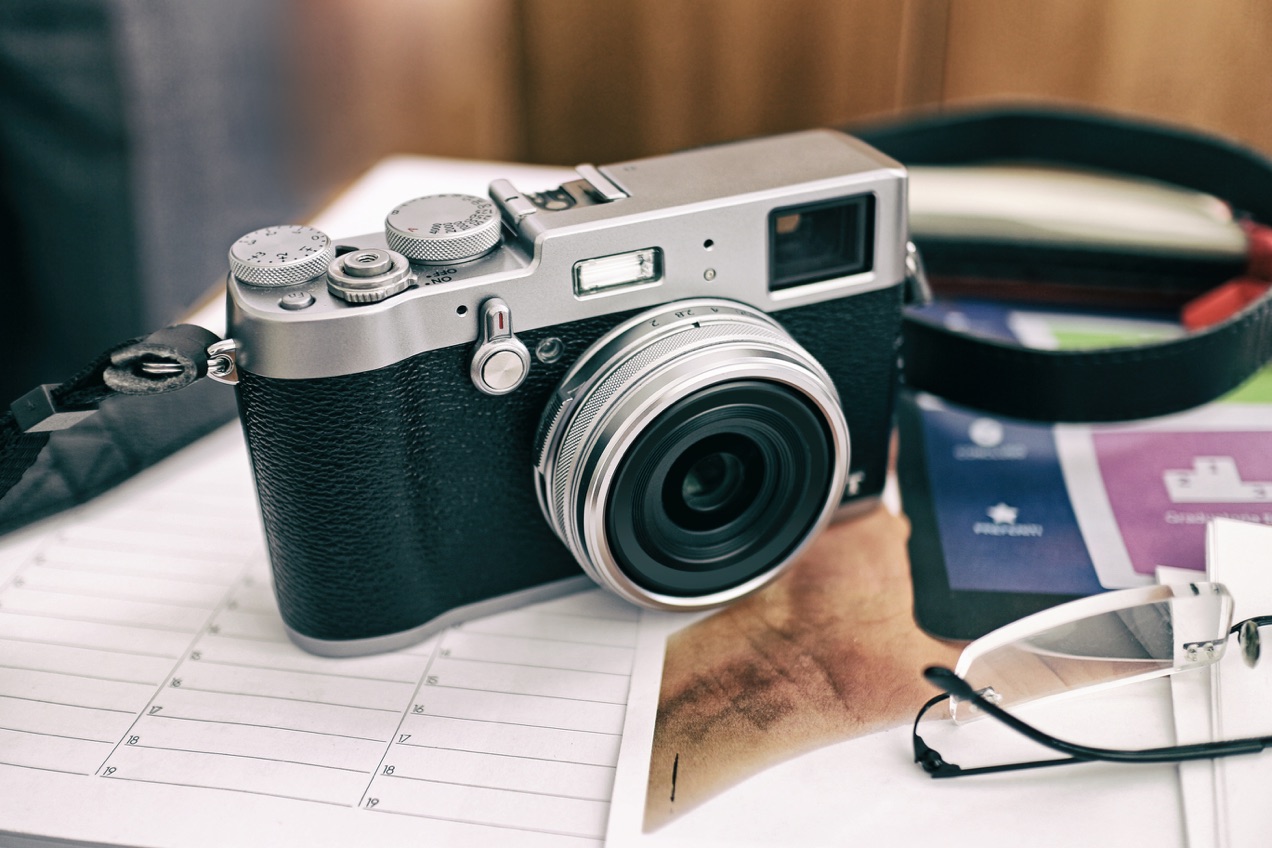
3. Choose your camera, lights, and background
↑ Torna in cimaWhen you’re starting out, the best camera is the one you have access to and are confident using. If that’s your smartphone — great! If you have a friend with a fancy camera who will spend an hour helping you, that’s great too.
While professional product photographers will opt for a DSLR camera and shoot in RAW format, you don’t need to invest in an expensive camera to create beautiful photos. That said, the prices of DSLR and point-and-shoot cameras have dipped over the past few years.
Beyond your camera, pay attention to lighting and background. Natural light is your simplest and most inexpensive option, and you can boost it with additional lights if you have them.
For your background and styling, use your inspiration photos as a jumping-off point and try to recreate some of the scenes. Keeping things simple and decluttering is almost never a bad idea. Now, take lots of photos!
4. The importance of retouching
↑ Torna in cimaOnce you finish the shoot, take time to review all the shots you’ve created. Choose the ones you’d like to use on your site — then get ready to learn a bit about image editing.
Even if you’ve used proper lighting and a fairly good camera, the process isn’t quite over. For a truly professional eCommerce website, edit or retouch your photos before adding them to your product listing.
This essentially means removing blemishes and resizing, and making sure all the photos are similarly bright and in focus, with similar backgrounds. There are reasonably priced online services that will do this for you, like Fix the photo or Retouch Gem; email them photos and have them batch-edited for a fee.
If you’re doing the retouching yourself, there are a number of free image editing tools to get the job done:
- Pixlr – Free, and enables you to apply a quick fix or add a personal touch.
- Canva – User-friendly free online editor best suited for marketing teams.
- Fotor – Free online editing tool catering to all your photographic needs.
- Snapseed – A complete and professional photo editor.
Removal of errant background items, correct colors, removal of mannequins, and add shadows to give your product photos a more polished look — but remember, whatever you apply to one photo, apply to them all. Your photos should all feel similar to customers scrolling through your catalog.
Finally, make sure that you use the same dimensions for all images. Using the same dimensions (e.g., square images) means fewer issues with thumbnails and how themes display your photos. Bearing dimensions in mind beforehand will ensure no weird cut-offs.
—
Do you have any questions about taking good eCommerce product photos? Or any suggestions for a new store owner planning a shoot? Let us know in the comments.
We’ll be back tomorrow with some tips on styling, lighting, and camera settings for ecommerce photography — stay tuned!

About
Thanks for sharing this article .
thanks for sharing this great article. great inputs.
Wow… Great and detailed article. Please can you give link to your camera setup on Amazon, Although I currently have a job portal with wooCommerce installed. But I am also currently seeking affordable youtube setup for a smartphone review websites. Thank you.
Good article. Also I use image optimizing plugin for WordPress. It helps to reduce sizeof images
I am just thinking to start an e-commerce website related to movie products and custom t-shirts. I am confused about the camera we should use for clicking product pictures.
Can you please recommend some good cameras between $1000-$2000 ?
Regards
Great post, I think people who interested to know e-commerce photography they must read this post. Many many thanks sharing with us the fantastic article.
I would like to introduce another browser-based editor is a much similar to the Photoshop (Consider your step no. 4). Called Photopea. Its unique selling point is its ability to open and export Photoshop PSD files. … https://www.quora.com/What-is-the-best-free-photo-editor/answer/Md-Bakhtiar-Uddin-1
Trending
How to prepare your inventory for peak season
By Shubert Koong •
AI agents are already shopping — and most merchants aren’t ready, new research finds
By Jay Walsh •
WooCommerce is the foundation of our entire ecosystem
By Beau Lebens •
Never miss a beat — join our mailing list
Please enter a valid email.
View our privacy policy. You can unsubscribe anytime.
There was an error subscribing; please try again later.
Thanks for subscribing!
Emails will be sent to
You're already subscribed!
Emails are sent to