Deals for WooCommerce allows you to showcase deals for your customers. It has a dedicated page with two sections: one for displaying product deals and the other for displaying payment gateway deals. Each of these sections has three sub-sections:
1. Current Deals
2. Upcoming Deals
3. Missed Deals
Workflow of Deals for WooCommerce
Product Deals
Once you complete the initial configuration, create a new product/edit an existing one.
Click the “Enable Deals for this Product” checkbox.
Deals Product Level Settings
To set a deal price, click the “Add Rule” button.
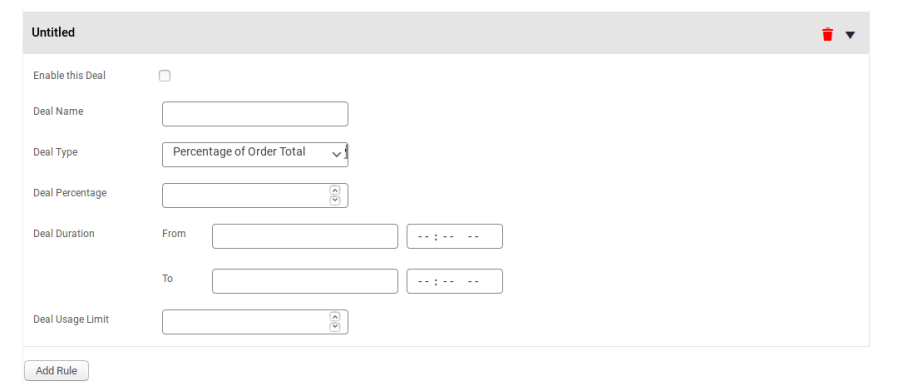
Product Deals Rule Configuration
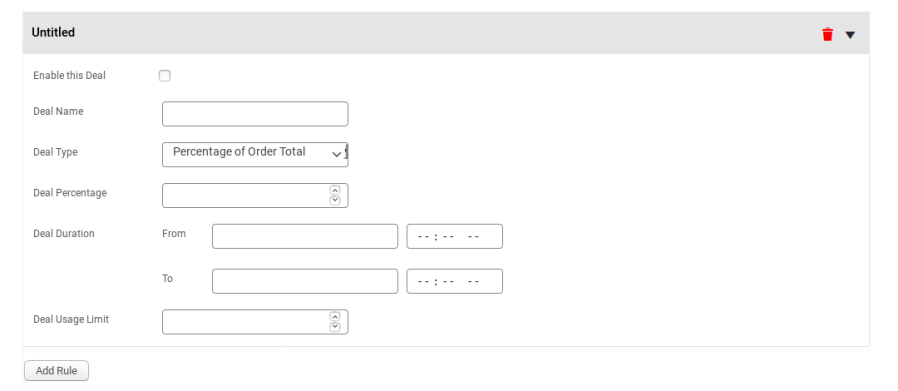
Click the “Enable this Deal” checkbox and fill in all the required fields.
Save the changes.
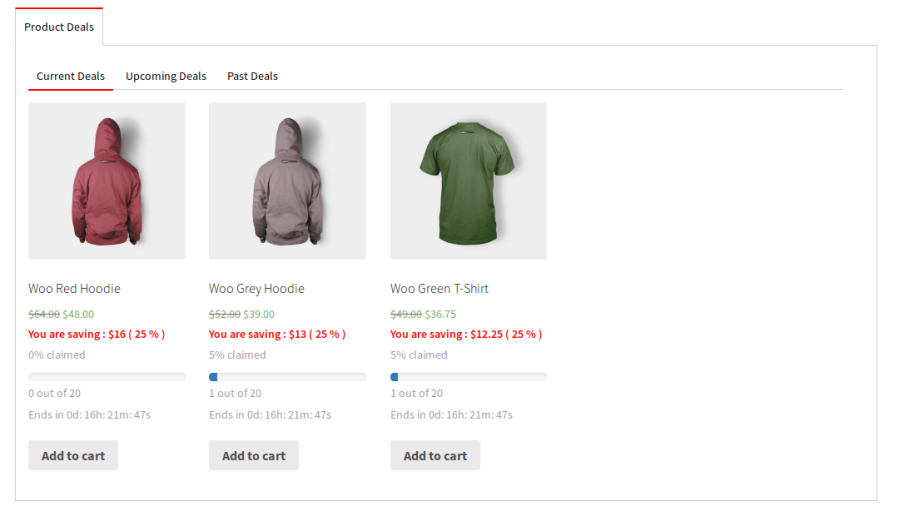
The deal-configured product will now be visible on the deals page.
Product Deals Displayed on Deals Page
Your customers can now directly add the product to their carts from the deals page.
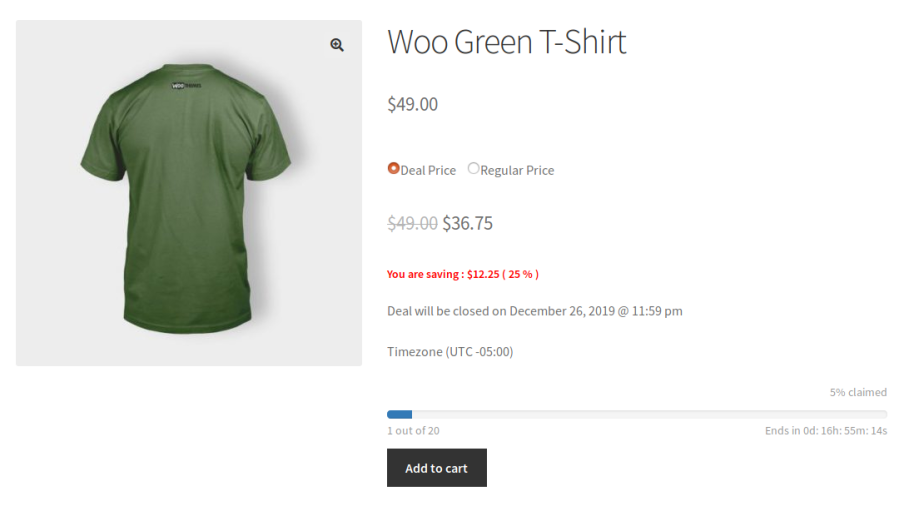
When your customers access the single product page, they will have the option to purchase the product at either the deal price or the regular one.
Product Deals Displayed on Product Page
When your customers choose to pay the deal price, they will not have the option to increase the product quantity.
Payment Gateway Deals
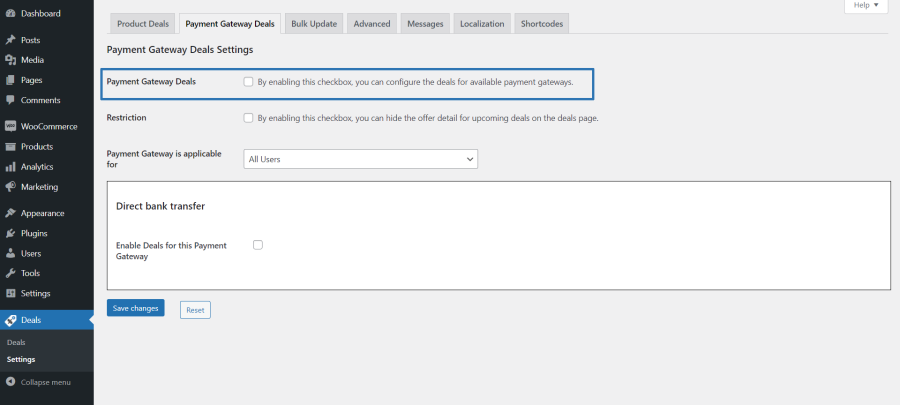
Navigate from “Deals > Payment Gateway Deals” and click the “Payment Gateway Deals” checkbox.
Payment Gateway Deals Settings
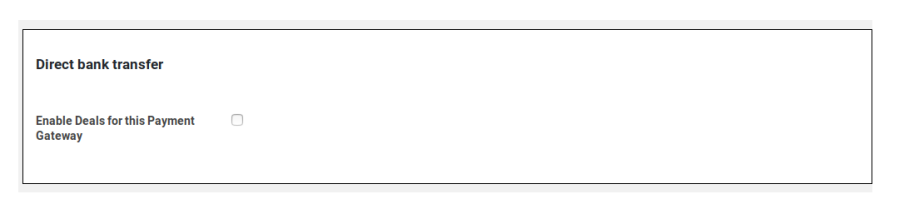
Click the “Enable Deals for this Payment Gateway” checkbox next to the gateway for which you want to offer a deal.
Separate Settings for Each Payment Gateway
To configure the deal, click the “Add Rule” button.
Payment Gateway Deal Rule Configuration
Save the changes.
The configured deal will now be visible on the deals page.
Payment Gateway Deals Displayed on Deals Page
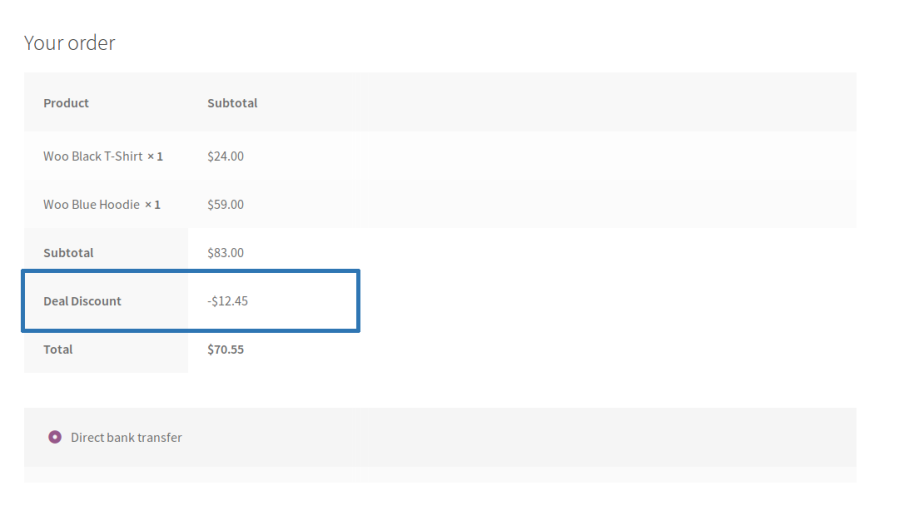
To use the deal, your customers must first add a product to their cart. Then, on the checkout page, they will have to choose the payment gateway that carries the deal.
Payment Gateway Deal Visible on Checkout Page
Once your customers choose the payment gateway, a discount will automatically apply to their cart.
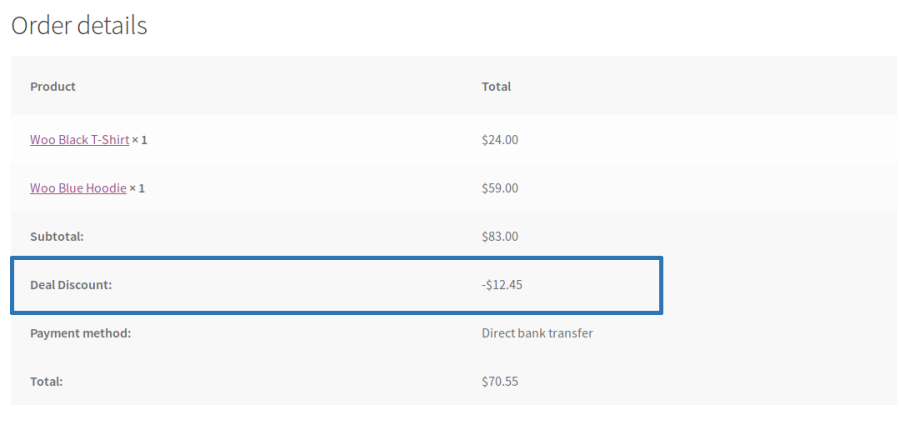
Payment Gateway Deal Applied on Order
Popular Features
1. Create Multiple Deal Campaigns
Run multiple promotional campaigns simultaneously to increase sales and customer engagement. Configure different deal types for products and payment gateways based on your marketing strategy.
Product Deals
Payment Gateway Deals
Multiple Active Deal Campaigns
Independent Deal Configuration
2. Product-Specific Deals
Create attractive deals for individual products, categories, or product variations. Promote selected products with targeted offers to boost conversions and clear inventory.
Simple & Variable Product Support
Product & Category Deals
Variation-Level Deals
Targeted Promotions
3. Payment Gateway Deals
Encourage customers to use preferred payment methods by offering exclusive deals for selected payment gateways during checkout.
Gateway-Specific Deals
Order Total Conditions
Targeted Payment Promotions
4. Advanced Deal Conditions
Configure deal eligibility using powerful conditions to ensure promotions are applied only when the required criteria are met.
User & User Role Restrictions
Order Total Conditions
Product & Category Restrictions
Purchase Quantity Conditions
5. Scheduled Deal Campaigns
Schedule promotional deals to run automatically during specific date and time ranges. Plan seasonal offers and limited-time campaigns without manual intervention.
Date & Time Scheduling
Automatic Campaign Activation
Limited-Time Promotions
Recurring Deal Campaigns
6. Countdown Timer & Deal Messages
Create urgency by displaying countdown timers and promotional messages on product and checkout pages. Encourage customers to complete their purchases before the deal expires.
Countdown Timer
Custom Deal Messages
Promotion Highlights
Increased Purchase Urgency
7. Bulk Deal Management
Save time by configuring product deals in bulk instead of updating products individually. Quickly manage promotions across large product catalogs.
Bulk Product Deal Updates
Mass Configuration
Efficient Deal Management
8. Shortcode Integration
Display active deals anywhere on your WooCommerce store using built-in shortcodes. Easily integrate promotional campaigns into landing pages, banners, or custom layouts.
Built-in Shortcodes
Flexible Deal Placement
Easy Store Integration
Extensive Features List
Works for members and guests.
Create product-specific deals to offer limited-time discounts and promotions.
Offer discounts based on selected payment gateways to encourage preferred payment methods.
Create multiple deal campaigns for the same product with different rules and conditions.
You can place restrictions on your inventory quantity so that only limited quantities of a product carry a deal price.
The maximum product quantity per order at a deal price is restricted to one. If a customer chooses the original price instead, they can purchase any quantity.
Make deals available only to specific customers for targeted promotions.
Create exclusive deals for selected customer roles such as wholesalers or members.
Include or exclude individual users from accessing specific deals.
An option to restrict deal usage (Product Deal & Gateway Deal) to once per user per rule.
An option to restrict users from purchasing the same product with both deal and original prices in a single order.
A countdown timer displays a deal’s start time and end time.
A progress bar tracks deal inventory on the dedicated deals page and single product page.
Customers can view the original price, deal price, savings amount, and savings percentage.
An option for the admin to display the deal price on shop and category pages.
Display deal badges on shop and category pages to highlight promotional products.
Display active deal prices within related product recommendations to encourage additional purchases.
An option for the user to update the quantity of deal-priced products.
Use shortcodes to display Product and Payment Gateway Deals anywhere on the store.
Apply and manage deals for multiple products simultaneously using bulk actions.
An option for the admin to hide upcoming Payment Gateway Deal details.
An option for the site admin to set the pagination size on the deals page.
Monitor deal performance and analytics through a dedicated reporting table.
Customize promotional messages, labels, and deal-related frontend text.
Support multilingual stores with translation-ready and localization-friendly functionality.
Compatibility with High-Performance Order Storage (HPOS).
Customer reviews
We are accepting reviews for this product, and will display them when we get a few more.
We and our partners process your personal data (such as browsing data, IP Addresses, cookie information, and other unique identifiers) based on your consent and/or our legitimate interest to optimize our website, marketing activities, and your user experience.