
When shoot day arrives, there are a few steps you need to keep in mind when it comes to styling, lighting, and camera settings.
Styling and backdrop
Traditional product images are shot with a seamless white or neutral backdrop. This simplifies the editing process and gives the product a clean and focused appearance.
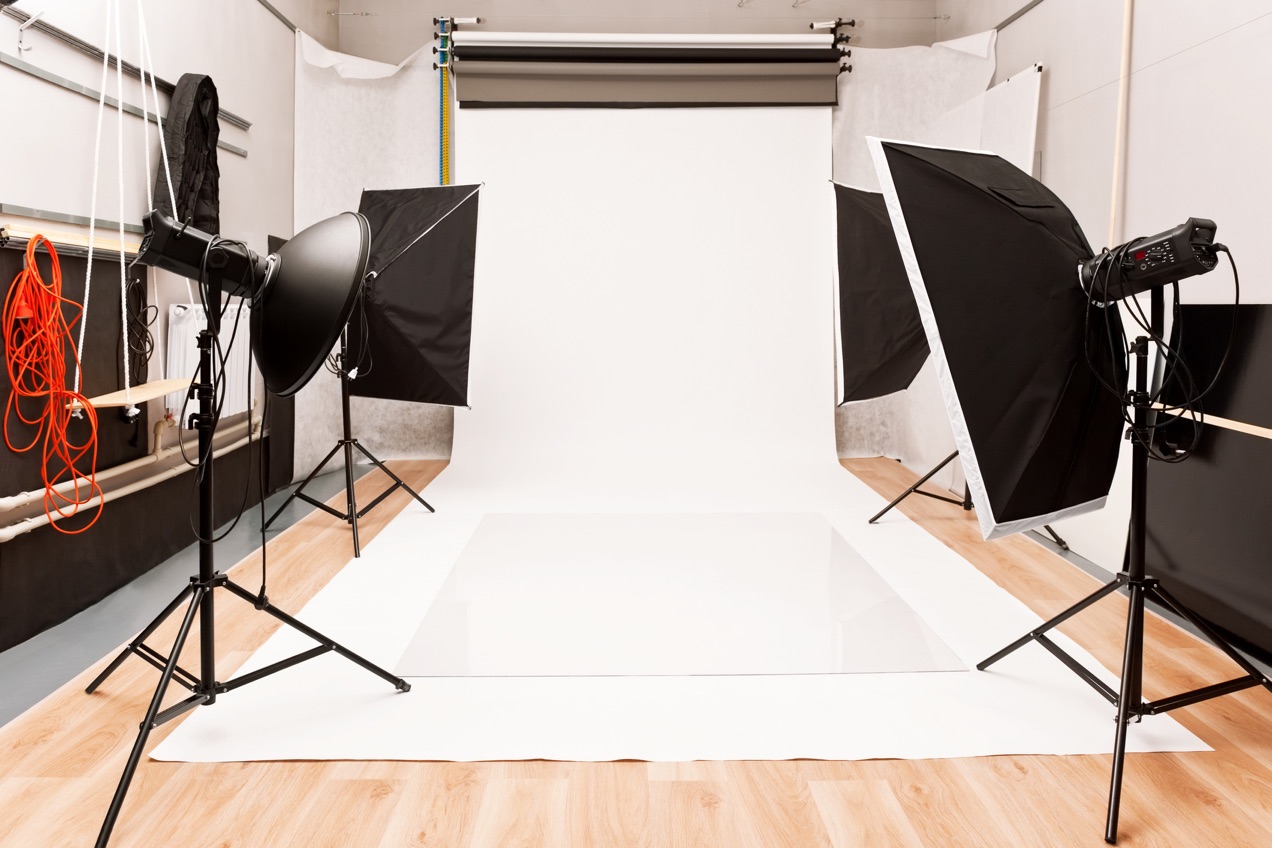
If you aren’t planning on shooting in a fancy studio, you can DIY things at home with an infinity curve or some background paper, like this $28 option from B&H. Place your background paper on a table or a chair, then fix it in place with tape or a special gripping C-stand.
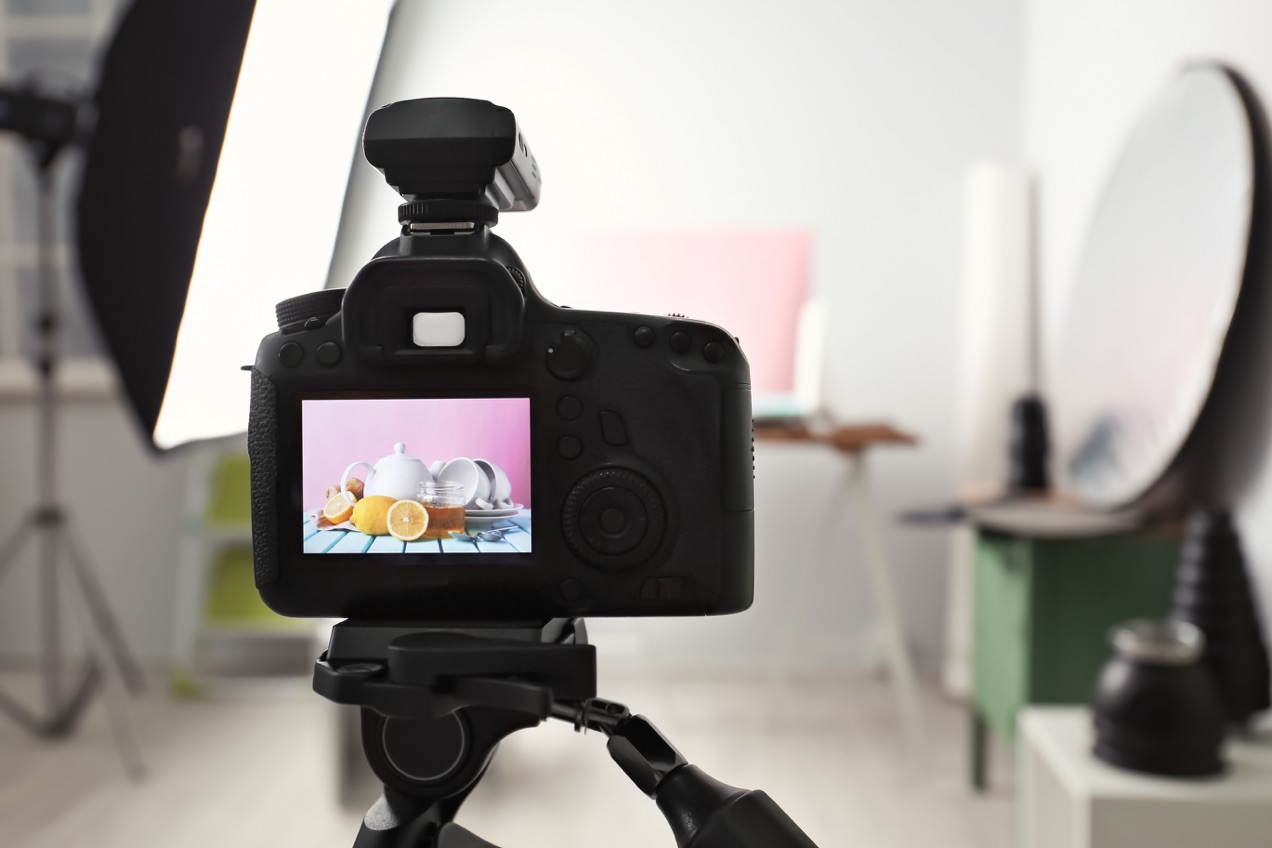
When styling your products, your goal is to mimic their natural use and show them in the best way possible. For example, when photographing food, focus on the textures to make it look appealing.

Planning – and a bit of experimentation – will help you get the best shots. Add or remove props from the scene. Step back and try a minimalist aesthetic. There’s nothing wrong tweaking during the shoot: you’ll have more options to choose from at the end.
Once you’ve pinned down the right details, remember to record the details like the angles you used, the type of light, and any props used. This, plus your notes from future shoots, will form your ‘photography style guide‘ and help your remember what worked well.
Choose lighting: Natural versus Studio
Decide whether you’ll use natural light or studio light.
Natural light is preferable, especially if you’re on a tight budget. It’s relatively easy to manipulate, and can save you time if the weather cooperates. If you’re a small eCommerce store with a few products, shooting with natural light is fine.
Start by putting your surface and the background near a window. If the light is too bright, place a cloth or white paper over the window to soften it. Try positioning things so the window is to one side of your product, rather than directly behind.

If shadows are too prominent, place cardboard alongside the object to soften them.
When using natural light, make sure that the light’s brightness level is consistent. You can standardize things a bit by editing the photos, but if the light level varies significantly because of the clouds, you’re probably better off rescheduling the shoot or trying artificial light.
When shooting with studio light, you’ll need at least two light setups. One should serve as your key light, while the other should be your backlight.
To achieve softer shadows, diffuse the light by placing a white cloth or paper over the light source. You can also place cardboard on either side of the object.
Since you can control the lights, you’ll have more time to play around and experiment with your products. You can tweak the angles and camera or shoot products for several hours.
Your lighting setup will also be dependent on your product type and number of light sources. Try back-lighting glass products; use two single lights for apparel.
Camera settings: ISO, aperture, and shutter speed
ISO refers to your camera’s sensitivity to light. Most photographers use an ISO between 100 and 1600. The higher the number, the more sensitive it will be and the more light it’ll gather. As the ISO goes up, the photos also get grainier and less crisp.
When you’re shooting product photos, use low ISO. You can begin with an ISO of 200 and take a few test shots. At lower ISOs, your product photos will have less noise – that is, graininess – so you’ll be able to simplify your editing process.
You can opt to increase the ISO if the images are too dark. This will help you capture an image faster, but your photos might be prone to excess noise.
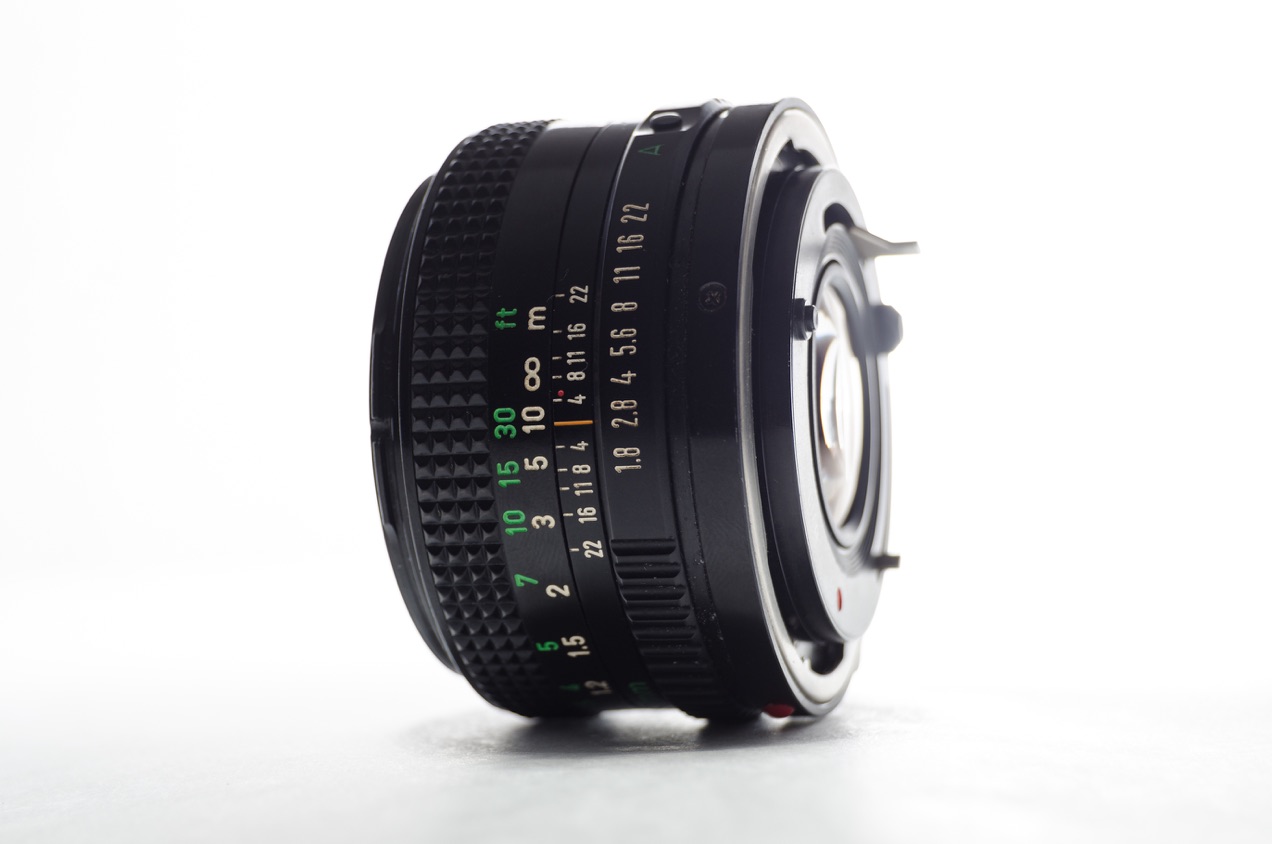
The aperture controls the amount of light that passes through the camera lens. It also determines the depth of field of your shot, which is the area of the image that is in focus.
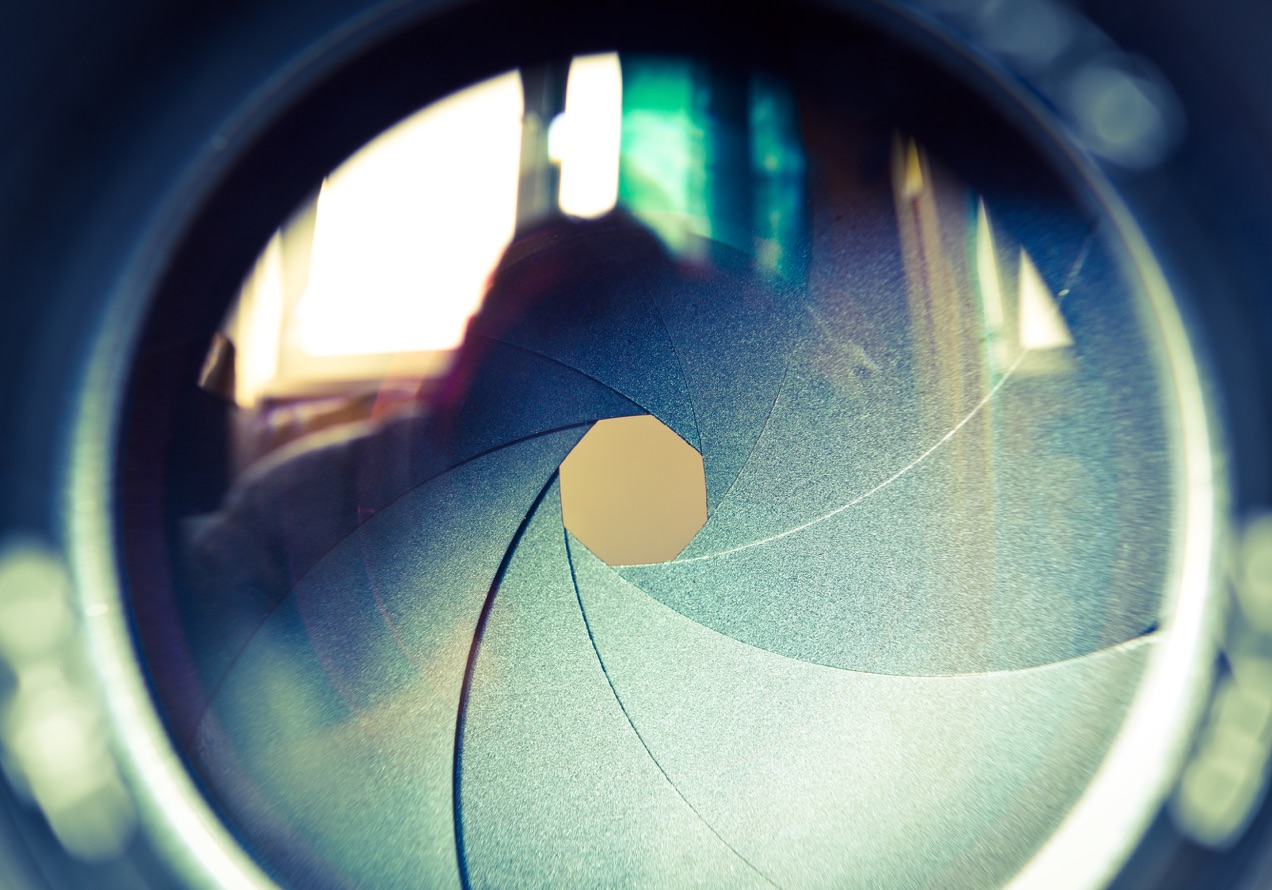
Aperture is measured through f-stop, and it ranges from f/1 to f22. For product photos, you’ll want a high f-stop between f16 to f22, as it allows you to capture your products in full focus.
The lower the f-stop, the shallower your depth of field will be. You can focus on specific details, but everything outside your focal point will be blurred. This makes it less than ideal for product photos.
However, if you want to emphasize a product detail – like the rim of glasses or the print in a tee – you can opt for a lower f-stop to really draw the eye to a specific focal point.
Most of the time you’ll want to keep the whole product in focus, so opt for a higher number f-stop.
Shutter speed determines the amount of time your camera sensor is exposed to light. Images will appear motionless at faster shutter speeds, while slower speeds can blur subjects in motion.
For product photography, a low shutter speed – such as 1/13 – is recommended when the camera is mounted on a tripod. In DIY product photography, you don’t need to worry about motion blur or camera shake as long as you’re using a tripod.

If you’re hand-holding the camera or shooting an object in motion, you may need a faster speed to compensate for the subject in motion. You can determine if you need to adjust the camera’s shutter speed using a light meter.
—
Have you done an eCommerce shoot? We’d love to hear your tips in the comments.

About
One of the facets that I enjoy most of my work is photography. I have spent more than twenty years in the field of design and communication and, image, has always been the key factor in communication. Currently, in several projects (both eCommerce and corporate websites) we have carried out product photography sessions. To give you an idea, always shoot in RAW, reveal in Lightroom and edit in Photoshop. For this I have a good set of lights and a good camera.
My goals when making product photos for my WooCommerce stores are
-To awaken the purchase interest: Especially when the user does not reach the product form directly, but through a related one or an advertisement. Therefore, the product must be ideal and attractive.
-Reduce the distance between the product and the buyer: We must provide photographs in which the product seems to be in your hand, so as to increase your confidence and increase the possibilities of purchase.
-Provide information about the product: As we have said, the buyer can not touch the product in an eCommerce. That is why it is advisable to include photos from as many angles as you can.
-Difference from the competition: On the Internet, our competitor is just a click away. That is why it is fundamental to have our own photographs that allow us to stand out.
A great greeting, an excellent post on one of the most important issues when creating an online trade or any web development project and online marketing. HUBERTO.
These are great tips, Huberto, thank you! I love this: “shoot in RAW, reveal in Lightroom and edit in Photoshop. For this I have a good set of lights and a good camera.”. That could be a mantra for eCommerce photographers 🙂
i Watched many videos and and i learn woocommerce.com is very fast growing website. i want to work with woocommerce.com bu i have no idea how to start … can you provide me some tutorial….?
Thank you
i watched all the tutorial and i was so suprise to see the update
there was a lot of thing i love about the camera and you can check also factworld.com.ng
Well, thanks for this post about photography tips for an e-commerce website. Though I do own Shopify stores, soon I am going to make an e-commerce website too, I will definitely follow this on that website.
Regards
Great tips Man. Earlier we can download the images from Google and now we can understand why the stock images are so costly as it needs lots of gadgets, knowledge, and pure dedication. The example images are absolutely fantastic.
For images, we should follow the tips and for an easy essay writing, we are here, Superbessay.net
Piece of writing writing is also a excitement,
if you be familiar with after that you can write or else it is complex to write.
Very well decorated. Looking for a way to match this? It is very wise.
I loved the text, thanks for sharing with us. It is really great article for me. Thank STEPHEN for this article.
Hello Stephen,
Nice job,
Most of the necessary part you have already covered, but something I want to add.
Actually, While doing product photography we all have to remind one thing, don’t make your image over saturated. We all want to make an image more beautiful. It’s common in our nature. But think for twice while you are doing product photography. Try to keep the real color of your products. Just think as like as a customer. You purchased a T-shirt seeing an image displayed by the online shop owner. When you received that product and saw that was not like which you ordered. Maybe you have an option, asking for a refund. But you have already rated him negative in your mind.
So, my opinion is that, please don’t over saturate your product image while doing post-processing.
Thanks.
Styling, Lighting, and Camera Settings for eCommerce Photography Cool post
Tendência
How to start selling online: Nail the decisions that matter most
By Brent MacKinnon •
AI is shifting commerce — here’s what 225 leaders told us they’re betting on
By Tamara Niesen •
Ecommerce SEO in 2026: What to know when you’re starting out
By Kevin Bates •
Never miss a beat — join our mailing list
Please enter a valid email.
View our privacy policy. You can unsubscribe anytime.
There was an error subscribing; please try again later.
Thanks for subscribing!
Emails will be sent to
You're already subscribed!
Emails are sent to