Variation Monster Pro for WooCommerce includes a powerful Variation Gallery feature that extends WooCommerce’s default functionality. While standard WooCommerce allows only one image per variation, Variation Monster lets you upload multiple images for each variation, creating a complete image gallery for every option.
This helps customers clearly identify each variation and improves confidence when making a purchase.
What Is the Variation Gallery?
↑ Back to topThe Variation Gallery displays multiple images for a selected variation. When a customer chooses a variation, all images assigned to that variation are shown as a gallery instead of a single image.
This feature works seamlessly with:
- Variation Swatches on the single product page
- Variation Table image clicks
- Quick View
- Carousel templates (all supported layouts)
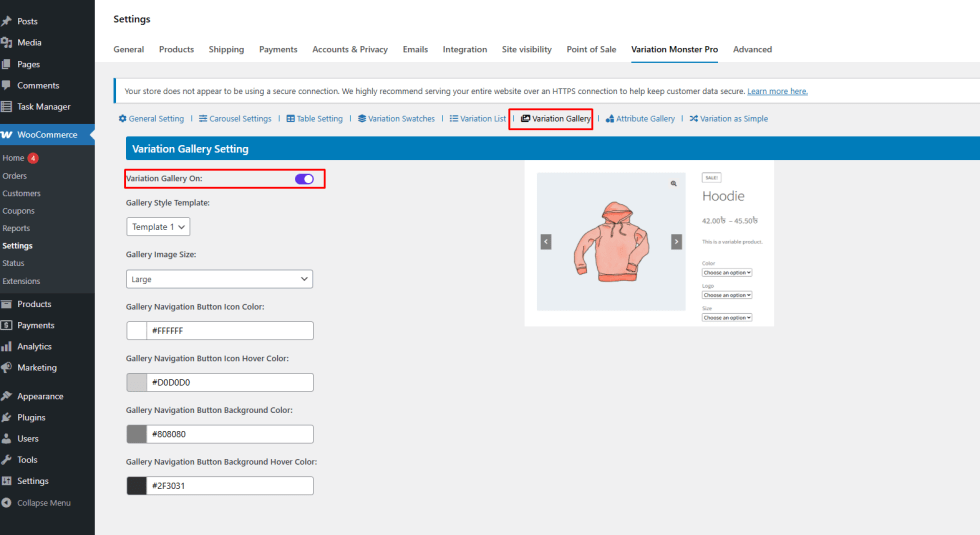
Step 1: Enable the Variation Gallery
↑ Back to top- Go to WooCommerce → Settings → Variation Monster Pro
- Open the Variation Gallery section
- Enable Variation Gallery On
- Save the settings
Step 2: Add Images to Each Variation
↑ Back to top- Go to Products → Edit Product
- Open the Variations tab
- Expand a variation
- Under Manage Stock, find Gallery Images
- Click Upload Images and select multiple images
- Repeat for other variations if needed
- Click Update to save the product

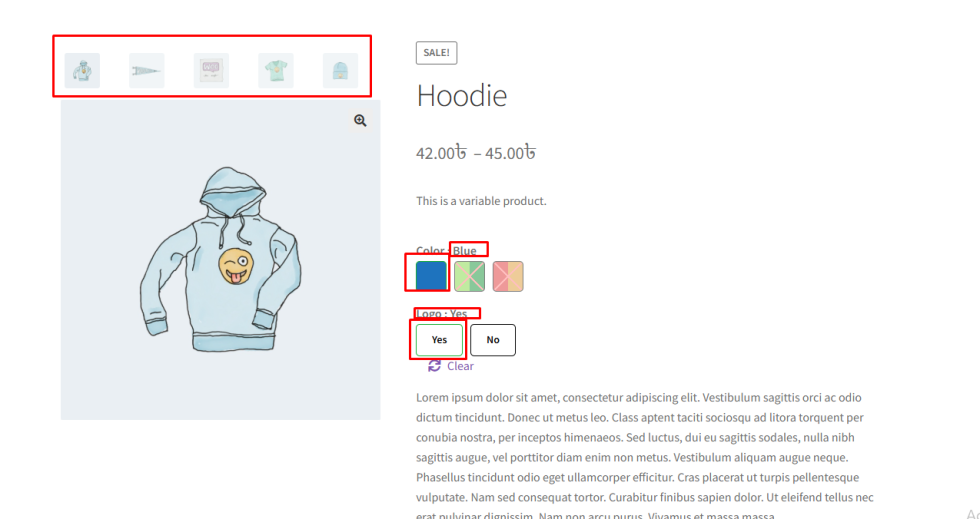
Frontend Behavior
↑ Back to topAfter configuration:
- Selecting a variation displays its full image gallery
- The main product gallery updates instantly
- Variation images appear correctly in:
- Variation Swatches
- Variation Table
- Quick View
- Carousel layouts
Benefits
↑ Back to top- Better visual presentation for each variation
- Improved customer confidence and engagement
- Ideal for products with multiple images per option (colors, styles, designs)