Variation Monster for WooCommerce provides flexible options to control how disabled (unavailable) variation attributes appear on the frontend. This helps customers clearly understand which variations are not available while keeping your store design consistent.
Available Disabled Attribute Styles
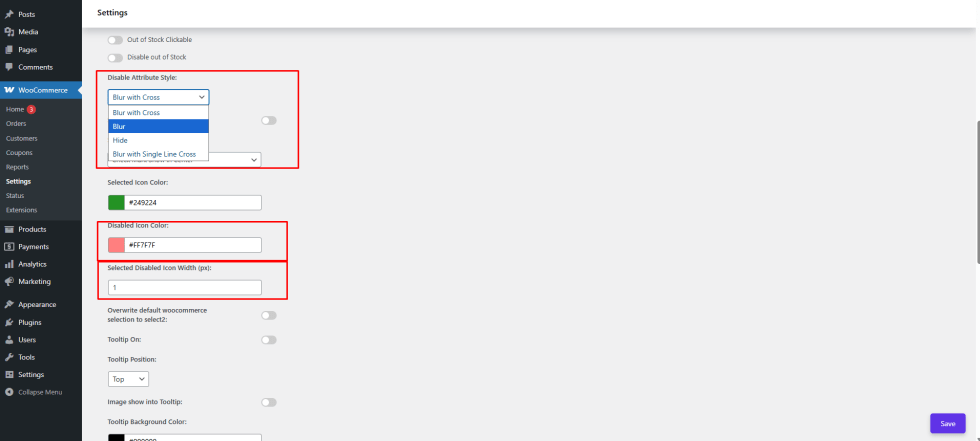
↑ Back to topYou can choose from four different templates for disabled attributes:
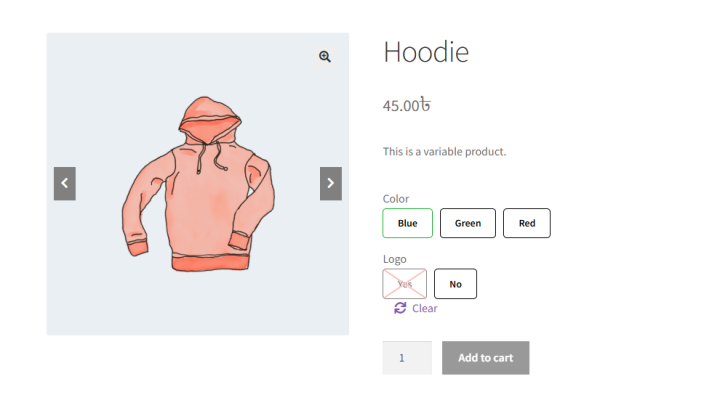
- Blur with Cross
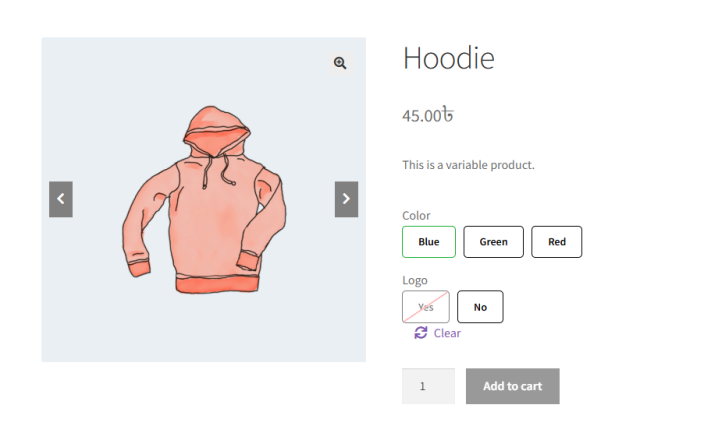
- Blur with Single Line Cross
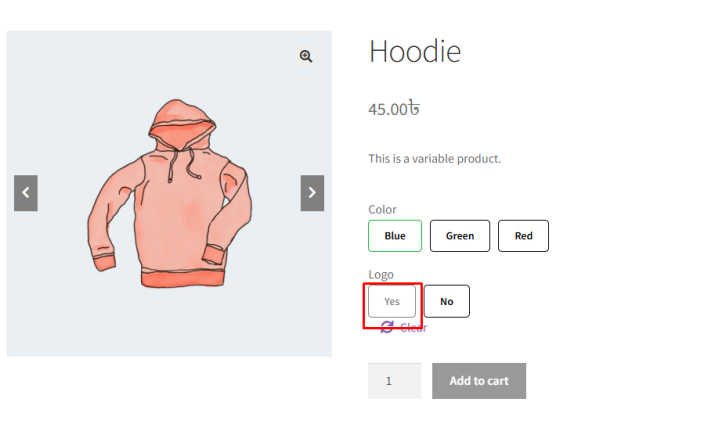
- Blur Only
- Hide
Each style visually communicates availability in a clear and user-friendly way.
Step 1: Configure Disabled Attribute Style
↑ Back to top- Go to WooCommerce → Settings → Variation Monster
- Open the Variation Swatches section
- Find the Disabled Attribute Style option
- Select one of the four available templates
Step 2: Customize Disabled Icon Appearance
↑ Back to topAlong with the style, you can also customize:
- Disabled Icon Color – choose a color that matches your store theme
- Disabled Icon Width (px) – control the thickness of the cross or line for better visibility
Save the settings after making your changes.
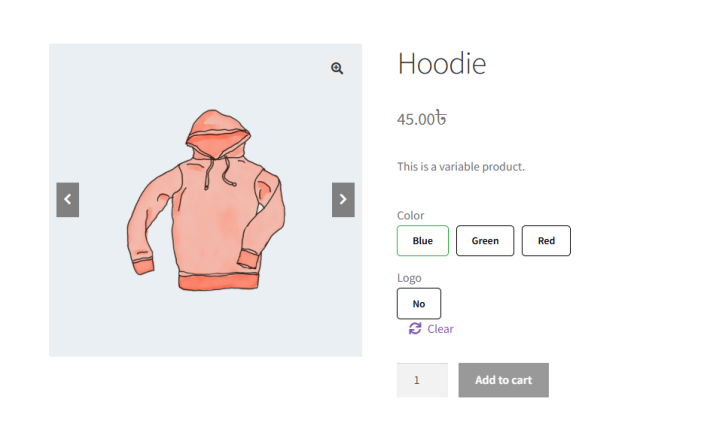
Frontend Result
↑ Back to topOn the frontend:
- Disabled variation attributes will appear exactly as configured
- Customers can instantly identify unavailable options
- The overall product variation layout remains clean and intuitive
Why This Matters
↑ Back to topClear disabled attribute styling:
- Reduces customer confusion
- Improves usability
- Creates a more professional shopping experience