Variation Monster for WooCommerce includes flexible options to visually highlight selected variation attributes, helping customers easily identify their current selection.
How Selected Attribute Styling Works
↑ Back to topWhen a customer selects an attribute:
- The swatch is highlighted with a custom border color
- An optional selected icon is displayed for clearer identification
This makes the selected variation instantly recognizable.
Available Selected Icon Templates
↑ Back to topVariation Monster provides two selected icon templates:
- Check Mark (Center) – displays a check icon in the middle of the swatch
- Check Mark (Top Right) – displays a check icon in the top-right corner of the swatch
Both options work seamlessly with color, image, and button swatches.
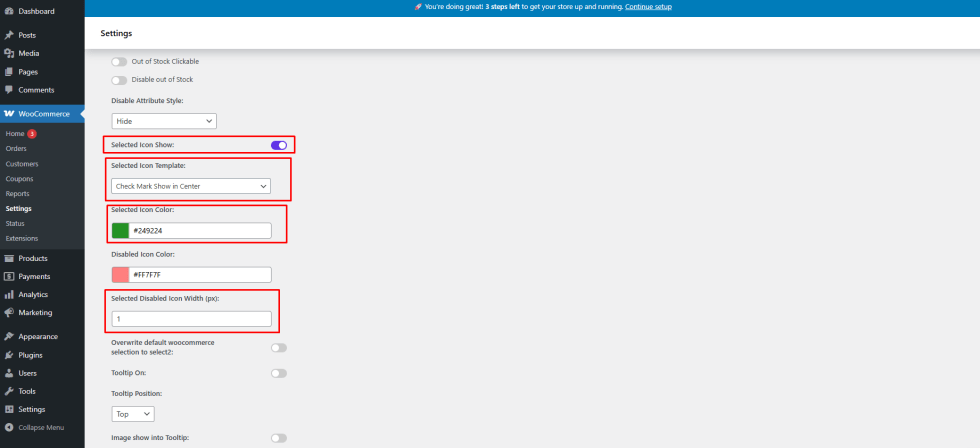
Step 1: Enable Selected Icon Display
↑ Back to top- Go to WooCommerce → Settings → Variation Monster
- Open the Variation Swatches section
- Enable Selected Icon Show
Step 2: Choose the Selected Icon Template
↑ Back to topAfter enabling the option:
- Select one of the two Selected Icon Templates
- Choose the border color for the selected attribute
- Set the selected icon color to match your store design
Save your settings once configured.
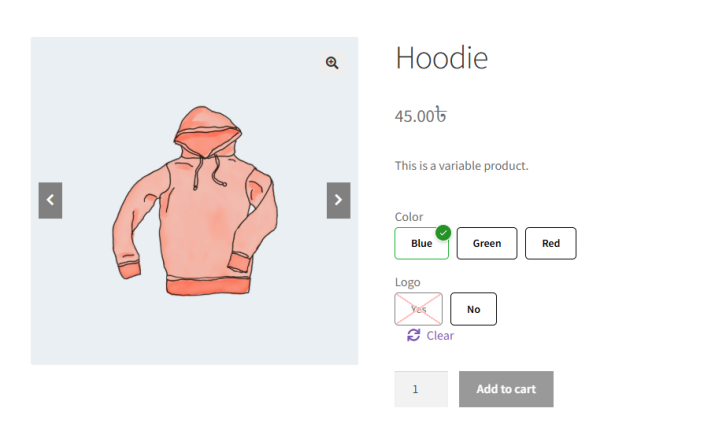
Frontend Result
↑ Back to topOn the frontend:
- The selected attribute is clearly highlighted
- The chosen icon appears based on your selected template
- Customers can instantly see which variation is selected

Benefits
↑ Back to top- Better visual feedback for users
- Improved usability and accessibility
- Clean and professional variation selection UI