Extend – Product Bundle Discount for WooCommerce empowers you to create irresistible bulk bundles, offer flexible discounts, and add persuasive sales triggers directly to your product pages. With built-in tools like social proof, scarcity, and FOMO, you’ll boost both your conversion rate and your average order value effortlessly.
How to Install the Plugin
↑ Back to topThe first step is to purchase the plugin. For that, visit the product page for Product Bundle Discount Plugin for WooCommerce. On the right hand, you will see purchase options.

Once purchased, you will get a zip file.
To install the plugin, go to your WordPress dashboard and navigate to Plugins > Add New > Upload Plugin.
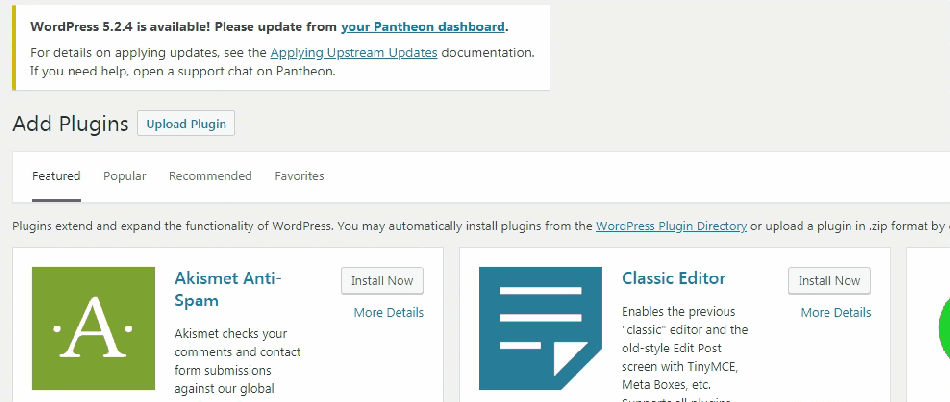
Upload the zip file that you have purchased. And from the sidebar, click on Plugins > Installed Plugins.
The Installed Plugins page will have a list of all the plugins that have been installed on your WP site.
Navigate to, or search for: “Extend – Product Bundle Discount”.
Note: Below the plugin name, if it shows an “Activate | Delete” option, click on “Activate”. If it’s showing a “Deactivate” option, it means that the plugin is already installed and you don’t have to do anything.
However, in most cases after installation, you’ll be presented with the first option.
Plugin Configuration
↑ Back to topGlobal Level and Product Level Settings of Product Bundle Discount Plugin
↑ Back to topHow to Configure Discount Bundles
This guide explains how to configure Discount Bundles using global settings and individual product settings.
Overview
↑ Back to topYou can configure discount bundles in two ways:
- Global Settings — applies bundles and discount rules across all products.
- Product-Level Settings — overrides global settings for specific products.
You must configure at least one bundle (discount tier) for the feature to work.
Part 1: Configure Global Discount Settings
↑ Back to top
Global settings apply to all products by default.
Step 1: Open Global Settings
↑ Back to top- Go to WooCommerce →Settings → Discount Offer.
- Enable Discount Settings (toggle ON).
Once enabled, the discount configuration options will appear.
Step 2: Configure Discount Options
↑ Back to topDiscount Type
Choose one of the following:
- Discount Percentage — discount applied as a percentage.
- Discount Amount — fixed discount amount.
Enable Timer (Optional)
- Toggle Enable Timer ON.
- Select:
- Timer From — when the discount becomes active.
- Timer To — when the discount expires.
- Enter Timer Text — the label shown on the storefront countdown (e.g., “Limited Time Offer”).
Step 3: Create Bundles
↑ Back to top- Click Add Bundle.
- Enter:
- Quantity — minimum quantity required for the bundle.
- Discount — value based on the selected discount type.
- Add additional bundles if needed.
Step 4: Save Global Settings
↑ Back to topClick Save Changes.
These settings will now apply to all products unless overridden at the product level.
Part 2: Configure Discount Bundles for an Individual Product
↑ Back to topUse this when a specific product requires custom bundle rules.
Step 1: Open Product Settings
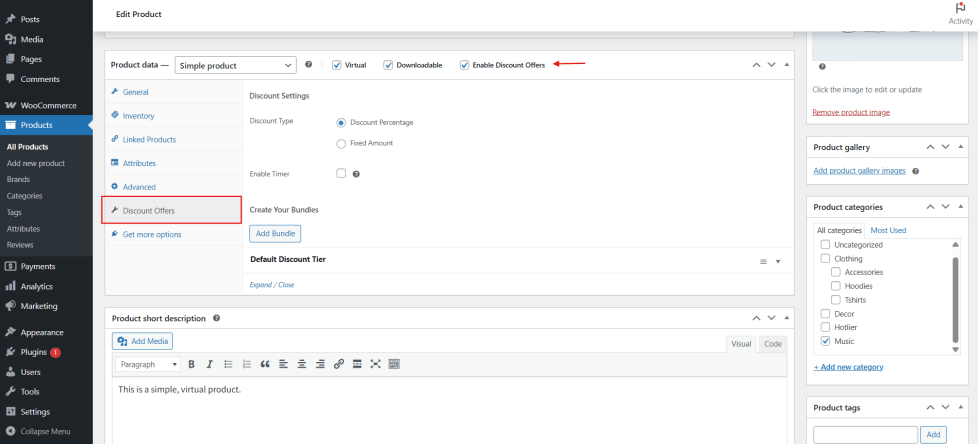
↑ Back to top- Go to Products.
- Open the product you want to configure.
- Enable Discount Offers (check the box).
The Discount Offers section will appear.
Step 2: Configure Product Discount Options
↑ Back to top- Choose the Discount Type.
- Enable the Timer if required and configure the date range and label.
Step 3: Create Discount Bundles
↑ Back to top- Create the default discount tier first:
- Enter quantity and discount.
- This tier is mandatory.
- Add additional bundles if needed.
Step 4: Save Product Settings
↑ Back to topClick Save.
The configured bundles will now be visible on the Product Detail Page (PDP) for that product.
Notes:
↑ Back to top- At least one bundle tier is required for discounts to display.
- Product-level settings override global settings.
- Use the timer for promotions or limited-time offers.
- Keep quantity tiers simple and logical to avoid customer confusion.