Note: This is a Developer level doc. If you are unfamiliar with code/templates and resolving potential conflicts, select a WooExpert or Developer for assistance. We are unable to provide support for customizations under our Support Policy.
Storefront has a lot of add_action() functions (go here for an overview). These allow you to insert sections of content using HTML, PHP, Javascript into its core templates.
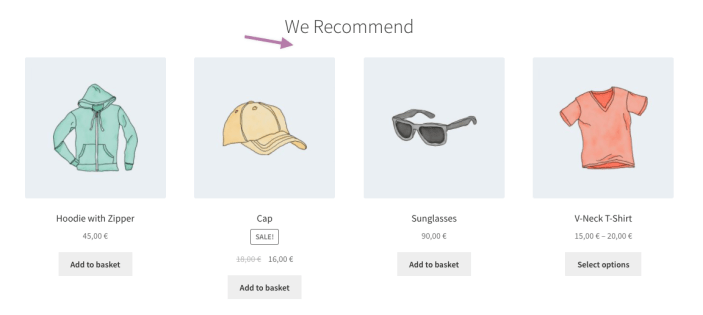
For example, say you want to add a description or even an image below the “featured products” section of your homepage.

Create a function
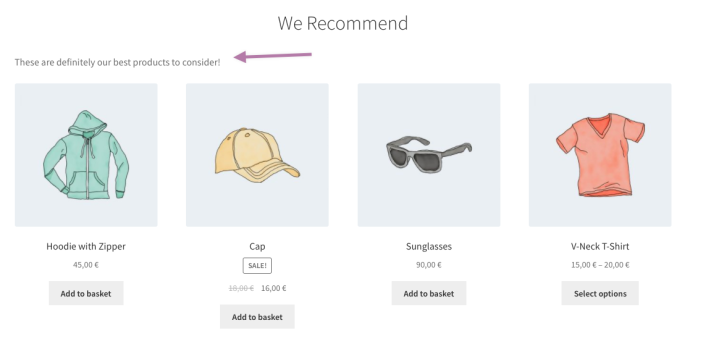
↑ Back to topadd_featured_text_example(). The function is displaying–or echoing–some text: echo "<p>These are definitely our best products to consider!</p>";.
Find the right hook
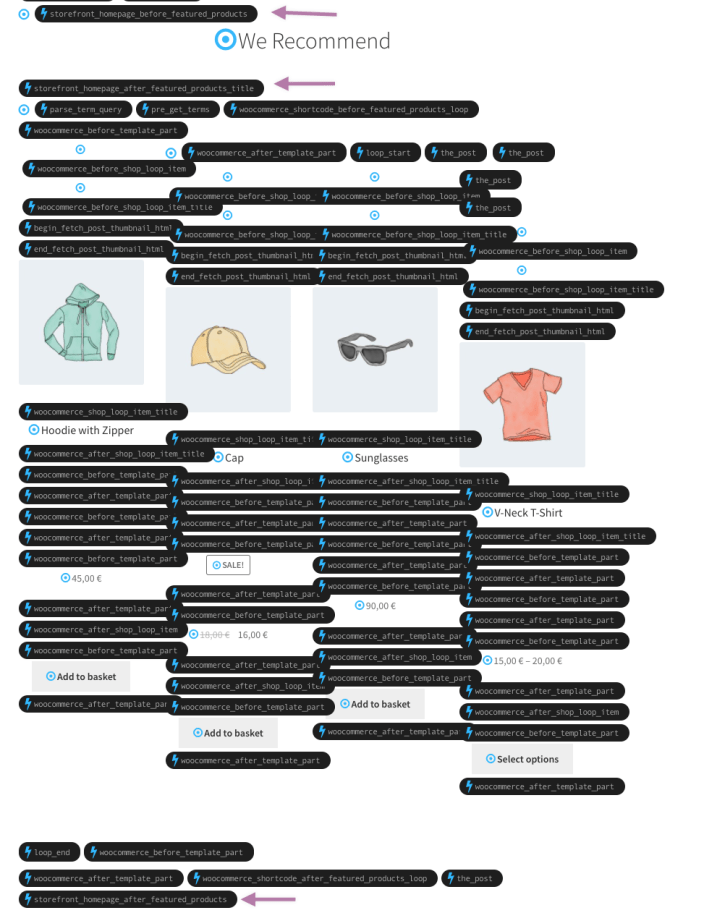
↑ Back to top This of course also adds all of the WooCommerce hooks that are active on the homepage, but it makes it easy to see which Storefront hooks we might consider:
storefront_homepage_before_featured_productsstorefront_homepage_after_featured_products_titlestorefront_homepage_after_featured_products
storefront_homepage_after_featured_products_title is the one that shows up below our “featured products” title.
A full reference list of the Storefront hooks can be found here.
Add an action
↑ Back to topadd_action()) in the right spot by first using the hook (storefront_homepage_after_featured_products_title), and then calling the function we’ve just created (add_featured_text_example)
The result of that is the following snippet:
This file contains hidden or bidirectional Unicode text that may be interpreted or compiled differently than what appears below. To review, open the file in an editor that reveals hidden Unicode characters.
Learn more about bidirectional Unicode characters
| // Insert text below the Featured Products title | |
| function add_featured_text_example() { | |
| // Echo out content | |
| echo '<p>' . esc_html__( 'These are definitely our best products to consider!', 'storefront' ) . '</p>'; | |
| } | |
| add_action( 'storefront_homepage_after_featured_products_title' , 'add_featured_text_example' ); |
functions.php file of your child theme.
The result will be the following:
 A last step would be to add either some styling or a class to the
 <p> element to add some custom CSS, but that would be another tutorial. 