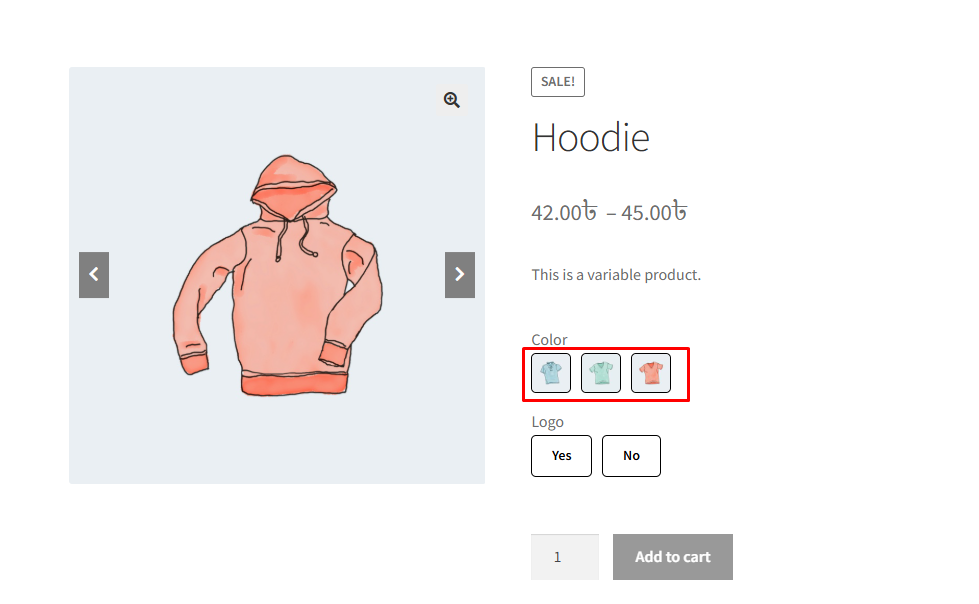
When using Image Button as the attribute display type, each variation option is displayed as an image instead of a simple button or color swatch. This is useful for products where visual appearance matters, such as product styles, patterns, materials, or designs.
However, image size can sometimes create display issues in WooCommerce stores. If the image is too small, customers may not clearly understand the variation option. If the image is too large, it may break the layout of the product page.
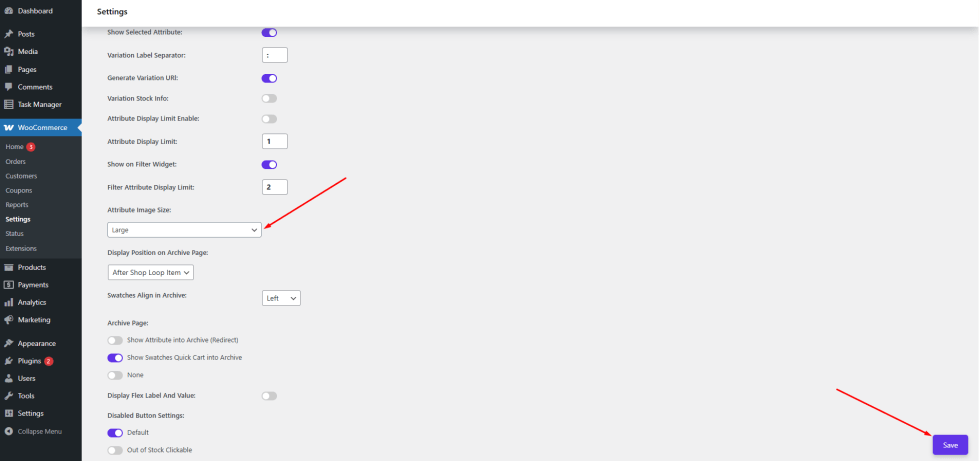
The Attribute Image Size setting allows the admin to control the size of images used in variation swatches. By selecting an appropriate image size, you can ensure that the variation images appear clear and properly aligned on the product page.
This helps customers easily identify the correct variation and improves the overall shopping experience.
The available image size options typically include:
- Thumbnail
- Medium
- Medium Large
- Large
- WooCommerce Thumbnail
- WooCommerce Single
- WooCommerce Gallery Thumbnail
Each option uses the image sizes generated by WordPress and WooCommerce. You can choose the size that best fits your store layout and design.
How to Configure
- Go to WordPress Admin Panel → WooCommerce → Settings.
- Click the Variation Monster tab.
- Navigate to the Variation Swatches section.
- Locate the Attribute Image Size dropdown option.
- Select your preferred image size from the list.
Click the Save button to apply the changes.
After saving the settings, the selected image size will be applied to all image-based variation swatches.
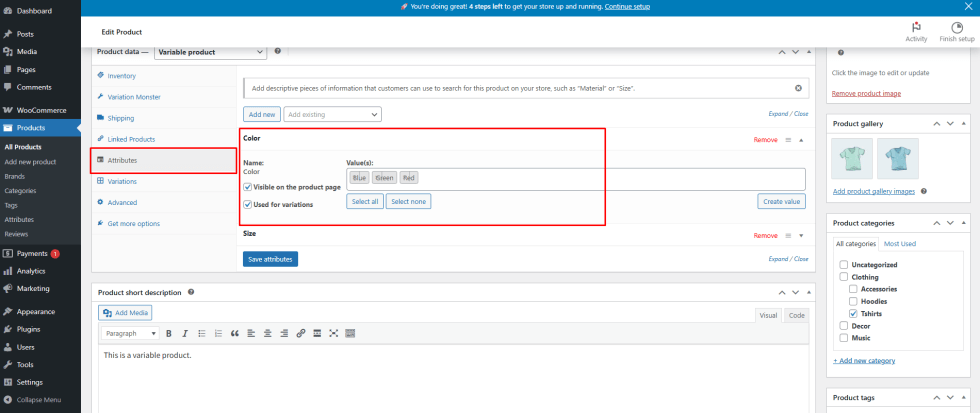
Step 1: Set Up Product Variations
↑ Back to top- Make sure the product is set as a Variable Product
- Add the required attributes
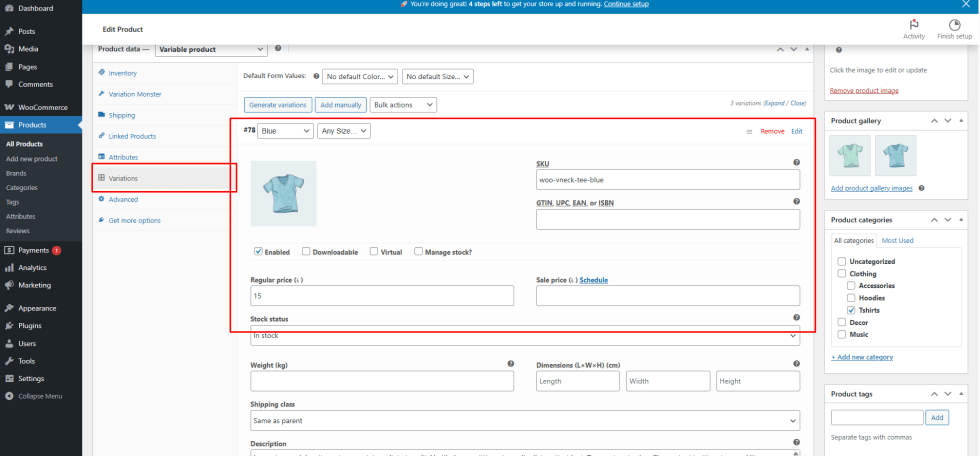
- Create and update variations
This step is required for the swatch options to appear correctly.
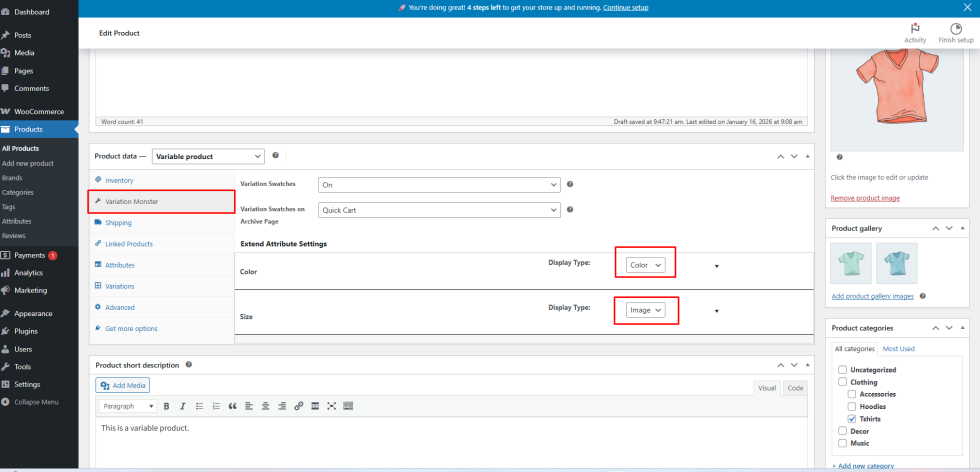
Step 2: Choose Display Type per Attribute
↑ Back to topInside the Variation Monster tab:
- Each attribute can be individually configured
- Select how you want the attribute to display:
- Color
- Image
- Radio
- Button
- Default Select (WooCommerce dropdown)
These settings apply only to the current product, allowing you to override global swatch behavior.
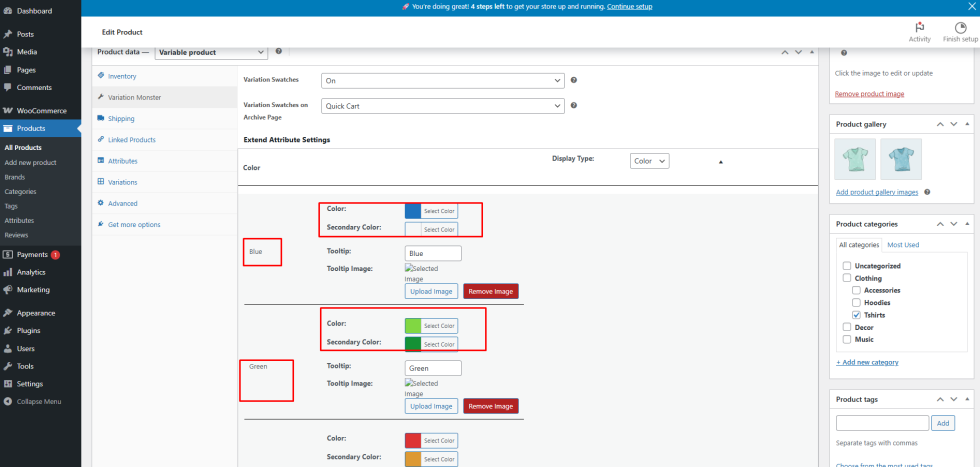
Step 3: Configure Attribute Terms
↑ Back to topAfter choosing the display type:
- Click the dropdown to see all terms under each attribute
- Update the term settings based on the selected type
For example:
- Color: Assign the correct primary (and optional secondary) color
- Image: Upload or select the appropriate image for each term
- Radio / Button: No extra setup is needed—terms will display automatically
Make sure to match the term configuration with the selected display type for the best visual result.
Step 4: Save and Preview
↑ Back to topOnce everything is configured:
- Update the product
- View the product on the single product page
- Swatches will also appear on shop and archive pages, if enabled. One thing in the shop page works with the button, color, and image, but does not work with select options or radio.
Result
↑ Back to topWith per-product swatch control, Variation Monster gives you the flexibility to tailor variation displays for individual products, ensuring better presentation, clarity, and a smoother shopping experience.