The Checkout template is the final step in the shopping journey, guiding customers through entering their details, selecting delivery and payment options, and confirming their order.
It brings together all of the essential checkout tools in one place, ensuring the process is smooth, secure, and easy to complete. Customers can provide their shipping and billing information, apply coupons, review their order summary, and agree to terms before placing their order.
This template can be edited in the Site Editor, where you can rearrange or style any of the included blocks to match your brand and improve the product browsing experience.
Access the Checkout Template
↑ Back to topYou can access this template from your WordPress Dashboard by going to:
- Appearance > Editor.
- Click Templates > WooCommerce, and then select “Page: Checkout”.
Checkout Header
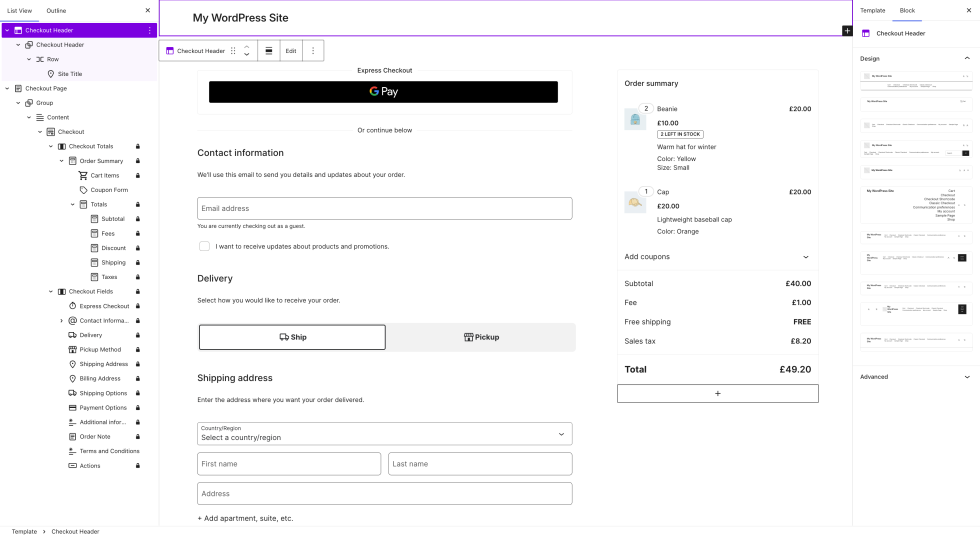
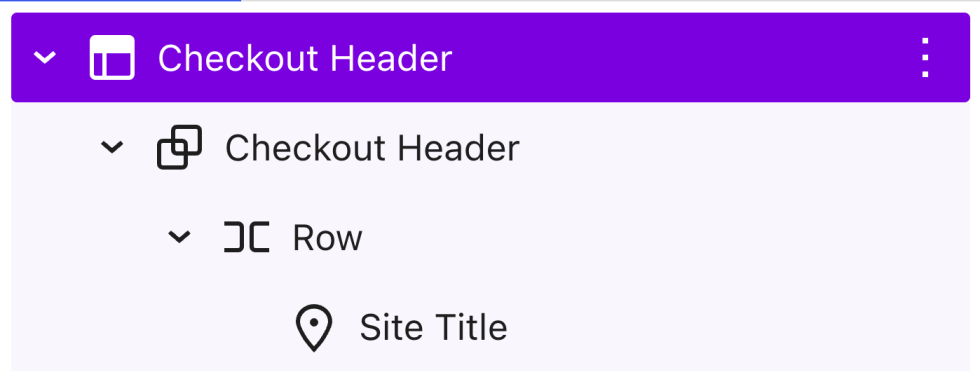
↑ Back to topThe Checkout page template displays a simplified header by default. Instead of displaying the same header used across the rest of your site, only the site’s title and logo are displayed.
This design choice is intentional as it helps reduce distractions during the checkout process, keeping customers focused on completing their purchase. By minimizing visual clutter, this streamlined header can improve conversion rates and reduce cart abandonment.
Checkout Block
↑ Back to top
The Checkout block is the main container block of the Checkout template. It brings together all the key steps of the checkout process, including customer details, shipping and delivery, payment methods, and order review.
Designed for a streamlined, conversion-focused flow, this block guides customers through completing their purchase. You can learn more about Checkout Block here.
Reverting to Classic Checkout
↑ Back to top- If using a block theme, go to Appearance > Editor > Template > WooCommerce and select Checkout.
If you are using a non-block theme, go to Pages > All Pages and locate and edit the Checkout page. - Open the List View and select the Checkout block.
- Click the “Transform” button, which is leftmost in the block toolbar
- Choose “Classic Shortcode”.
- The block will be transformed into a Classic Shortcode placeholder block.
- Save your changes by clicking the Save button in the top bar.

Questions and support
↑ Back to topDo you still have questions and need assistance?
This documentation is about the free, core WooCommerce plugin, for which support is provided in our community forums on WordPress.org. By searching this forum, you’ll often find that your question has been asked and answered before.
If you haven’t created a WordPress.org account to use the forums, here’s how.
- If you’re looking to extend the core functionality shown here, we recommend reviewing available extensions in the WooCommerce Marketplace.
- Need ongoing advanced support or a customization built for WooCommerce? Hire a Woo Agency Partner.
- Are you a developer building your own WooCommerce integration or extension? Check our Developer Resources.
If you weren’t able to find the information you need, please use the feedback thumbs below to let us know.