With the Variation Monster for WooCommerce plugin, you can fully control how product attributes are displayed. Each attribute can be shown as an image, color, radio, button, or the default WooCommerce dropdown, depending on your store’s needs.
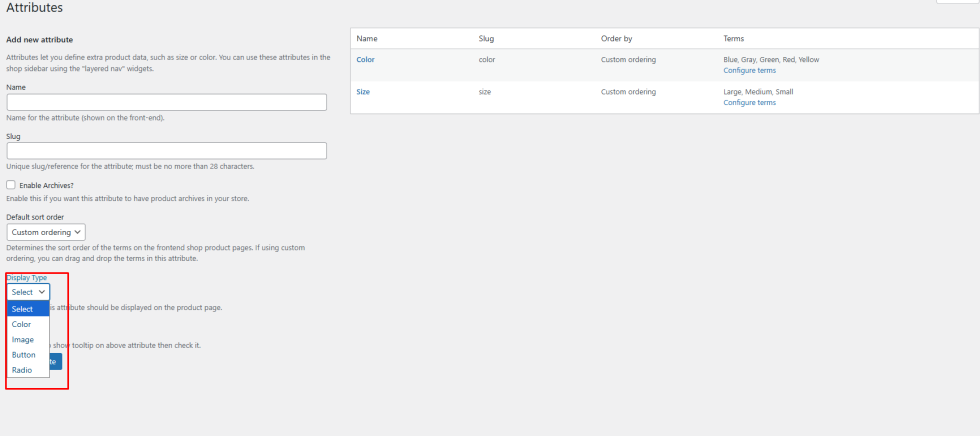
Step 1: Choose the Attribute Display Type
↑ Back to topGo to the Attributes settings in Variation Monster and select how you want each attribute to appear:
- Image
- Color
- Radio
- Button
- Default WooCommerce Select
This lets you design variation selection exactly the way you want customers to see it.
Then click configure terms here you can set all terms
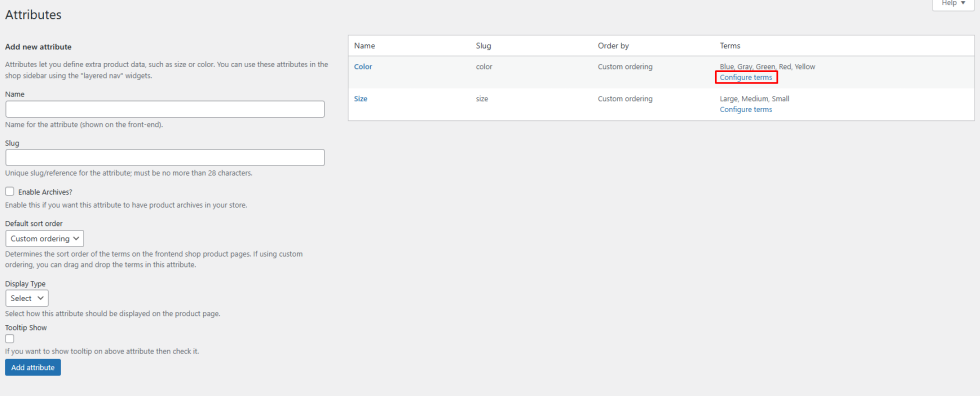
Step 2: Configure Attribute Terms
After selecting the display type (Color, Image, or Button), click Configure Terms.
Here, you can manage and customize all the terms under that attribute.
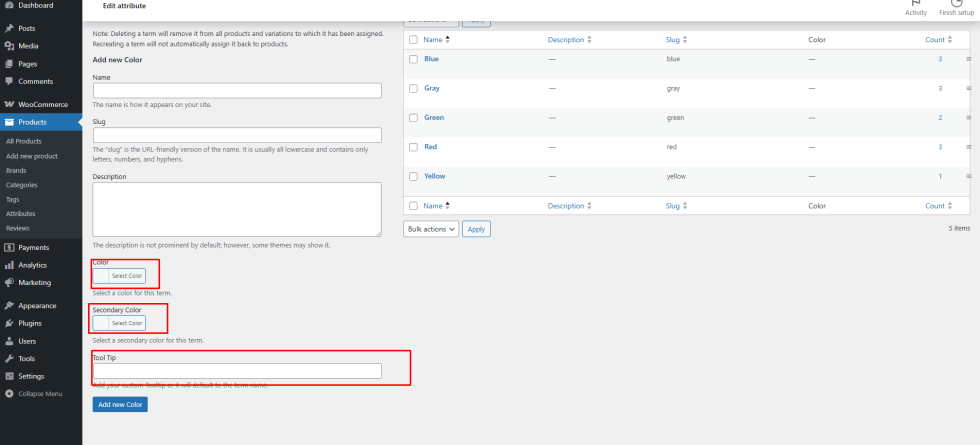
Color Swatches
↑ Back to topWhen you select Color as the swatch type, you’ll see the following options:
- Primary Color – the main color shown in the swatch
- Secondary Color – optional, used when you want to display two colors in a single swatch (for example, mixed or dual-color products)
- Tooltip (Optional) – if you set a tooltip, it will be shown on hover. If left empty, the swatch will automatically use the term name as the tooltip.
Add term page:
Edit term page:
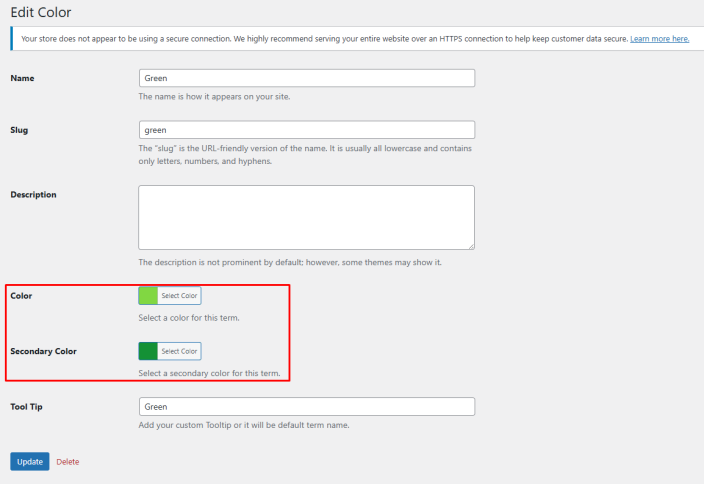
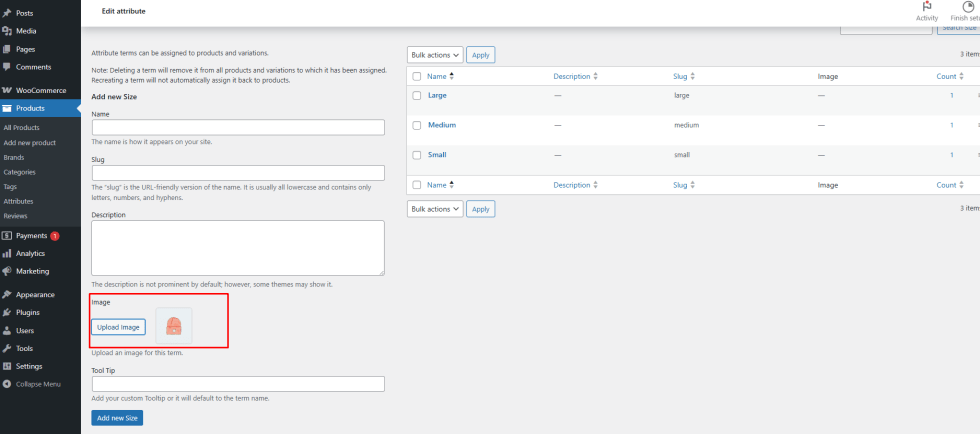
Image Swatches
If the attribute is set to Image:
You can also update or override the image directly from the Edit Product page, giving you product-specific control
Upload or select an image for each term from the Configure Terms screen
Add term page:
Edit term page:
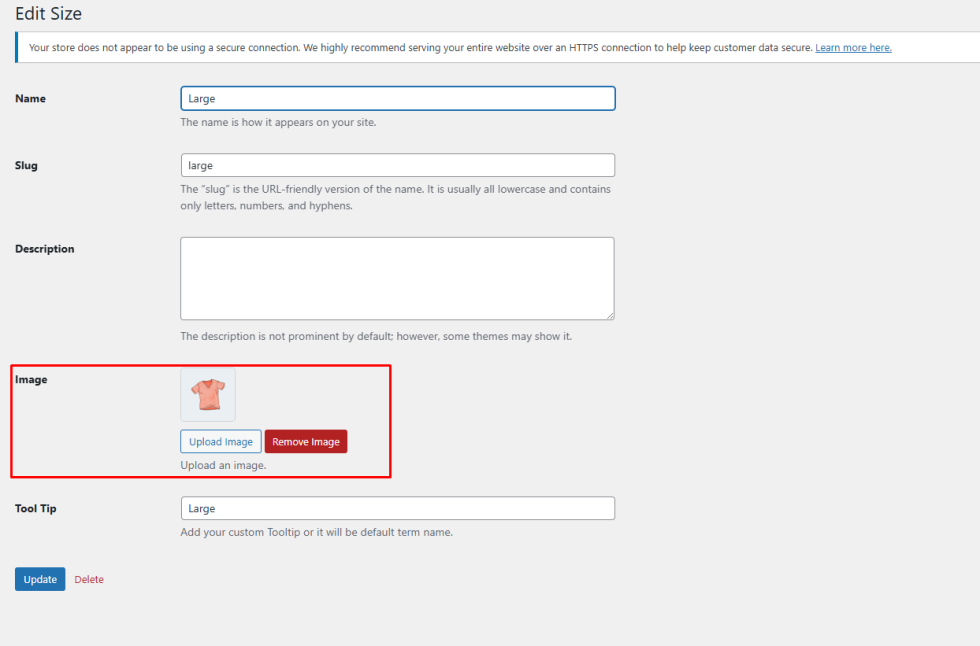
But here you can modify it from edit product page.
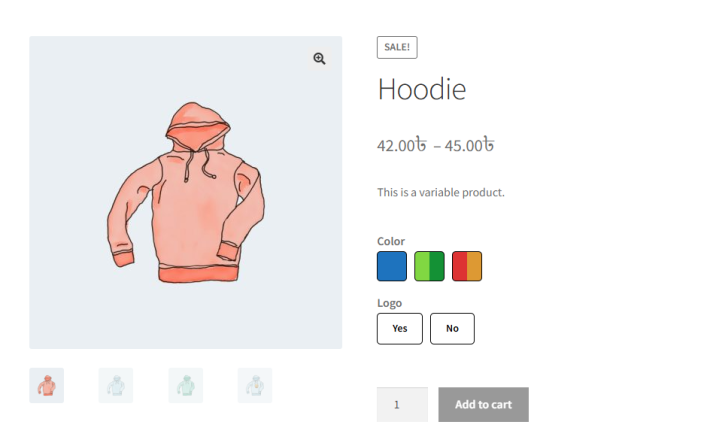
Frontend Display
Once your variable product is created and attributes are assigned:
They will also be visible on the shop and archive pages, providing a consistent and user-friendly experience across your store
Swatches will appear on the single product page