Using community-generated languages
↑ Back to top- Download the language pack at Storefront Language Packs.
- Upload to wp-content/languages/themes/storefront-br_BR.mo in your WordPress installation.
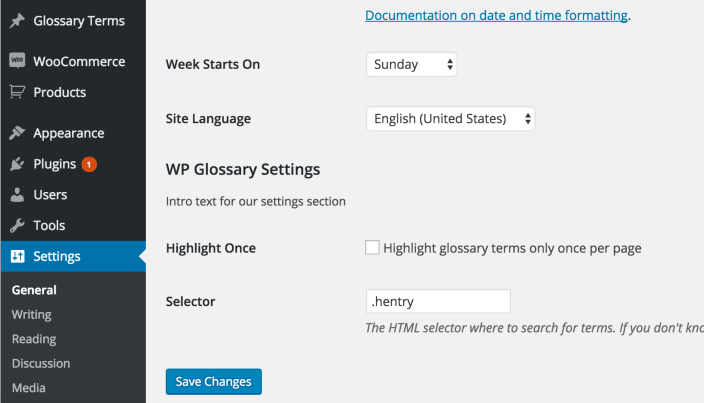
- Go to WordPress Settings and adjust Site Language in the dropdown.
- Save Changes.
Creating a custom translation
↑ Back to topUsing a custom translation
↑ Back to top- WordPress Languages Directory: Upload your .mo file to
wp-content/languages/themes/and use the following naming convention:storefront-it_IT.mo. Before falling back to bundled translations, Storefront first looks in your WordPress Languages Directory. - Child theme: Upload the file to language directory of your child theme, assuming you created and customized it yourself. If you’re using a child theme that you didn’t build, such as one of the Storefront child themes, the WordPress Languages Directory is a safer location.
Note: Custom translations need to be in the correct place, or they’ll be lost when updating Storefront core.