WooCommerce POS Kitchen QR Booking System is a complete point-of-sale (POS) and ordering solution. It enables store owners to efficiently manage both online and physical stores.
With this system, POS agents can create orders for dine-in or takeout and send them directly to the kitchen for preparation. The built-in POS QR Code Ordering System allows customers to place orders easily by scanning a QR code at their table.
Additionally, POS agents can manage table reservations and bookings for both dine-in and takeaway customers, ensuring a smooth and efficient restaurant operation.
Requirements
↑ Back to top- WordPress: Version 6.4
- WooCommerce: Version 9.0
- PHP: Version 7.4
Installation of POS Kitchen QR Booking System
The user will receive a ZIP file that needs to be uploaded via the “Add New” option in the WordPress admin panel.
Log in to the WordPress Admin Panel, go to the Dashboard, and hover over the “Plugins” menu. From the sub-menu, select the “Add New” option.

Next, click the “Upload Plugin” button at the top of the page to upload the ZIP file.

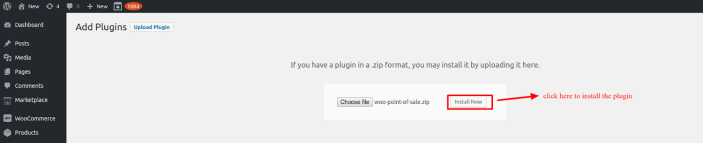
Then click on the “Upload Plugin” option, below that you will see a button “Choose File” click on the button to browse for the zip file as per the snapshot below.

After selecting the file, click the “Install Now” button to proceed with the plugin installation.
Once the POS Kitchen QR Booking System plugin is installed successfully, a confirmation message will appear. Additionally, an option to activate the plugin.
Click on “Activate Plugin” to activate the installed plugin.

Activate Plugin
↑ Back to topCheck how to activate your WooCommerce plugin through the purchase code.
Also check how do you get updates on Webkul modules directly on the Plugins page.
POS Kitchen QR Booking System – Module Translation
↑ Back to topClick here to know how to translate the module.
NOTE: To create a JSON file from your translations, save the translation file in the default WordPress languages directory and run the following command in that directory:
Note `xx_YY` refers to the locale (eg. `en_US`)
“`wp i18n make-json wc_pos-xx_YY.po –no-purge
Flush Rewrite Rules
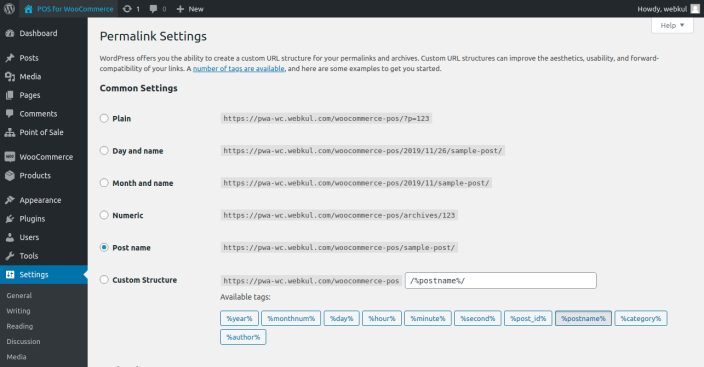
↑ Back to topThe admin must refresh the permalink settings by going to Settings > Permalinks to ensure the POS store links function properly.
Now, moving to the home page dashboard, we see the option of Restaurant POS, from there we click on settings.

Firstly, the admin adds the customer details –

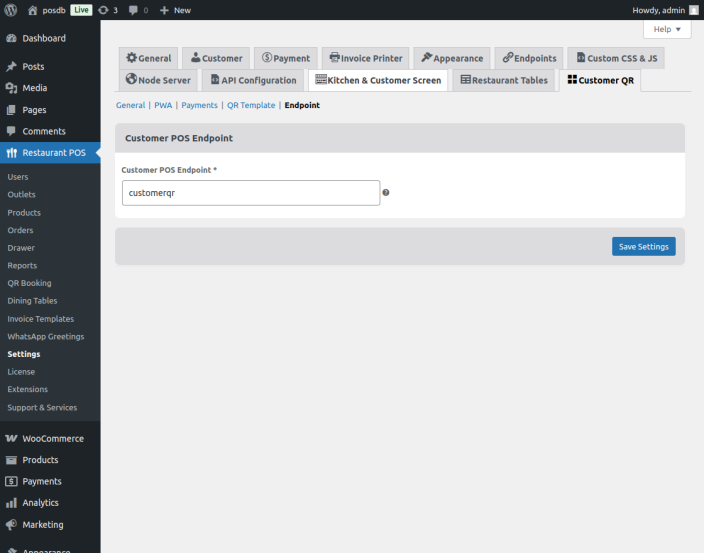
Next, we will set the POS endpoints as shown in the image below –

Moving ahead, here, the admin has to configure the following,
- Node Server (Domain/IP) Address: Enter the domain or IP without the http or www prefix.
- Node Server Port: Specify the port number for the Node server.
- Server HTTPS Status: Toggle to enable or disable HTTPS for the server.
- Node Server Timeout: Set the retry timeout for the Node server.
- Start/Stop Server: Use this button to start or stop the server.
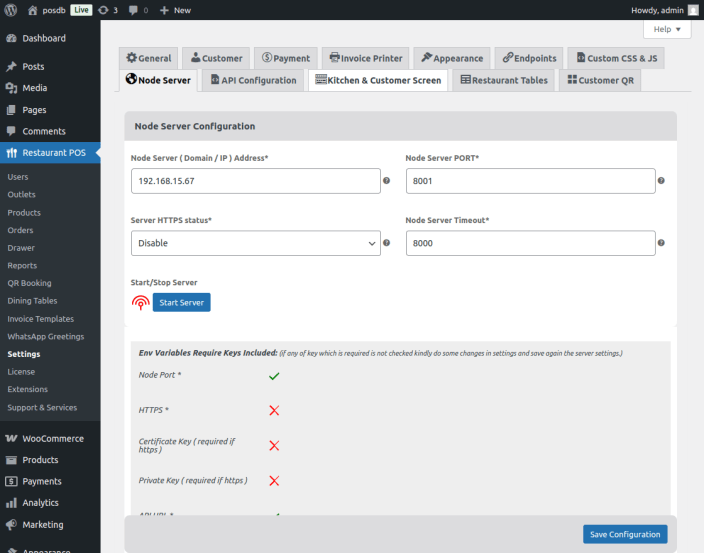
If HTTPS status is enabled, the admin must provide the Node Server SSL keys in the designated sections.
Admin will further set the database details created through Firebase as shown below –
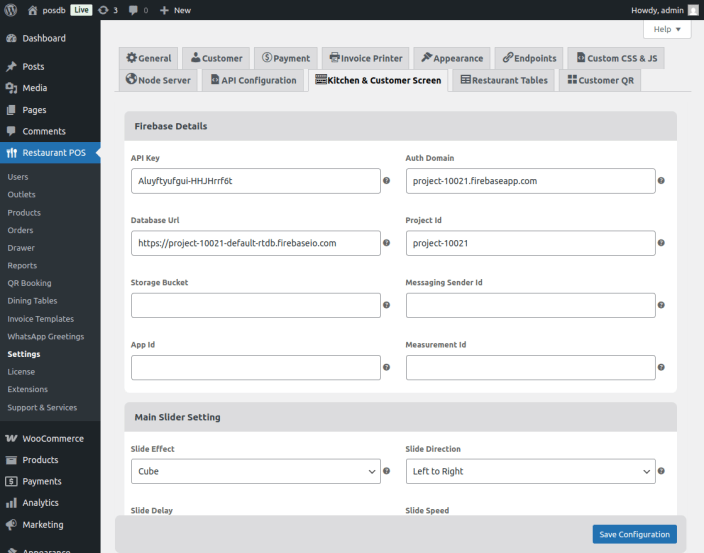
Here, the admin will enter the key generated while creating the Firebase account from Google.
Also, by clicking on Customer QR, the admin will be able to edit the customer QR endpoint and the QR template as shown below.
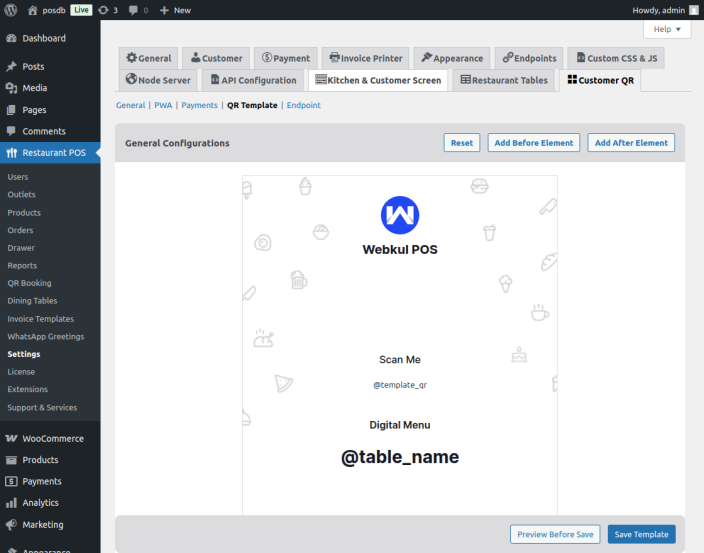
By adding all these details, admin will click on save settings.
If you have any queries regarding the plugin, please contact us at Webkul Support System.You can also check our complete WooCommerce plugin list.