Installation
↑ Back to top- Download the .zip file from your WooCommerce account.
- Go to: WordPress Admin > Plugins > Add New > Upload Plugin > Choose File (for the file you downloaded in step 1).
- Install Now and Activate Plugin.
More information at Install and Activate Plugins/Extensions.
Setup and Configuration
↑ Back to topAfter installation, Sales Report by Country requires no further configuration.
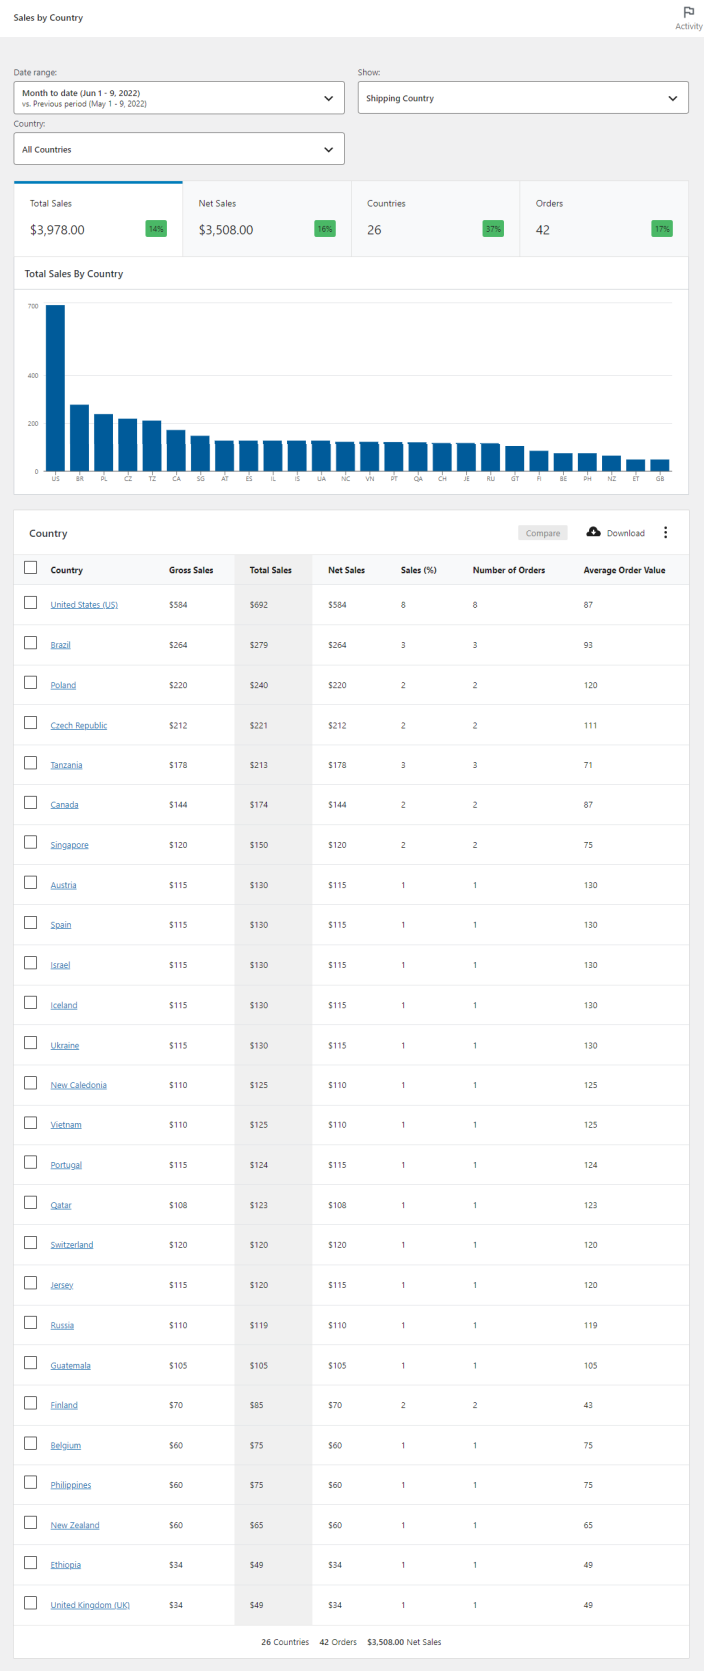
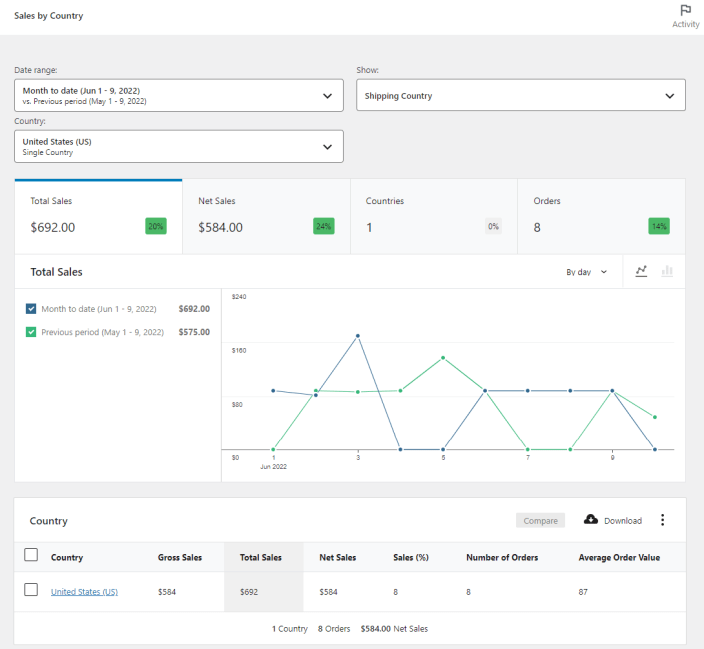
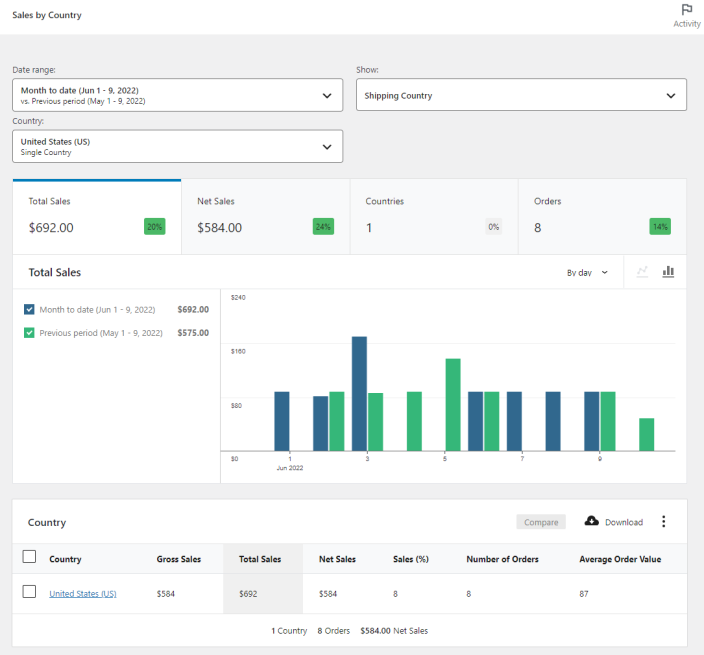
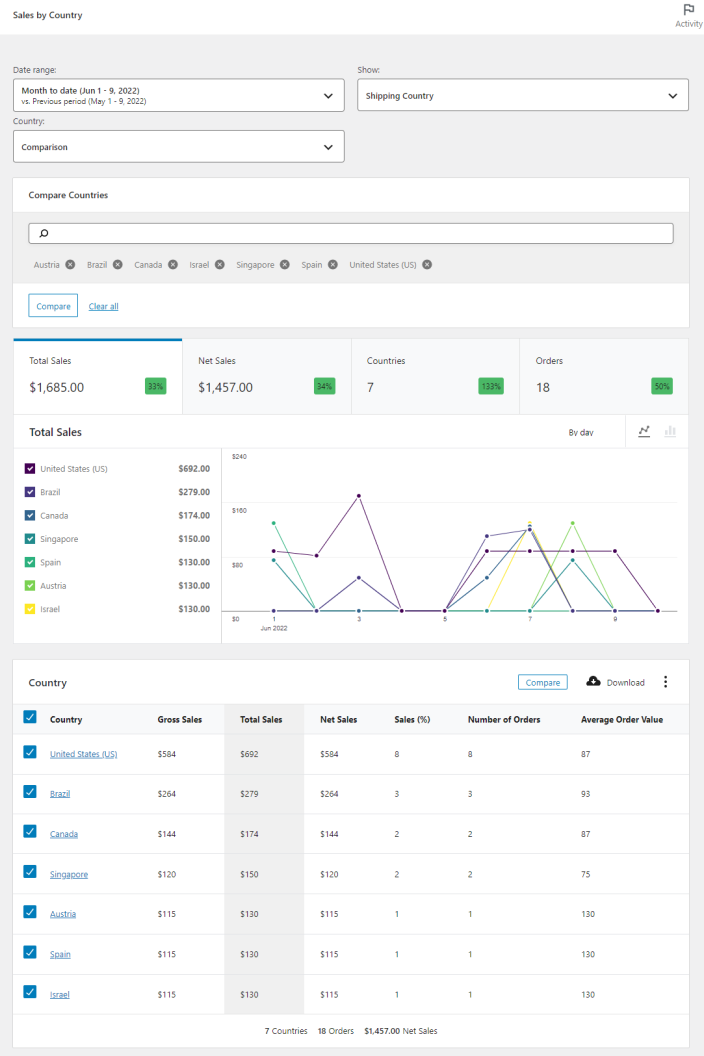
To view the sales report, go to Analytics > Sales by Country within the WordPress admin panel. The report allows you to select the date range and toggle between the billing country and shipping country view. Additionally, you can download the report by clicking on “Downloads” to view the report in a table format.
Note: the plugin does not have a settings panel.
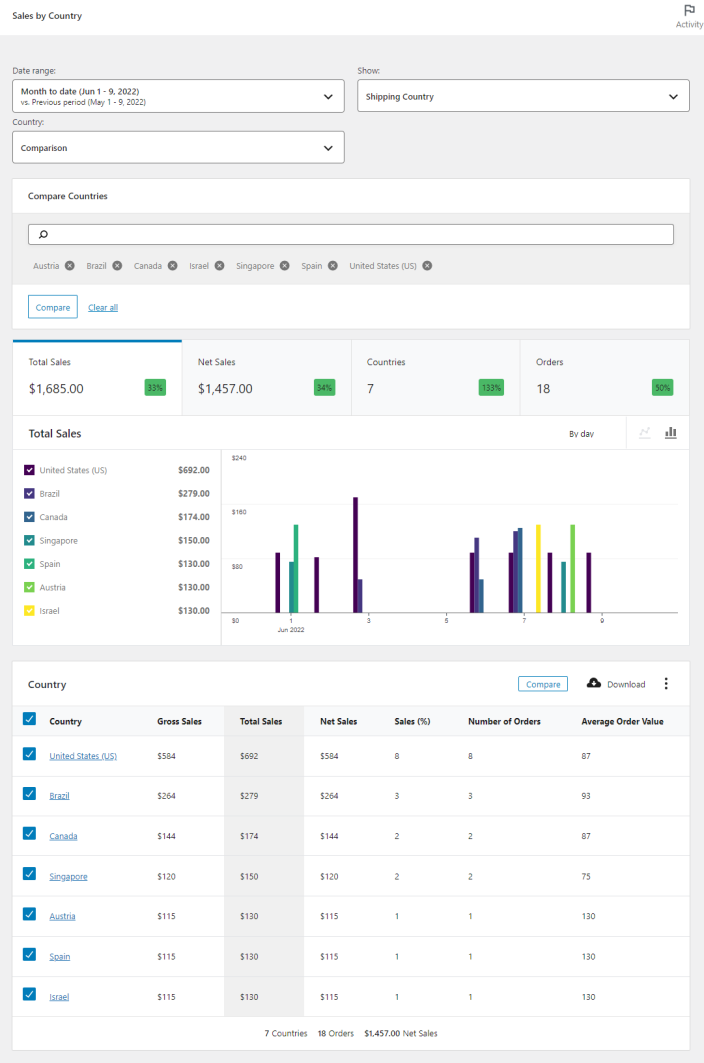
Importing Historical Data
↑ Back to topWhen you install Sales Report By Country for WooCommerce plugin, you will need to process the historical data in order to view the old data.
Starting the Import
To start a historical data import, use the prompt above or go to Analytics > Settings, and scroll down to Import Historical Data.
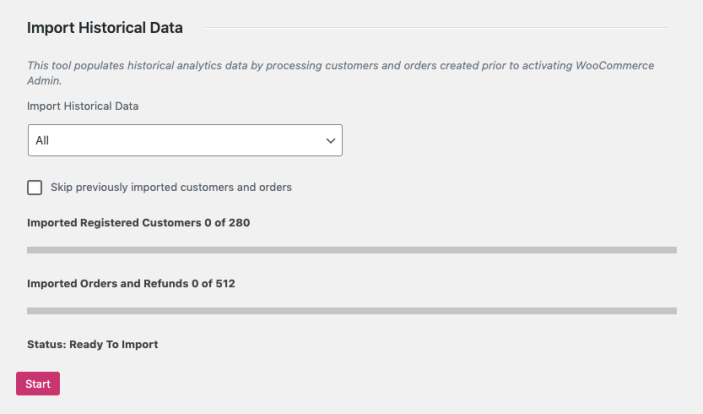
Stores that only want to see report data from a certain date onward can choose a date period, otherwise “all” data will be imported.
Extremely large or high volume stores might choose to import data in smaller increments – perhaps each year or quarter separately. The “skip previously imported customers and orders” control allows for overlapping date ranges to be imported without unnecessary data processing.
The Customer and Order counts will be updated in real-time to reflect changes made to the import settings. Press “start” when you’re ready for the import to begin.
Monitoring Progress
Once you’ve started an import, progress will be periodically updated on the Analytics > Settings screen.
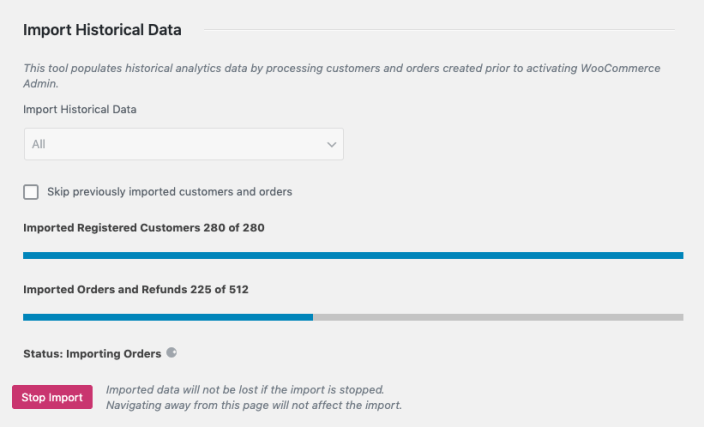
Navigating away from this page will not affect the import, and you can return to it at any time to monitor progress.
Once the import is complete, the status will reflect it:

