Set up your accounts
↑ Back to topConnect your Google account to start setting up Google for WooCommerce:
Google account: Connect your Google account with Google Merchant Center and Google Ads. Agree to the terms and click the connect button to get started.
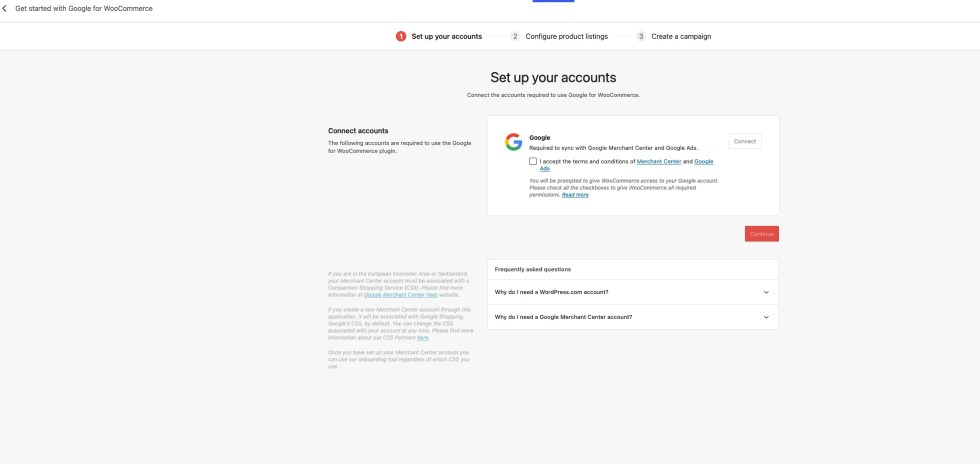
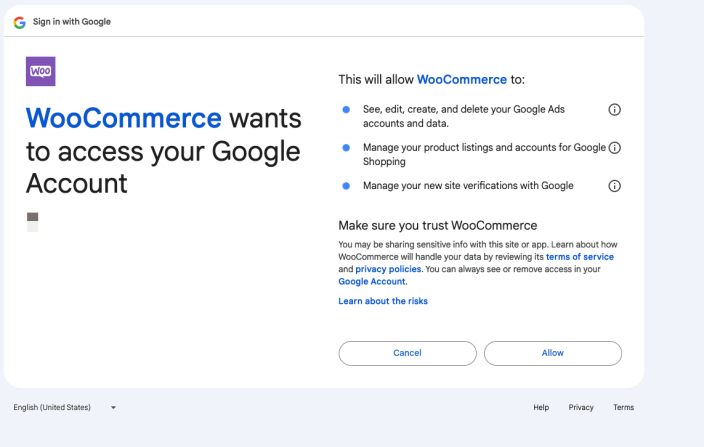
Required Google account permissions
↑ Back to topTo create and manage your Google Merchant Center and Google Ads accounts through this extension, you will need to grant certain Google account permissions. Failure to grant all requested authentication scopes will prevent you from using the extension.
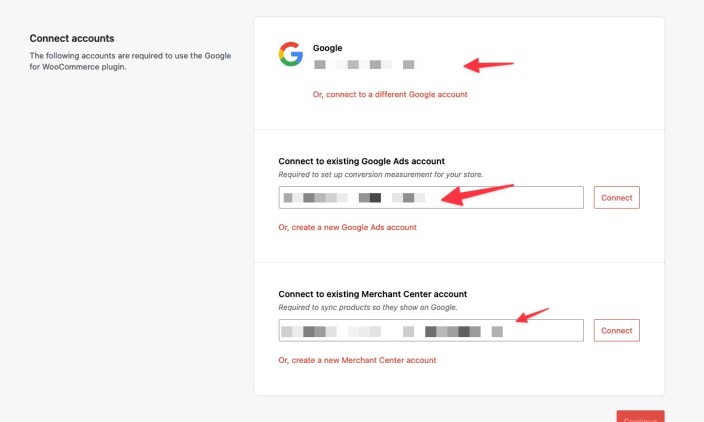
Verify that your account details and account ID’s are correct. These details are fetched automatically if you have existing accounts. Verify the details and click the connect button next to your ads and merchant center account identified if the accounts are correct. If the account fetched is incorrect, update it to the correct ID manually. You can find the respective account IDS in your account. If you are a new user and don’t have any accounts for Google Ads/Google Merchant center, click the create an account to follow the prompts to set up one.
Configure product listings
↑ Back to topSelect your site language and determine your target locations. Provide your shipping and tax rate information and complete your feed setup to list eligible products on the Google Shopping tab for free. If you have any existing settings in Google Merchant Center, they will be overwritten by any new configurations you enter here in WooCommerce.
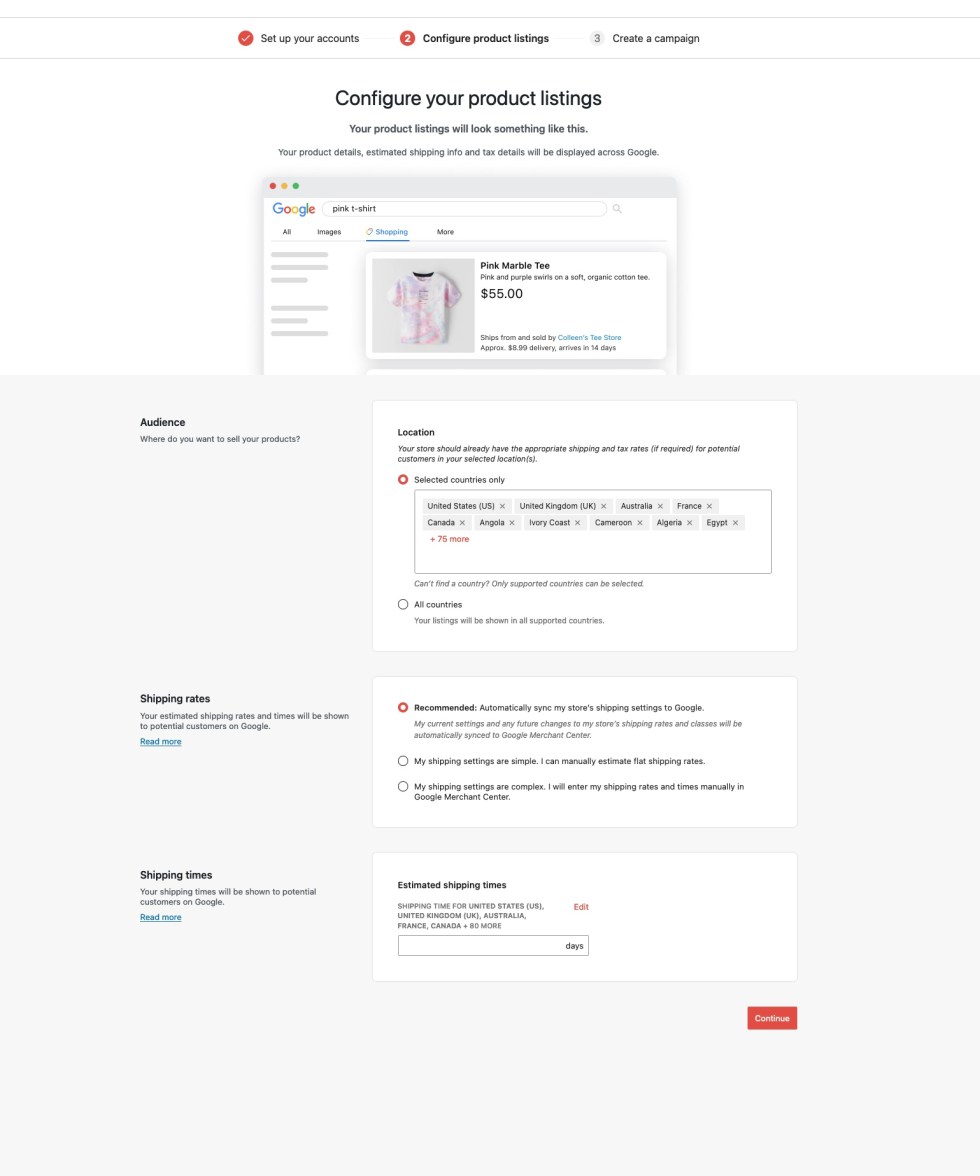
Choose your audience
↑ Back to top- Location: Select your target country or countries. Your eligible and approved products will be shown in all supported countries. Your store should already have the appropriate shipping and tax rates (if required) for potential customers in your selected location(s). Learn about supported countries and currencies.
Shipping information
↑ Back to topProvide your shipping information. This will be shown to potential customers on Google and may help them with their purchasing decisions.
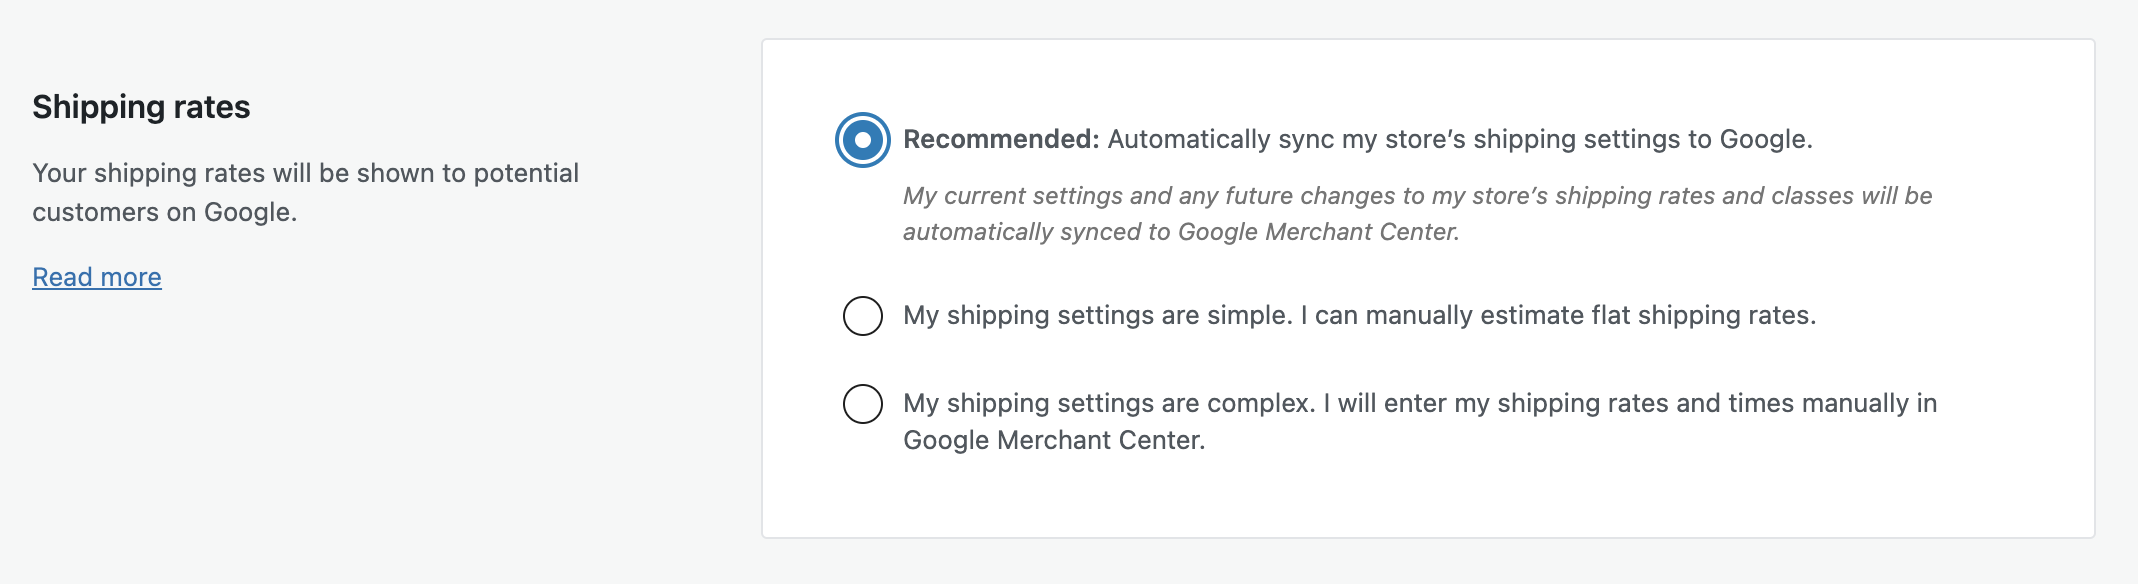
- Shipping rates: choose from the following three options.
- Recommended: Automatically sync my store’s shipping settings to Google.
Choosing this option allows Google for WooCommerce to automatically synchronize the core shipping settings defined in your WooCommerce store with the Merchant Center. This means that any changes you make to your WooCommerce shipping settings will be automatically submitted to the Merchant Center. Flat-rate advanced costs are not supported.
Currently, the extension only supports regional shipping syncing in Australia, Japan, and the United States. If regional shipping rates are defined for states/provinces or zip/postal codes of these countries in your store’s shipping zones settings, Google for WooCommerce will synchronize them with the Merchant Center. The shipping rates for all other countries are submitted at the country-wide level.
The extension also does not currently support dynamically calculated carrier-based shipping.- As this happens asynchronously, it may take a while for changes to appear in your Merchant Center account. Make sure that WordPress CRON and ActionScheduler are set up properly on your store to ensure that the automatic sync works as expected.
If there are duplicate shipping methods for the same region, Google for WooCommerce will choose the most expensive method (or the one with a higher value) for the minimum order amount condition.
As a general rule, always check your shipping settings in Google Merchant Center after you complete the setup to confirm they are as expected.
- My shipping settings are simple. I can manually estimate flat shipping rates.
You will need to enter estimated shipping rates for all countries specified in your target audience to be able to proceed to the next step. - My shipping settings are complex. I will enter my shipping rates and times manually in Google Merchant Center.
- Recommended: Automatically sync my store’s shipping settings to Google.
- Shipping time:
If you have chosen to enter your shipping settings manually in Google Merchant Center, you will also need to set the shipping time information there.
Otherwise, if you choose to automatically sync your shipping rates (or enter an estimated flat shipping rate), you must also enter an estimated shipping time in days. This will apply to all your shipping settings. You can then modify this value manually for each of your shipping rate settings via the Google Merchant Center.
You must enter a shipping time for all of the countries defined in your target audience in the previous step. If you don’t enter an estimated shipping time for all countries, you will not be able to progress to the next step; the Save changes button will remain disabled.
You can edit the estimated shipping time for the chosen countries or add/remove estimated times for other countries by clicking the Edit button next to each input.
Create a Campaign
↑ Back to topYou have the option to set up a Performance Max campaign during onboarding now. You are welcome to get started on setting up the campaign right away, or skip this to complete the setup. Furthermore, you will need to set up billing information on newly created Ads accounts to complete the Campaign setup.
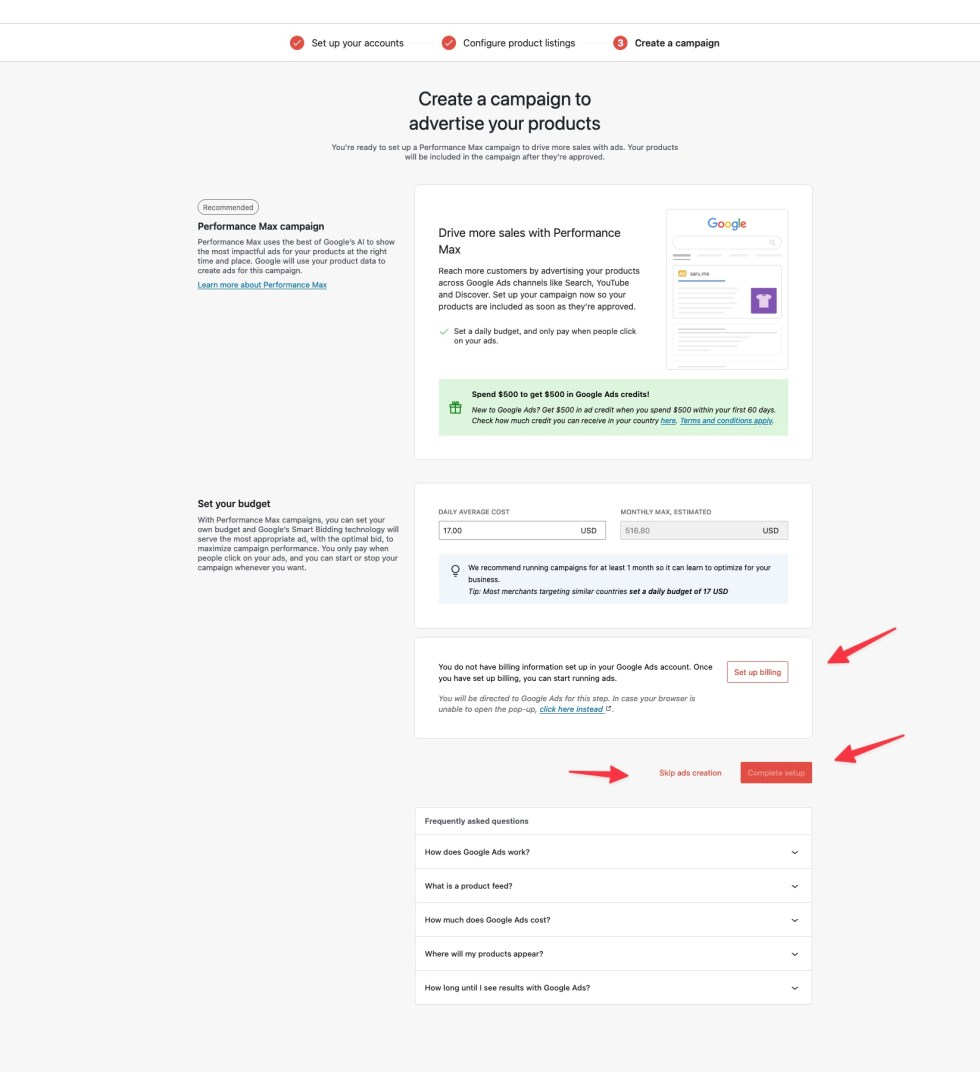
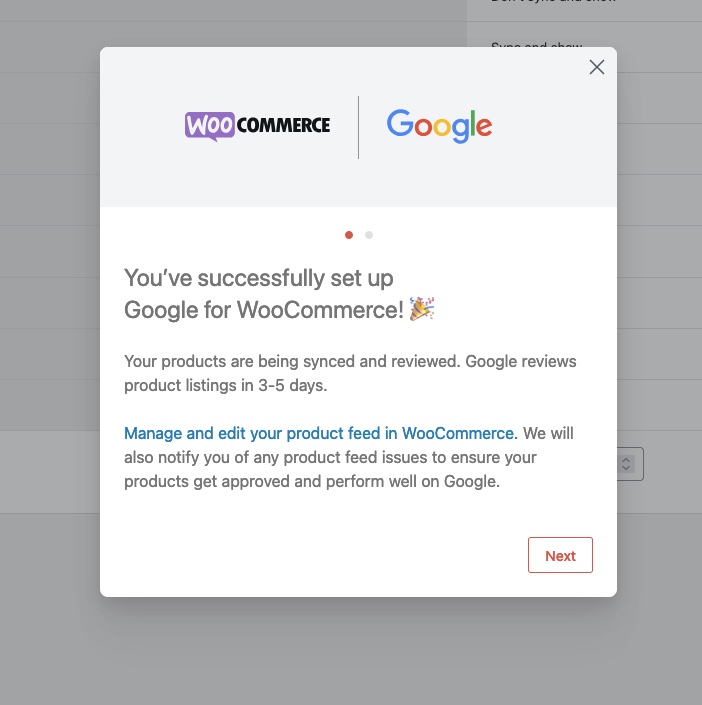
Once you click the complete setup, you will have confirmation of your setup.
For troubleshooting any account connections, please navigate to example.com/wp-admin/admin.php?page=connection-test-admin-page (replacing example.com with your domain) and check if your Google account is connected. Documentation on common errors is here.