Description
↑ Back to topThis plugin enables users to integrate notification alerts into their websites seamlessly. It offers various notification types to keep website visitors informed at different moments. Users can customize notification alert box designs and adjust the duration of their visibility according to their preferences.
Features
↑ Back to top- Notification Types
. Countdown
. Notification bar
. Reviews
. Comments - Predefined templates
- Stack Notification
- Loop Notification
- Notification Content
- Notification Animation
- Notification Logs
- Tooltips for options
Installation
↑ Back to top- Download the .zip file from your WooCommerce account.
- Go to WordPress AdminDashboard > Plugins > Upload Plugin > Choose File.
- Install Now and Activate Plugin.
Getting Started
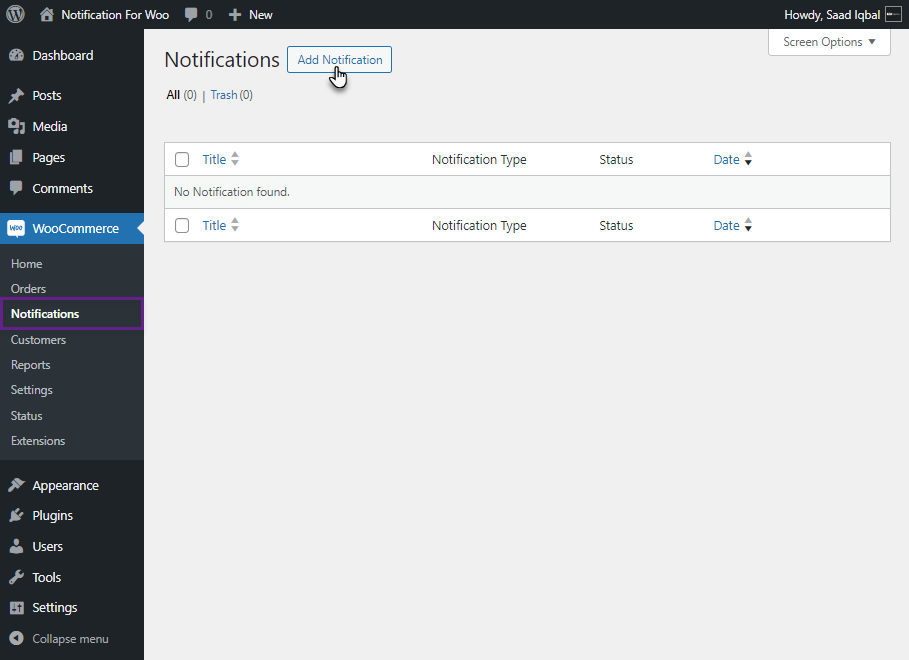
↑ Back to topCreating Notification
↑ Back to topConversion Notification
↑ Back to top- The Conversion Notifications are triggered and displayed when the Administratoristrator updates an order’s status. The moment the status of an order changes, a Conversion notification will appear.
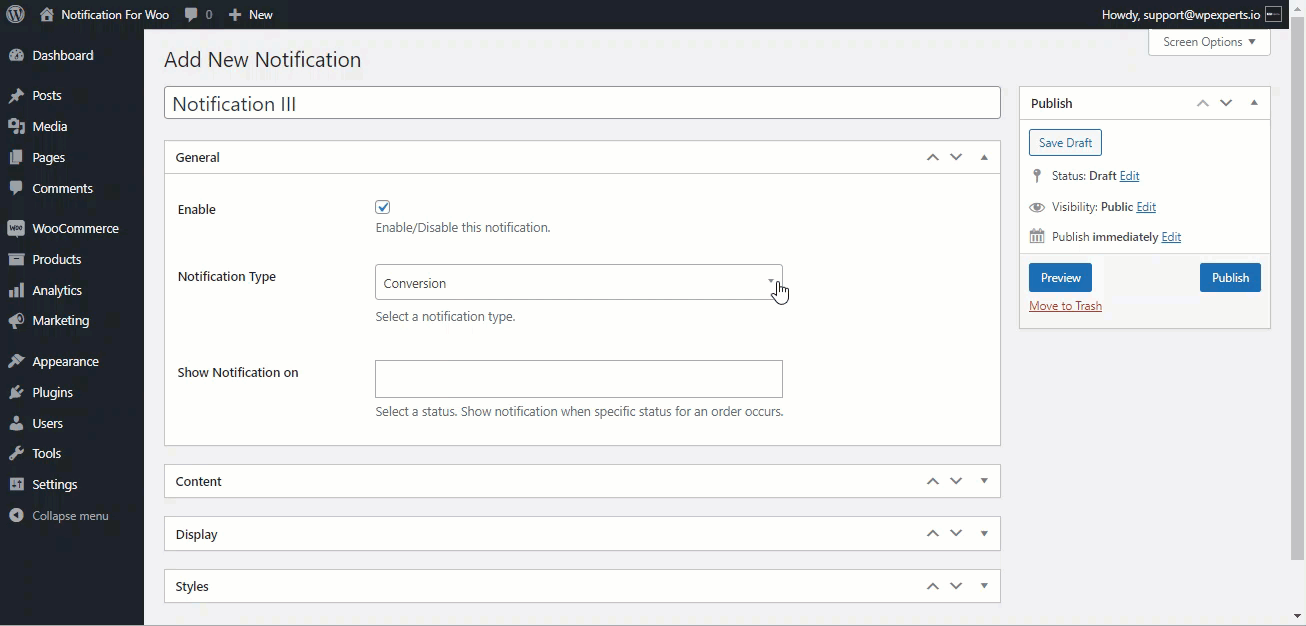
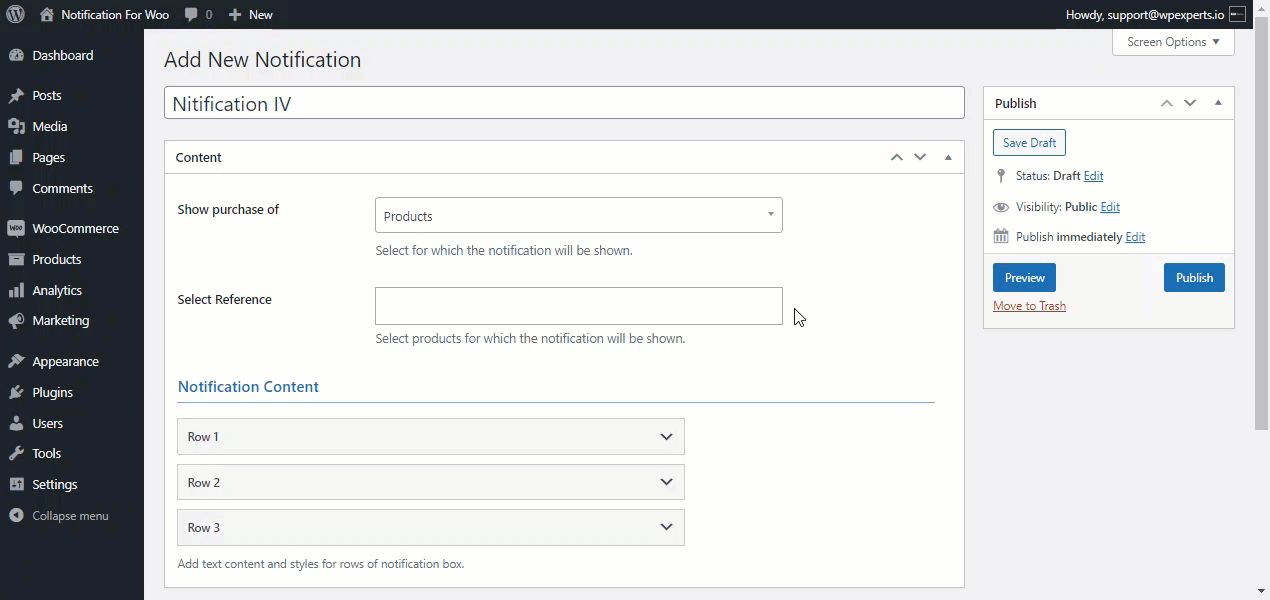
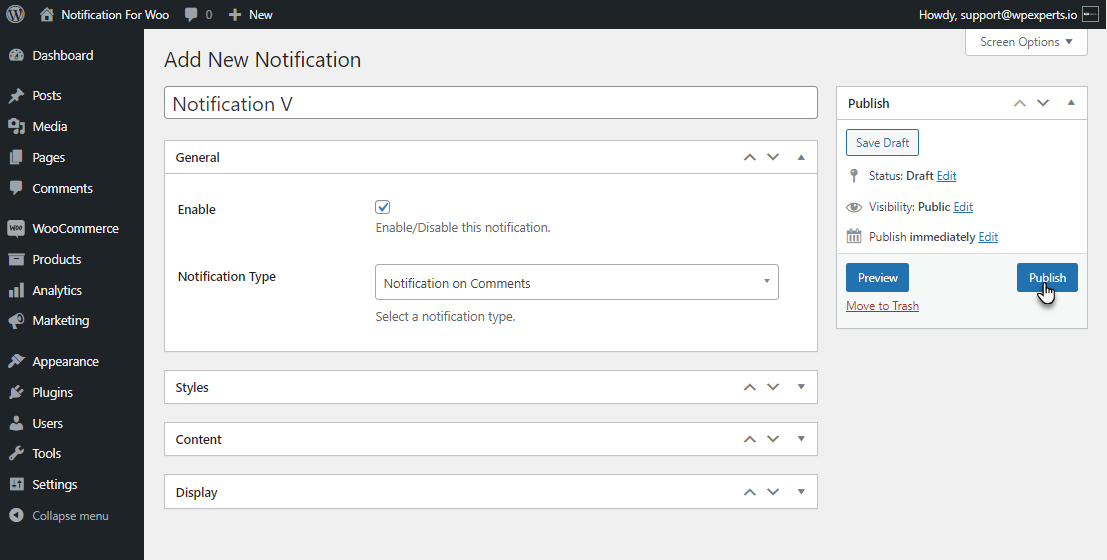
- Go to WordPress AdminDashboard > Notification > Add Notification.
- Add a title to your notification.
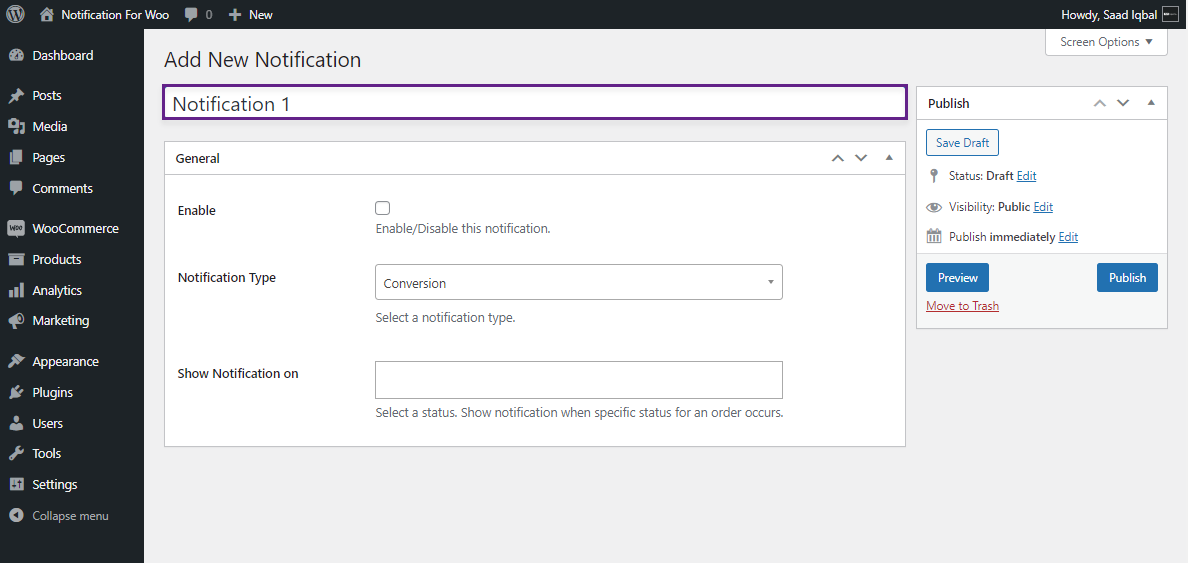
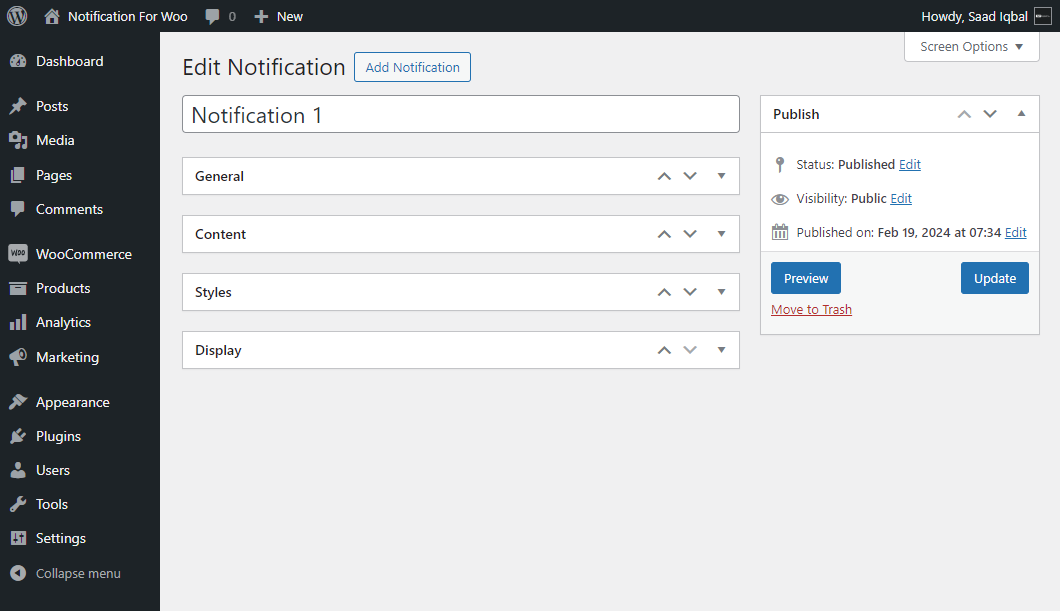
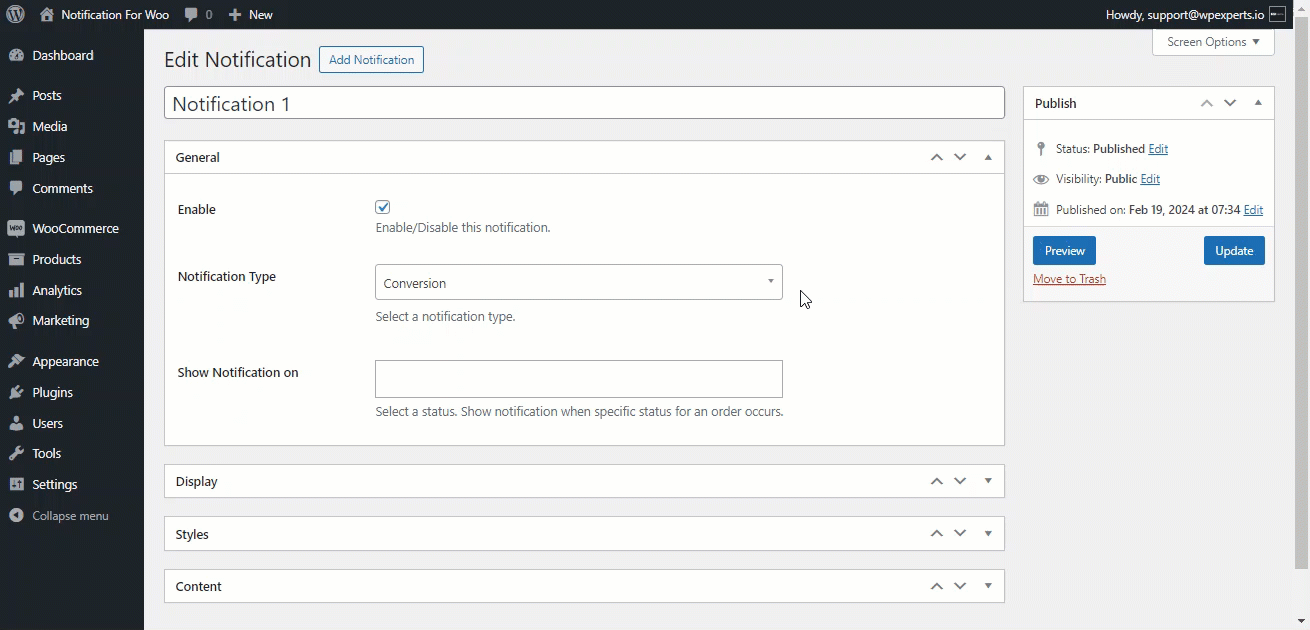
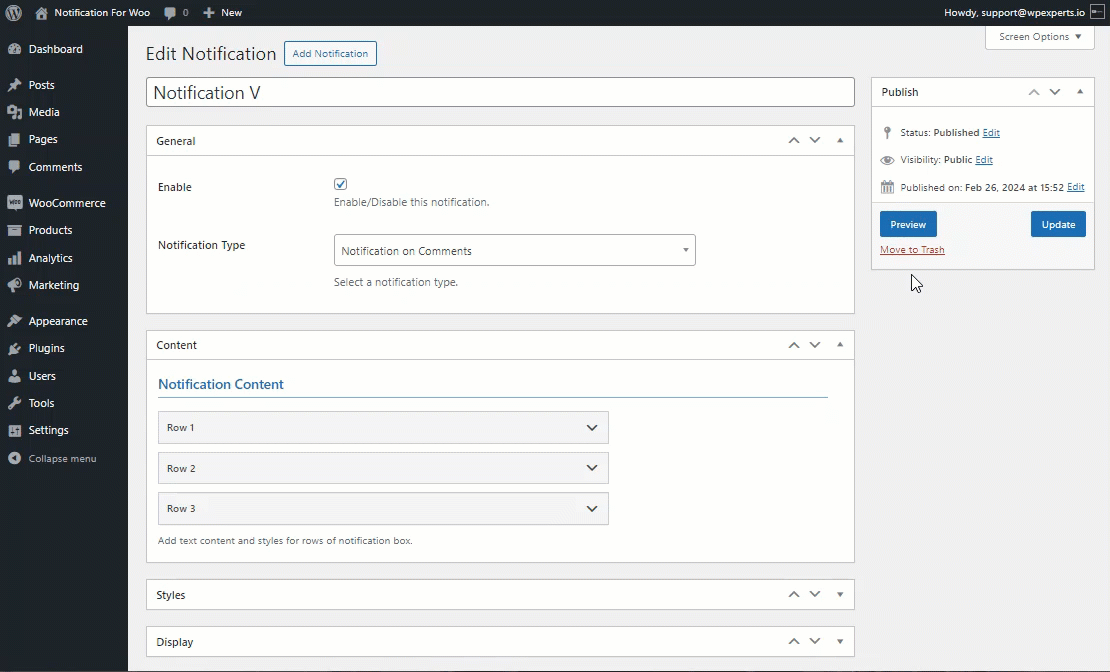
- There will be four tabs to configure your notification.
- General
- Content
- Styles
- Display
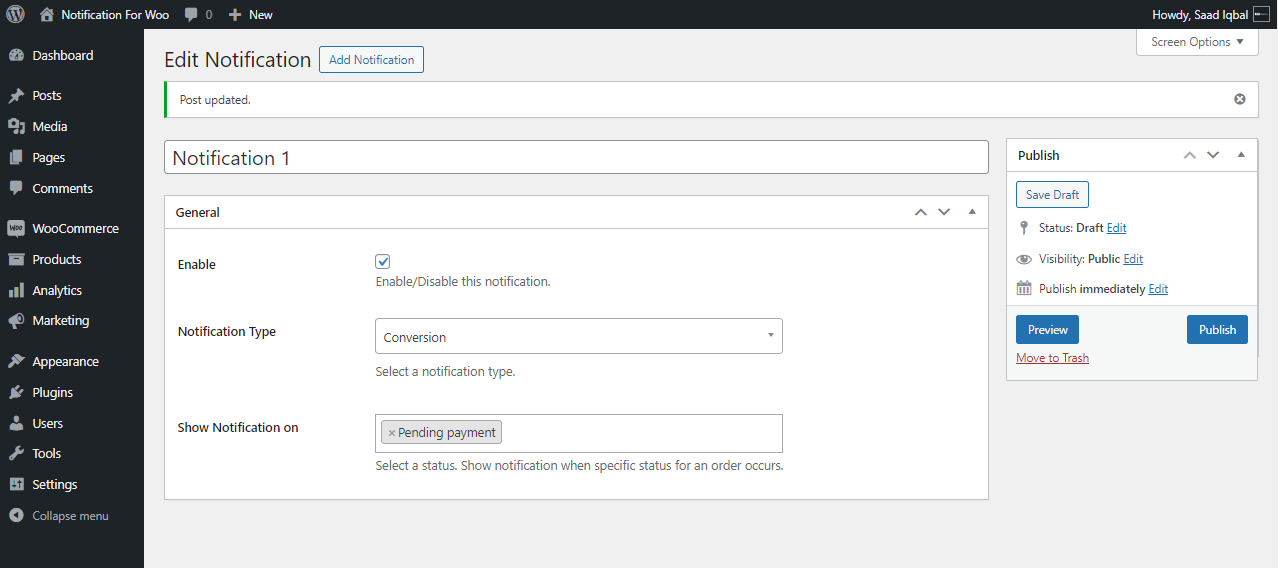
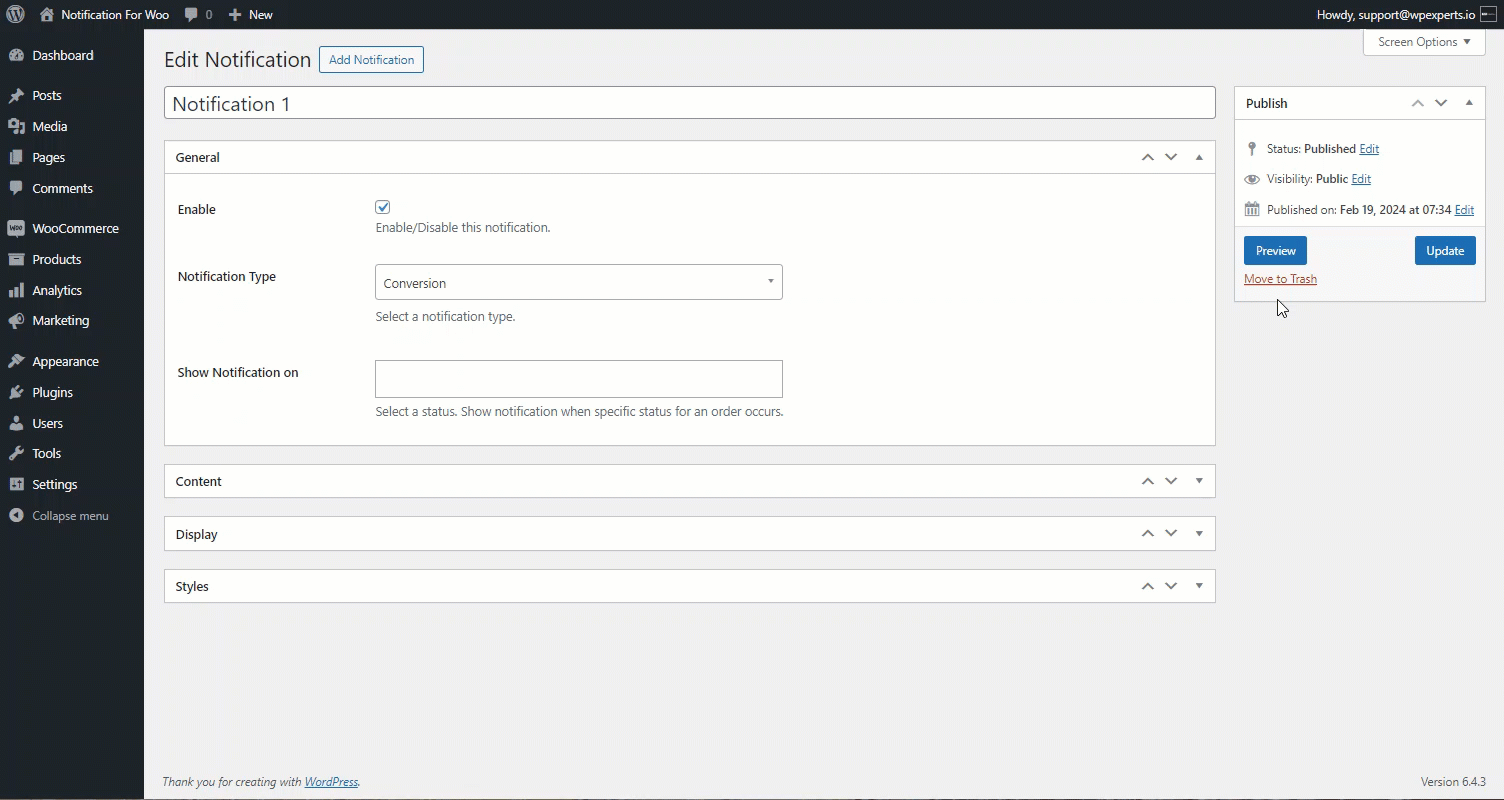
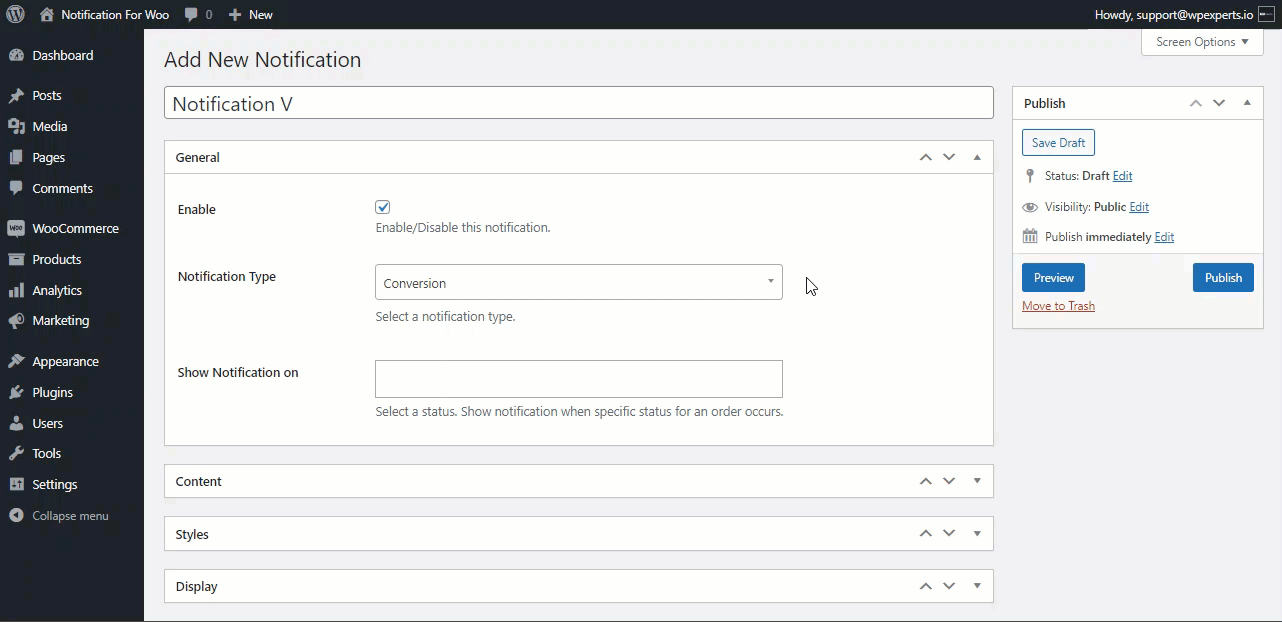
General Tab
- Scroll Down to the General Tab. This tab consists of the General settings of the notification.
- Enable the Notification by selecting the checkbox button.
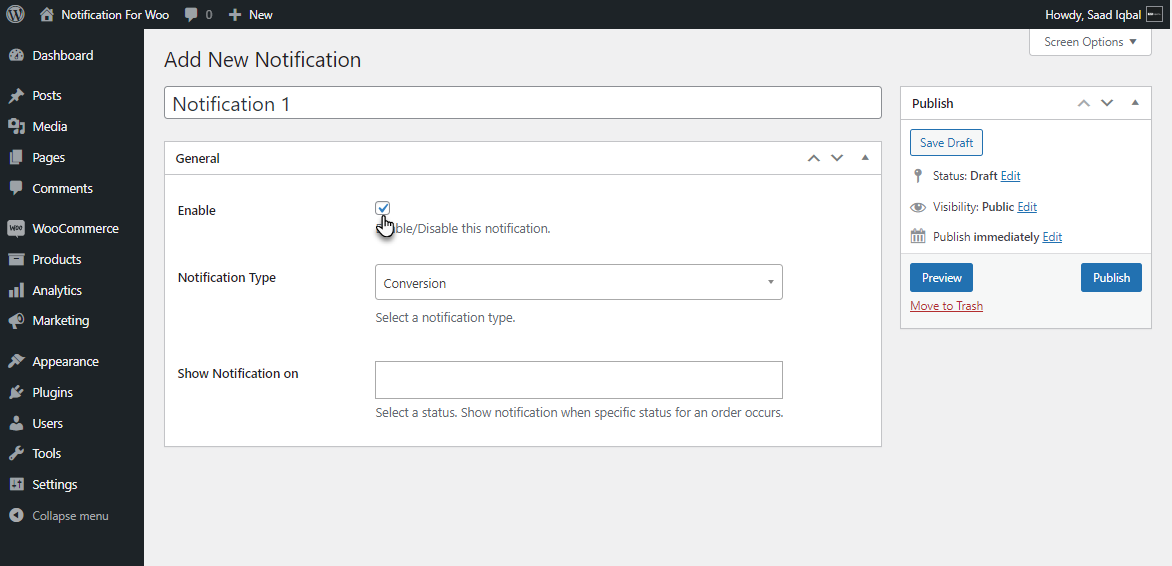
- Select Notification Type Conversion from the Drop-down List.
- Select a Status in the Show Notification on option. The notification will be triggered when the Administrator changes the order status to the selected status.
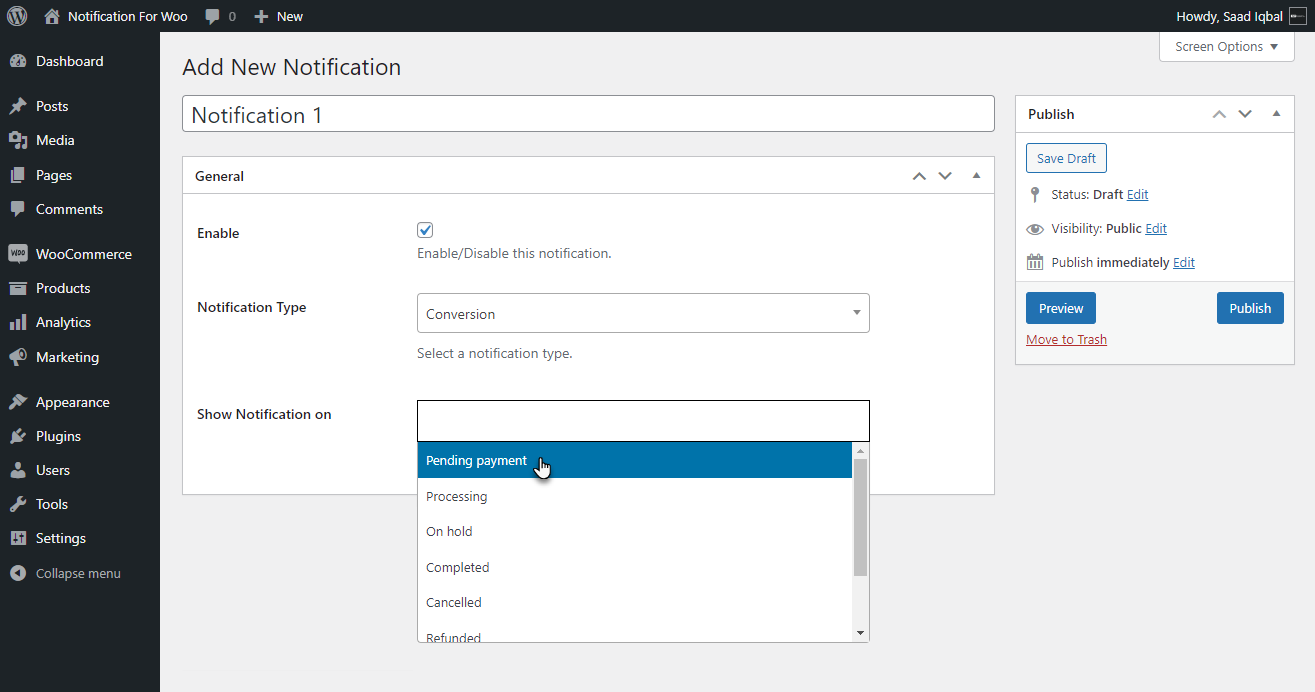
PLEASE NOTE: You can set this notification to all statuses if needed.
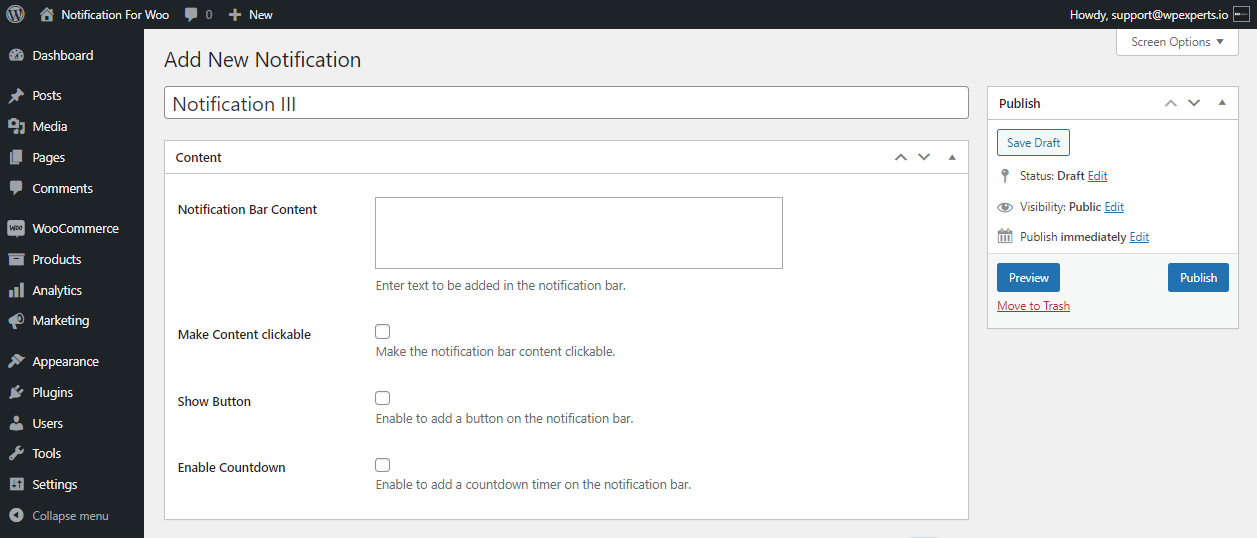
Content Tab
- Once done with the General tab, scroll down to the Content tab.
- The Content tab allows the user to alter the content in the Notification Content.
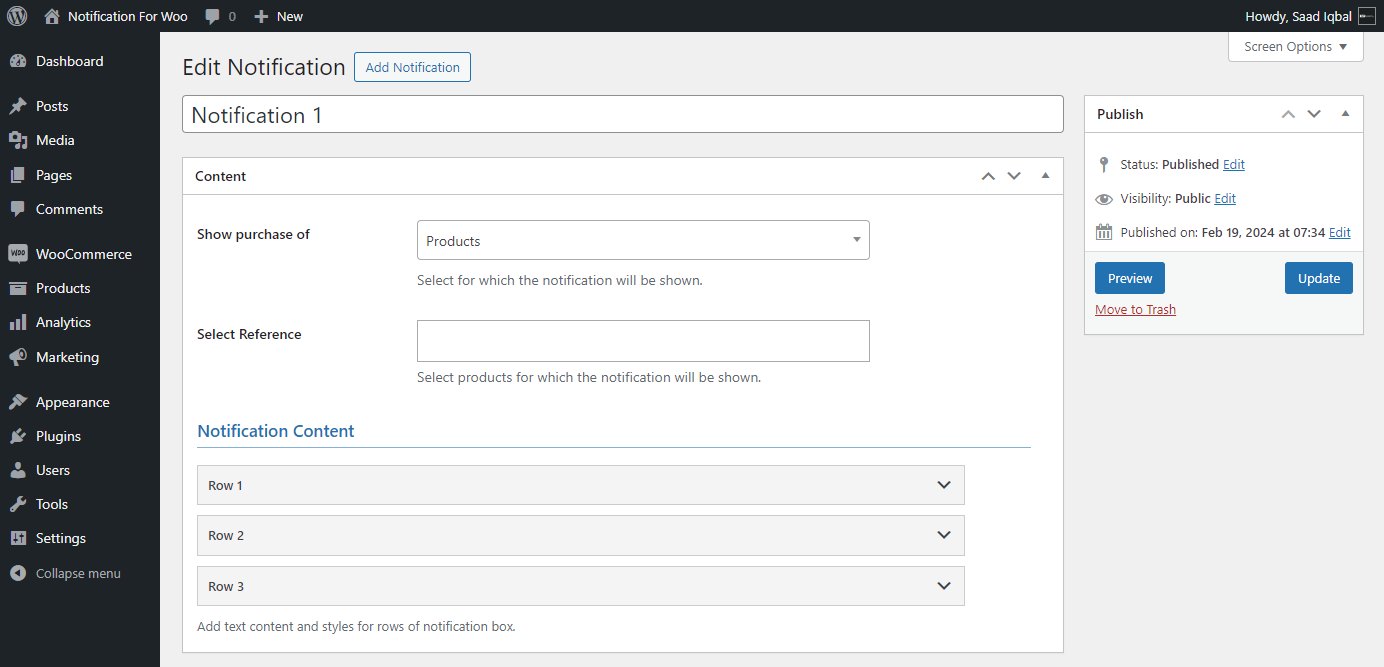
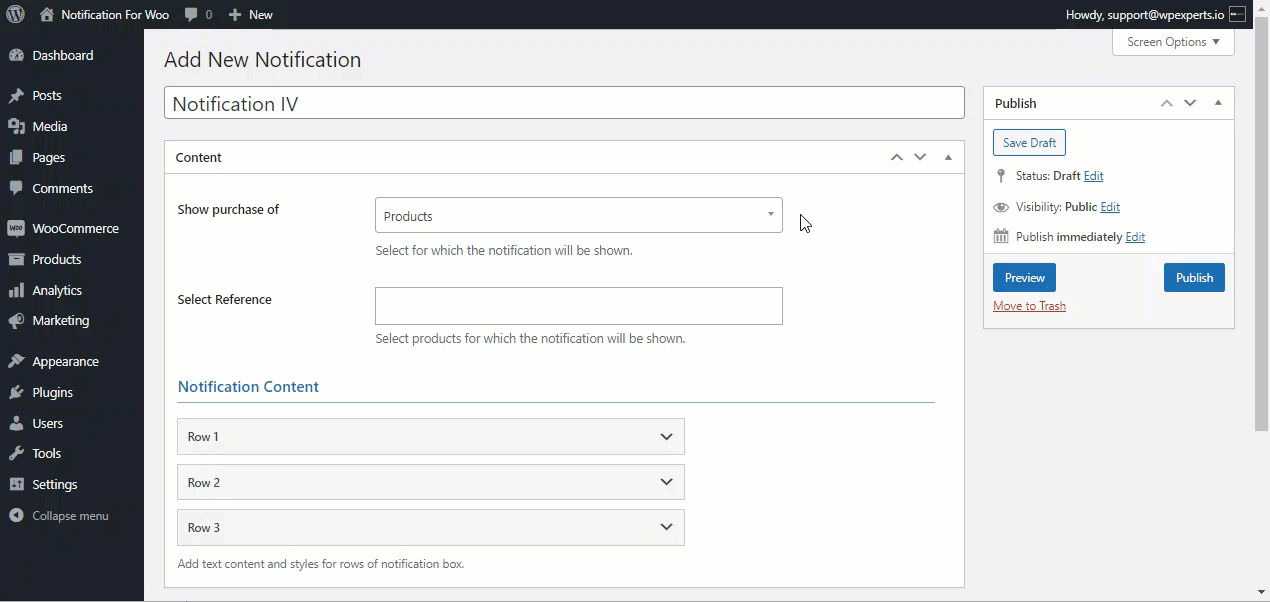
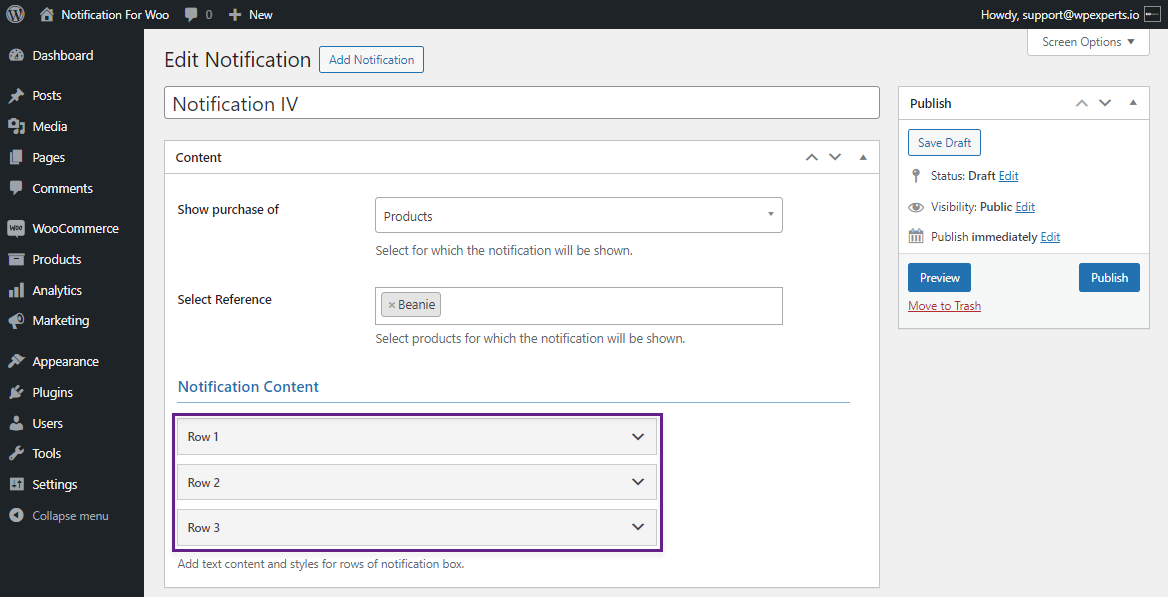
- Select Products or Category from the drop-down list in the Show Purchase of option.
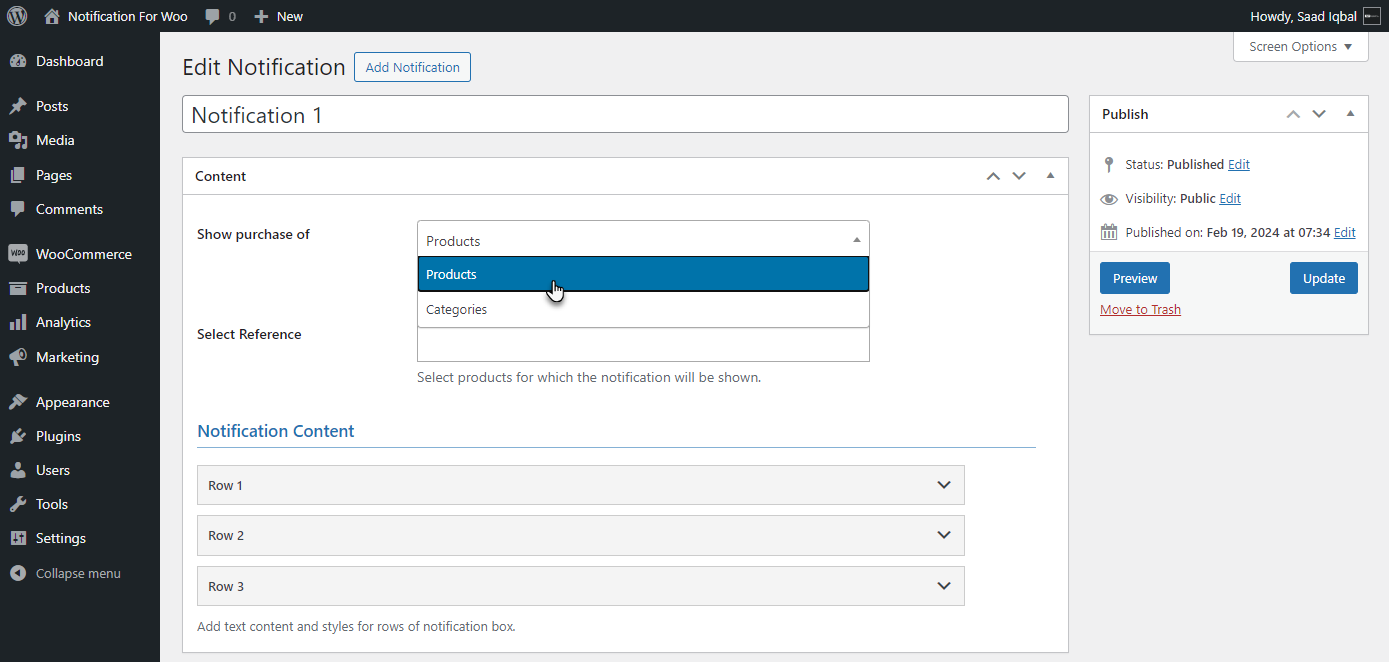
- Select Products in the Select Reference option for which notification will be shown.
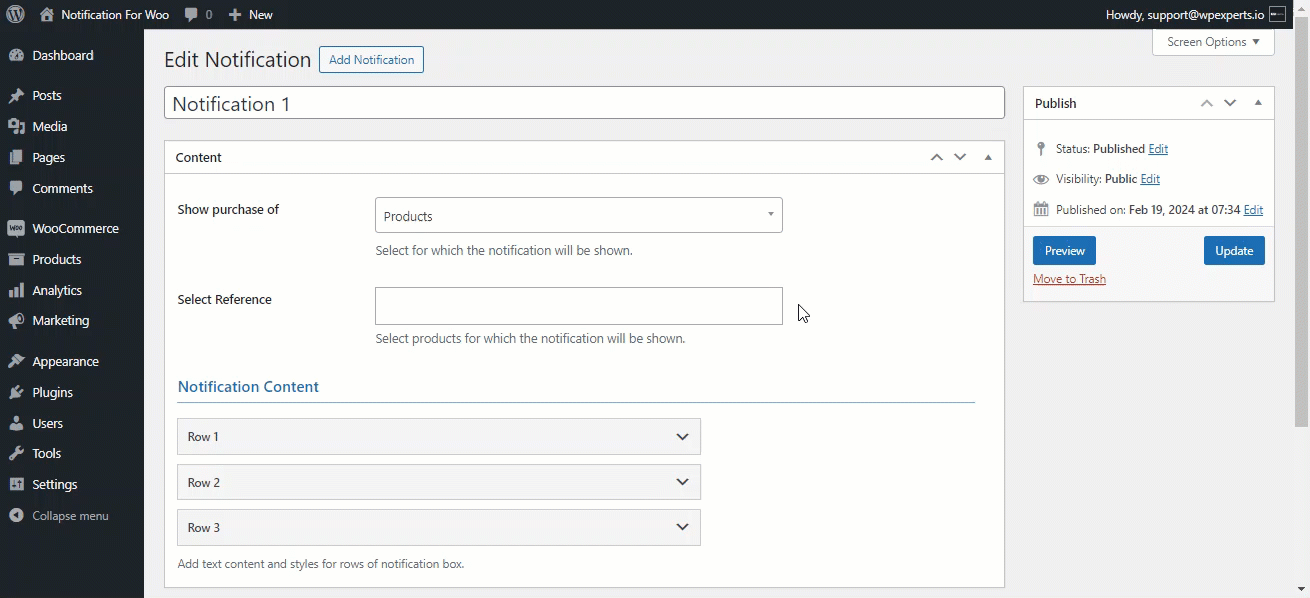
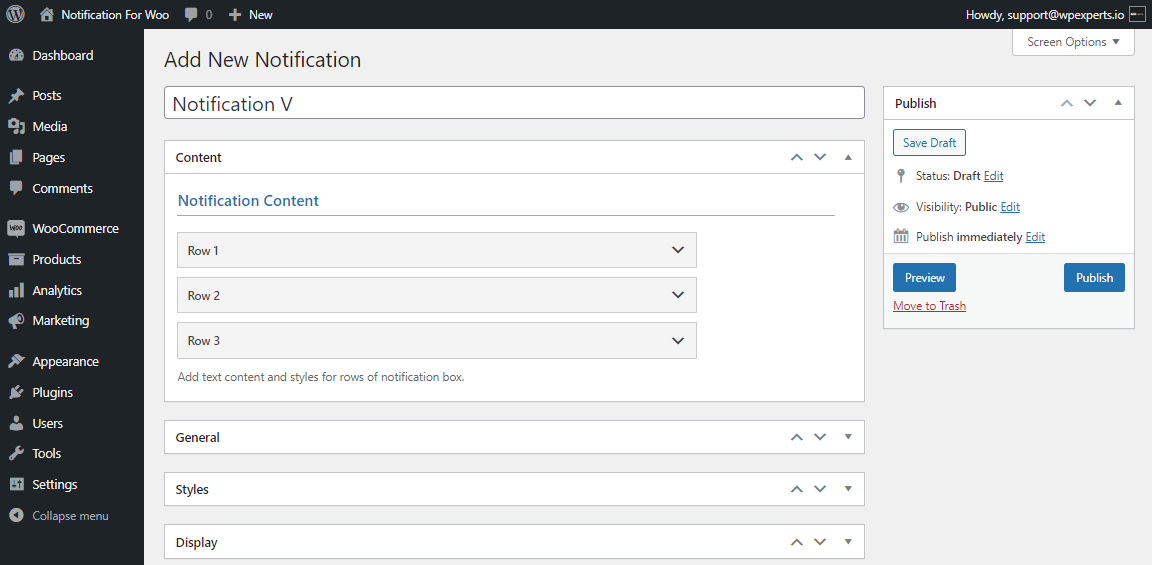
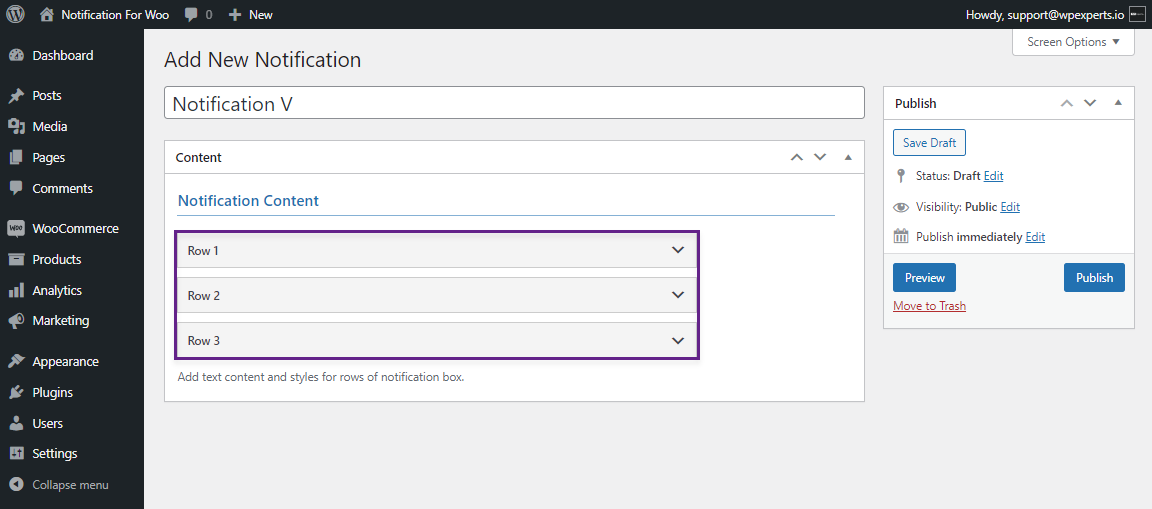
- Navigate down to Notification Content in the Content tab.
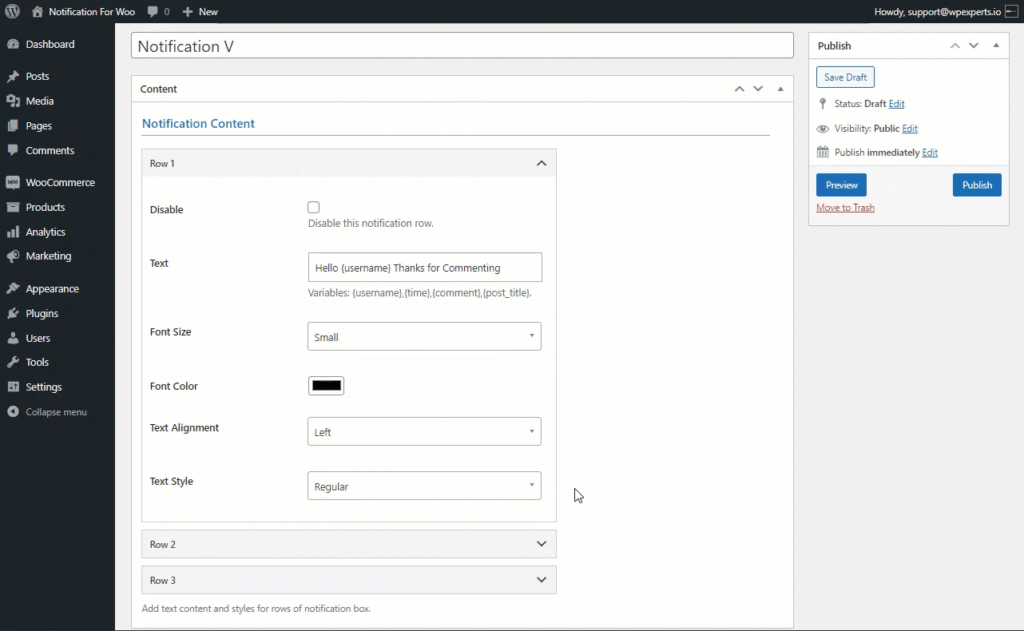
- There are three rows for the notification. Text and Styles can be added to the notification box.

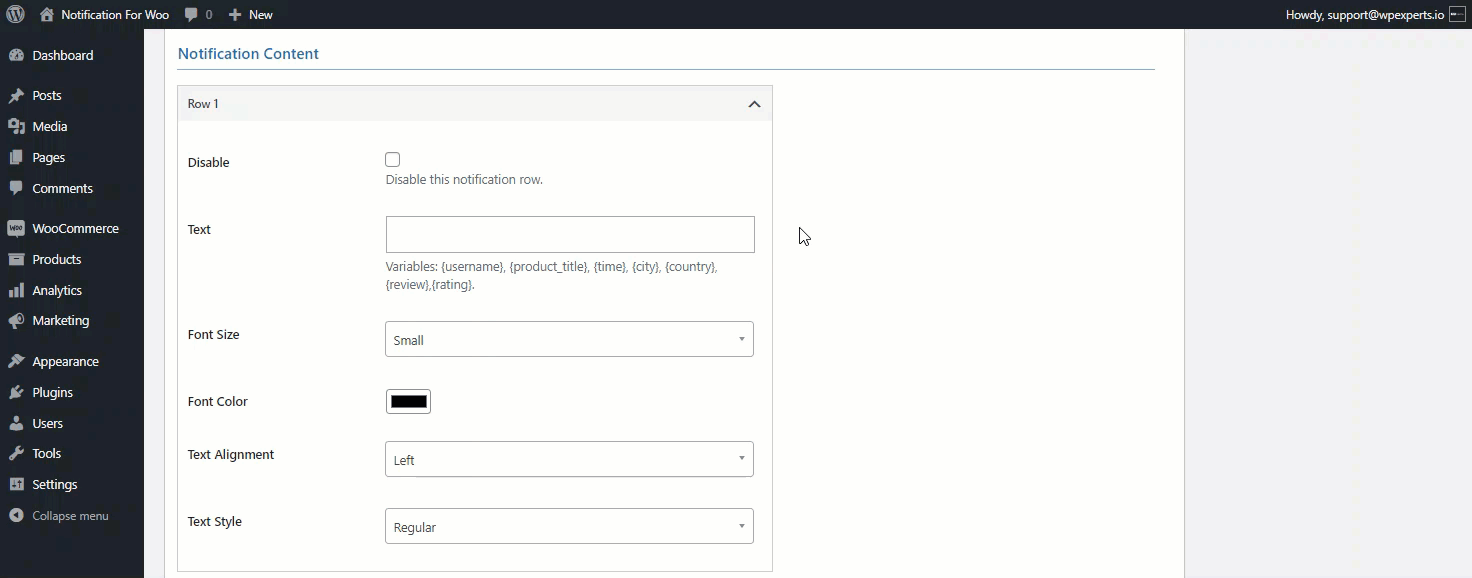
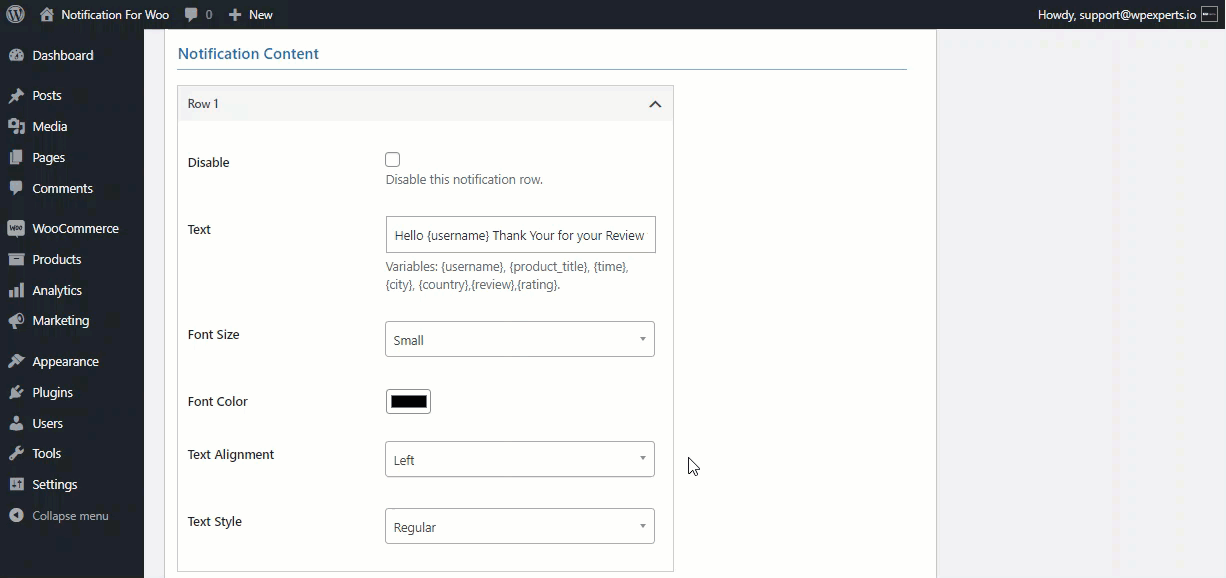
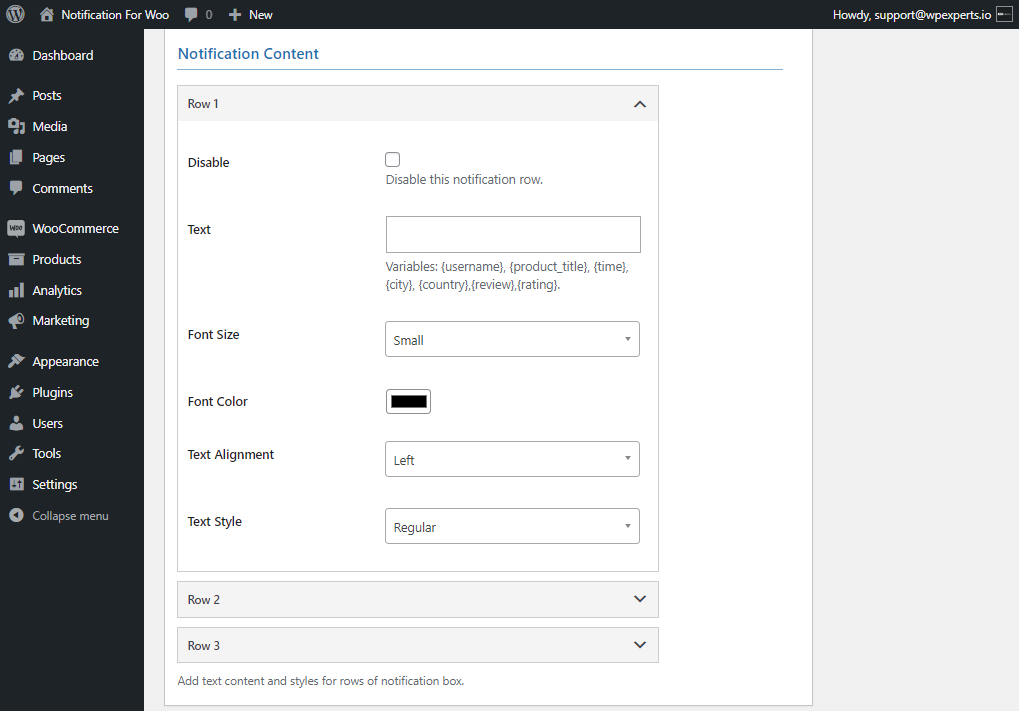
- Click on the Row to edit it.
- You can disable the row by selecting the disable check button.

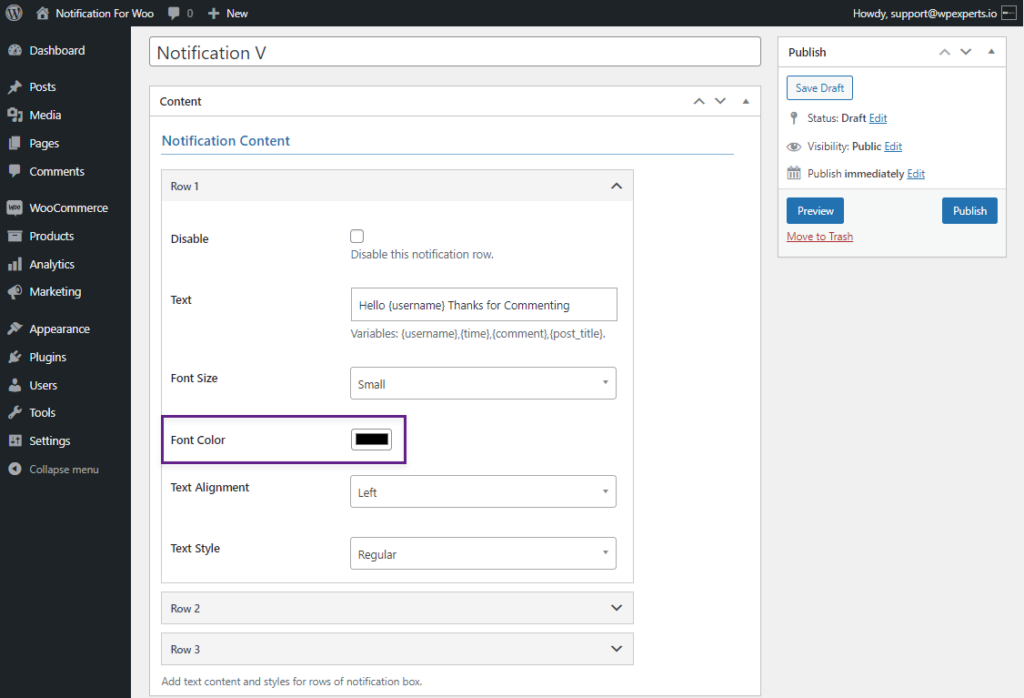
- In the Text bar, you can add text you want to display in your notifications with provided variables.
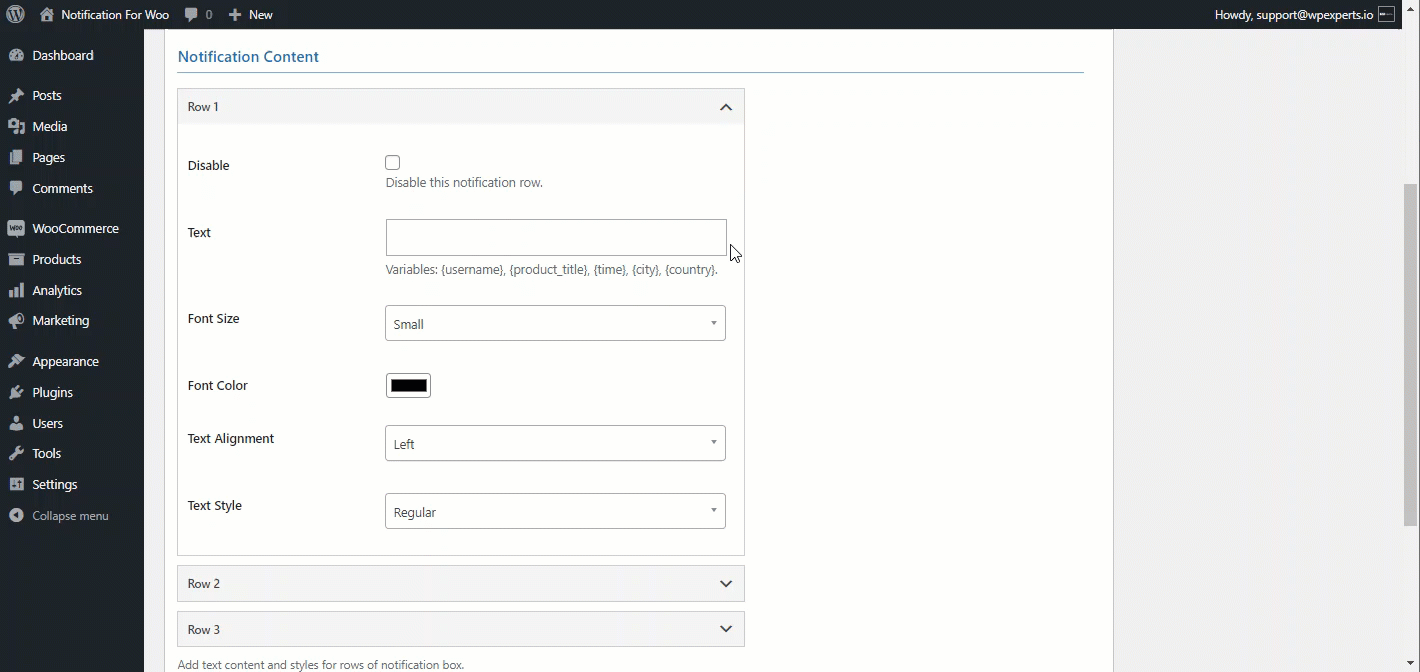
- The Font Size option can change the font size of the notification.

- The Font Color option can change the font color of the notification.
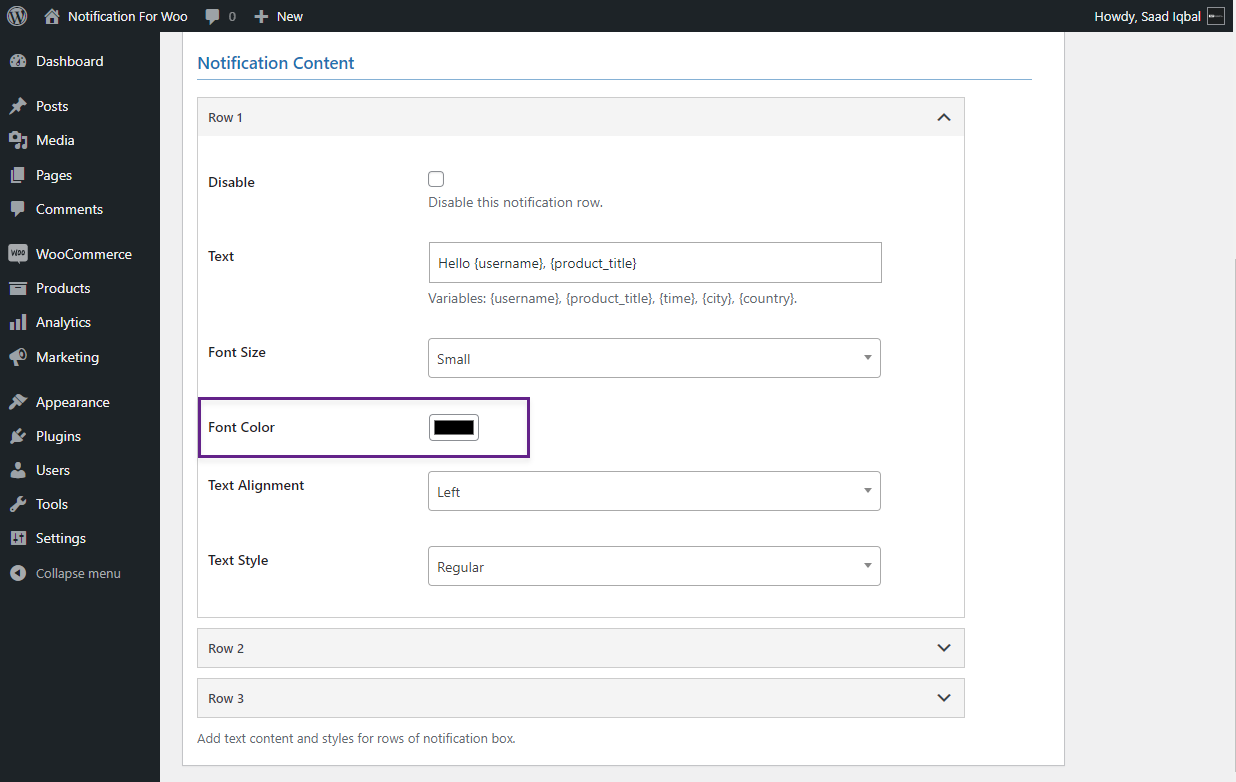
- The Administrator can set the alignment of the text in the row for the notification box using the Text Alignment.
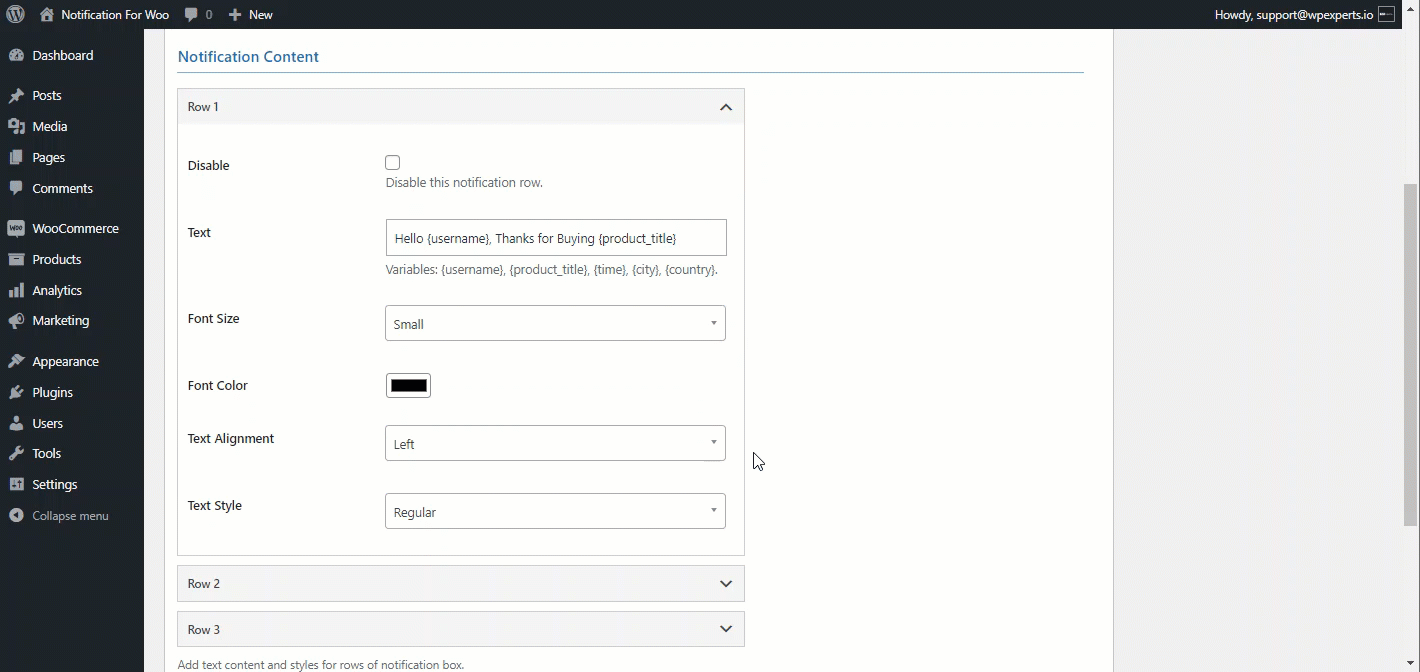
- Text Style can be changed by the Text Style Option. This will allow the Administrator to change the style of the text within the notification.

PLEASE NOTE: Row 2 and Row 3 can be configured using the same process.
Style Tab
- After finishing with Content, move to the Styles tab.
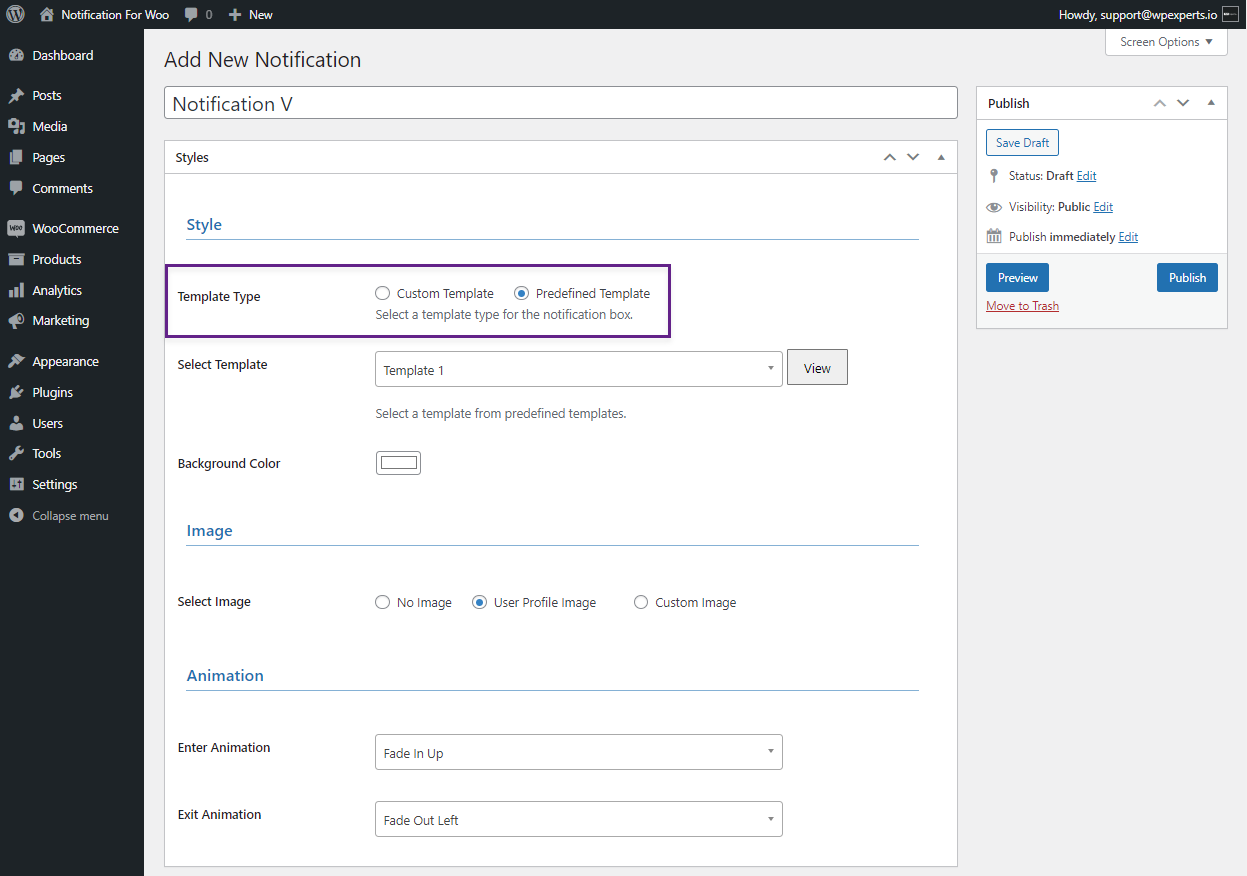
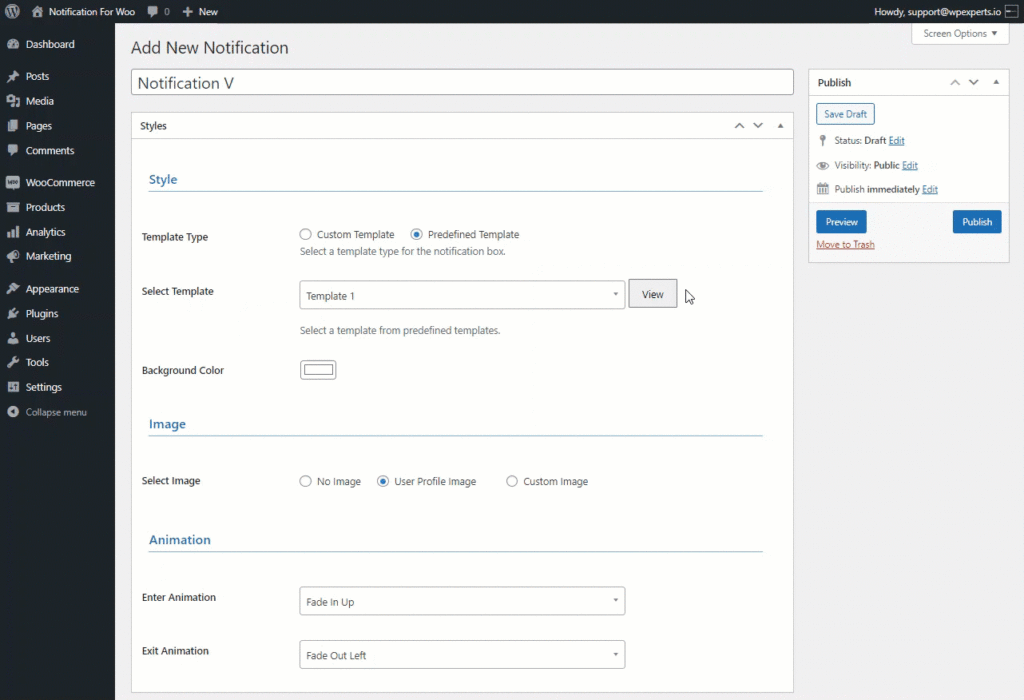
- The Style tab enables users to style the notification.
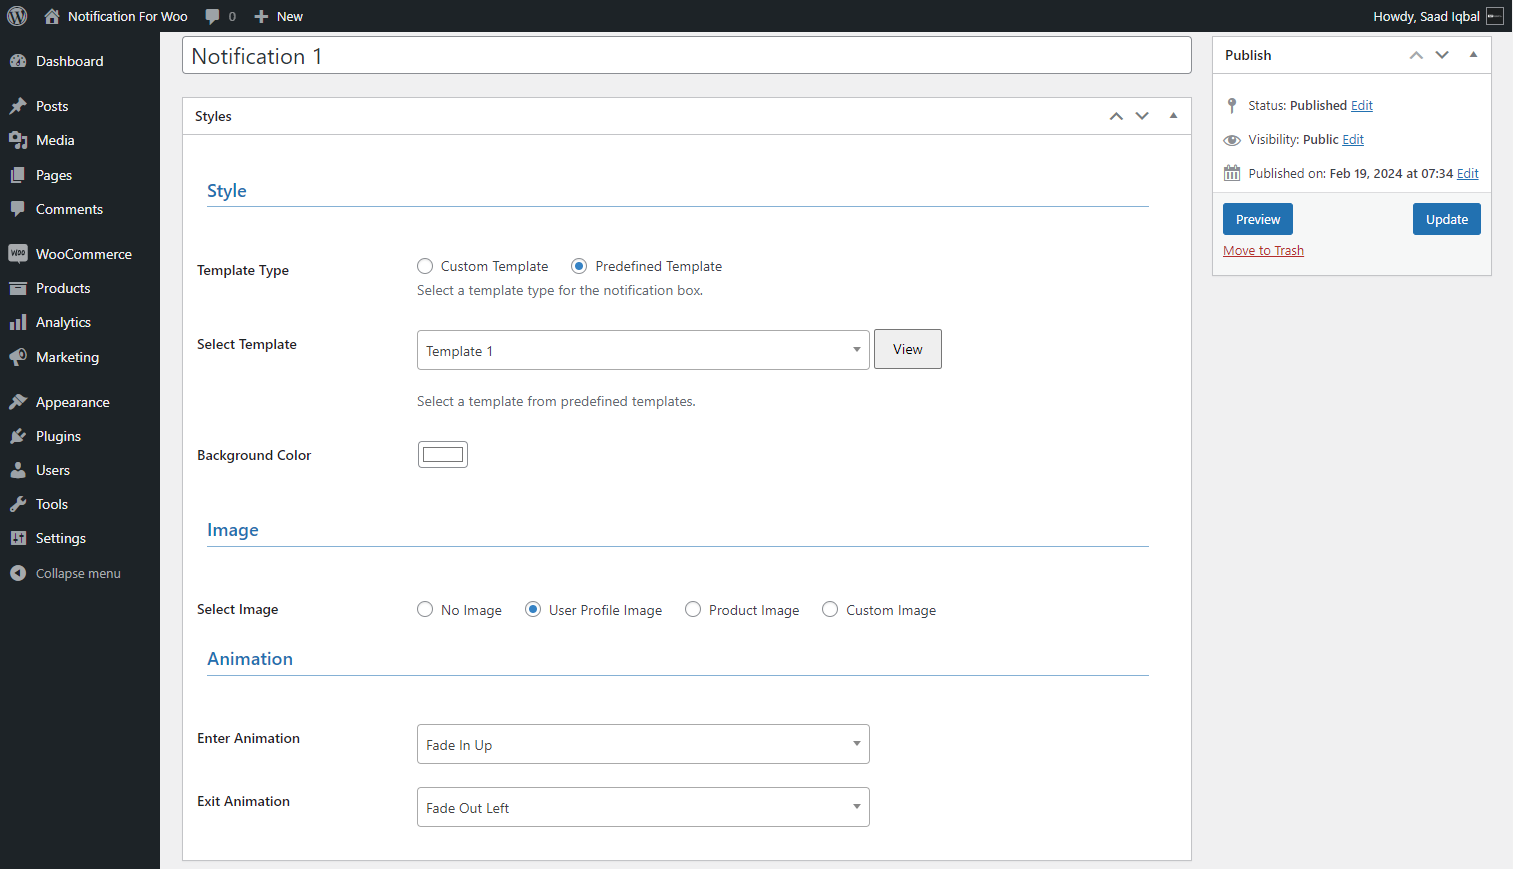
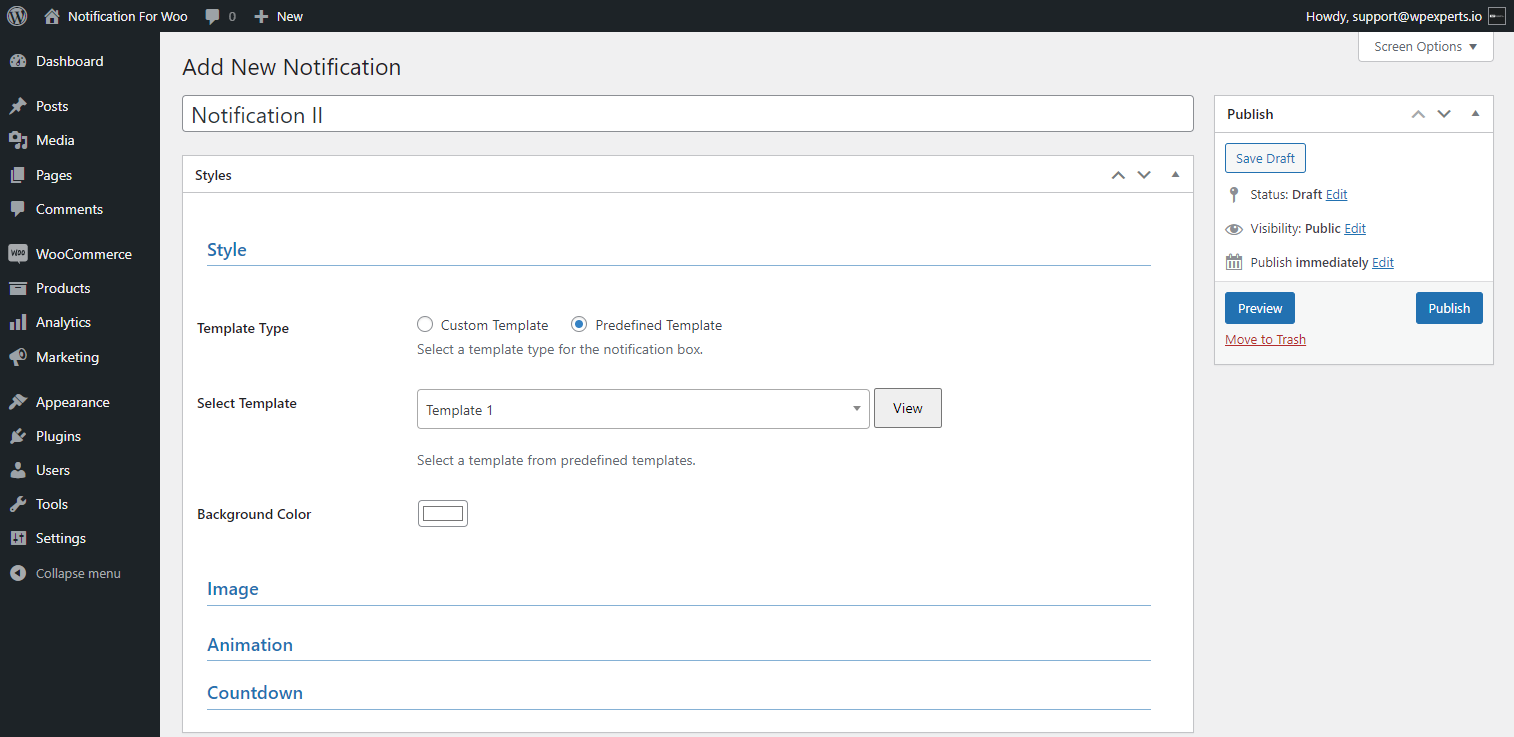
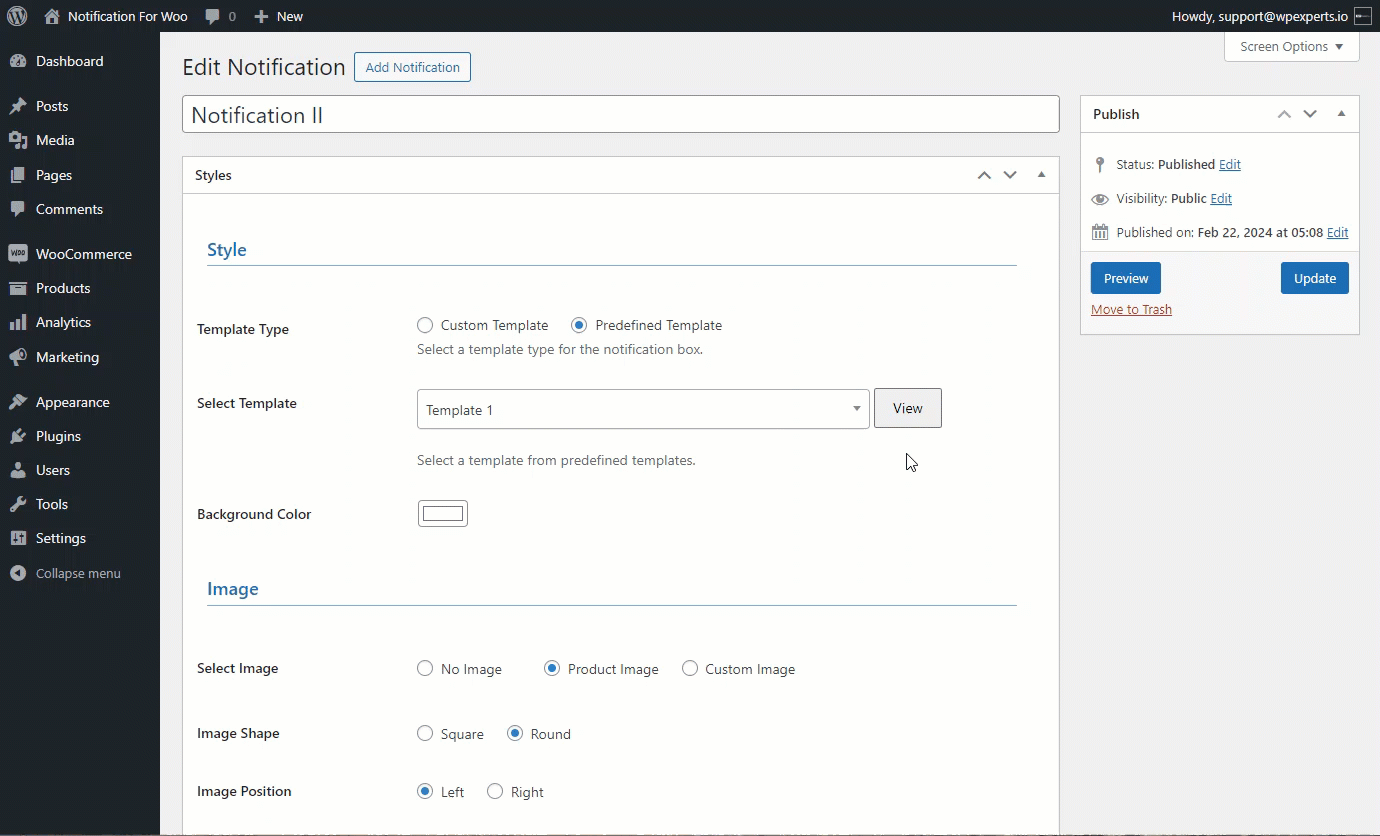
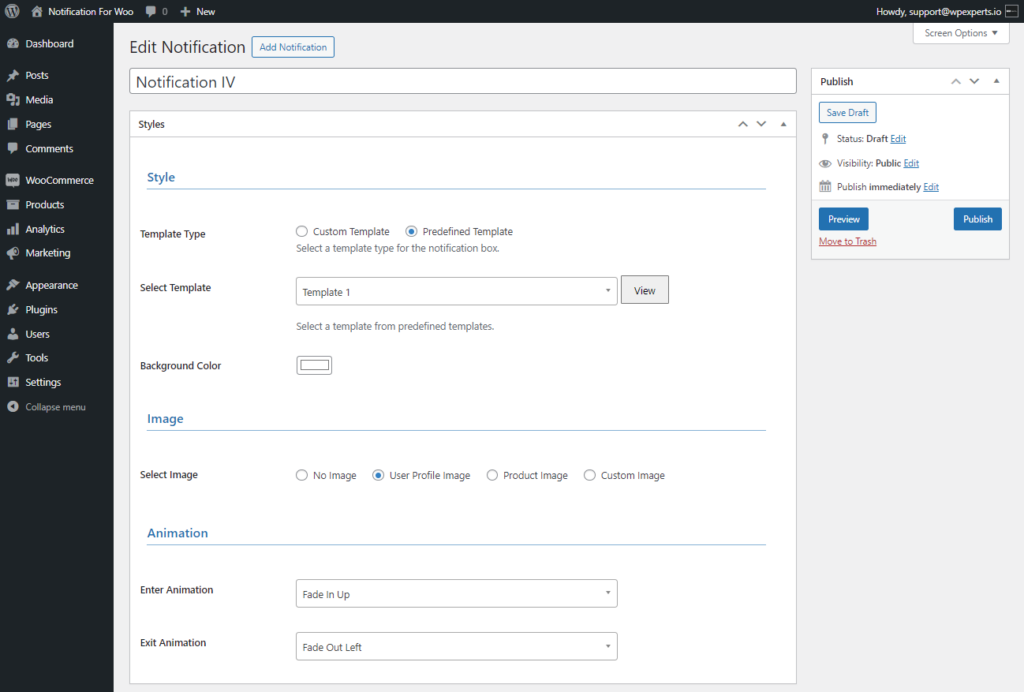
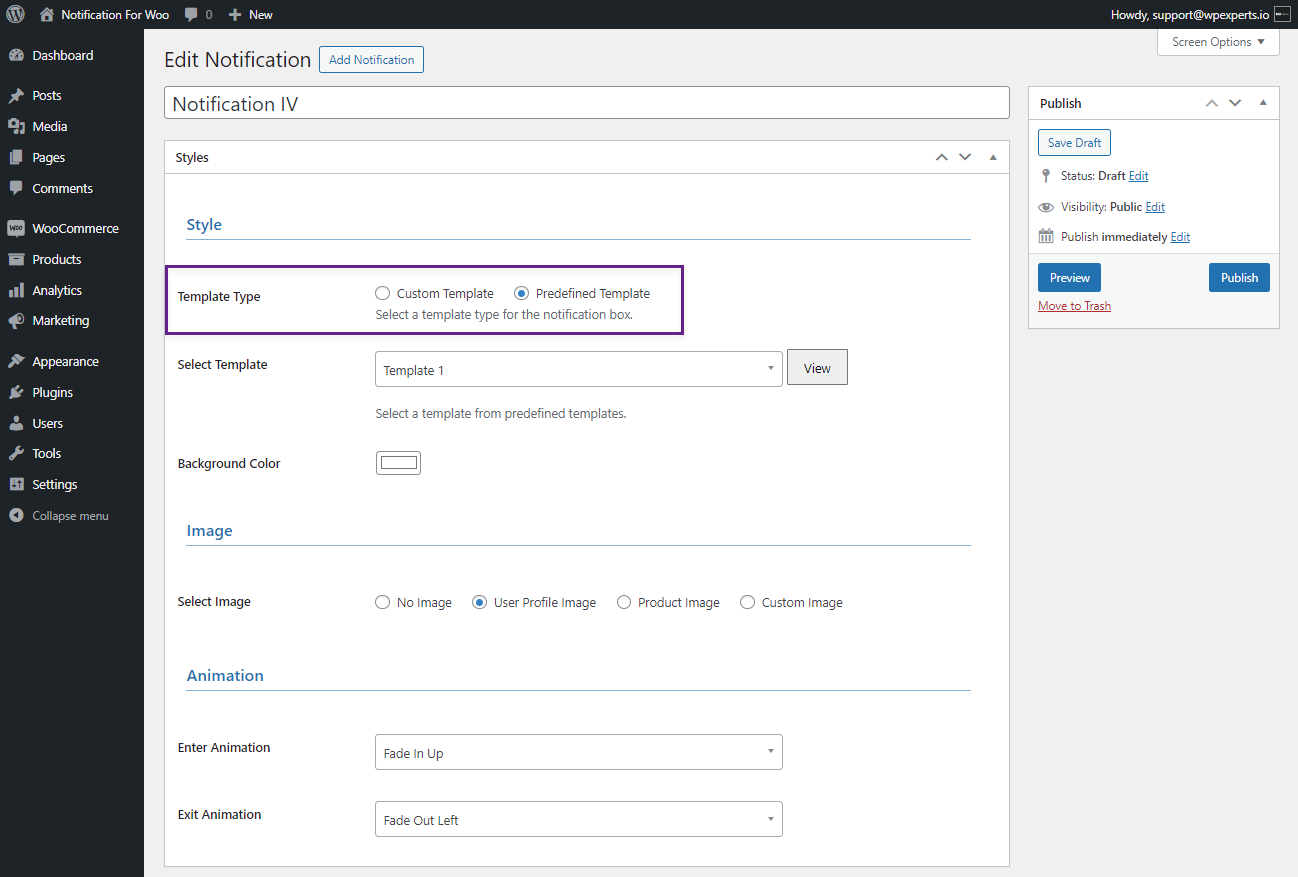
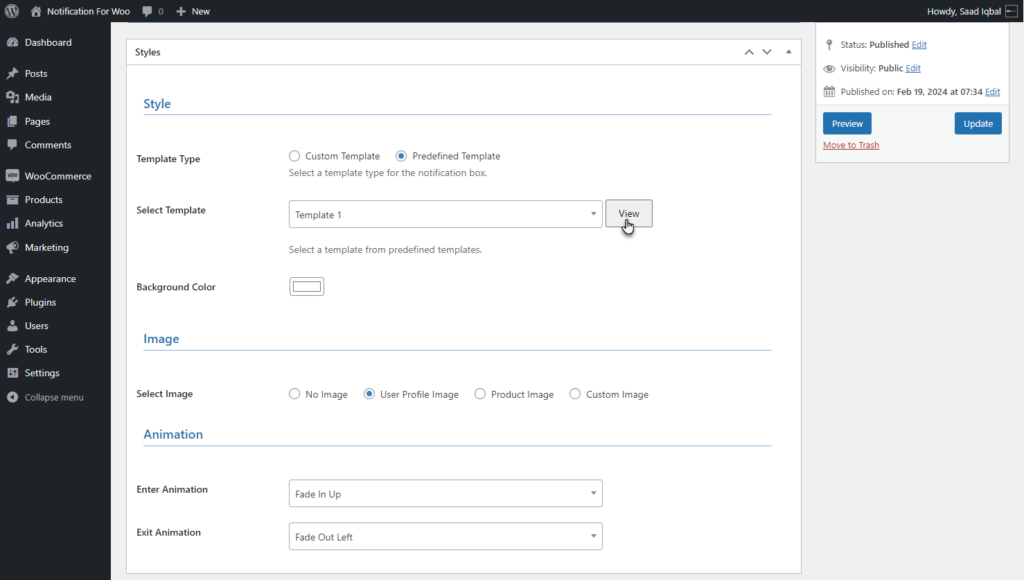
- In the style tab, users have two Template Types to show notifications. By default, the Predefined Template radio button will be selected.
Predefined Template
- By default, the Predefined Template radio button will be selected.

- There are three Predefined templates provided for the user.
- Select Template from the Select Template option.
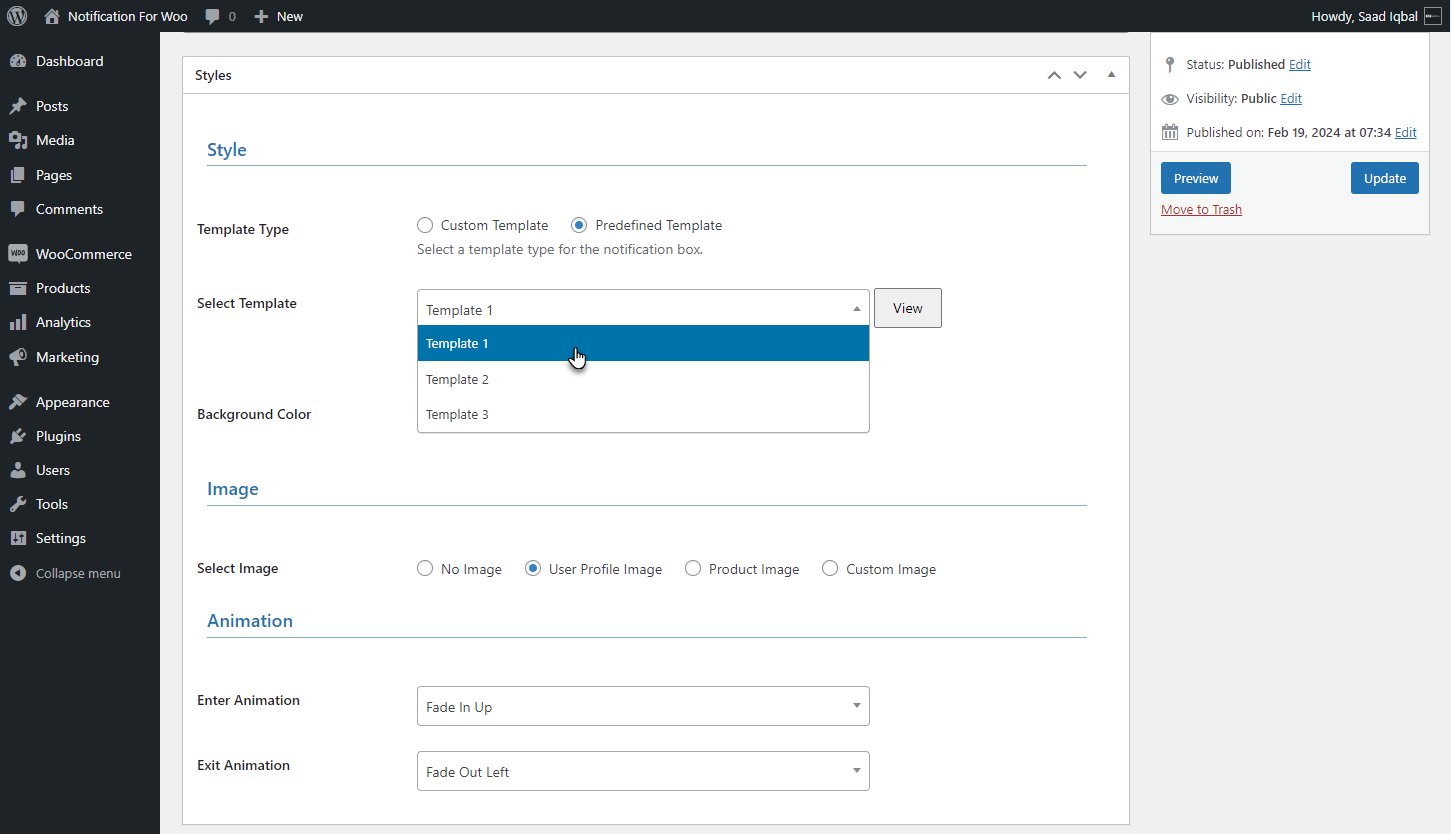
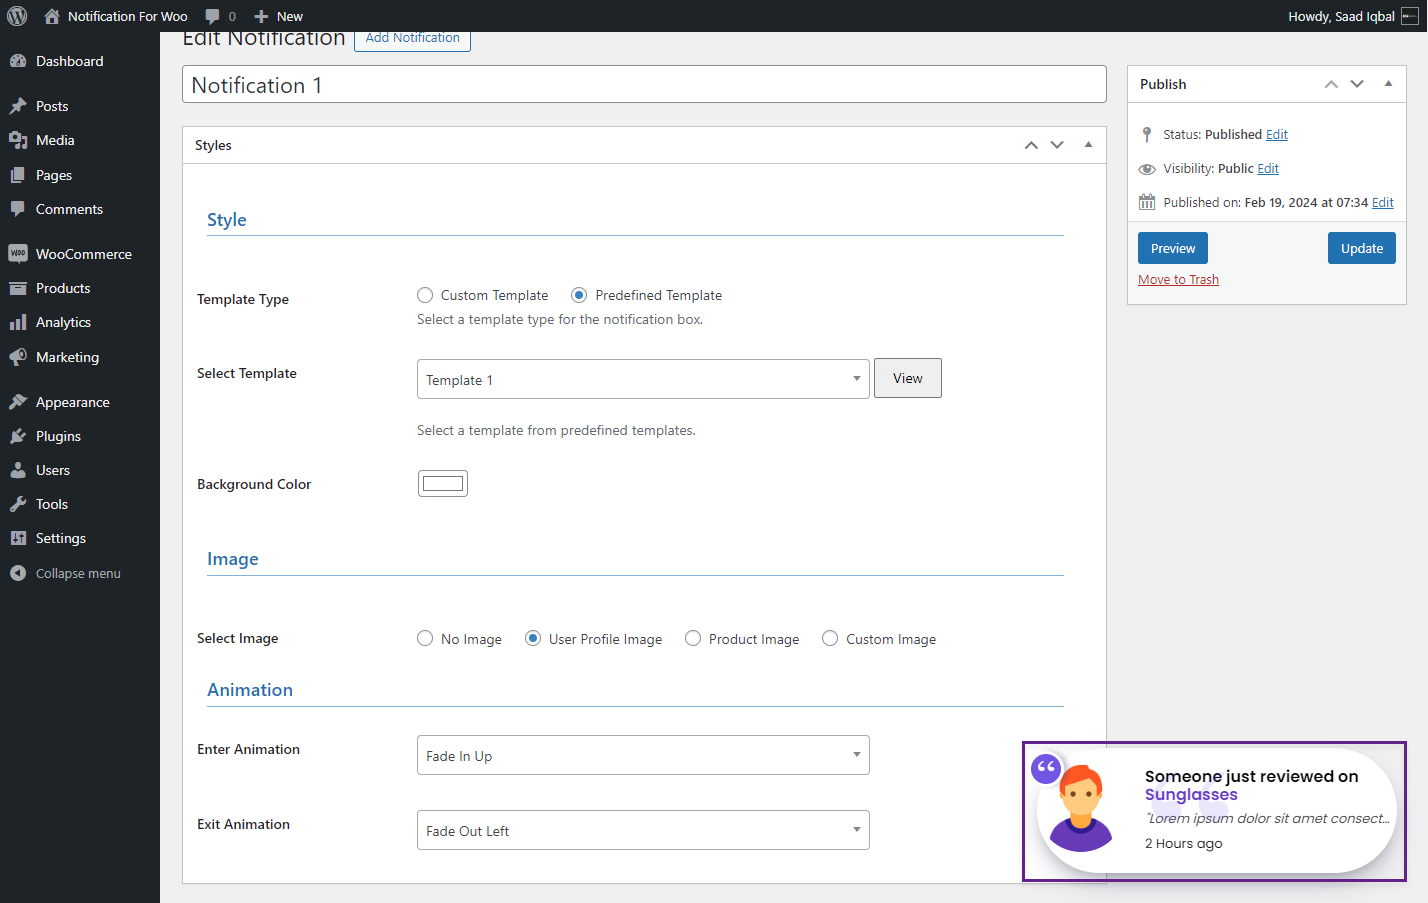
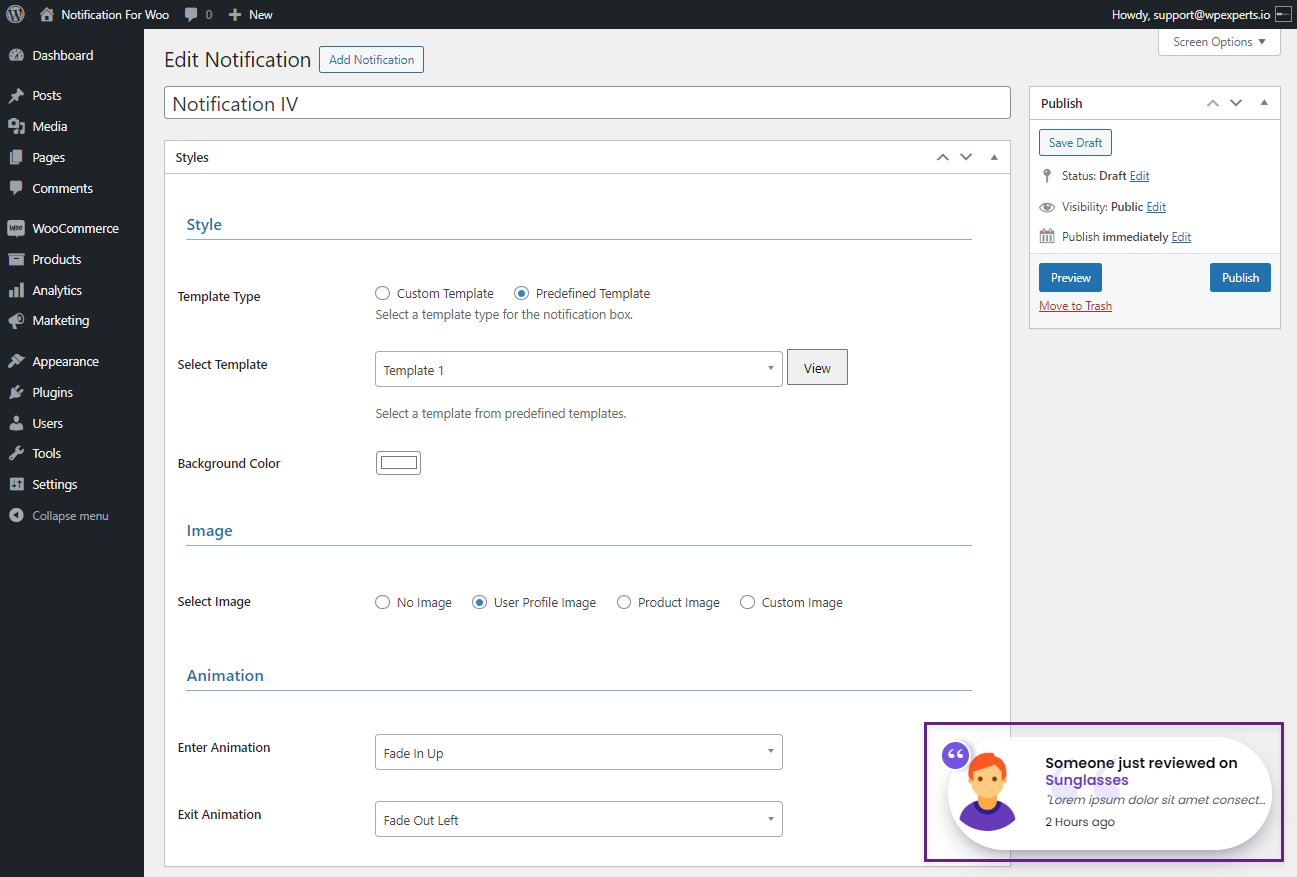
- After selecting Template, There’s a View button to preview the template.
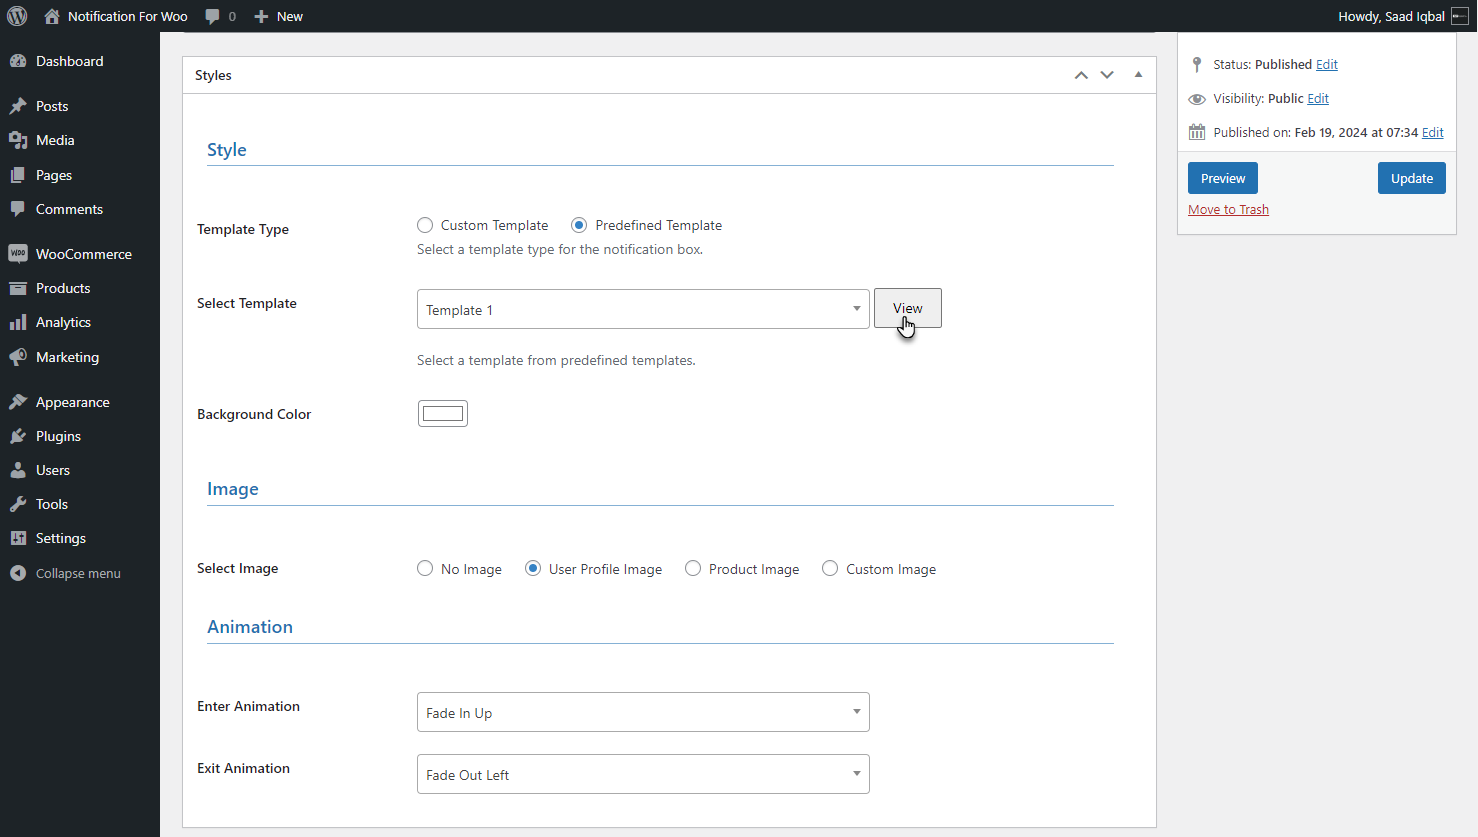
- The template will be previewed on the same settings page.
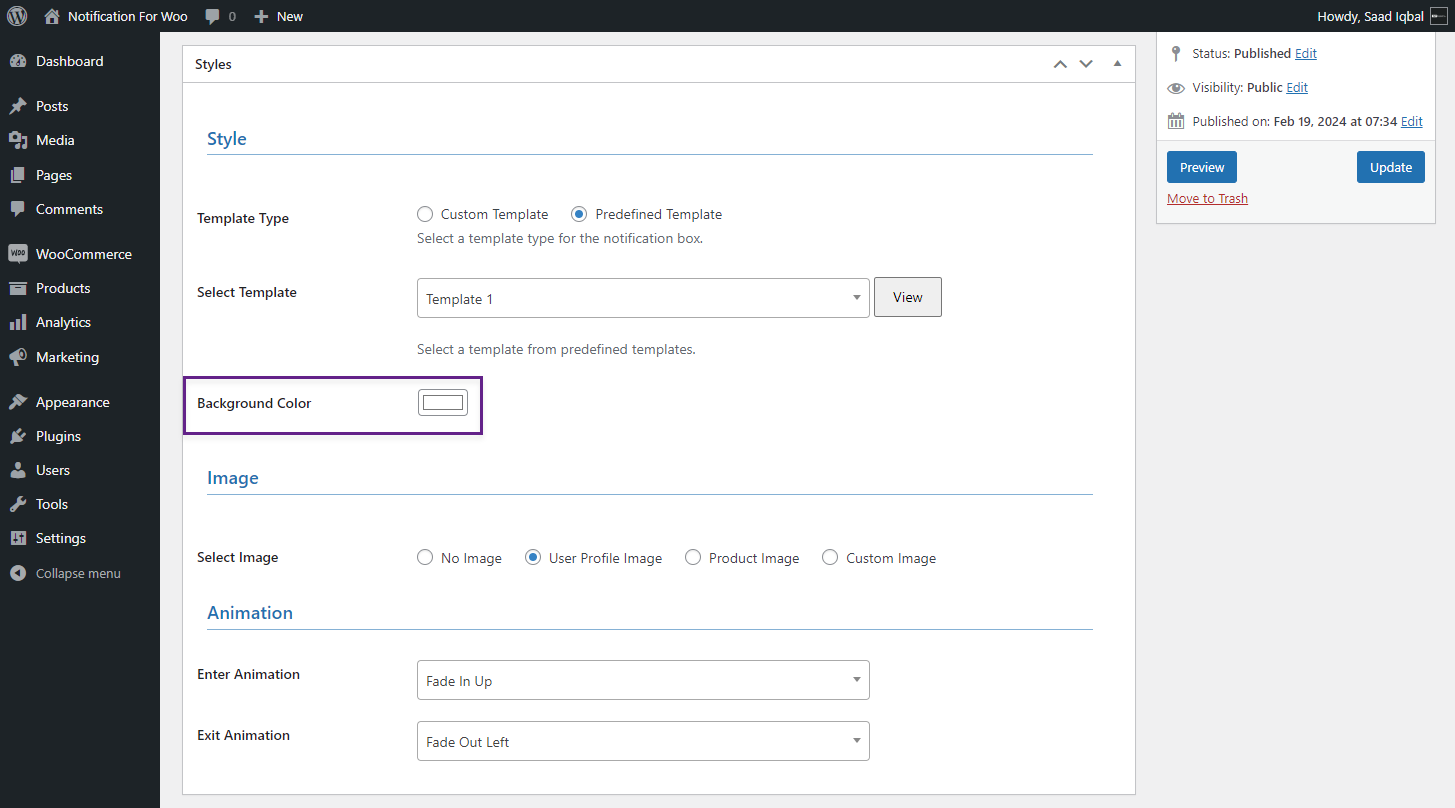
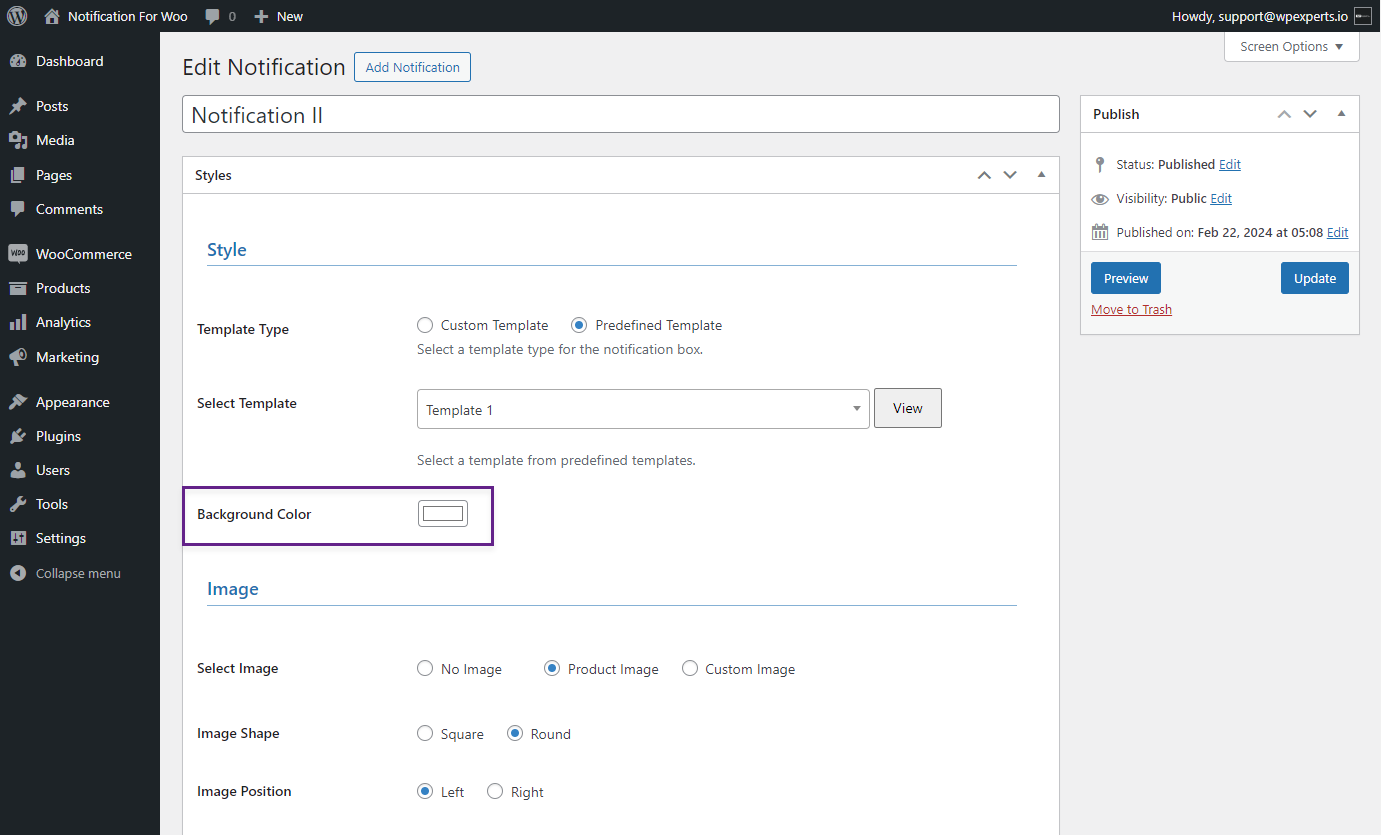
- The notification’s background color can be changed using the Background Color option.
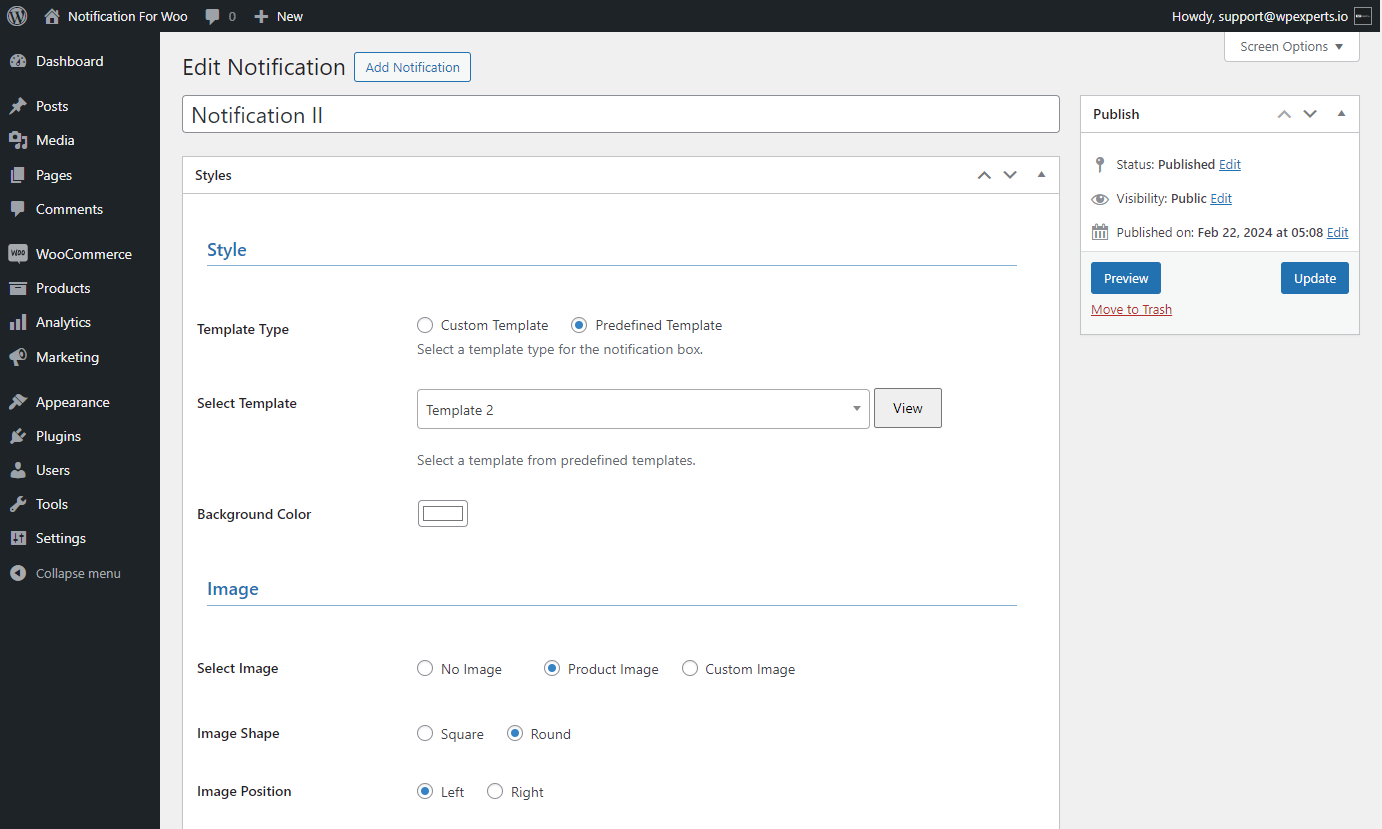
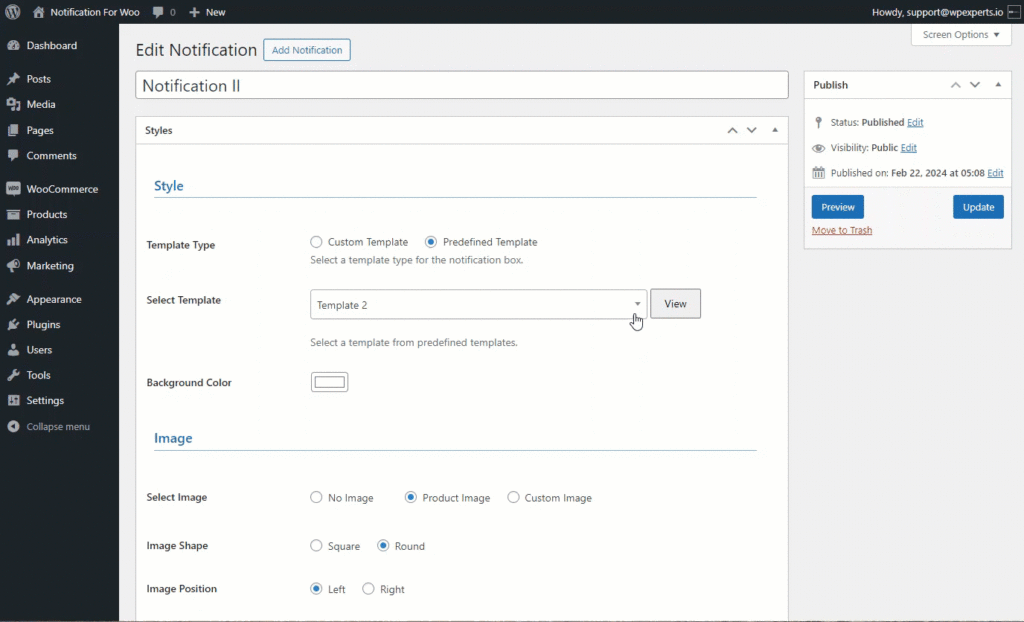
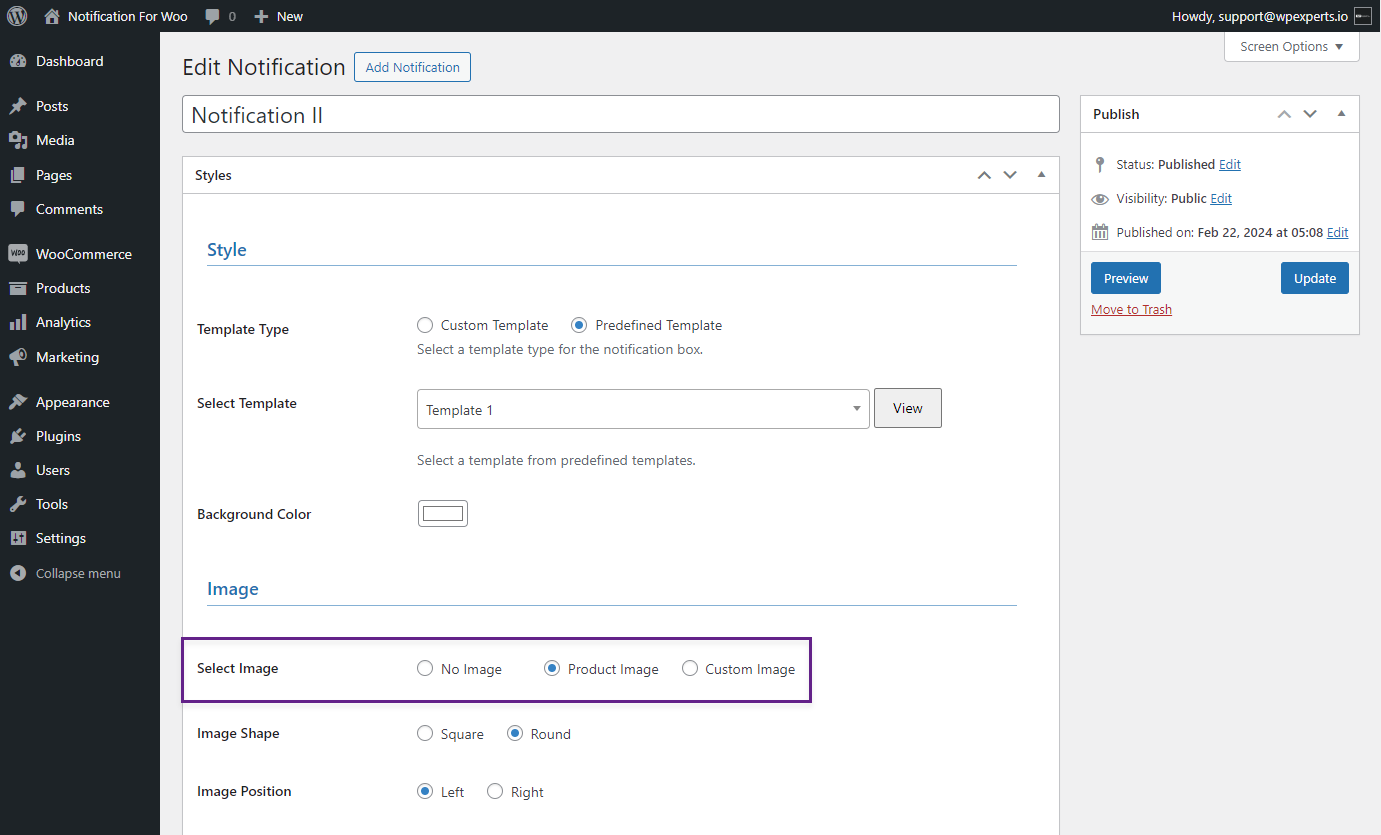
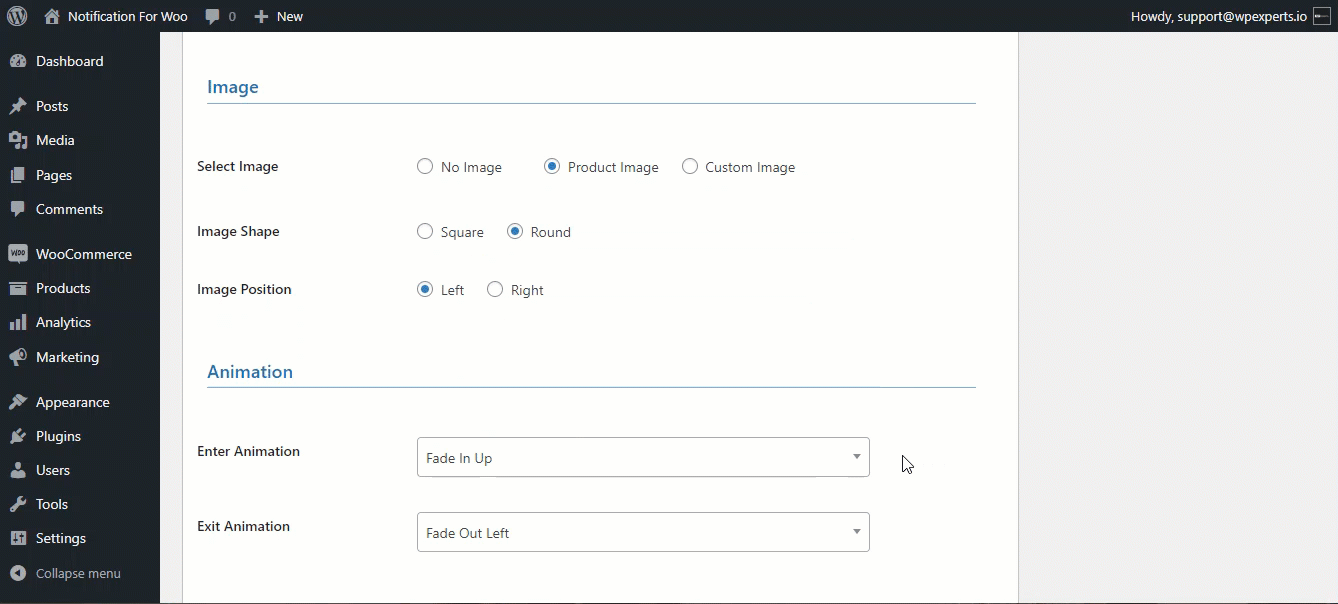
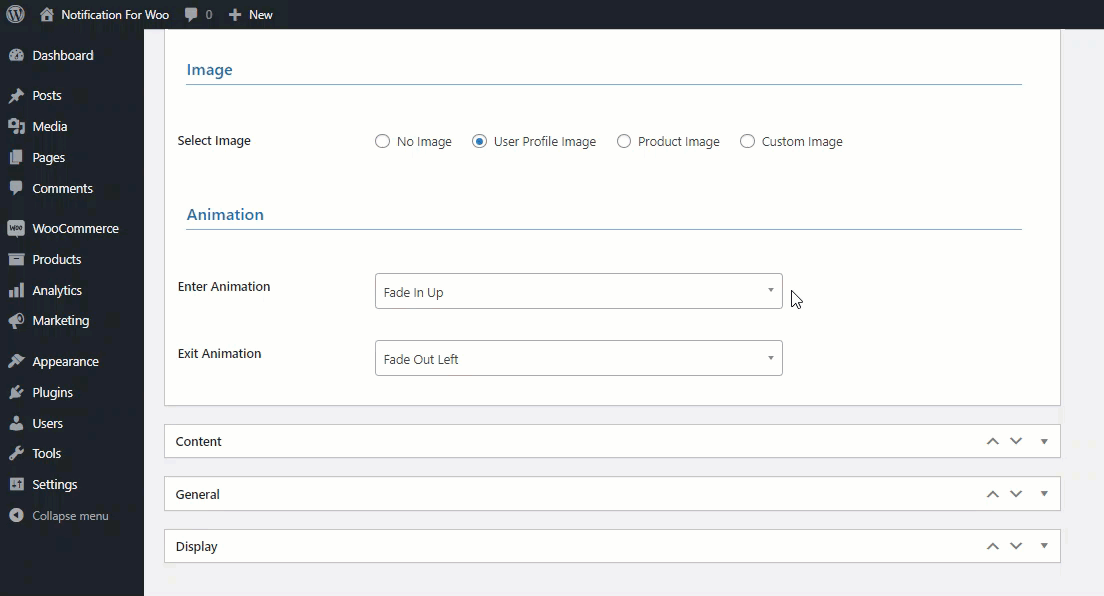
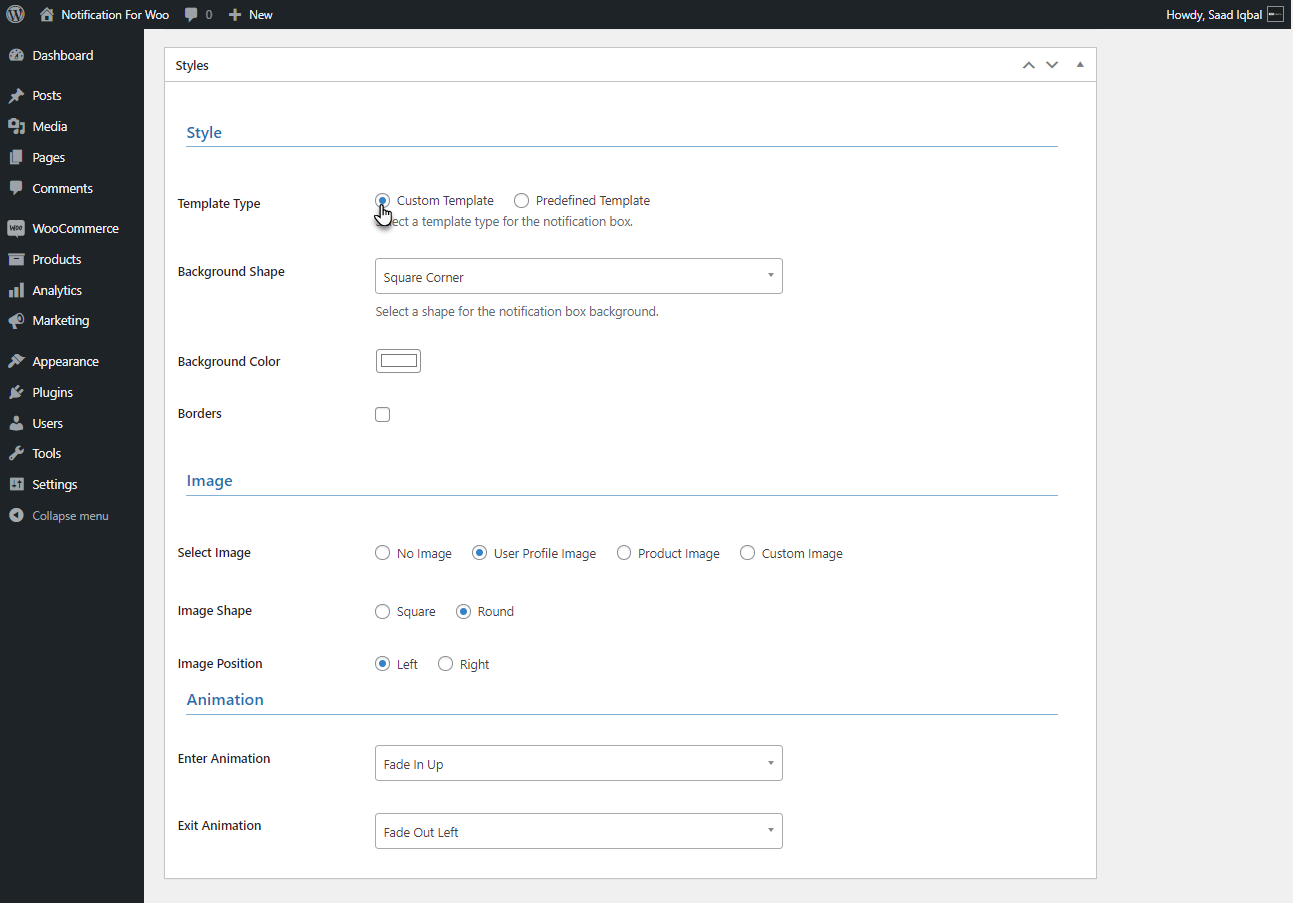
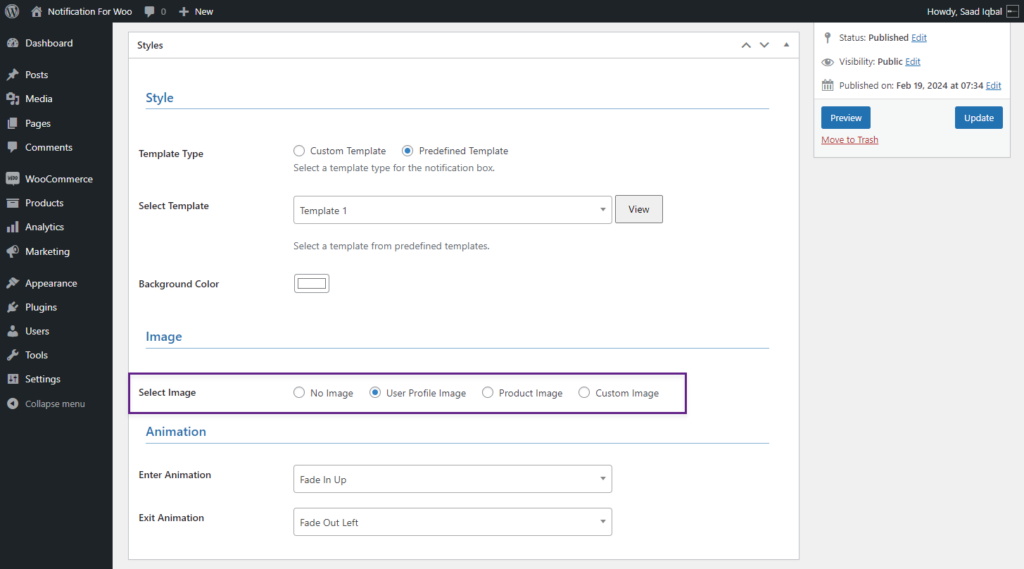
- In the Image section, the user can display an image on the notification according to his needs, provided with four options.

- No Image: The notification will appear without any image.
- User Profile Image: The user’s Display picture will appear in the notification.
- Product Image: The image of the Product being worked on will appear in the notification.
- Custom Image: This option allows you to upload images from the device.
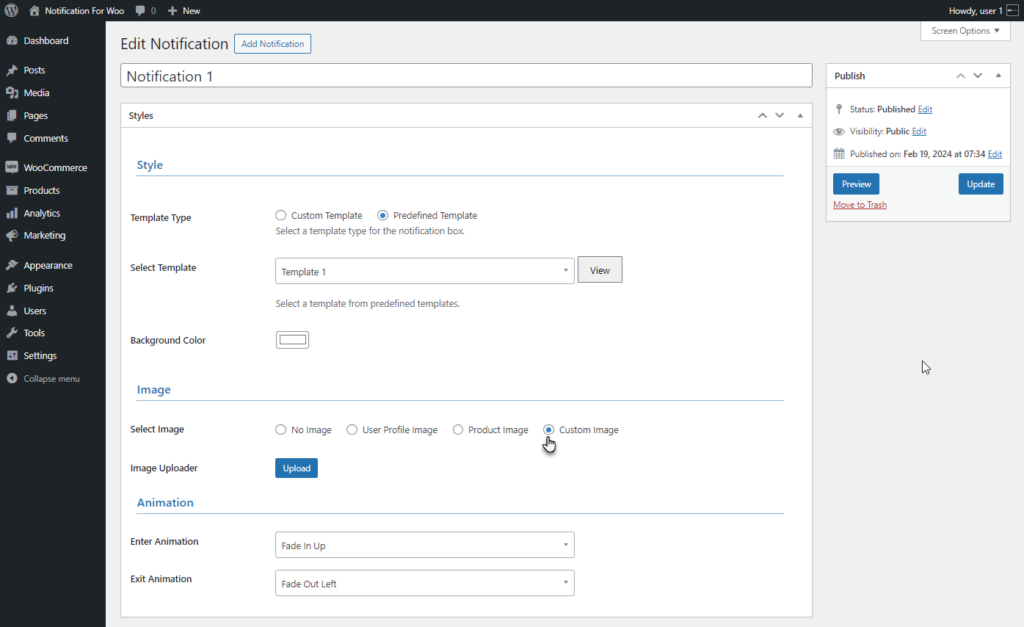
- Selecting Custom Image will allow you to upload an image through the Image Uploader.

- In the animation section, the user can select the enter animation of the notification from the Enter Animation drop-down list.

- Similarly, animation can be added for the exit of notification using the Exit Animation drop-down list.

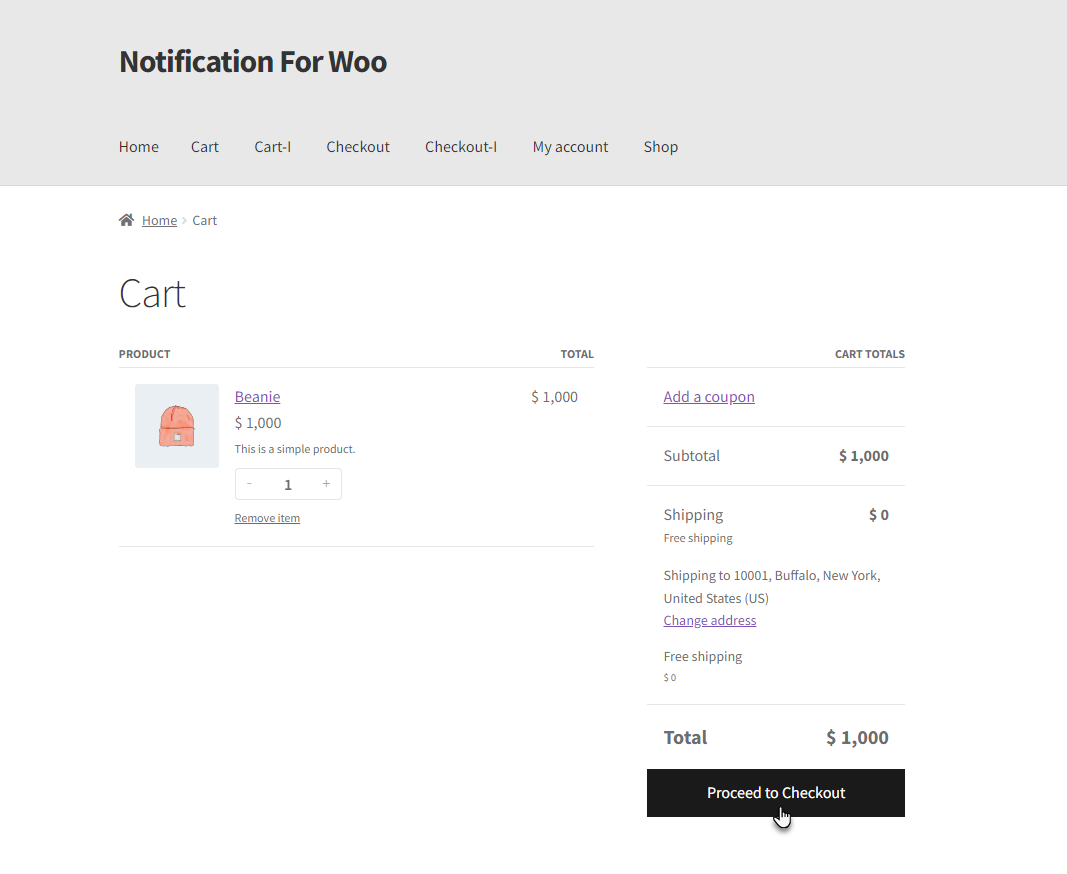
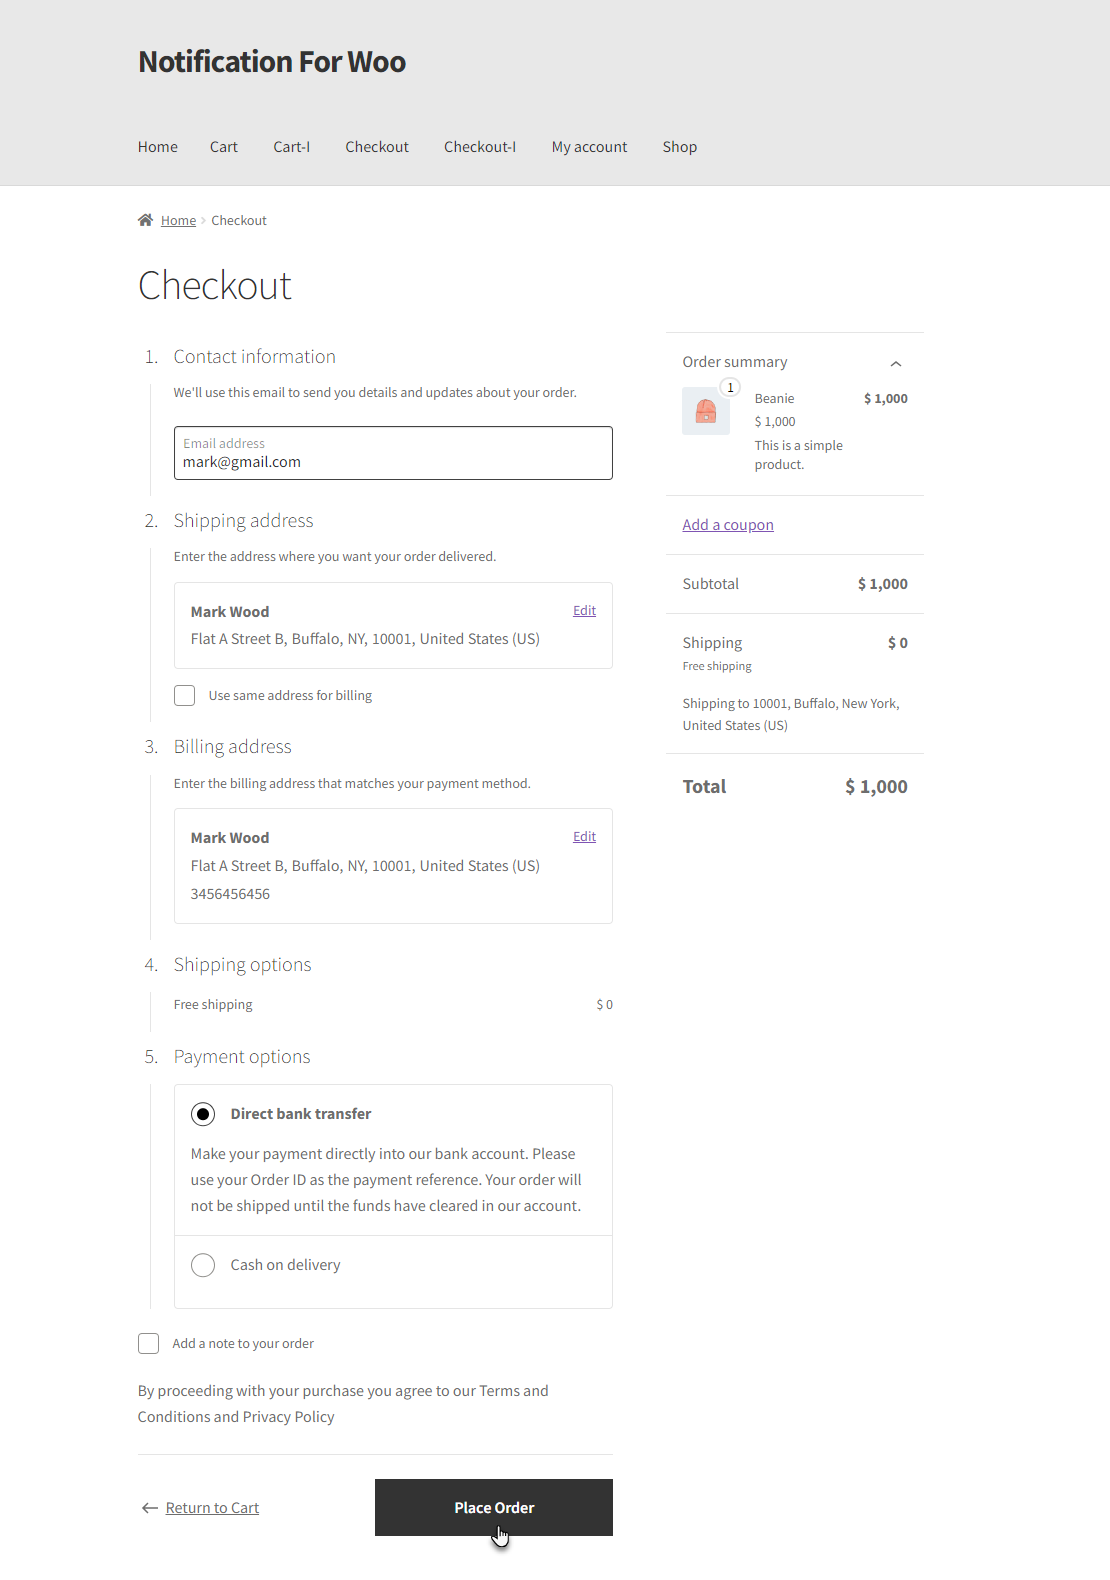
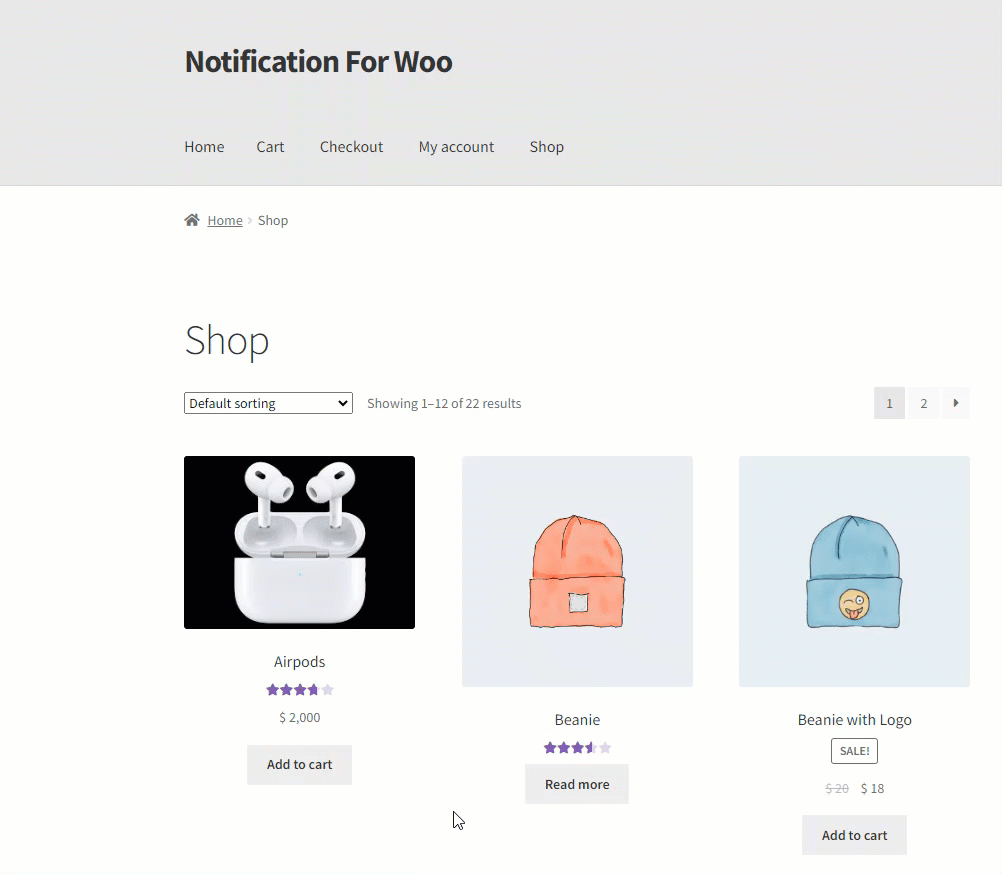
Front End Impact
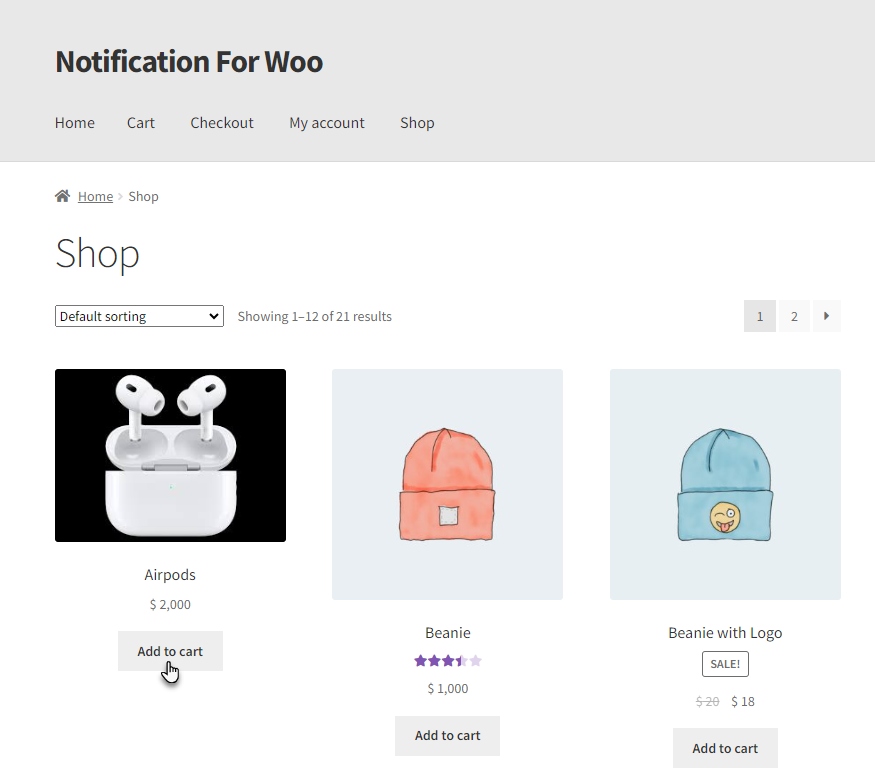
- Login to your account.
- Go to the Shop page.
- Add a product to the Cart.
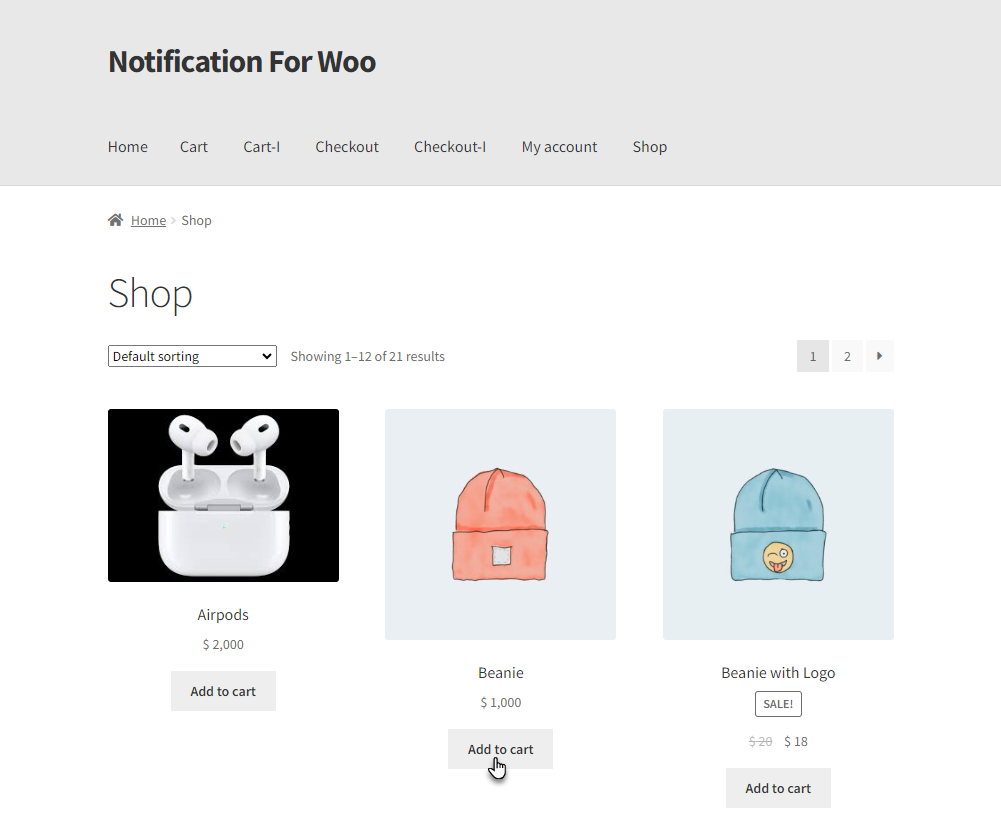
- Go to the Cart page.
- Click the Proceed to Checkout button to go to the Checkout page.

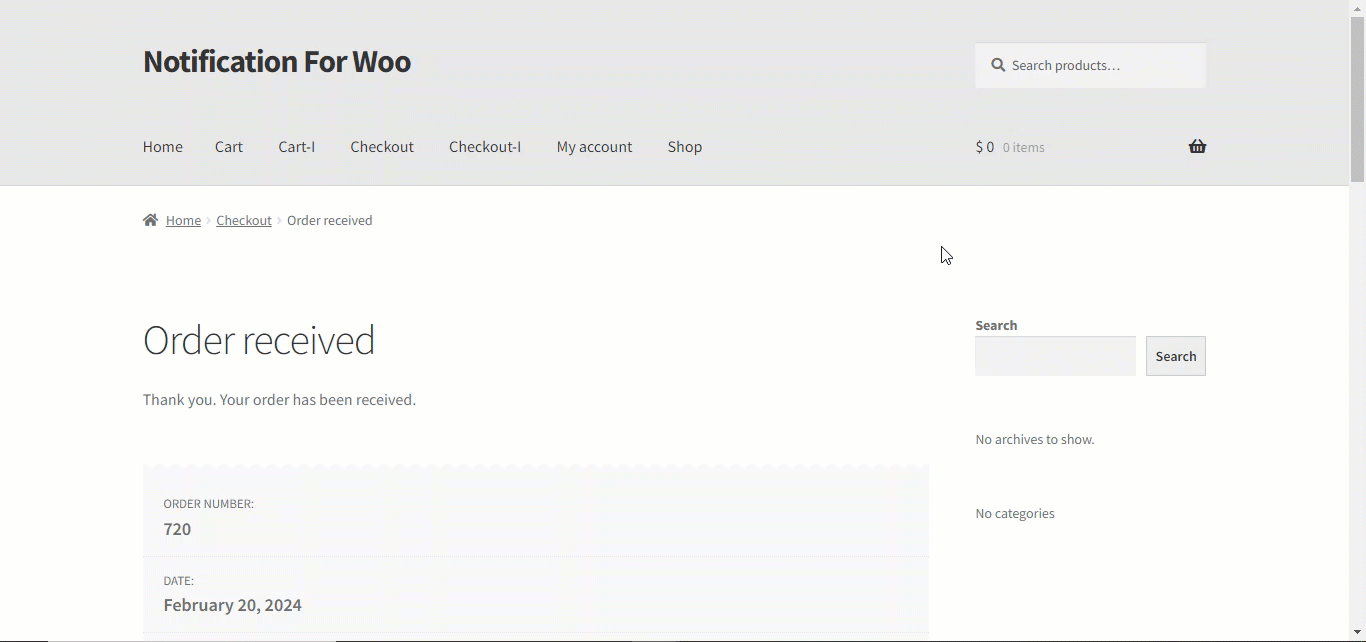
- Click on the Place Order button to proceed with your order.

- Your order will be placed, and a notification with the Predefined Template will appear on your screen.

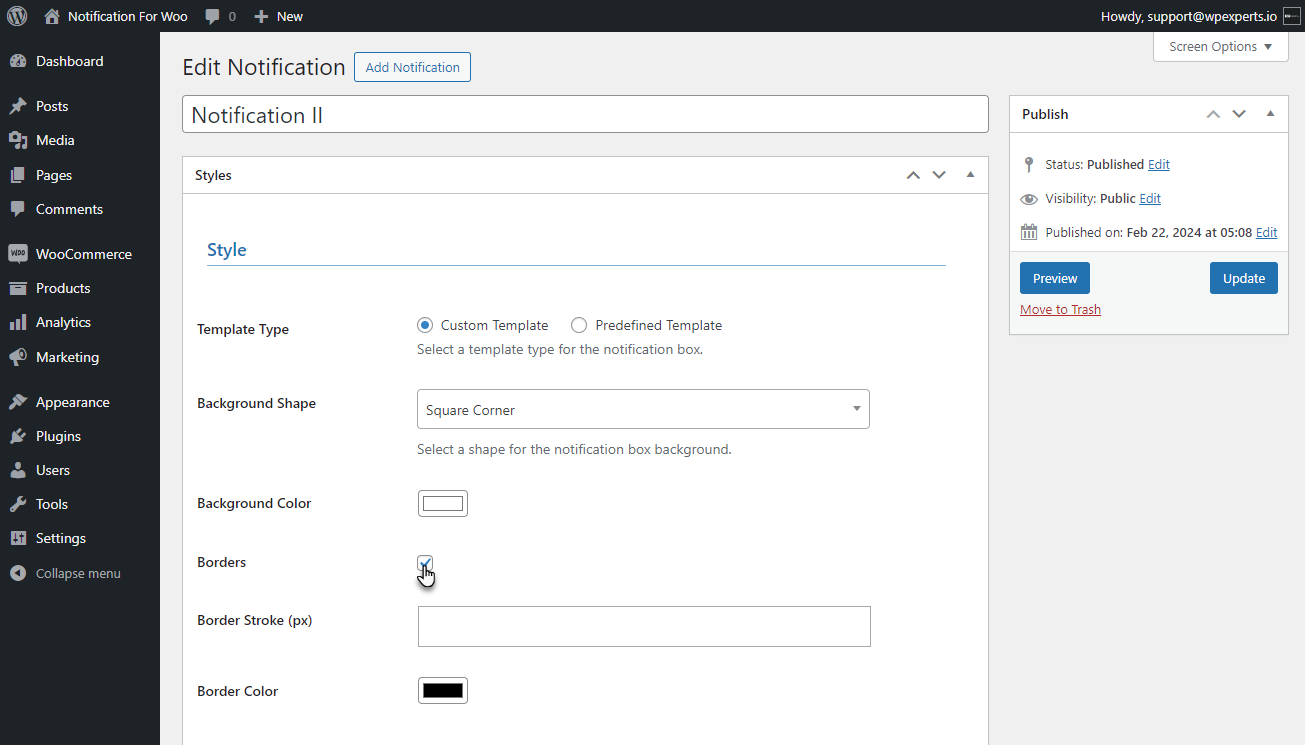
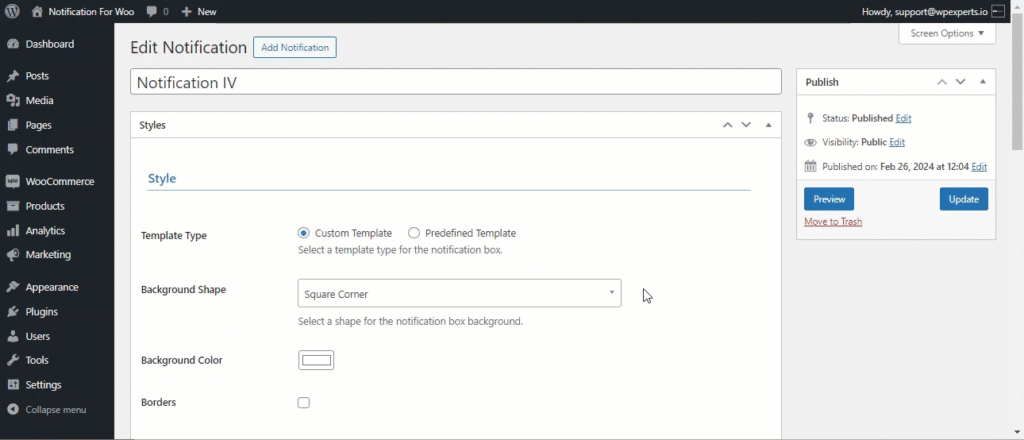
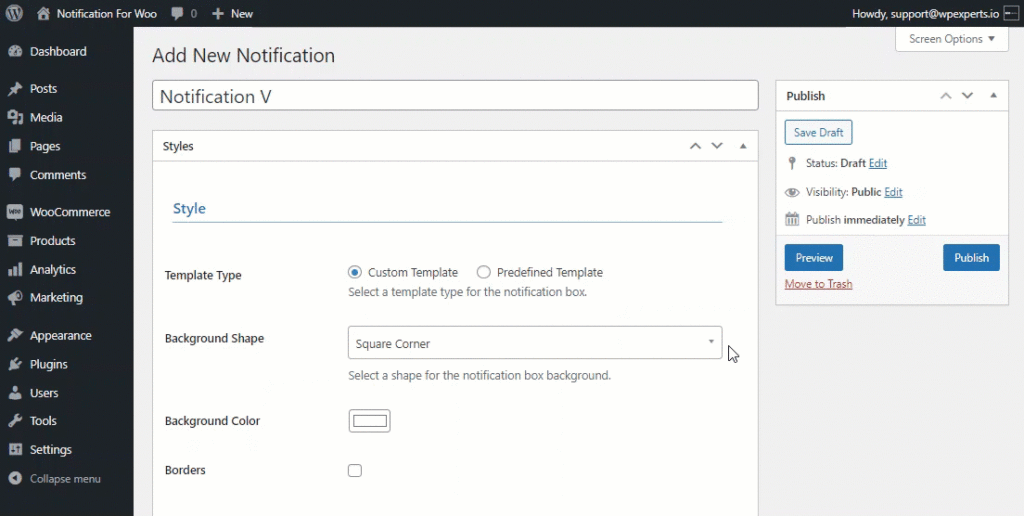
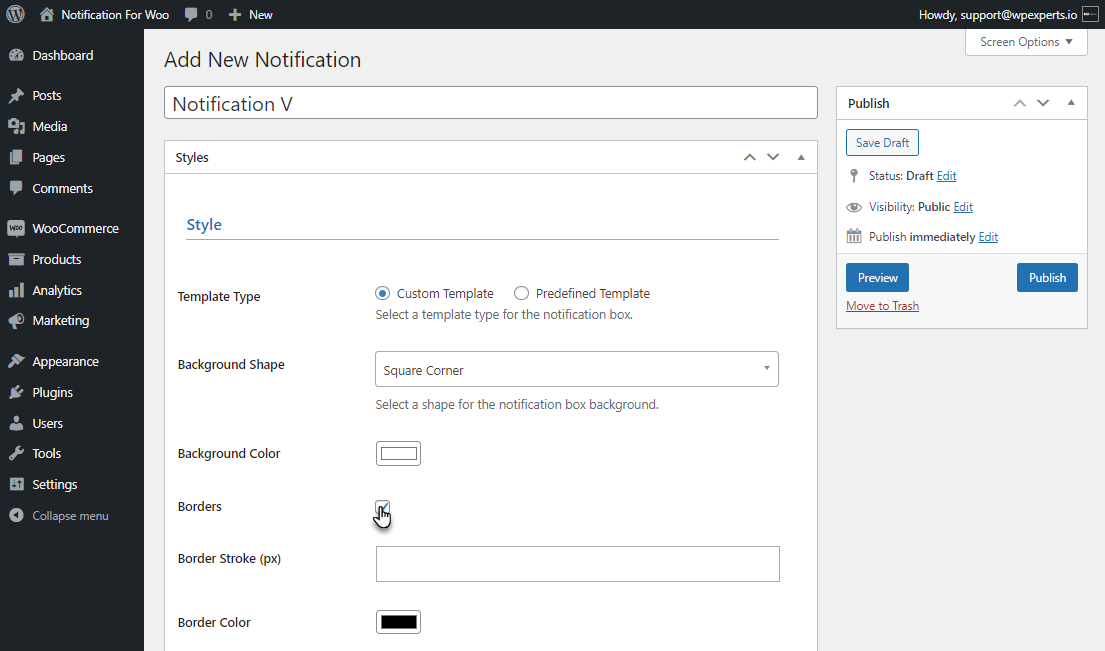
Custom Template
- Select Custom Template from the Template Type option.

- Select the shape for the notification box background from the Background shape option.
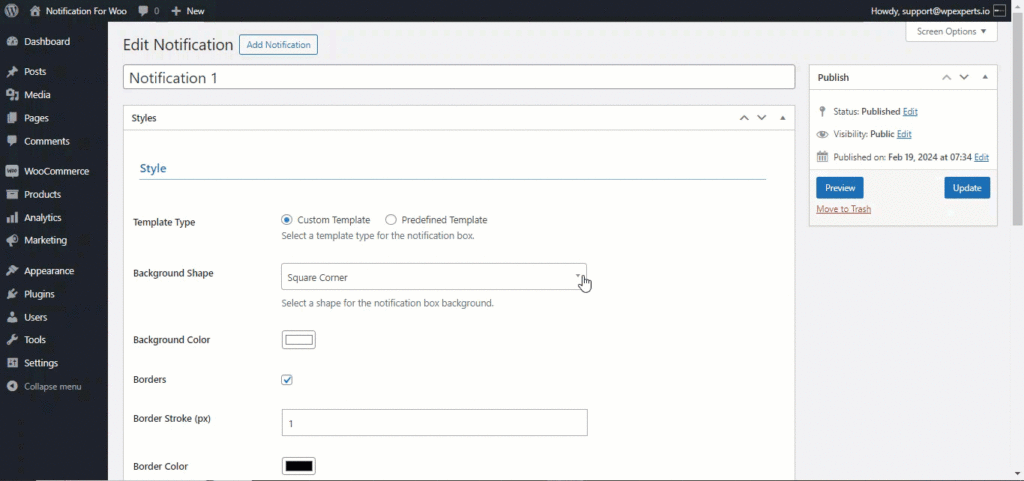
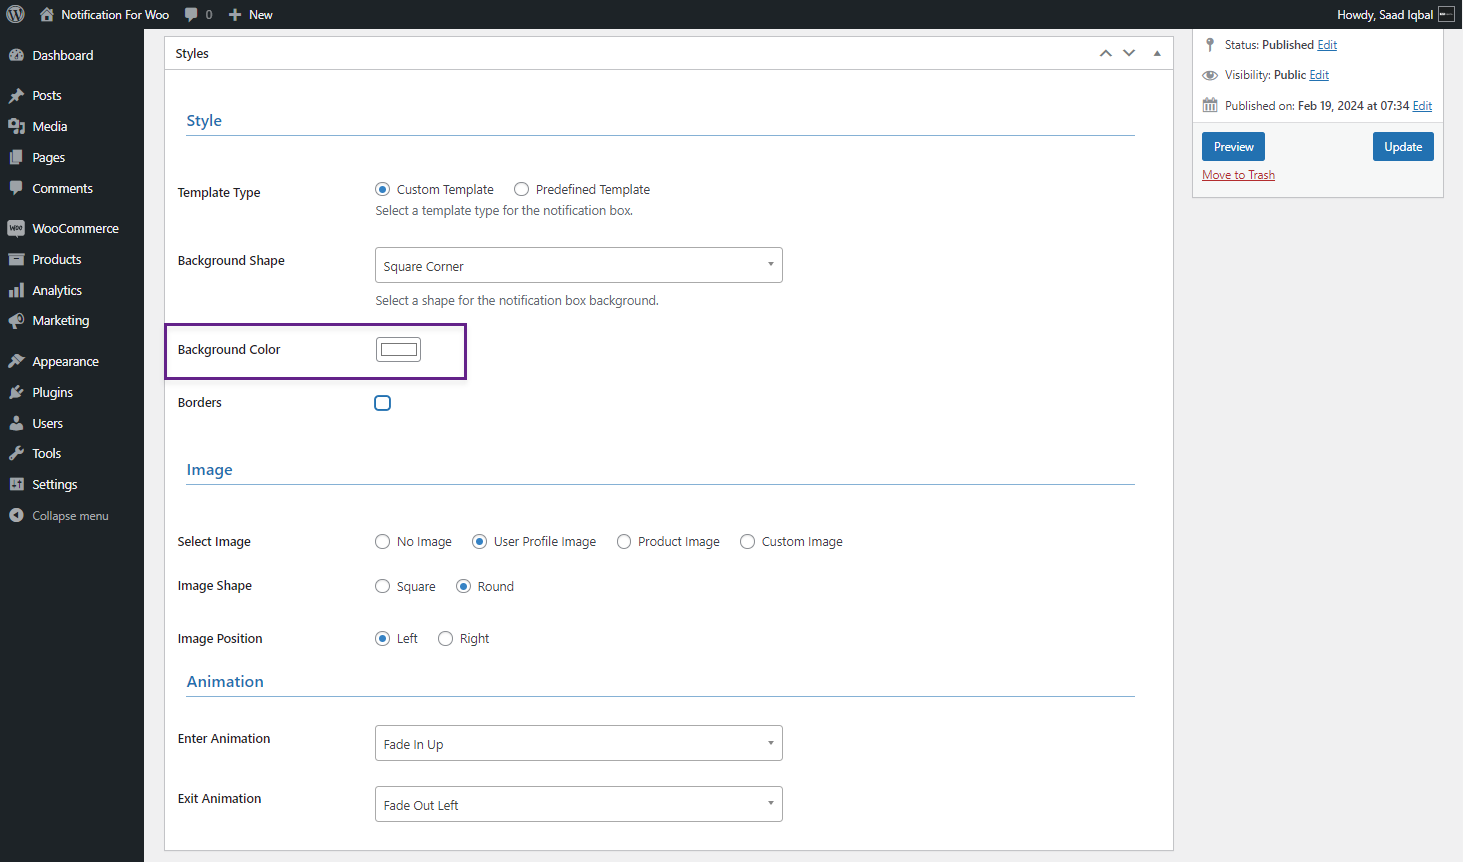
- Users can change the background color by using the Background Color option.

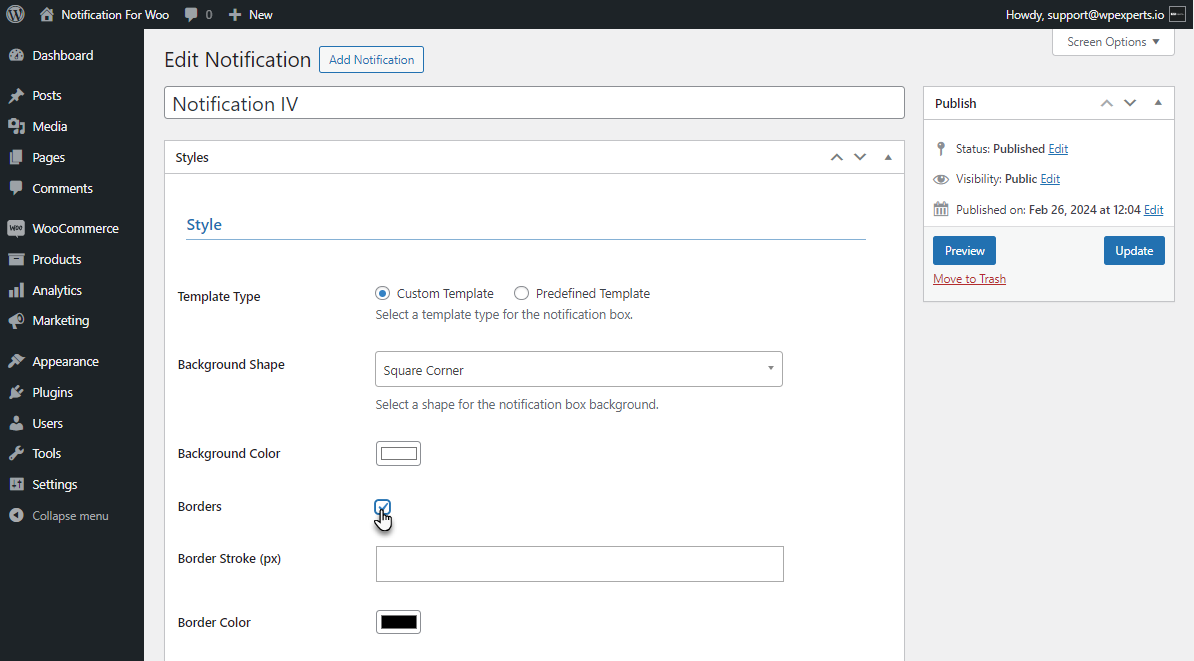
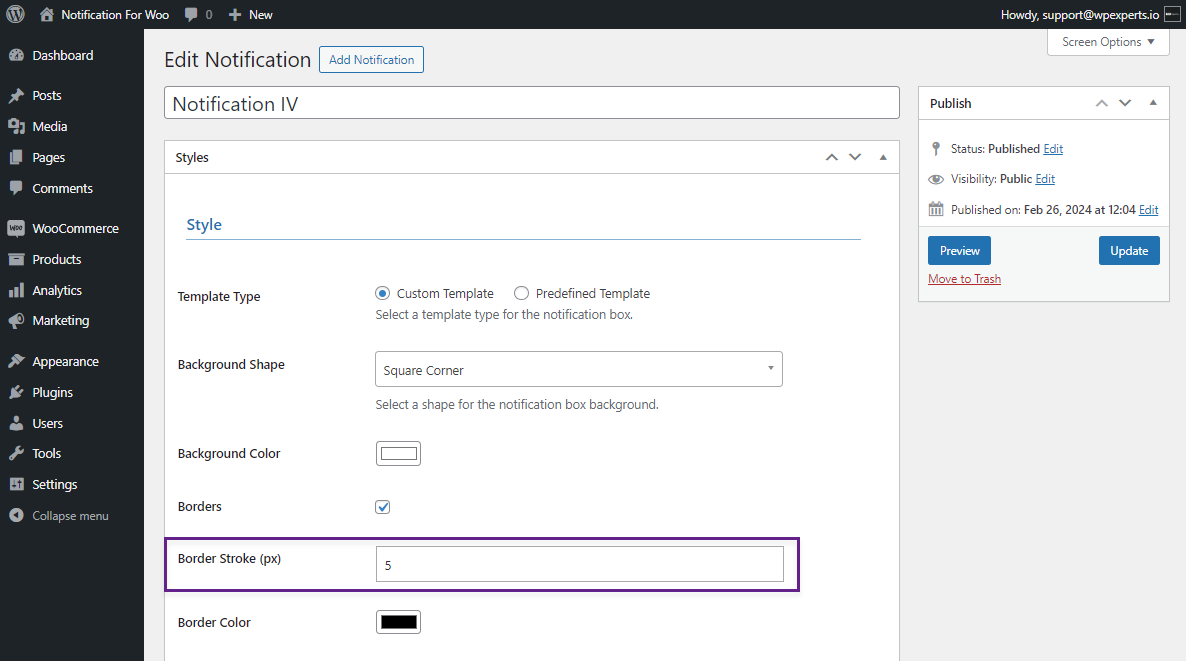
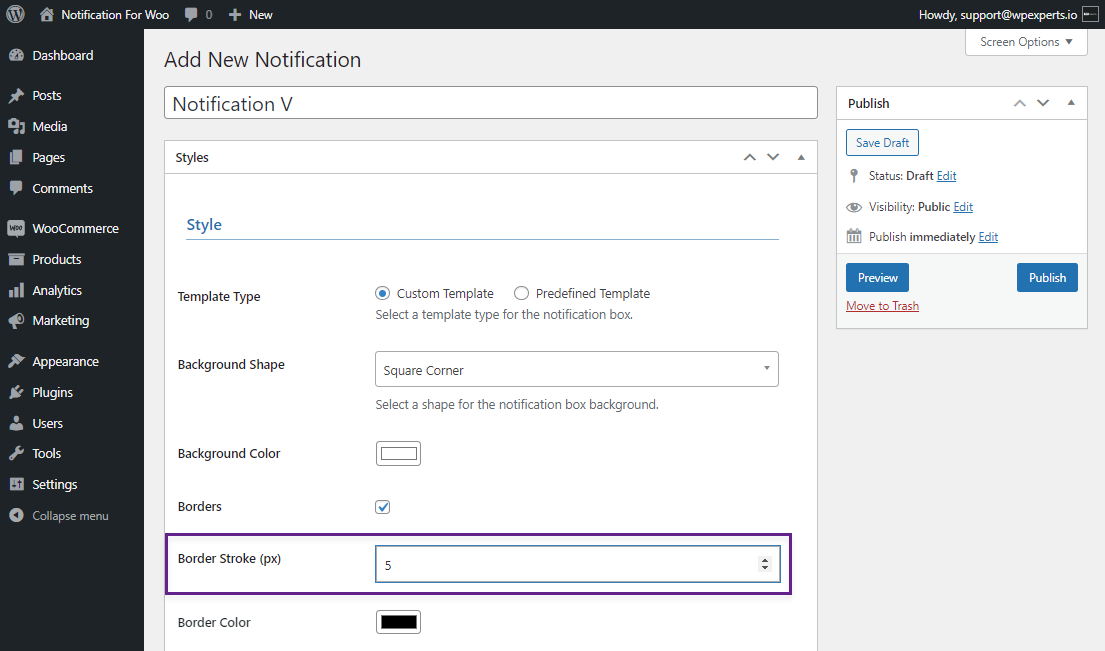
- Select the Border check button to add a border to your notification. It will provide a border to your notification.
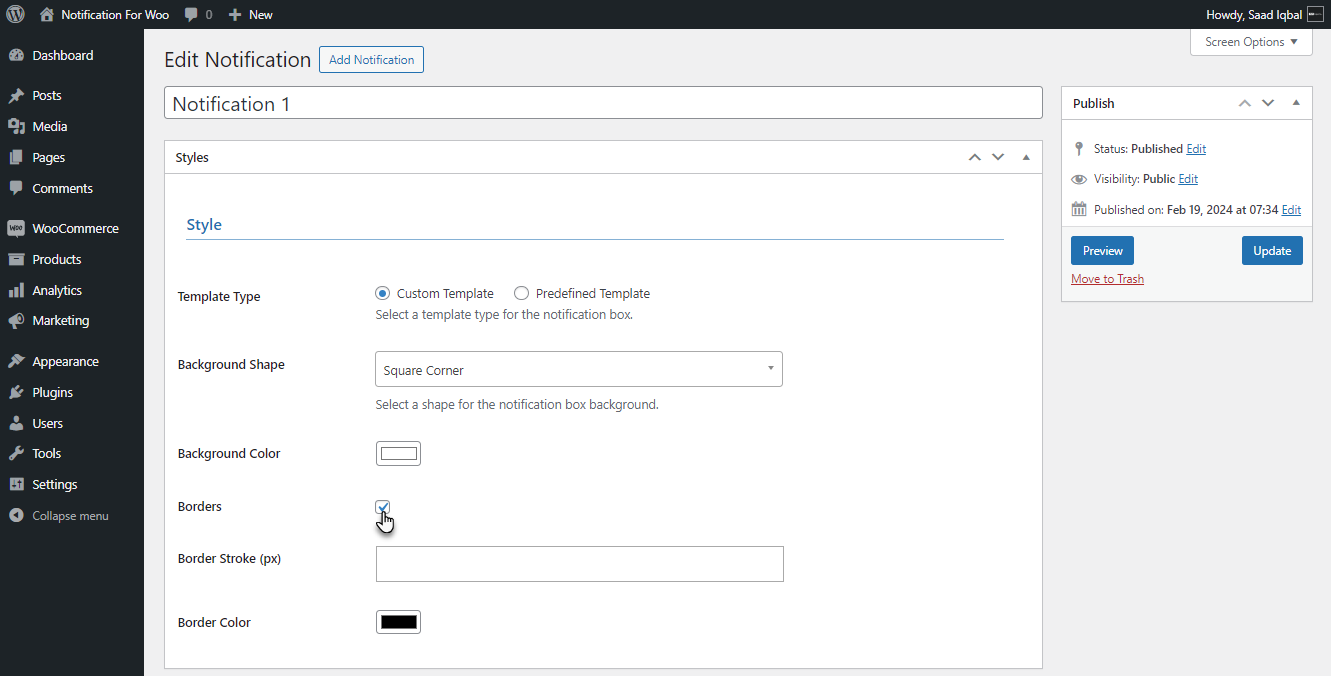
- Add a border Stroke to your notification using the Border Stroke option.
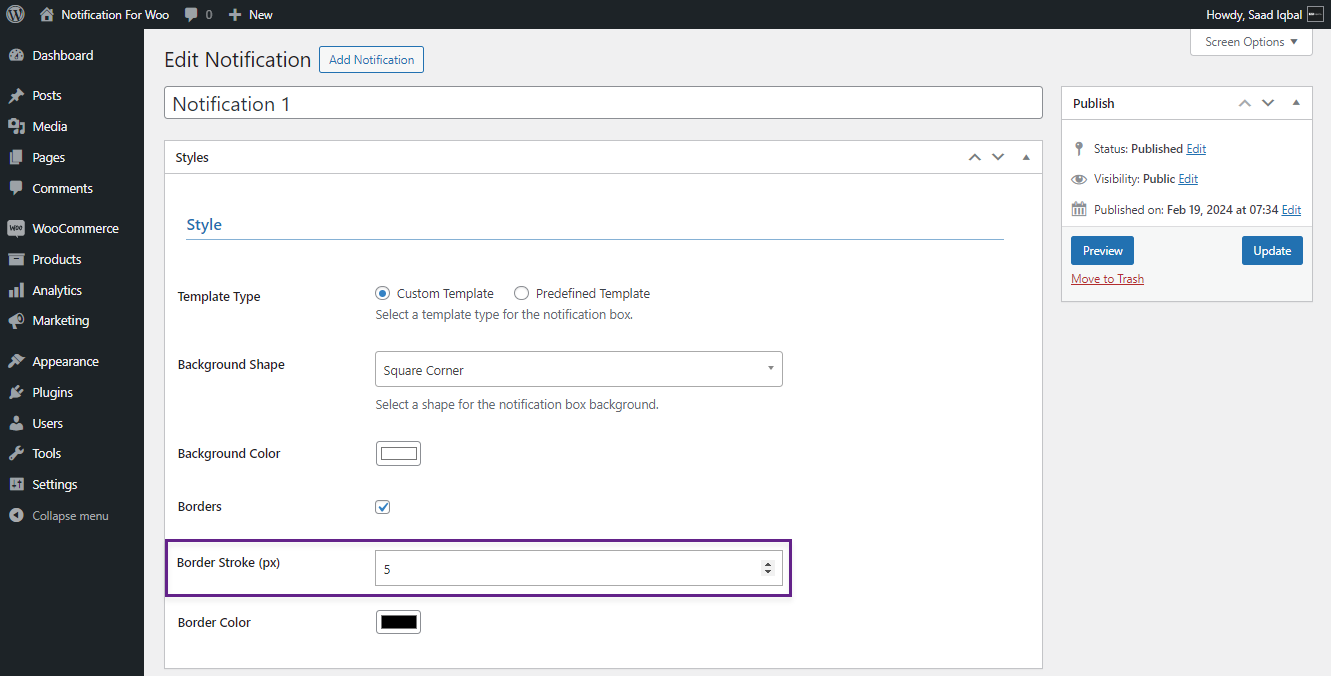
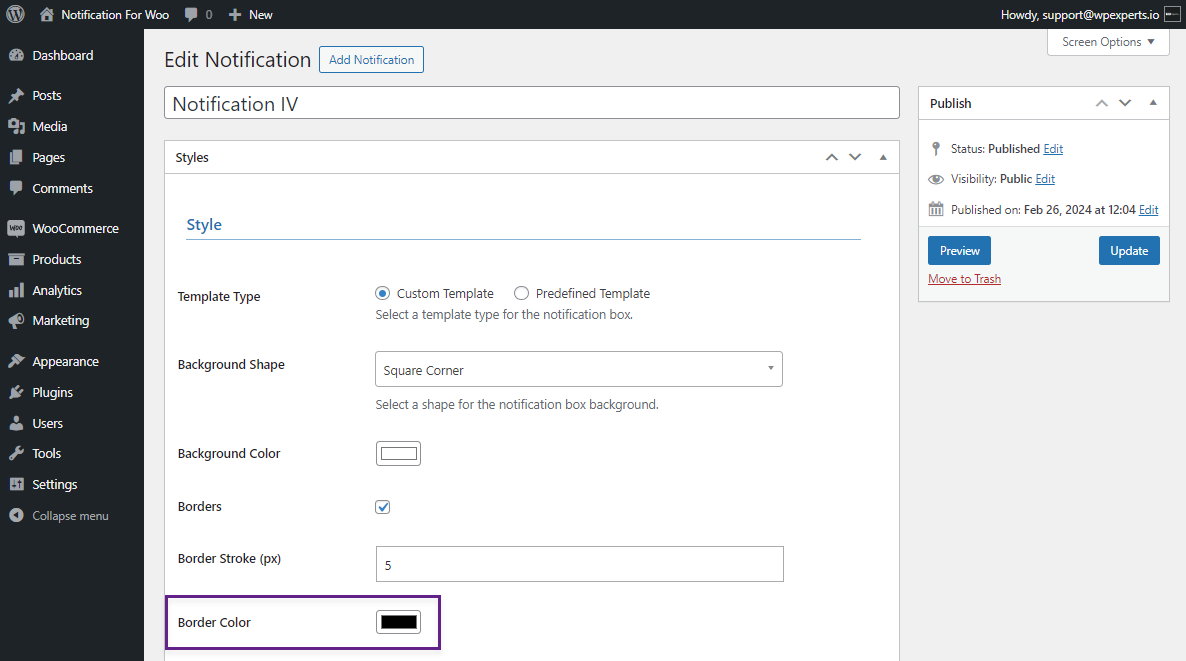
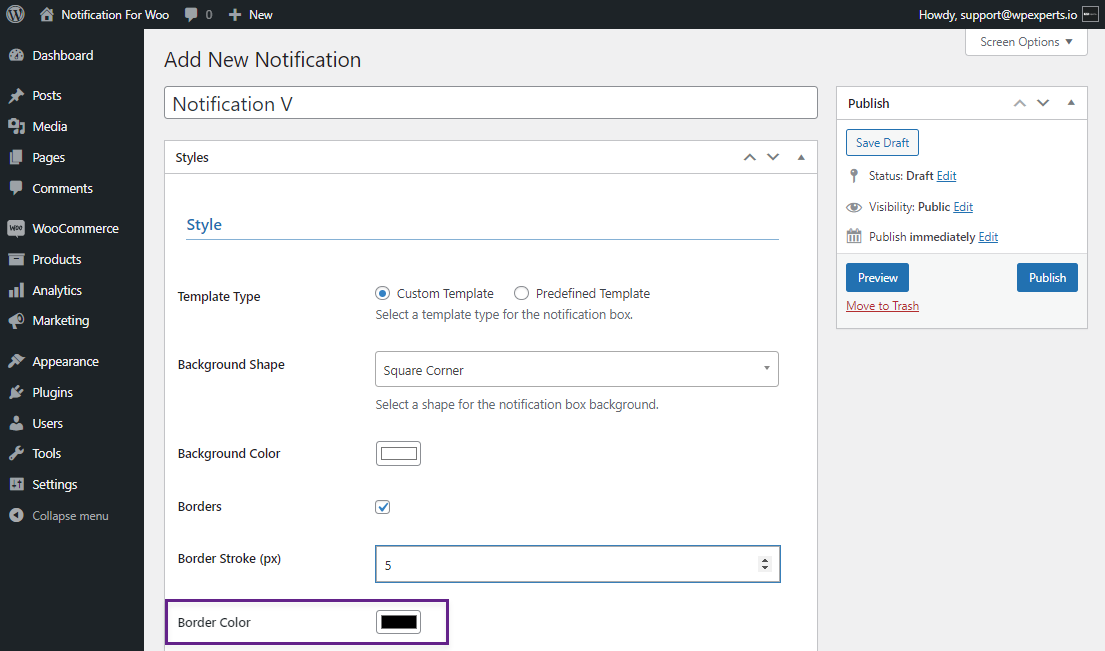
- The border color can be changed by using the Border Color option. This will change the color of the border of your notification box.
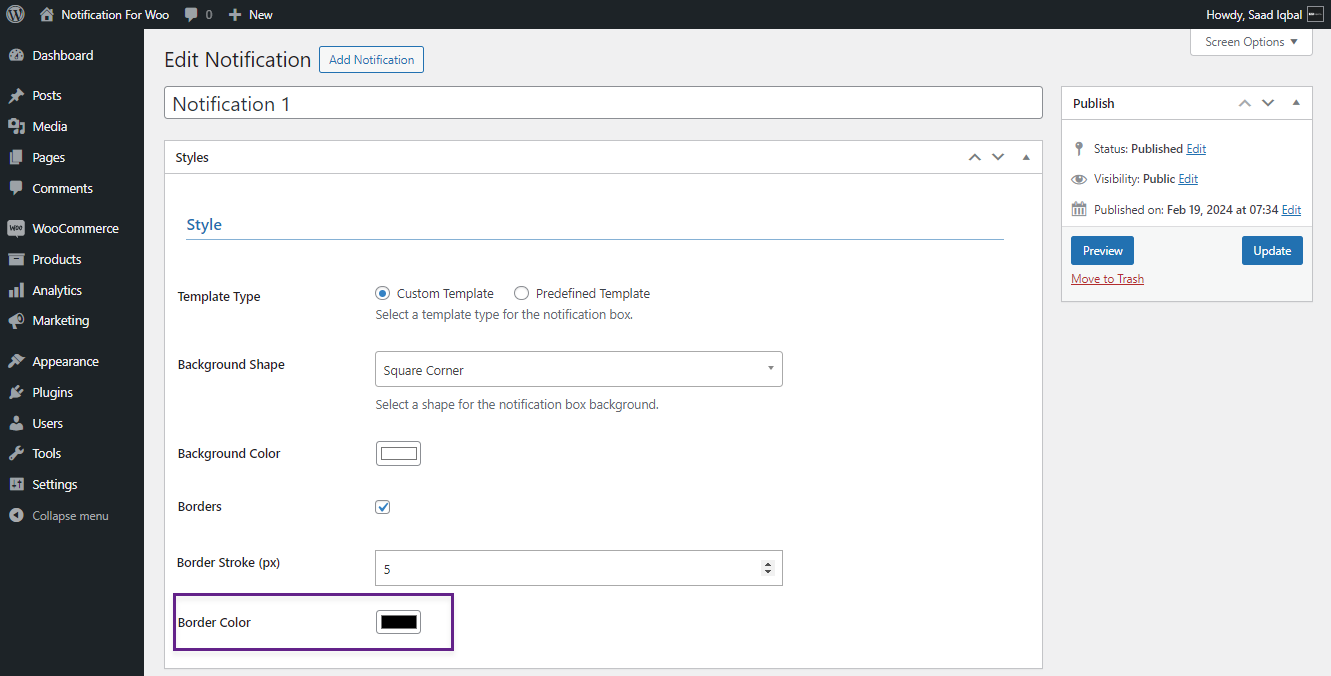
PLEASE NOTE: The rest of the settings will be identical to the Predefined Template.
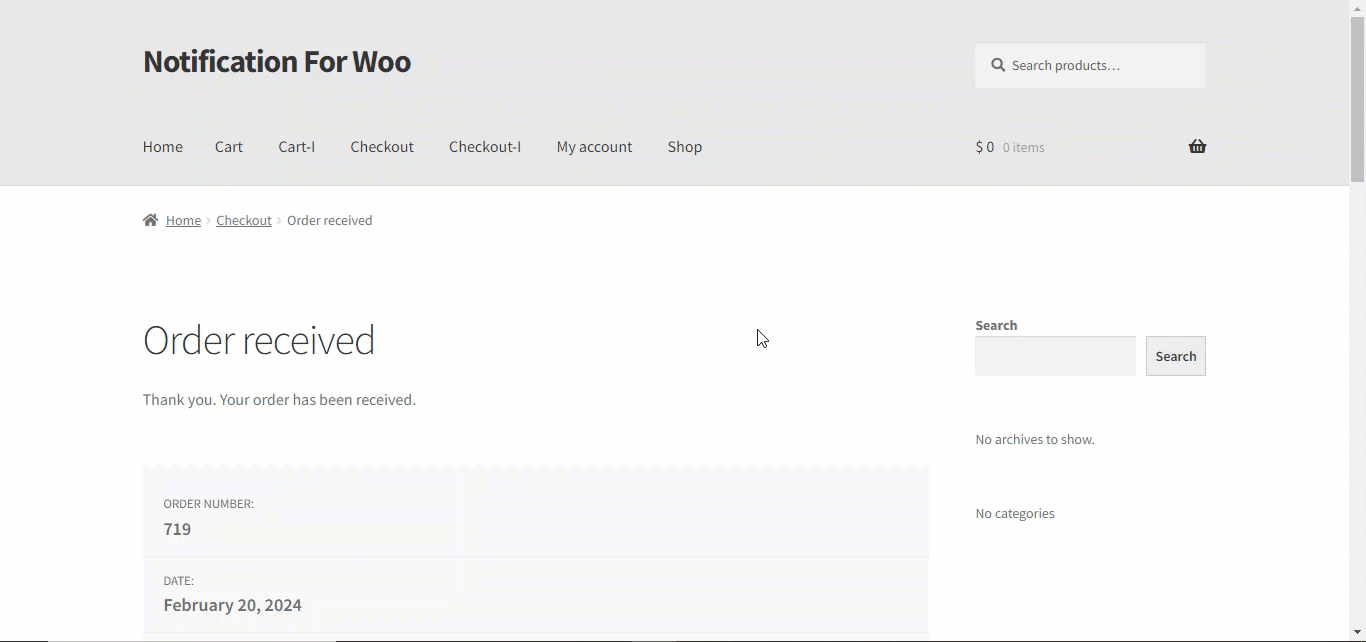
Front End Impact
- Login to your account.
- Go to the Shop page.
- Add a product to the Cart.

- Go to the Cart page.
- Click on the Proceed to Checkout button to go to the Checkout page.
- Click on the Place Order button to proceed with your order.

- Your Order will be placed and a notification with the Custom Template will arrive on your screen.
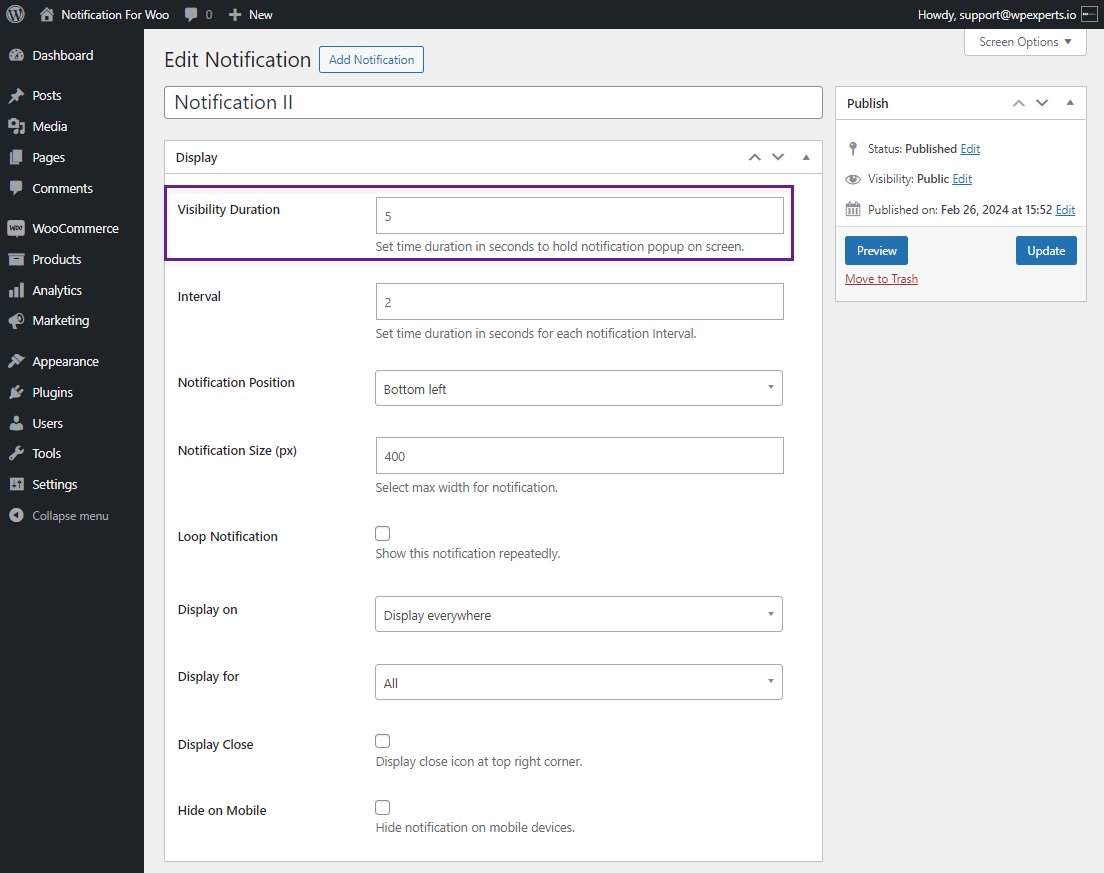
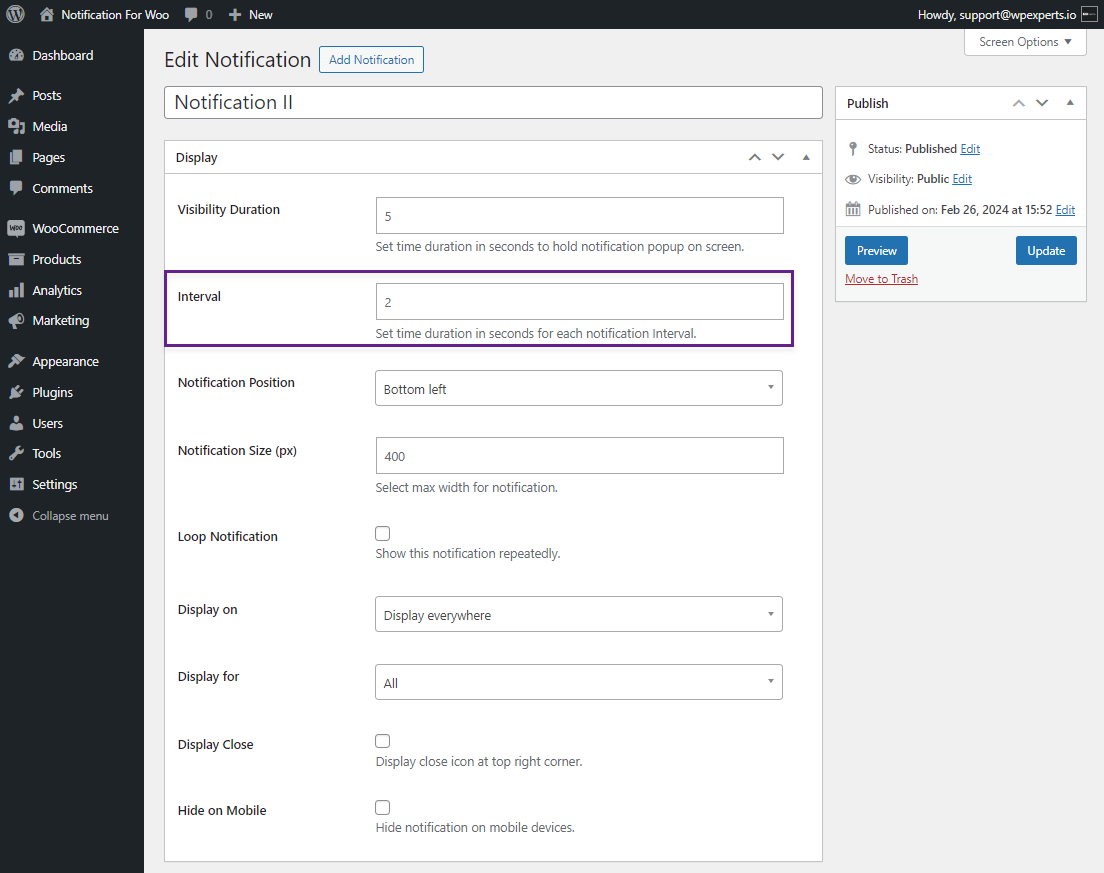
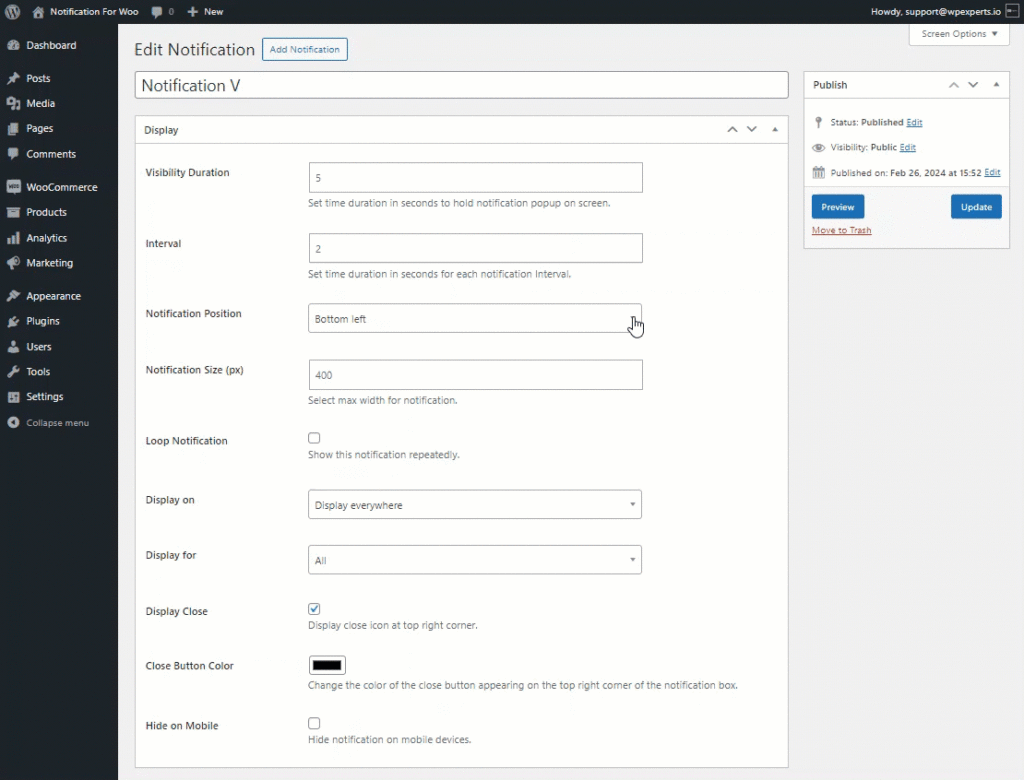
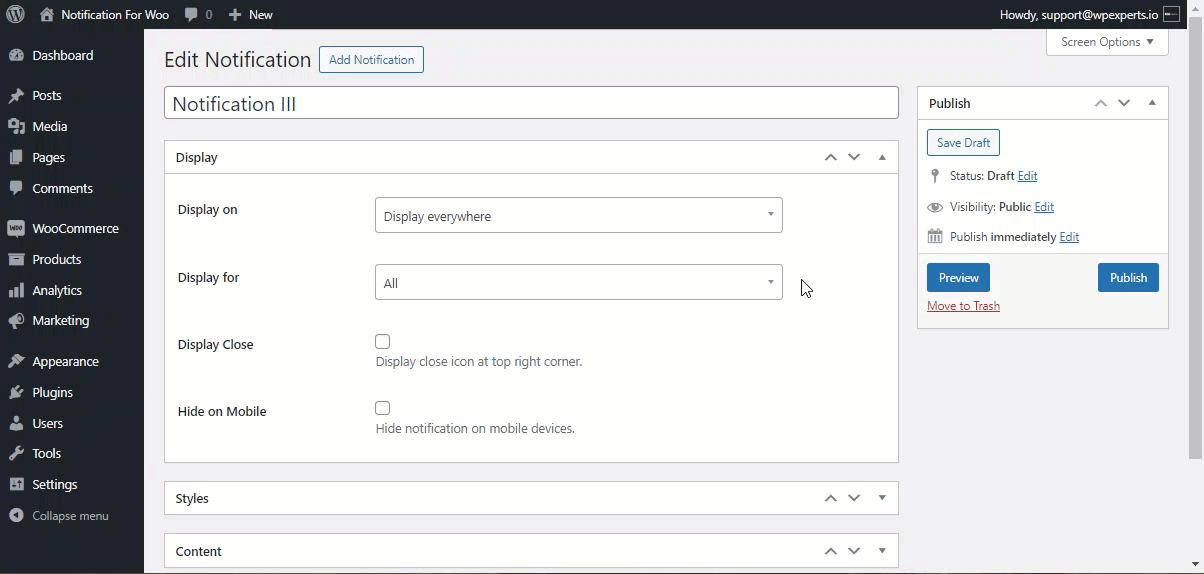
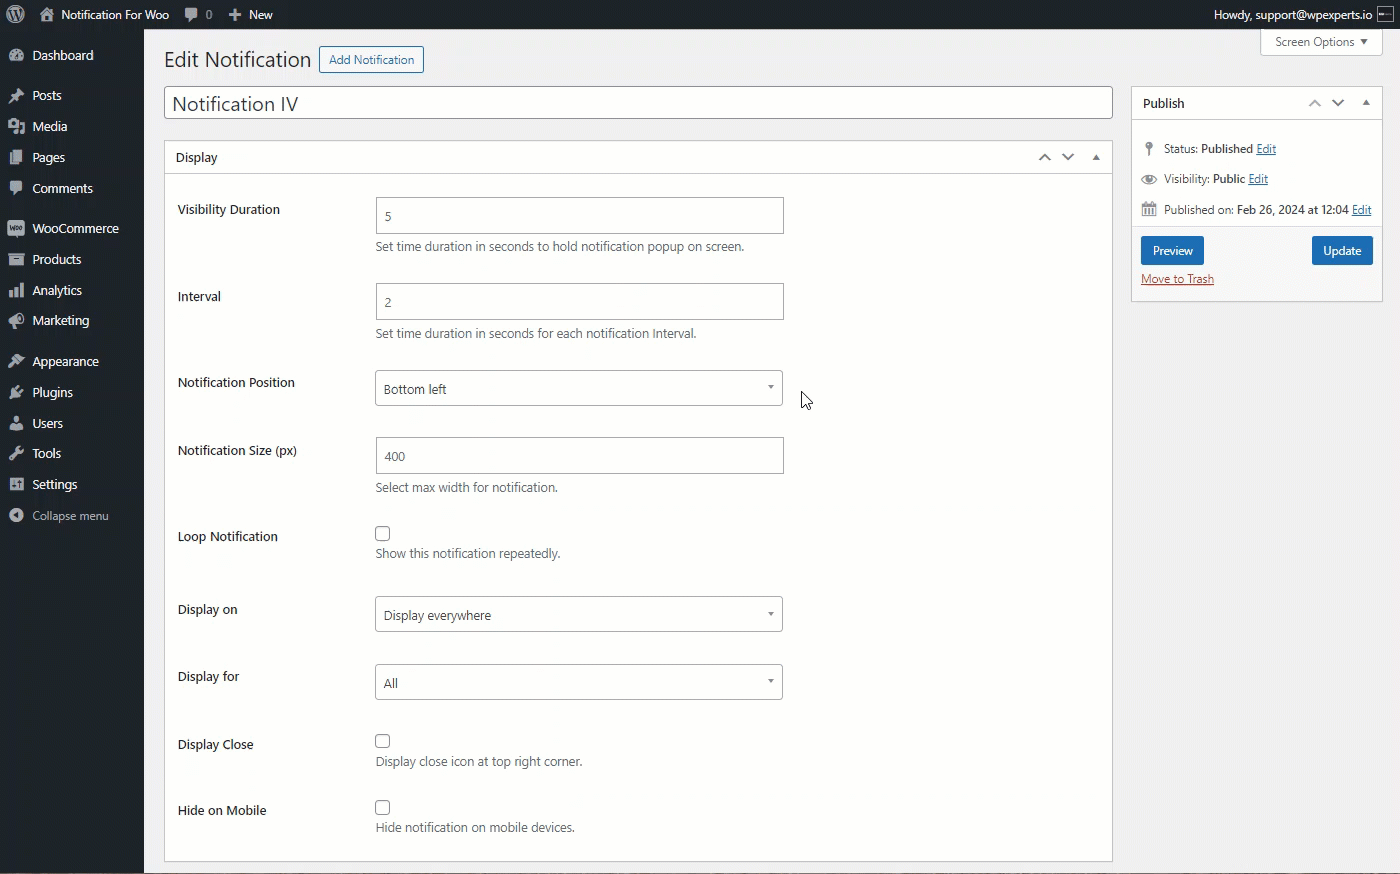
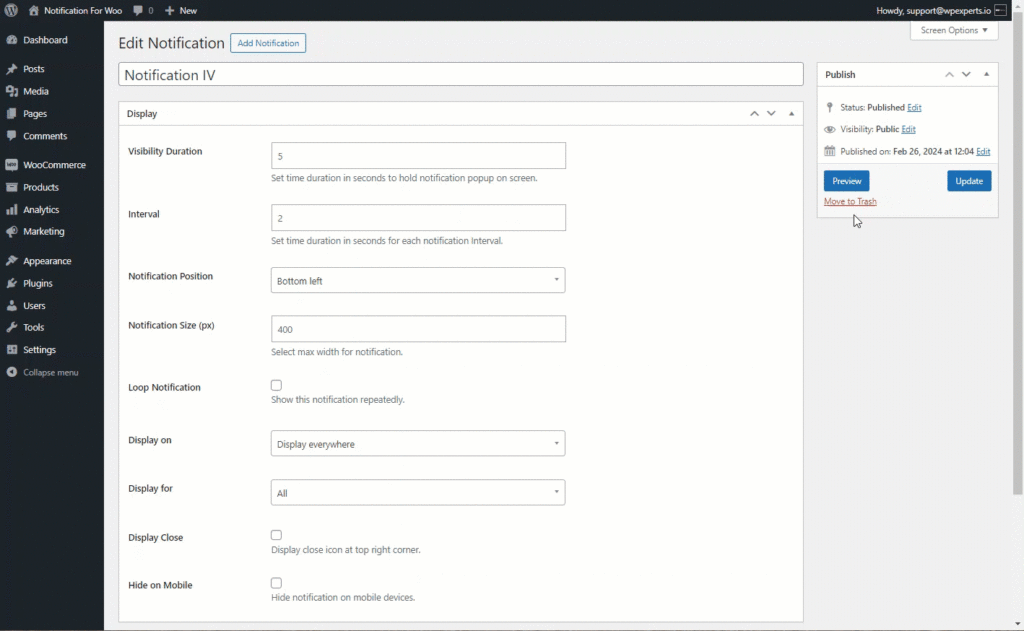
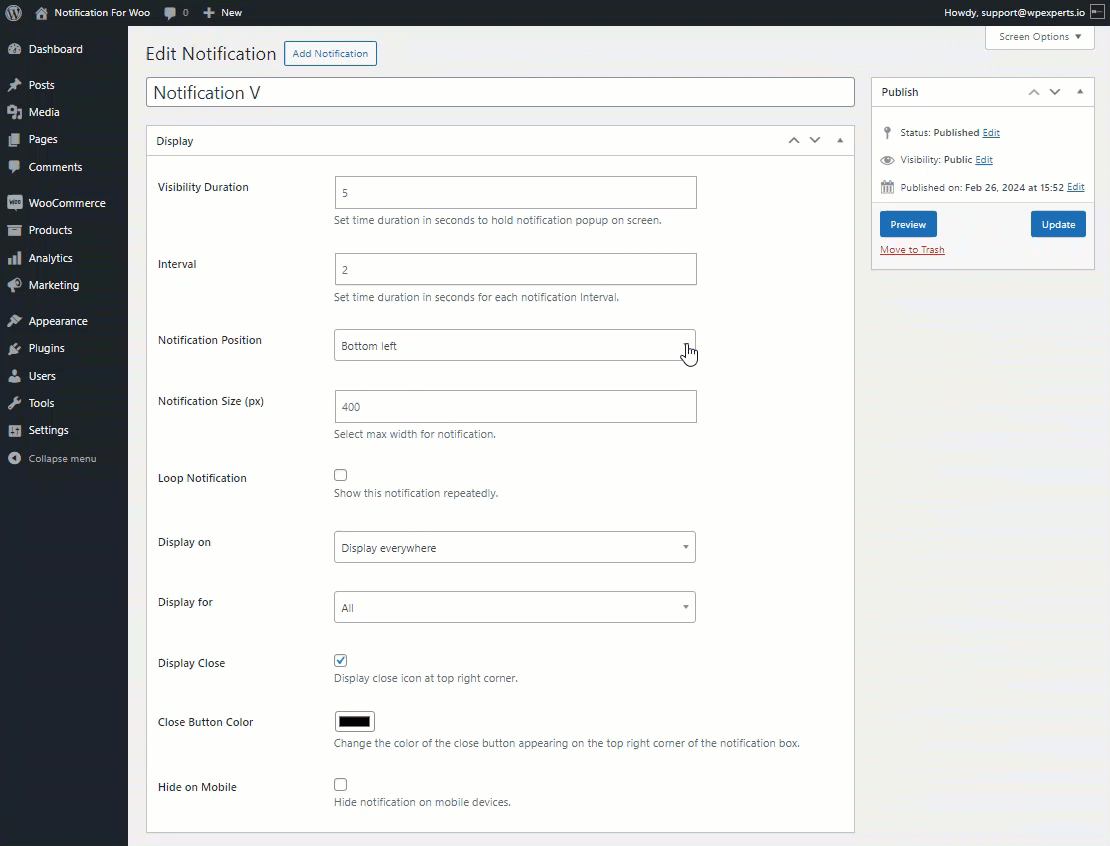
Display Tab
- In the Display Tab, the user can alter the Display settings of the Notification.
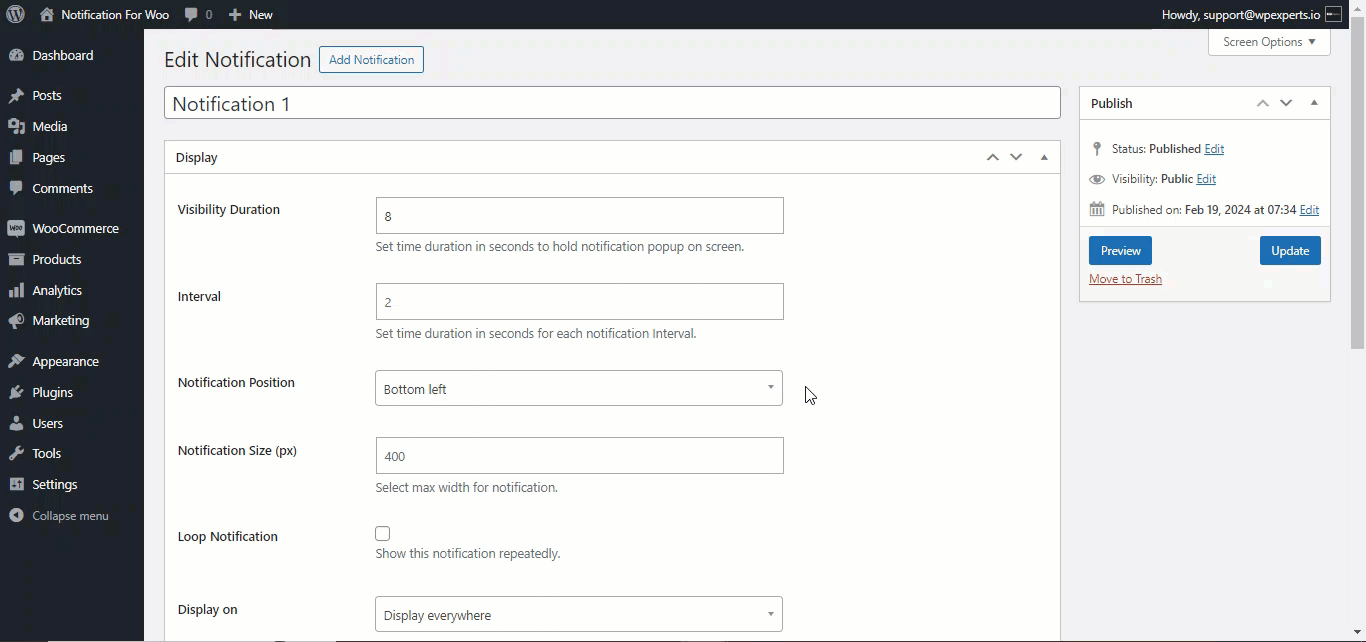
- Set the visibility duration of the notification using the Visibility Duration option. This duration will hold the notification on the screen.
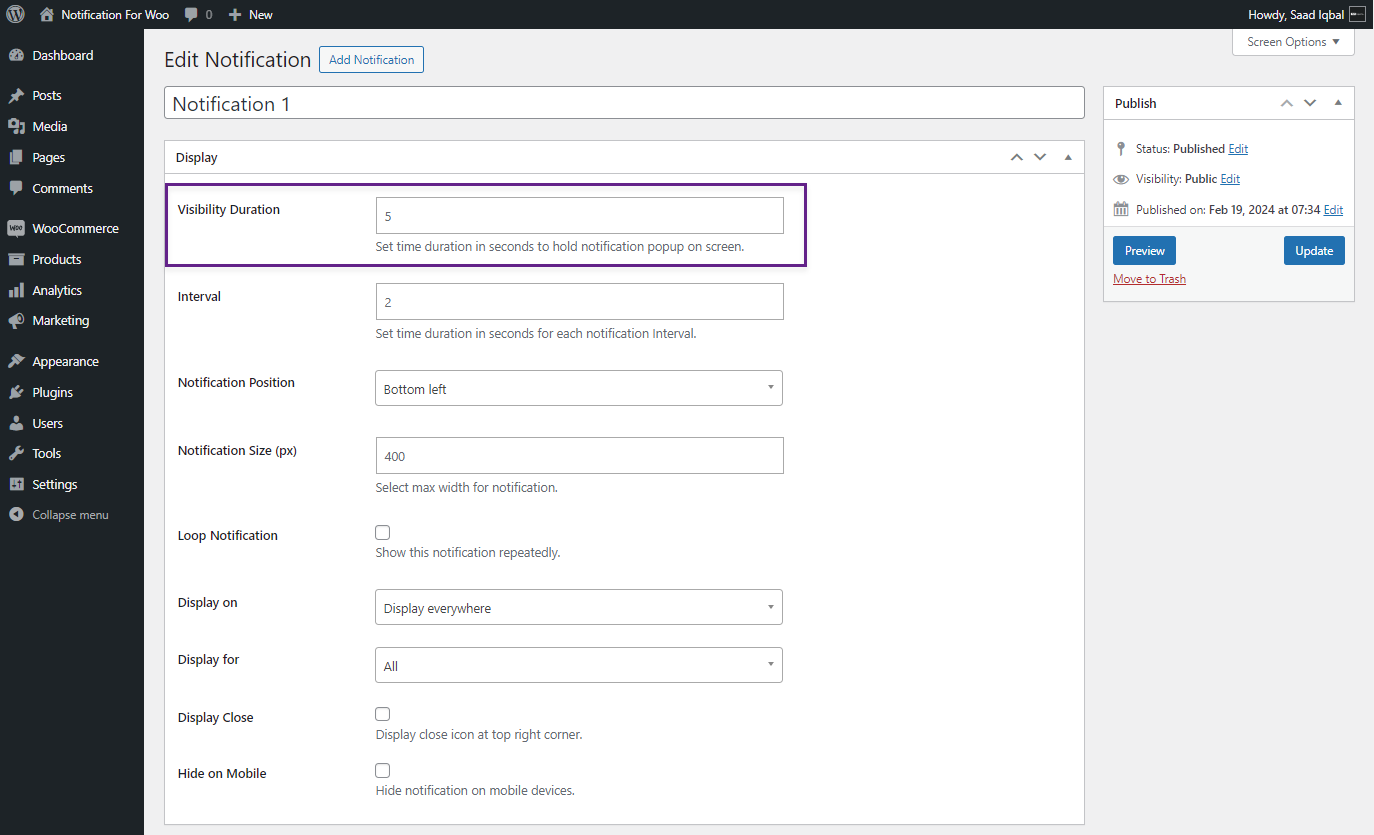
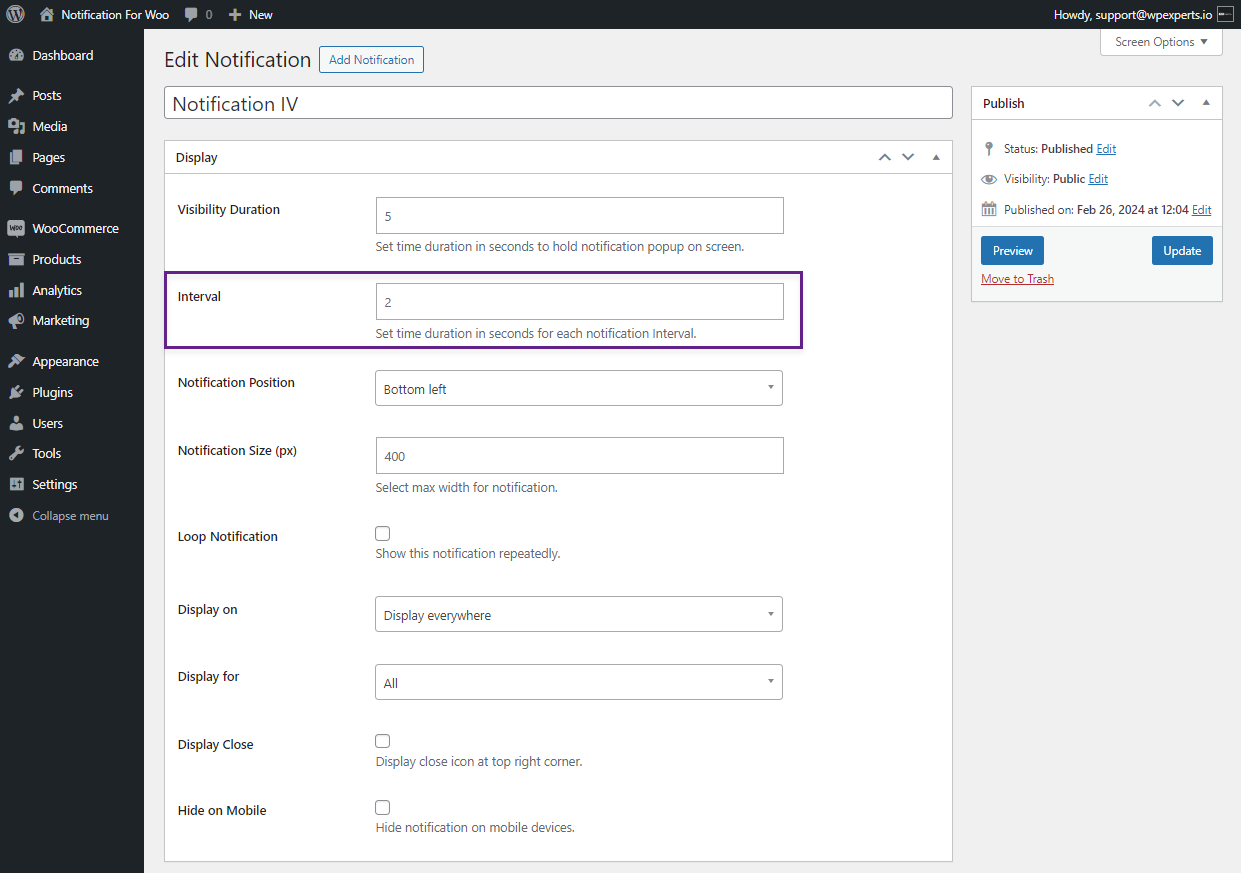
- Use the Interval option to set the interval time for your notification. This will provide a gap between the appearance of two notifications.
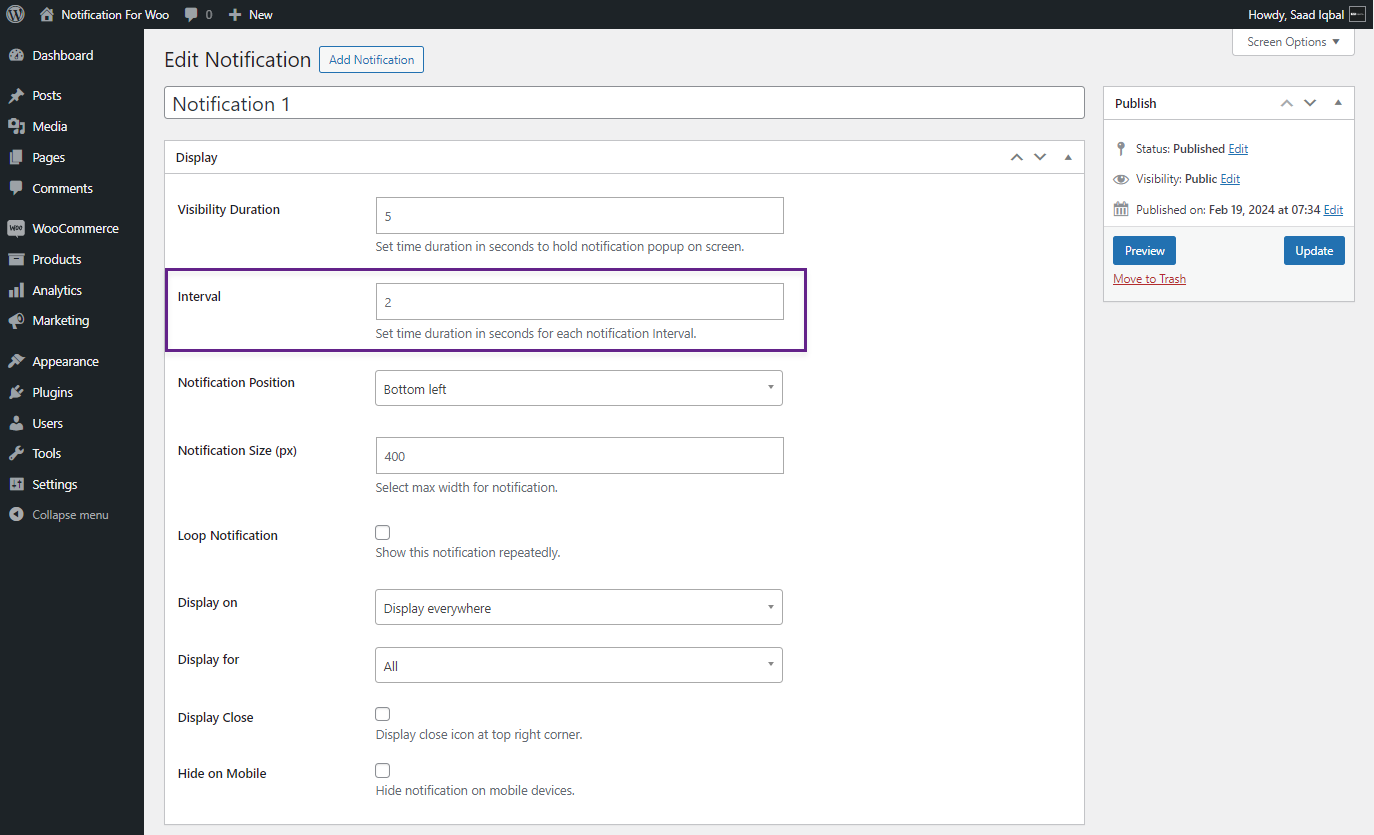
- Set the notification position of your notification by using the Notification Position drop-down list. This option allows you to adjust the position of the notification on the screen.
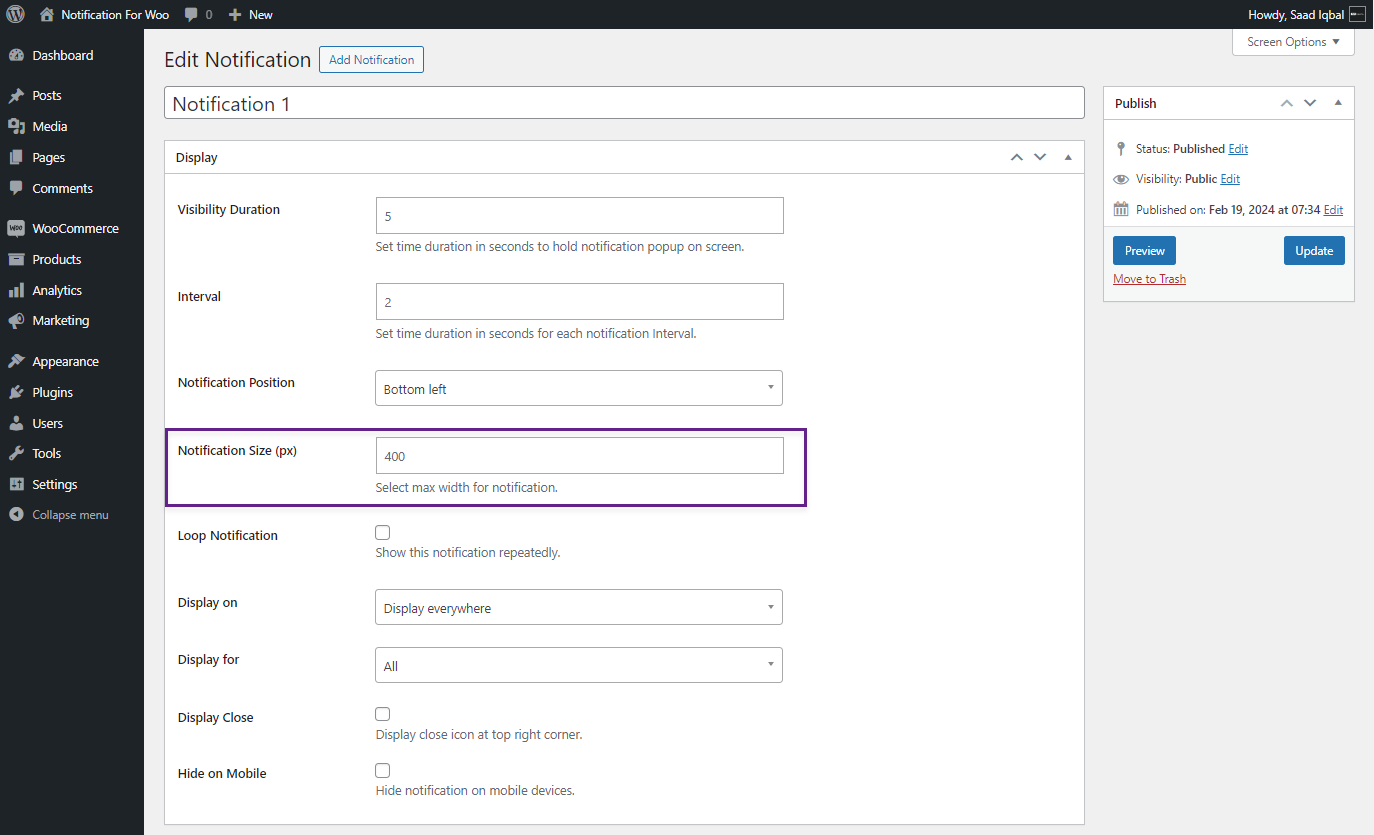
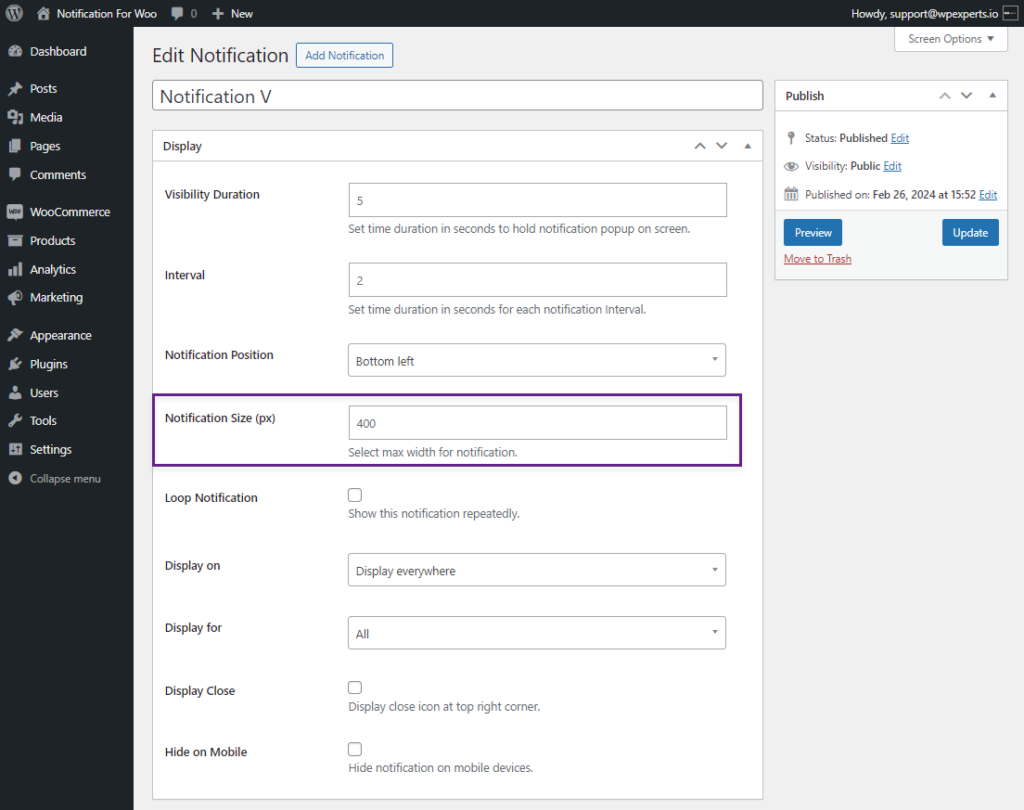
- Adjust notification size using the Notification Size (px) option. This will allow the Administrator to adjust the notification box size.
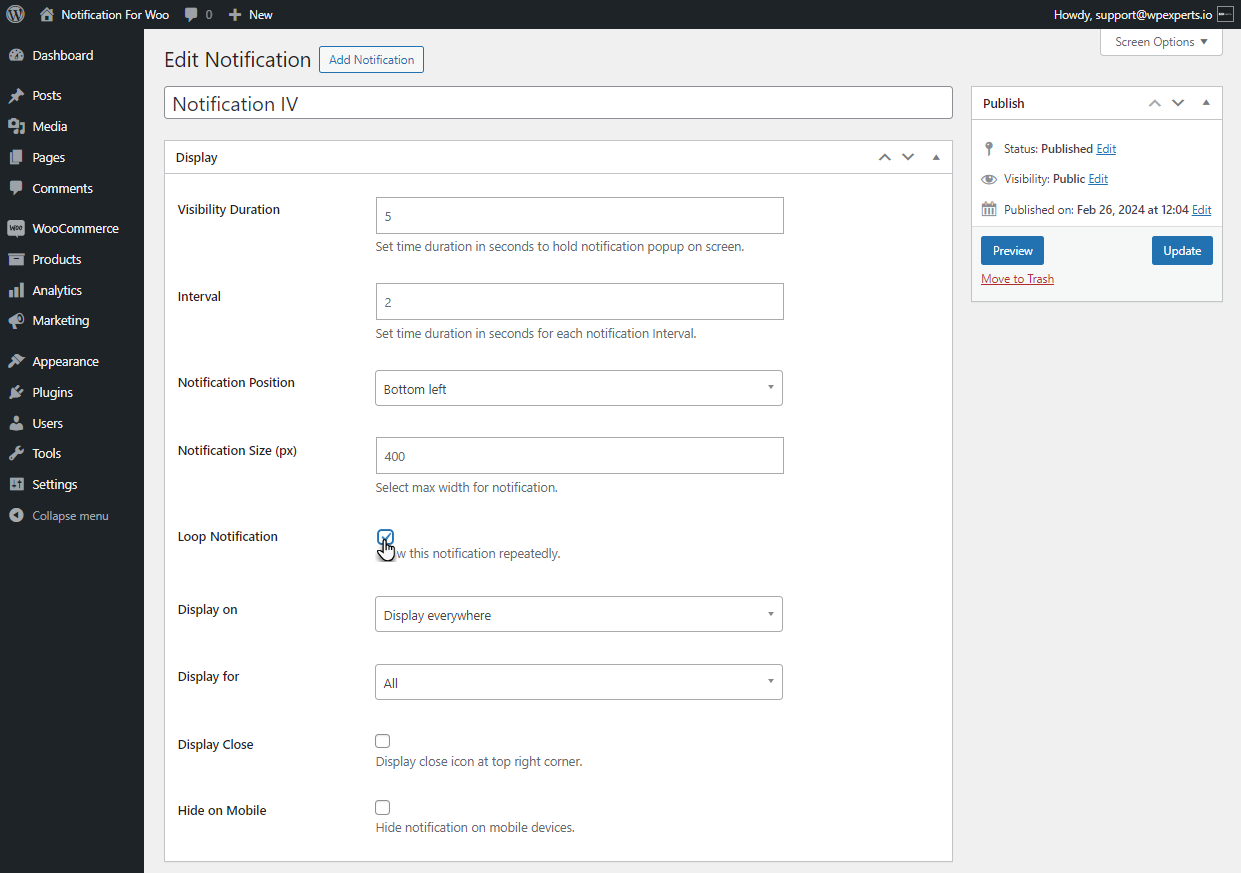
- Enable the Loop Notification option to show your notification on the loop.

- Select where you want to show your notification using the drop-down list in the Display on the option. This allows you to display the notification on all webpages or selected ones.

- Select the user from the drop-down menu you want to notify using the Display for option.

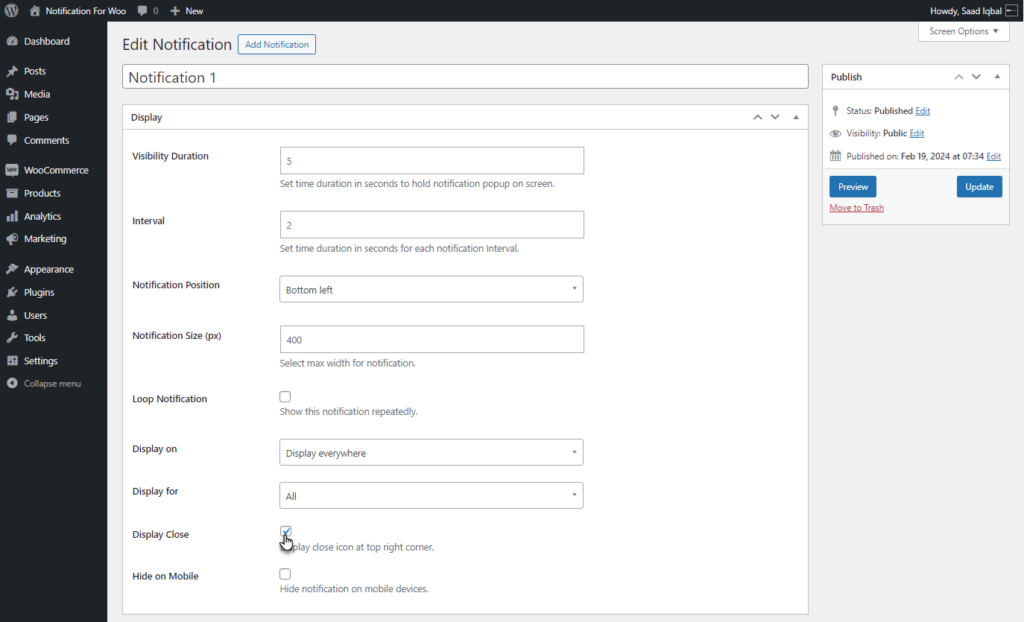
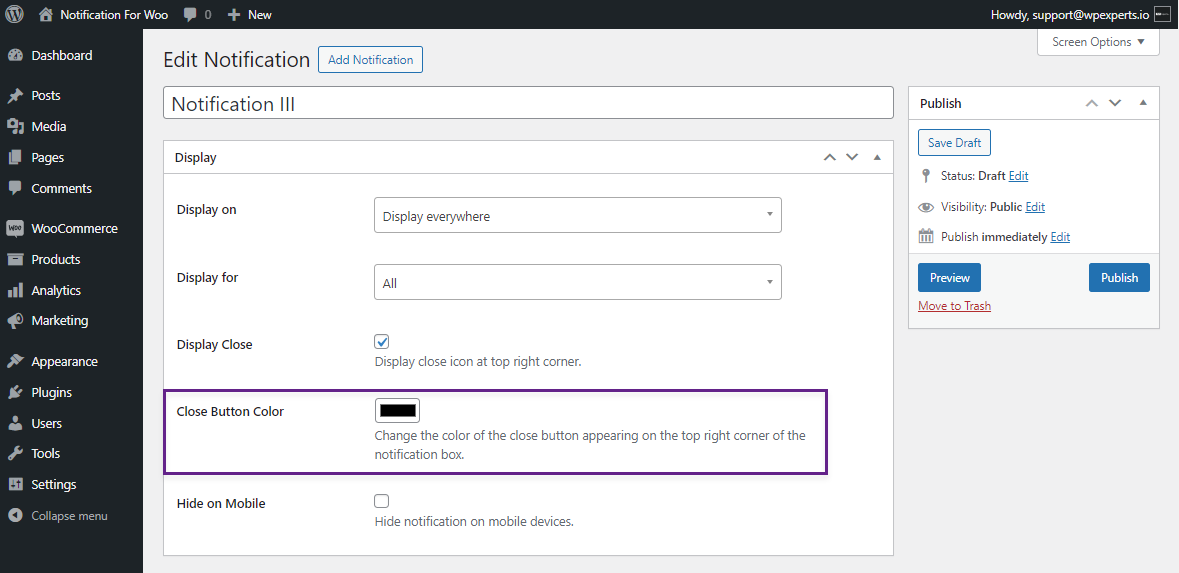
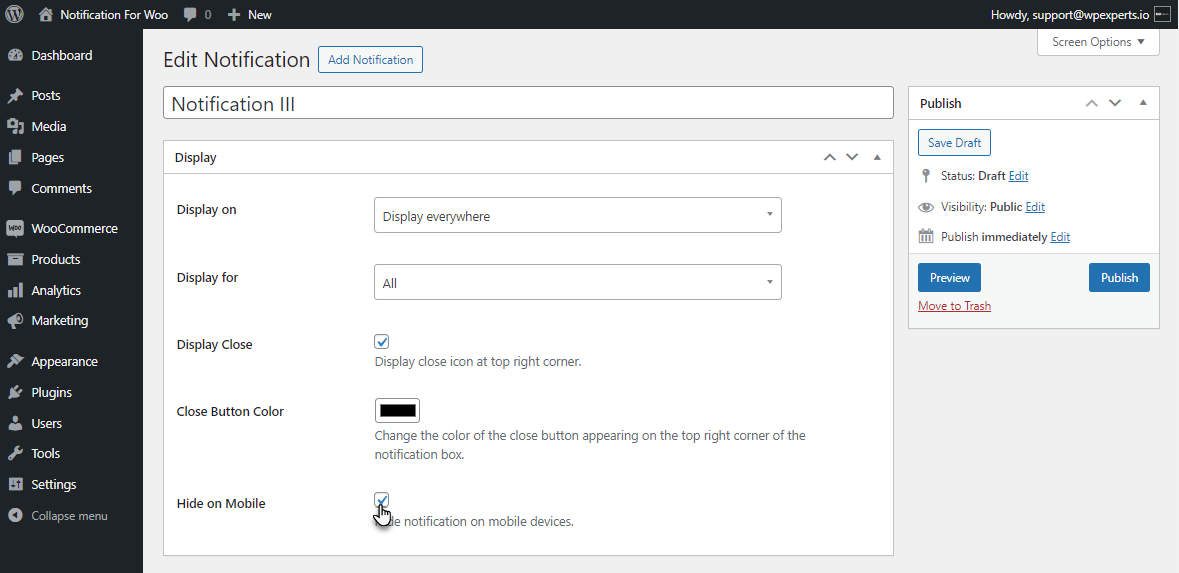
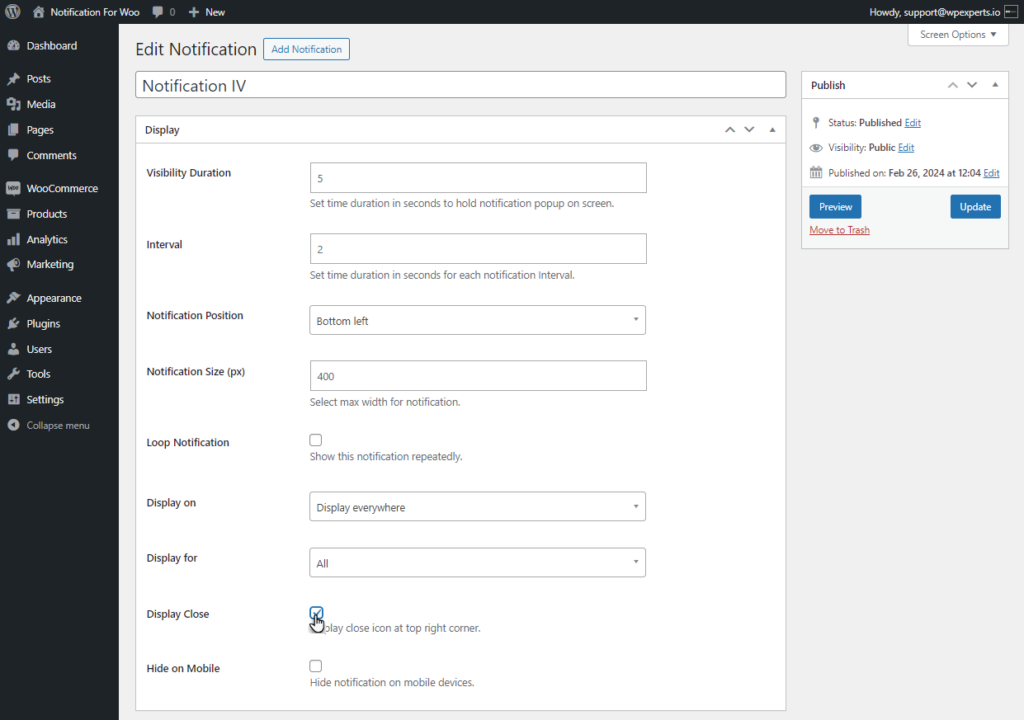
- Enable the Display Close check button to display a close icon on the notification.
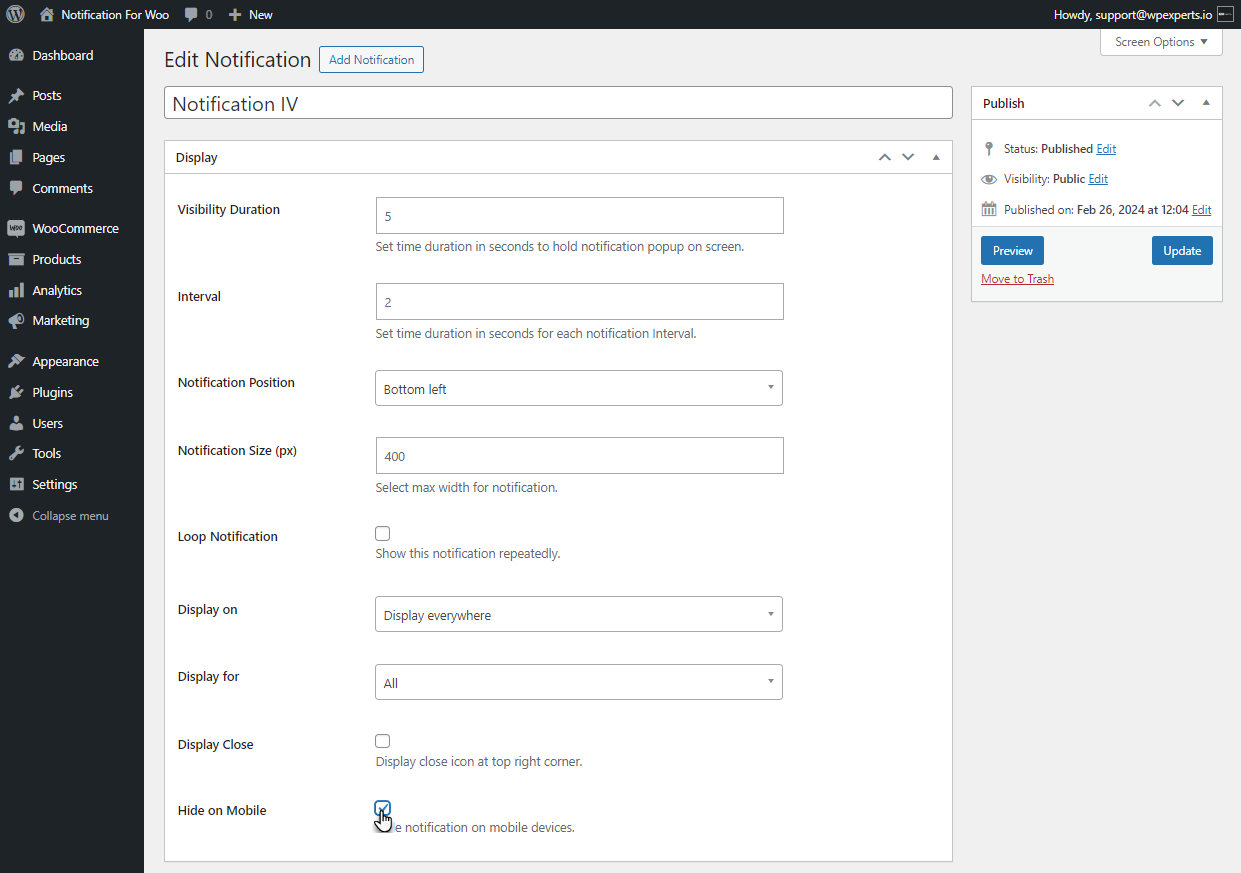
- Enable the Hide on Mobile option to restrict your notification on mobile devices.

- Click on the Preview button to preview your notification.
- Click on the Publish button to publish your notification.

Front End Impact
- Login to your account.
- Go to the Shop page.
- Add a product to the Cart.

- Go to the Cart page.
- Click the Proceed to Checkout button to go to the Checkout page.

- Click on the Place Order button to proceed with your order
- Your Order will be placed and a notification with Predefined Template will arrive on your screen.
Countdown Notification
↑ Back to top- The Countdown Notifications provide real-time updates regarding upcoming product releases or sales events providing a countdown timer to specific products.
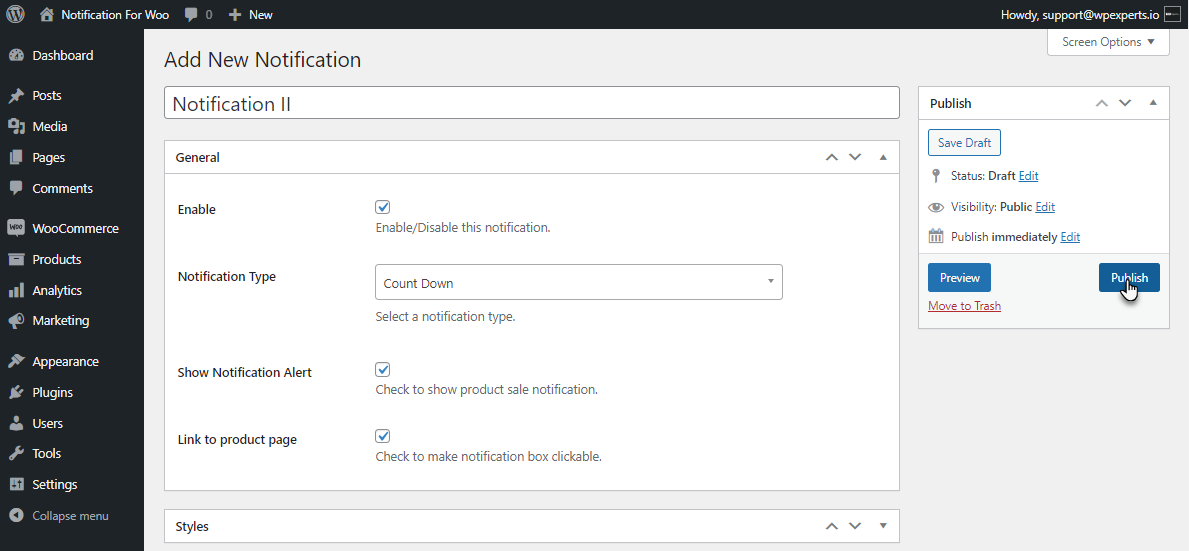
- Go to WordPress AdminDashboard > Notification > Add Notification.
- There will be four tabs to configure your notification.
- General
- Content
- Styles
- Display
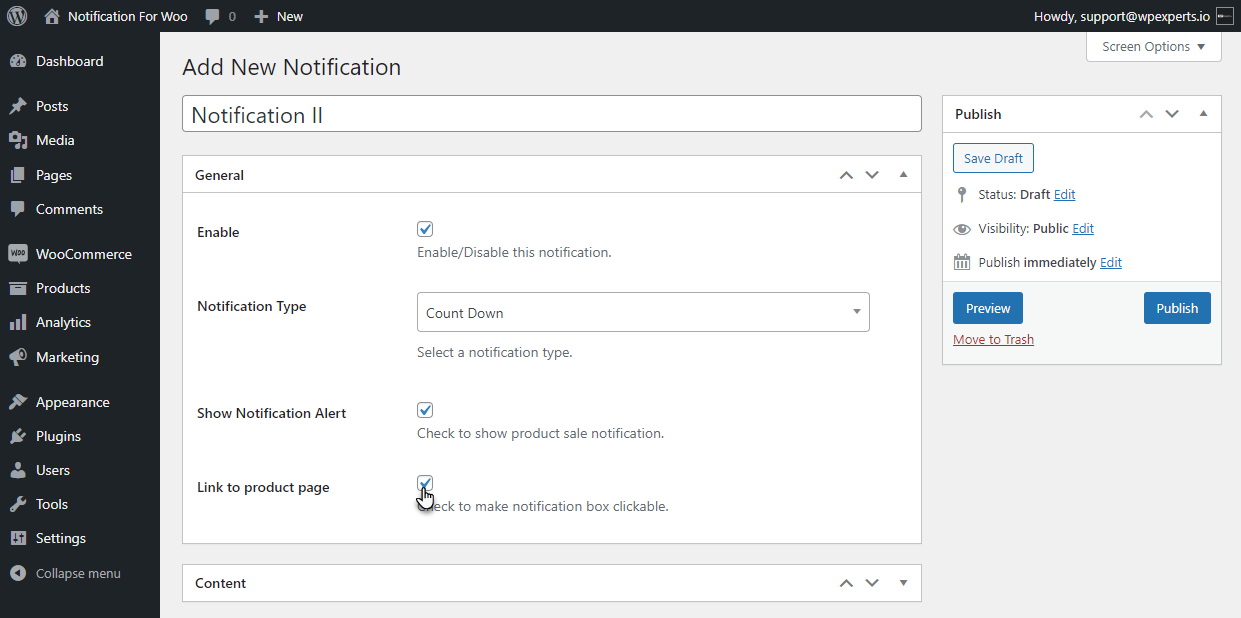
General Tab
- Scroll Down to the General Tab. This tab consists of the General settings of the notification.
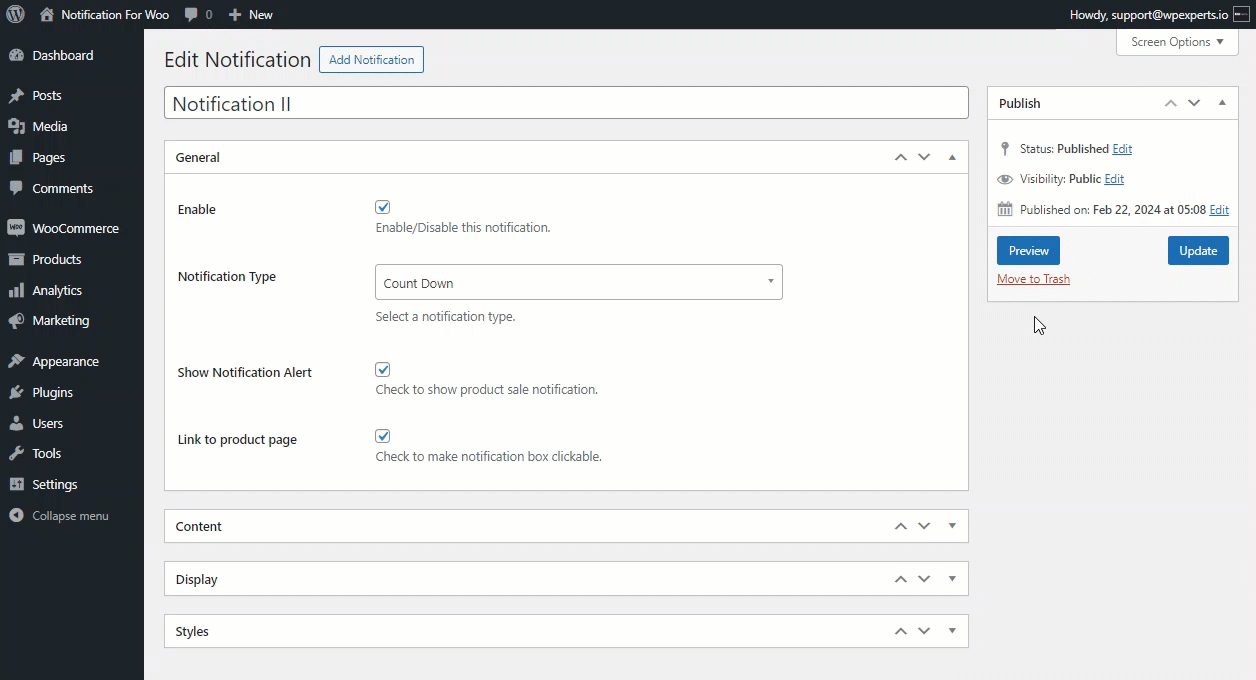
- Enable the Notification by checking the Enable Option.
- Select the Countdown from the drop-down list.

- Check the Show Notification option to show product sale notification.

- Check the Link to Product Page option to navigate the user to the product page.
Content Tab
- Once done with the General tab, move to the Content tab.
- The Content tab allows the user to alter the notification content.
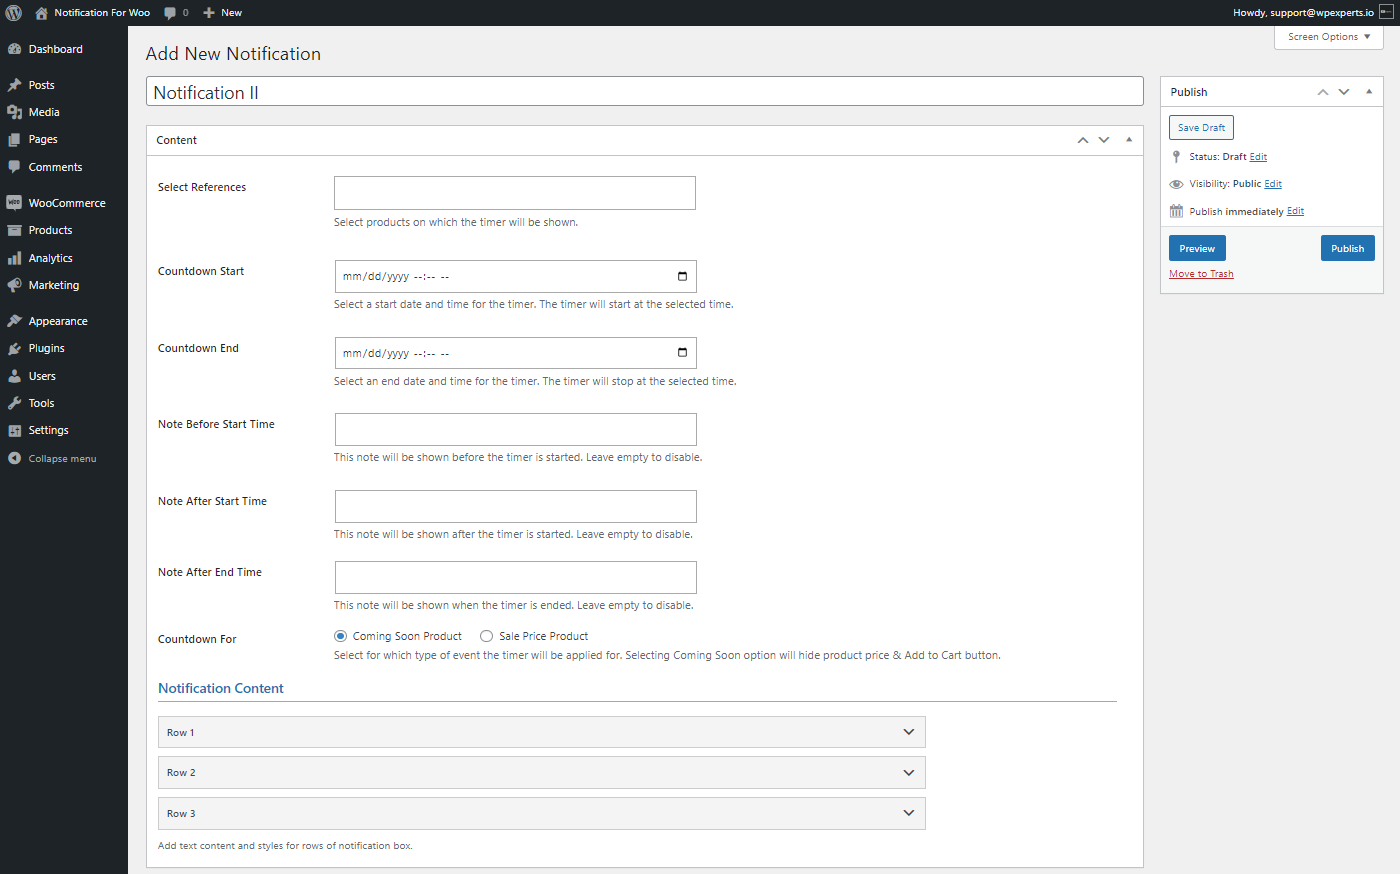
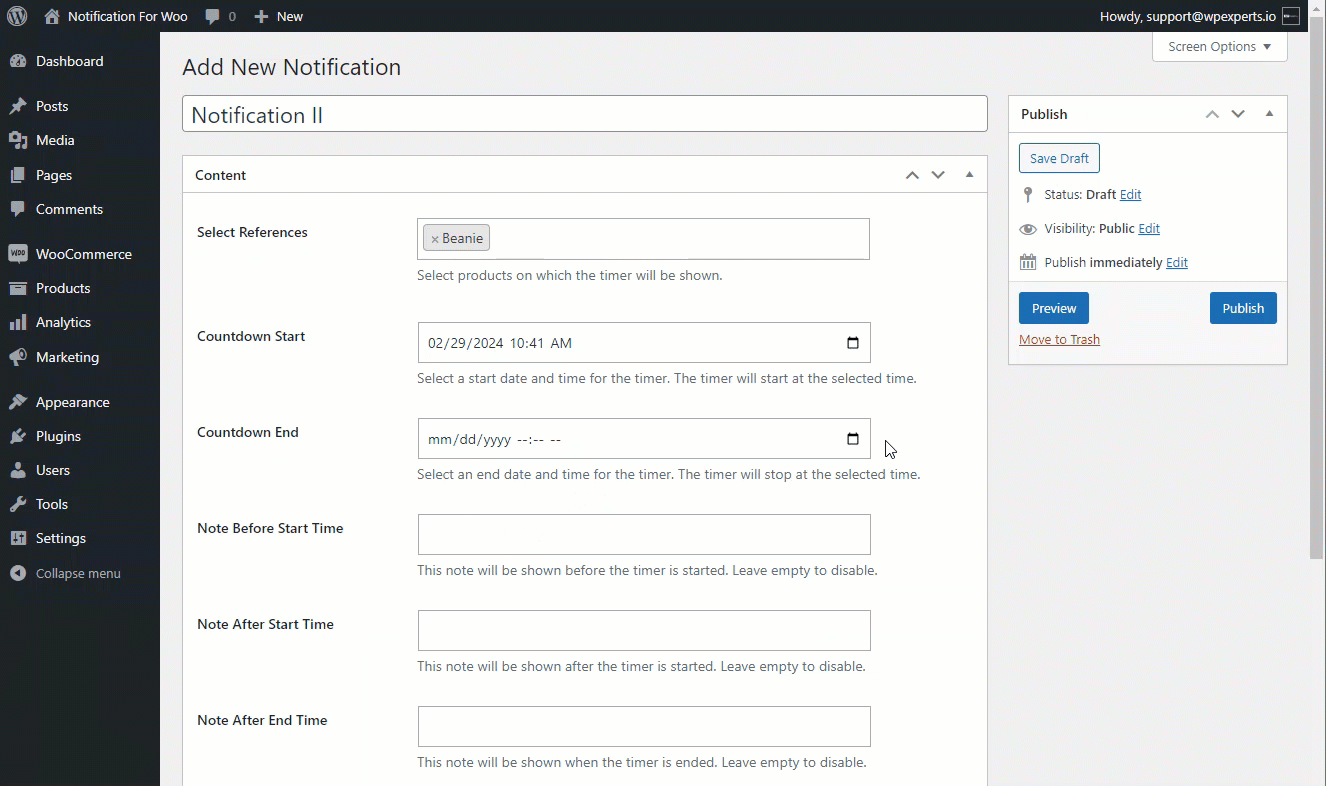
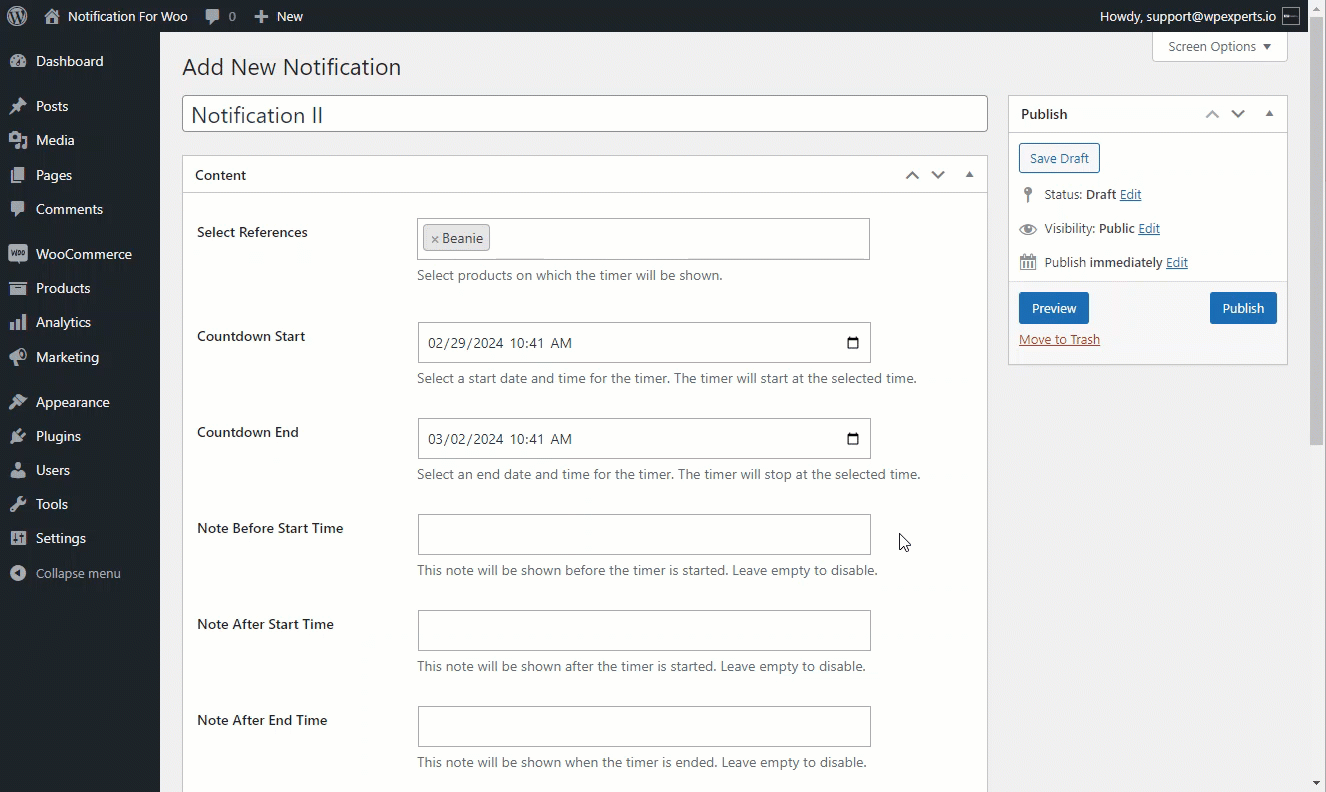
- Select the product in the Select Reference option on which timer will be shown.
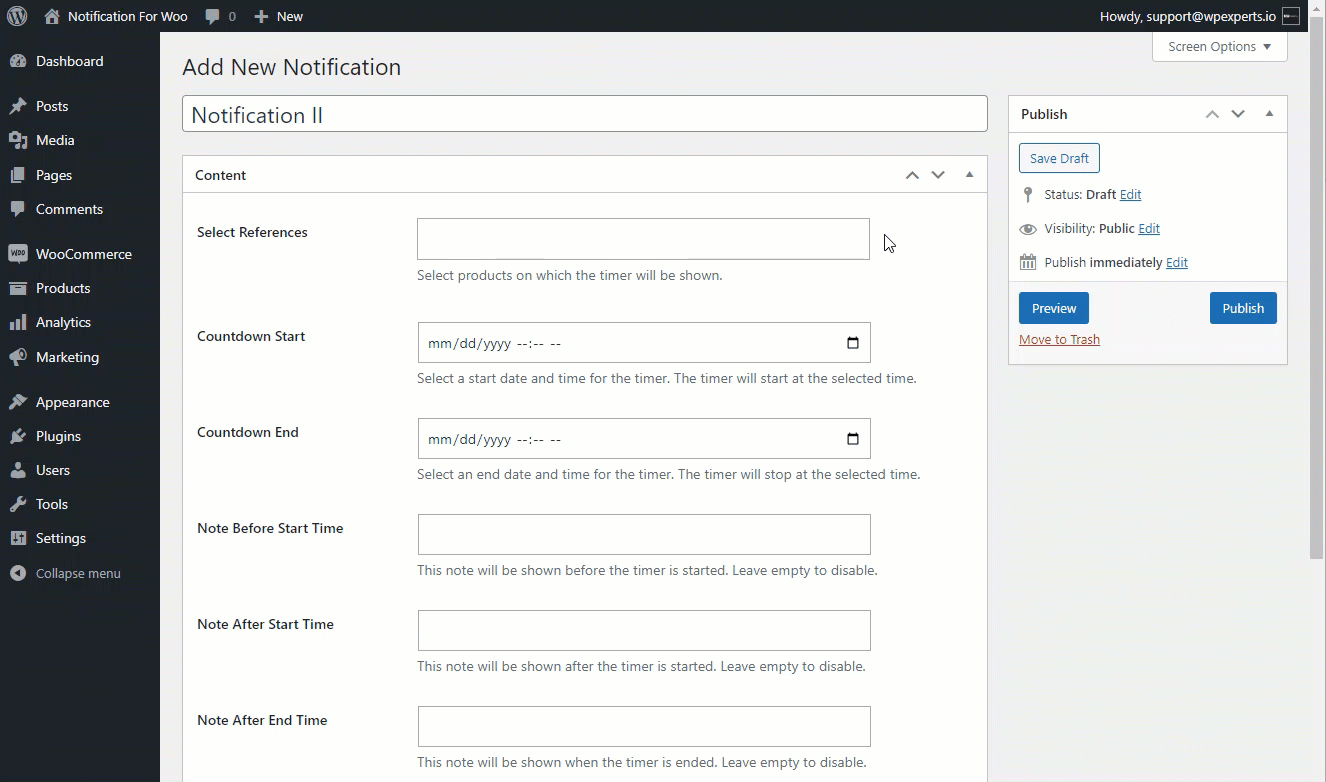
- Select the Start Date and Time in the Countdown Start option. The Countdown will appear respected at this time.

- Select the End Date and Time in the Countdown End option. The Countdown will disappear when the time is up.
- Add a note before the start time to the timer using the Note Before Start Time option.
- Add a note after the start time to the timer using the Note After Start Time option.
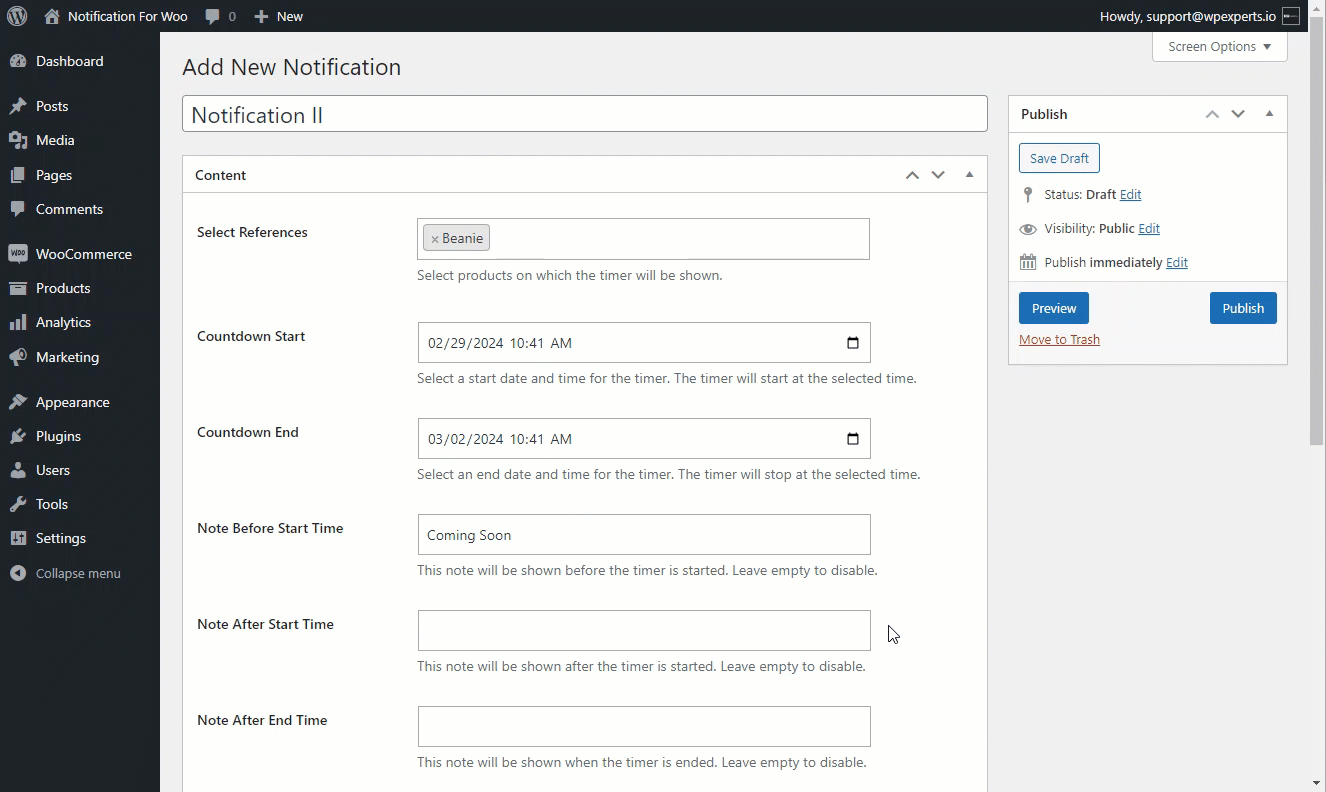
- Add a note after the end time to the timer using the Note After End Time option.

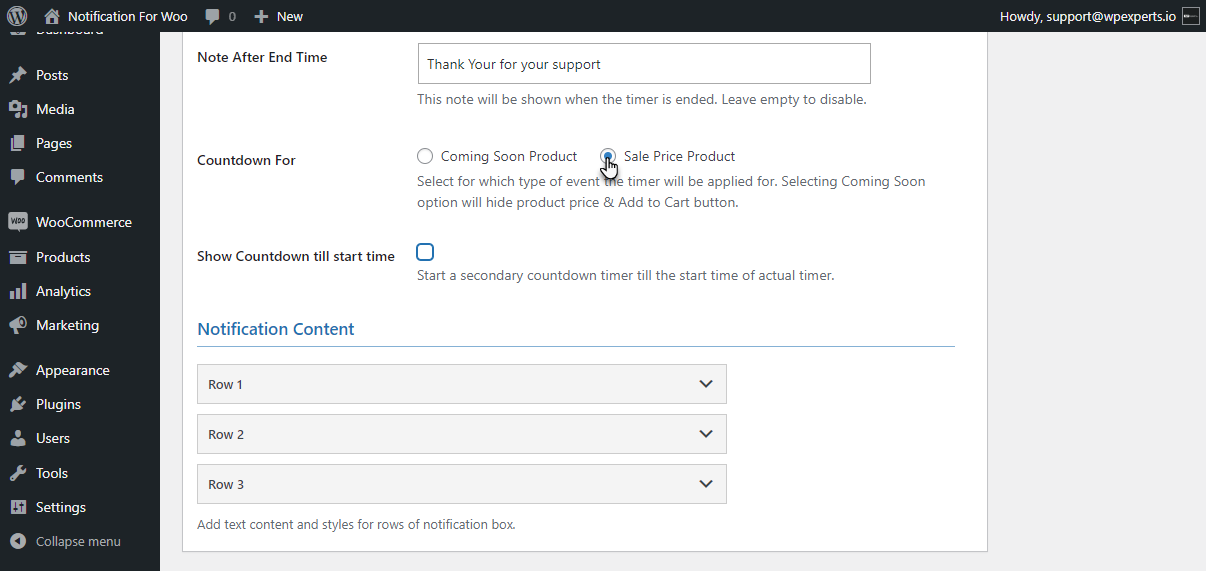
- Select for which type of event the timer will be applied.
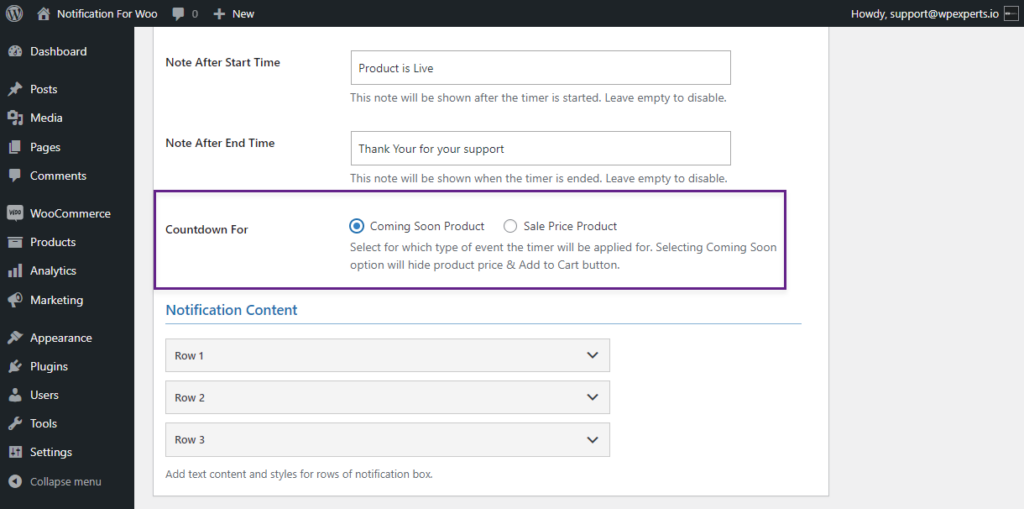
- There are two options for the countdown.
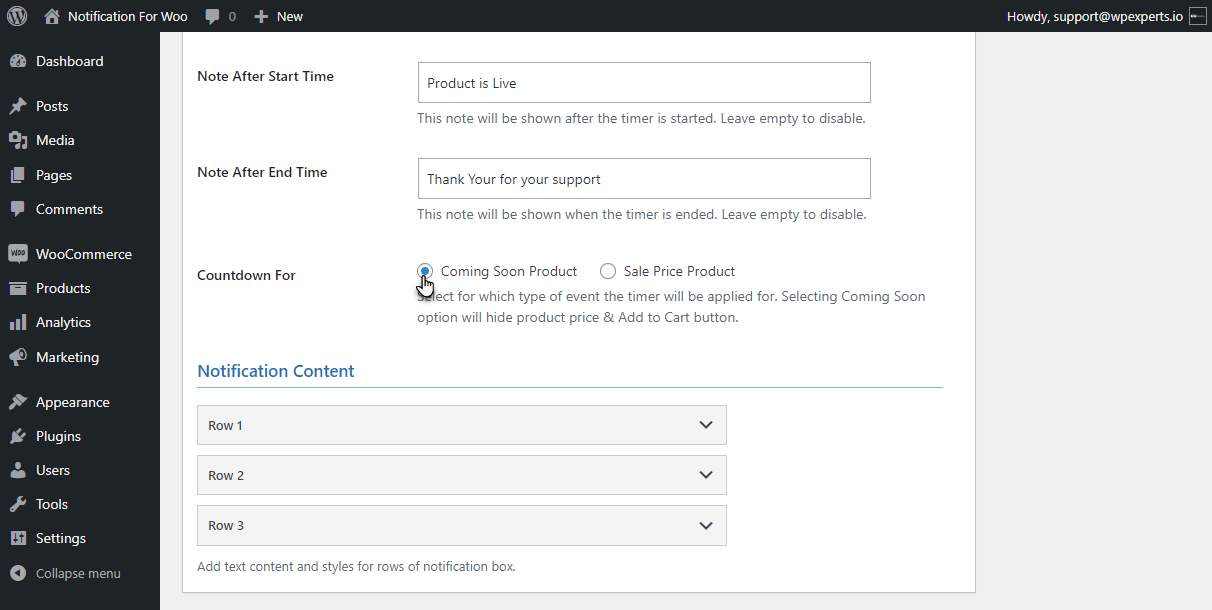
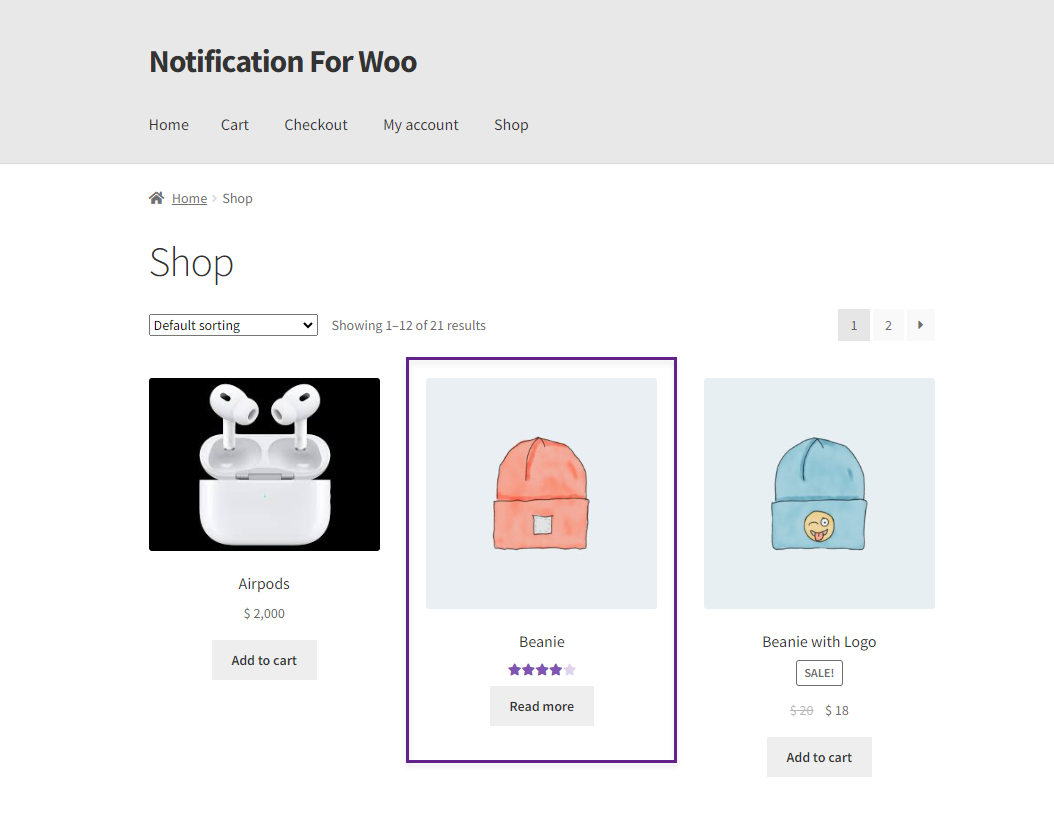
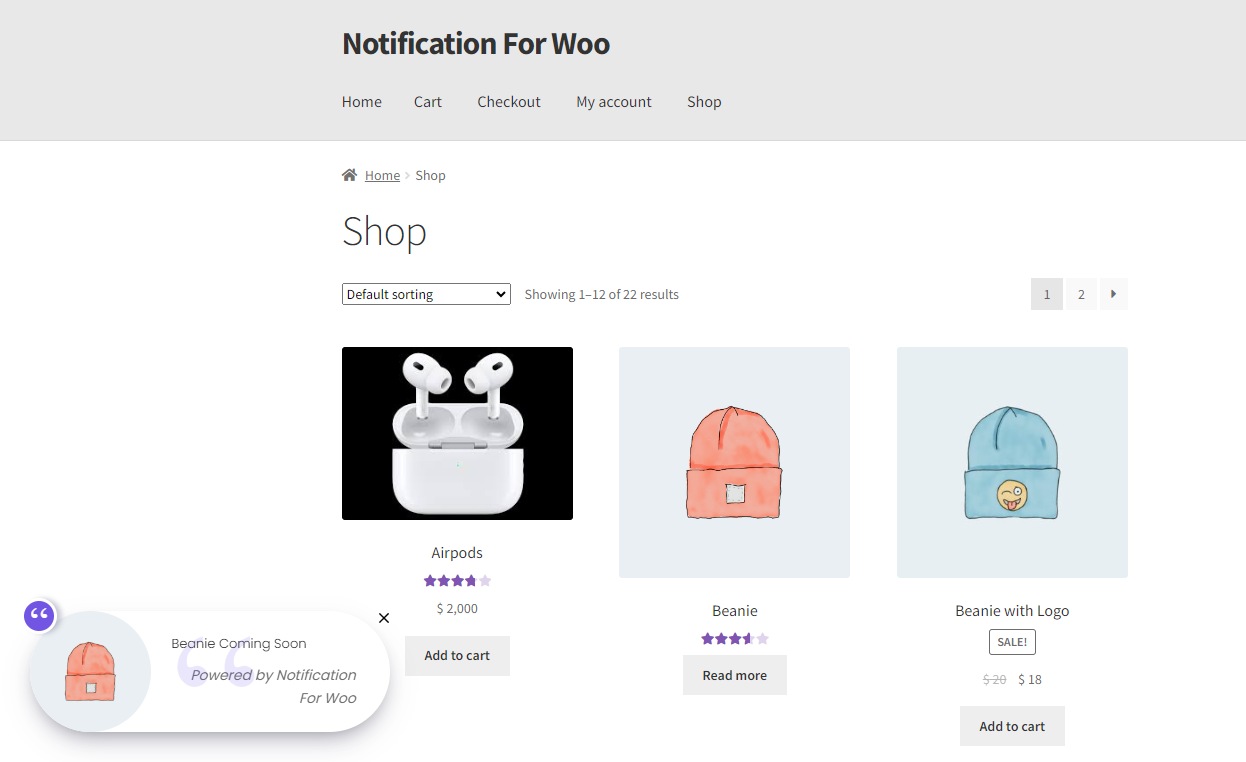
Coming Soon Product
Selecting the Coming Soon option will hide the product price & Add to Cart button.
Front End Impact – Coming Soon
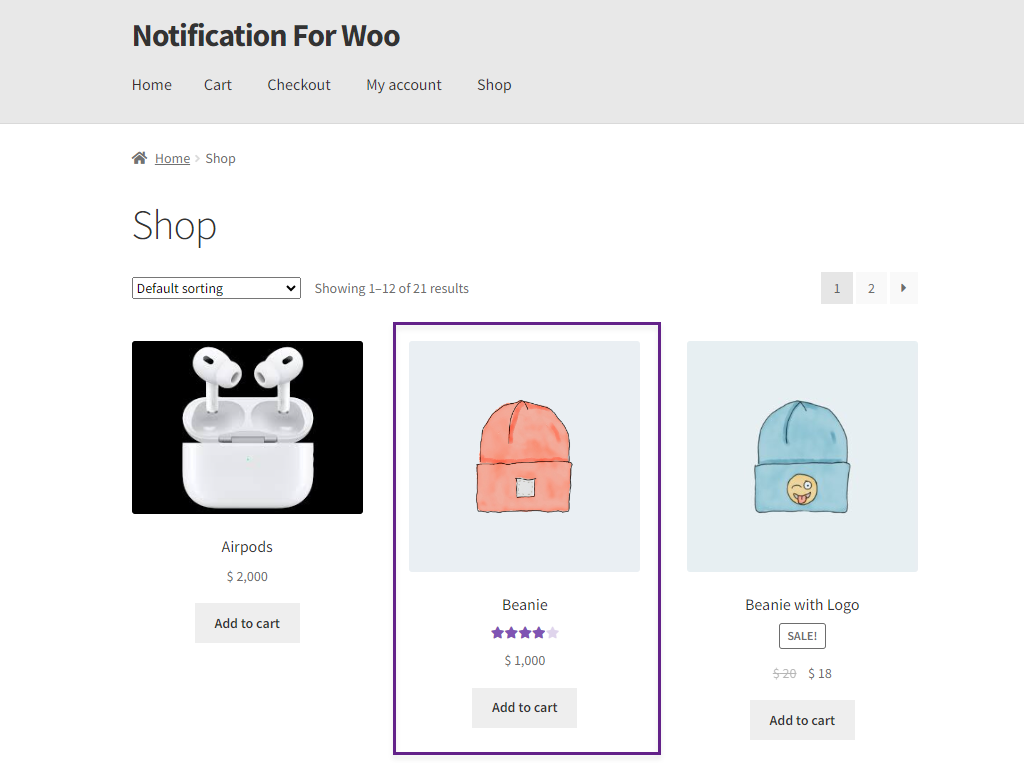
Sale Price Product
Select the Sale Price Product radio button to show the product’s sale price to the user.
Front End Impact – Sale Price Product
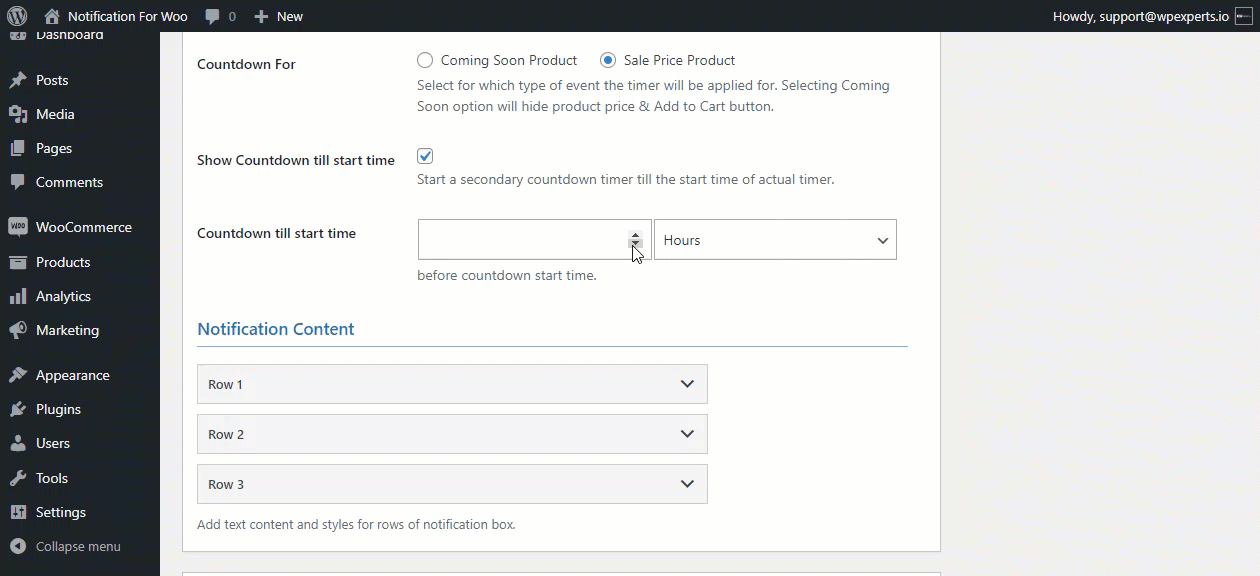
- Select the Show Countdown till the start time option to start the secondary countdown before the actual countdown starts.
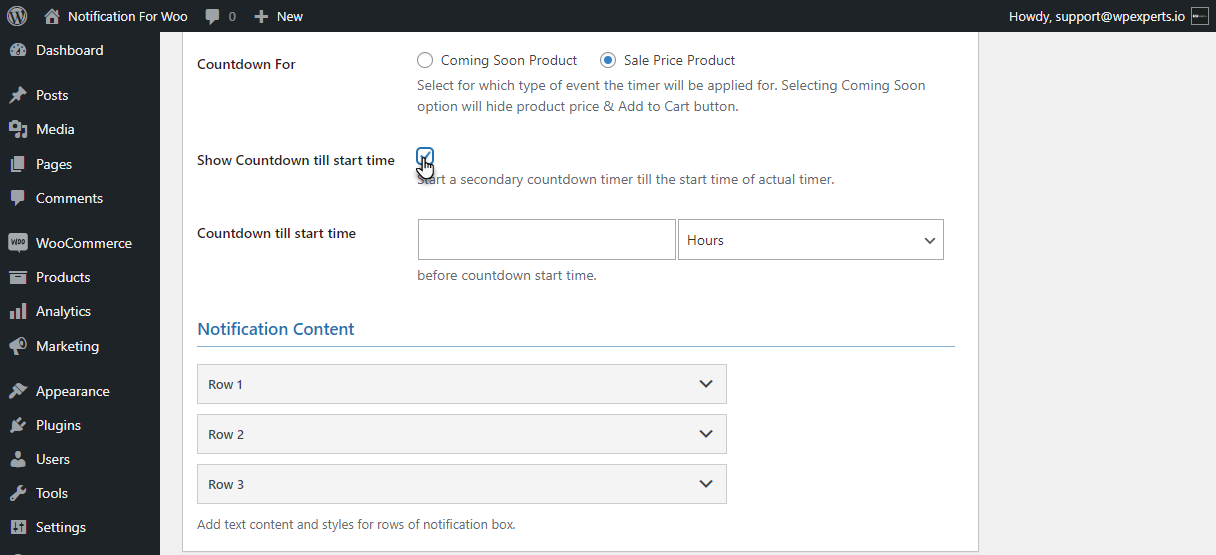
- Add a time in the Countdown till start time option to run countdown before the actual countdown.
- Navigate down to Notification Content in the Content tab.
- There are three rows to configure your notification content.
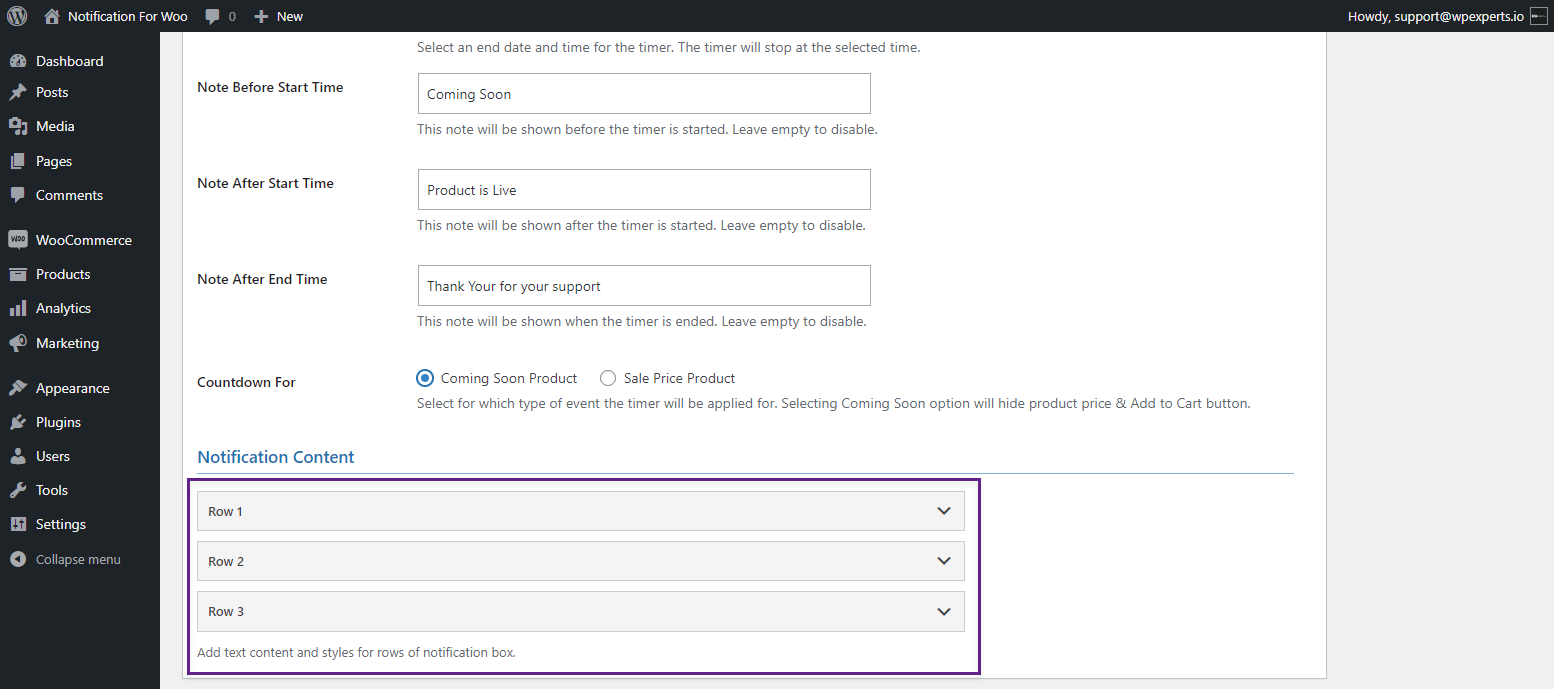
- Click on row to edit it.
- Row can be disabled by using Disable this notification row.
- Add text to the row by using Text option.
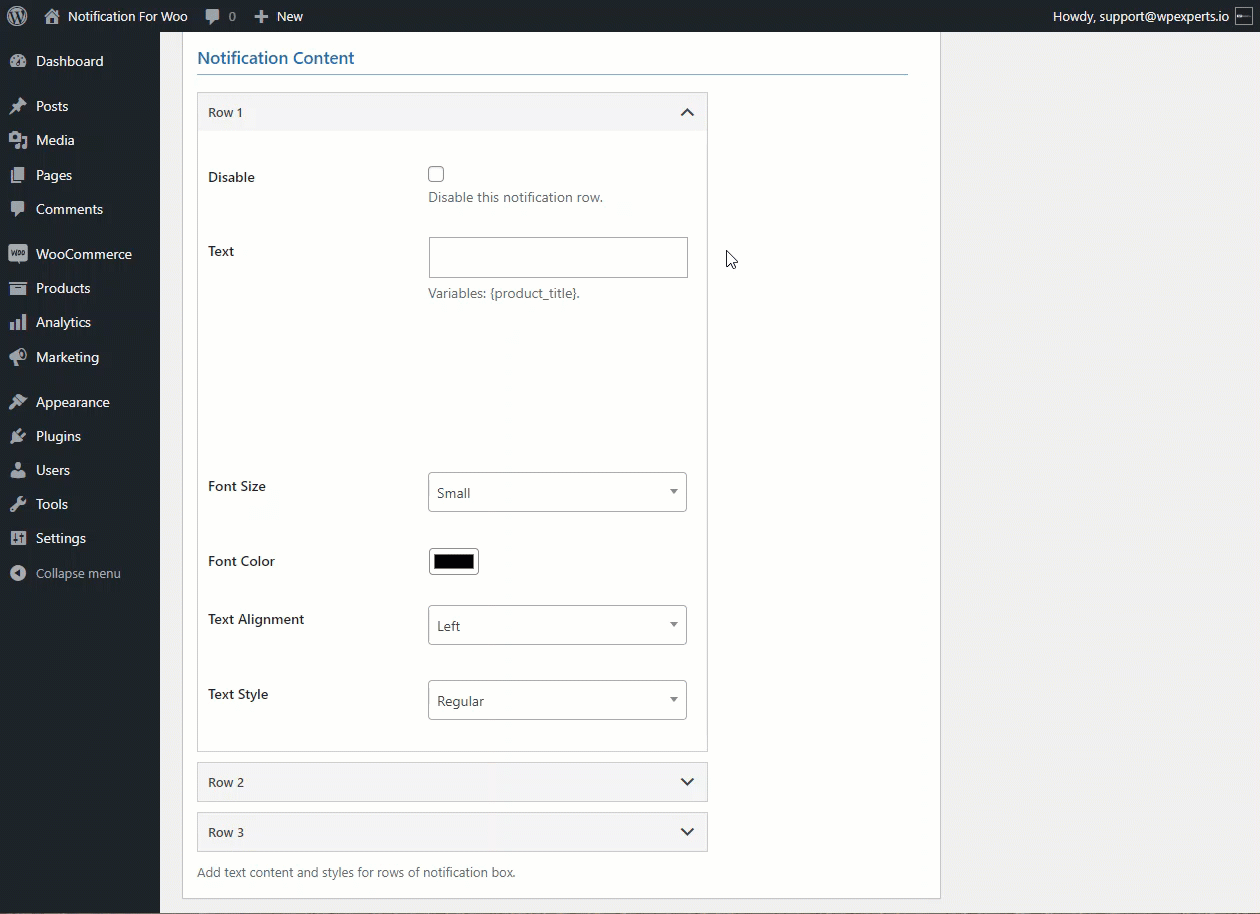
- The font size of text can be changed using the Font Size option. This allows to change the font size of the notification.
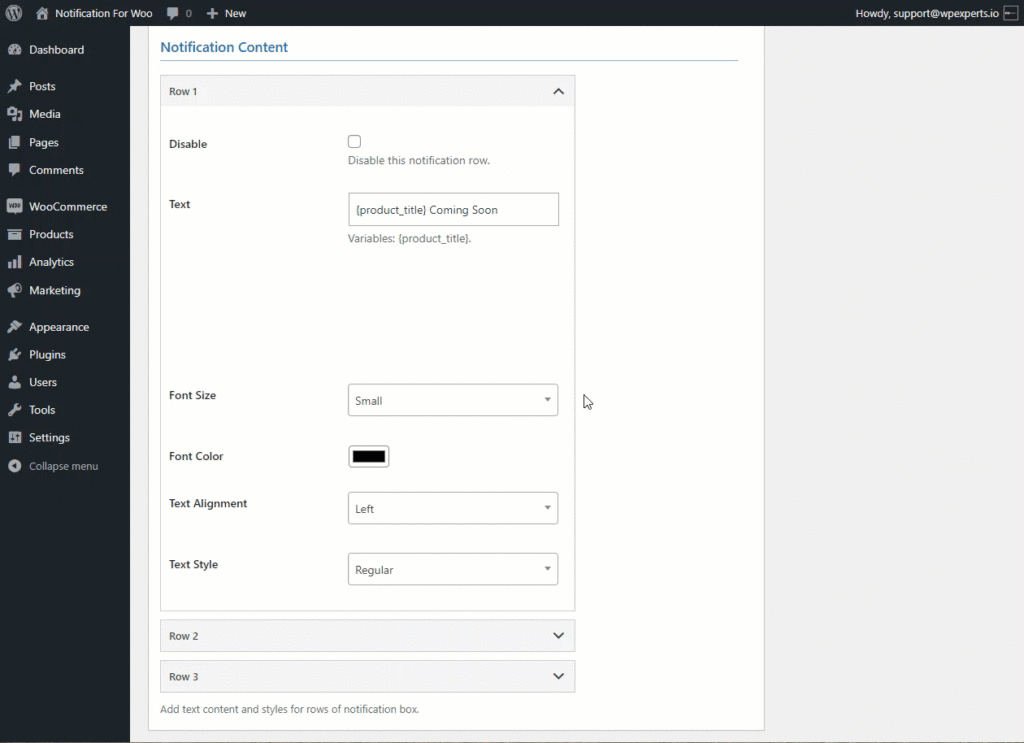
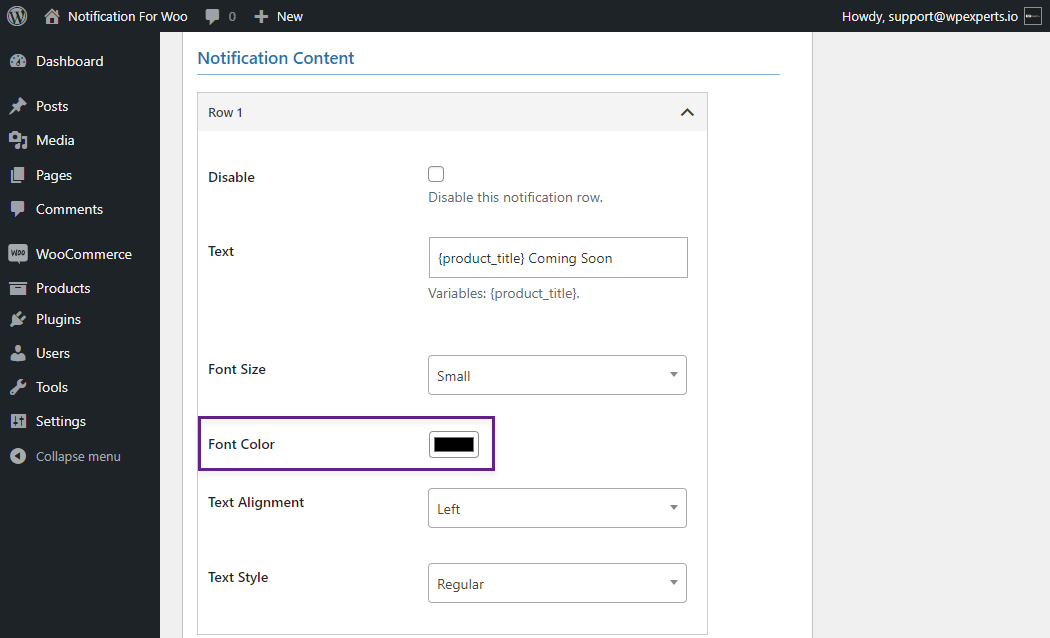
- The font color of the text can be changed using the Font Color option. This allows the color of text within the notification to be changed.

- The Alignment of text can be changed using the Text Alignment option. This allows to allign the text of the particular row in the notification.
- The text style of the text can be changed using the Text Style option. This allows you to change the style of the text in the notification.

PLEASE NOTE: Row 2 and Row 3 can be configured using the same process.
Style Tab
↑ Back to top- After finishing with Content, move to the Styles tab.
- The style tab enables users to style the notification.
- In the style tab, users have two Template Types to show notifications. By default, the Predefined Template radio button will be selected.
Predefined Template
- By default, the Predefined Template radio button will be selected.
- There are three Predefined templates provided for the user.
- Select Template from the Select Template option.
- After selecting Template, There’s a View button to preview the template.
- The template will be previewed on the same settings page.
- The background color of the notification can be changed using the Background Color option.
- In the image section, select the image for the notification.
PLEASE NOTE: Image options are explained briefly in the Conversion Notification Configurations.
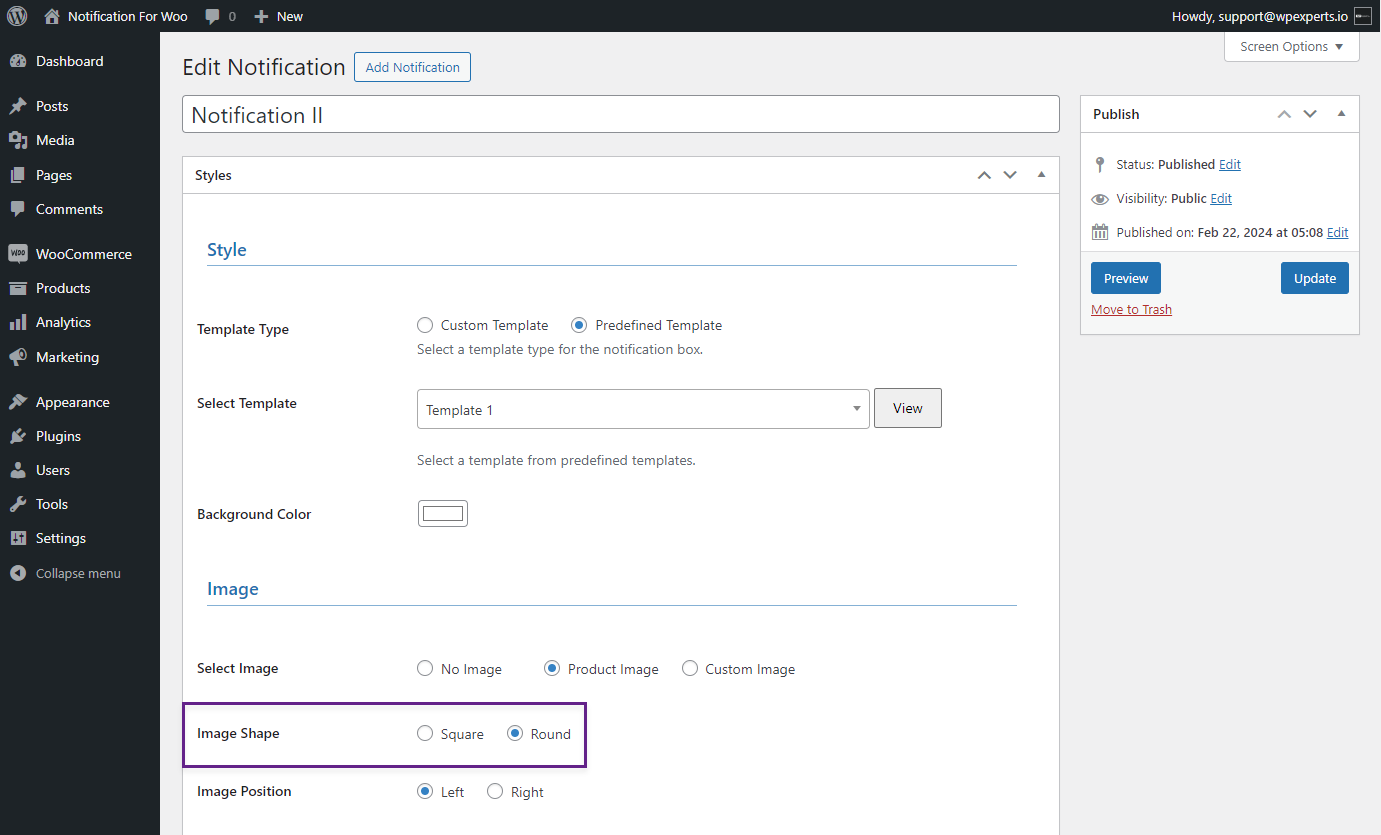
- Select the image’s shape for the notification from the Image Shape option.
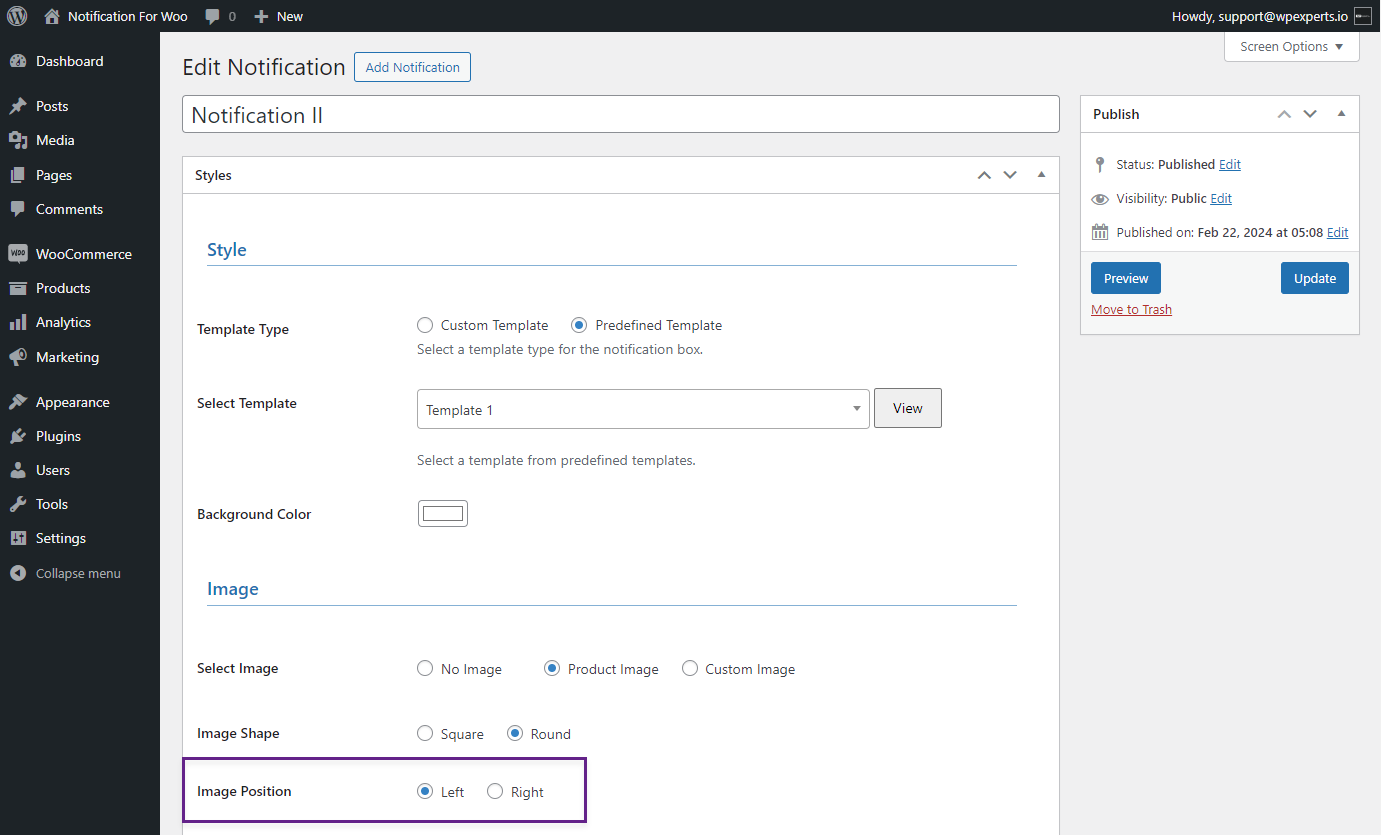
- Select the position of the image for the notification from the Image Position option. This allows the position of the image to be changed in the notification.
- In the animation section, the user can select the enter animation of the notification from the Enter Animation drop-down list.
- Similarly, animation can be added for the exit of notification using the Exit Animation drop-down list.
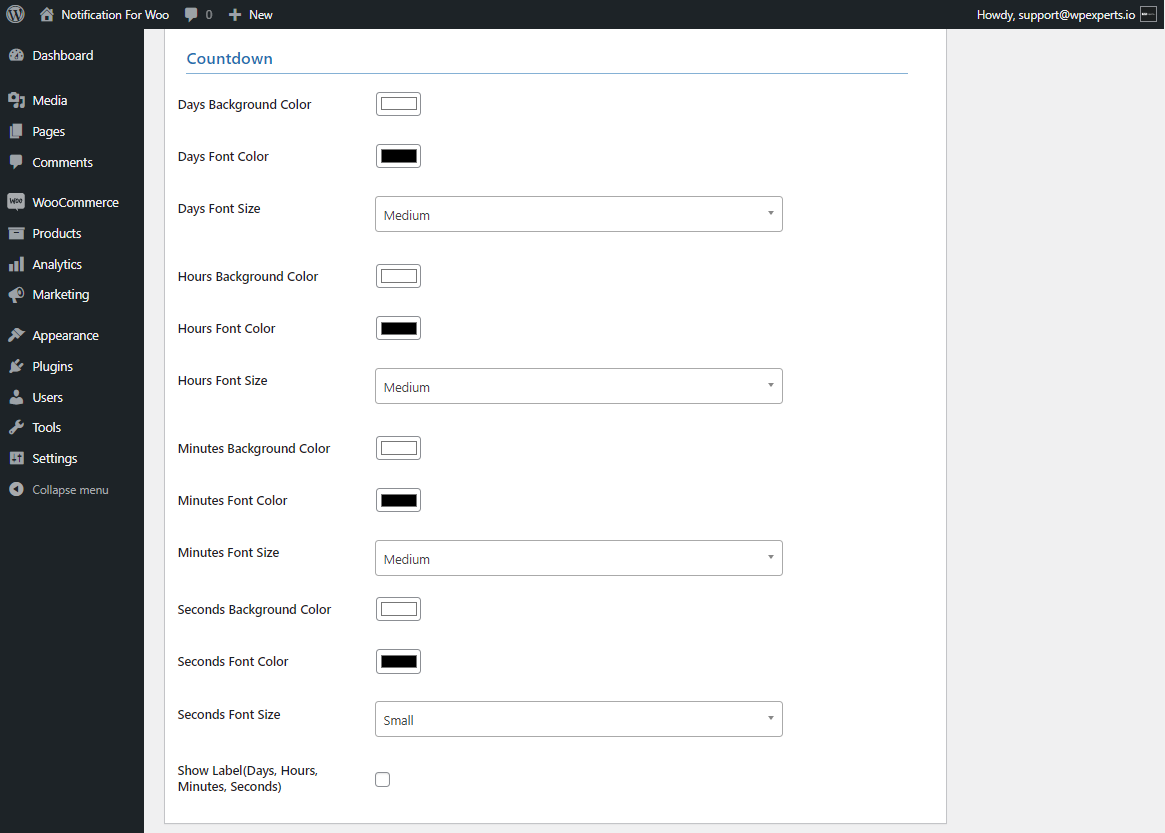
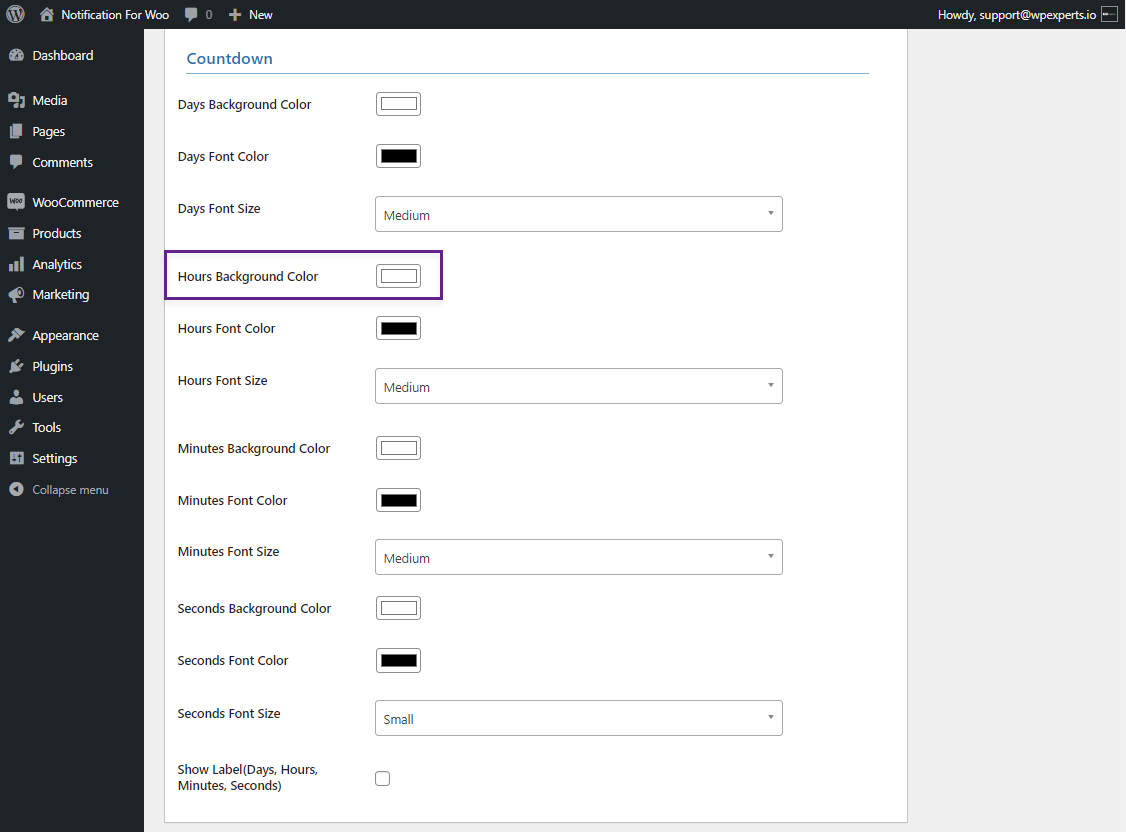
- Scroll down to the Countdown section. The configuration of the Countdown will be done in this section.
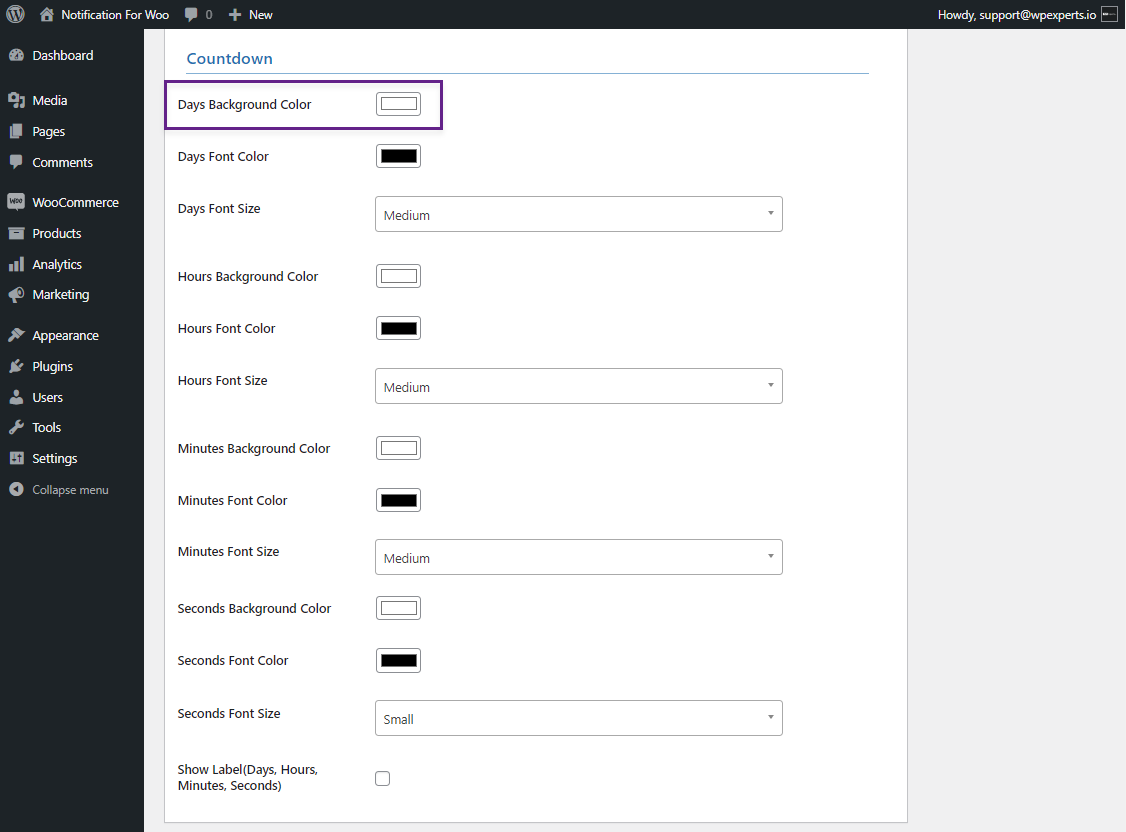
- The background color of days can be changed using the Days Background Color option.

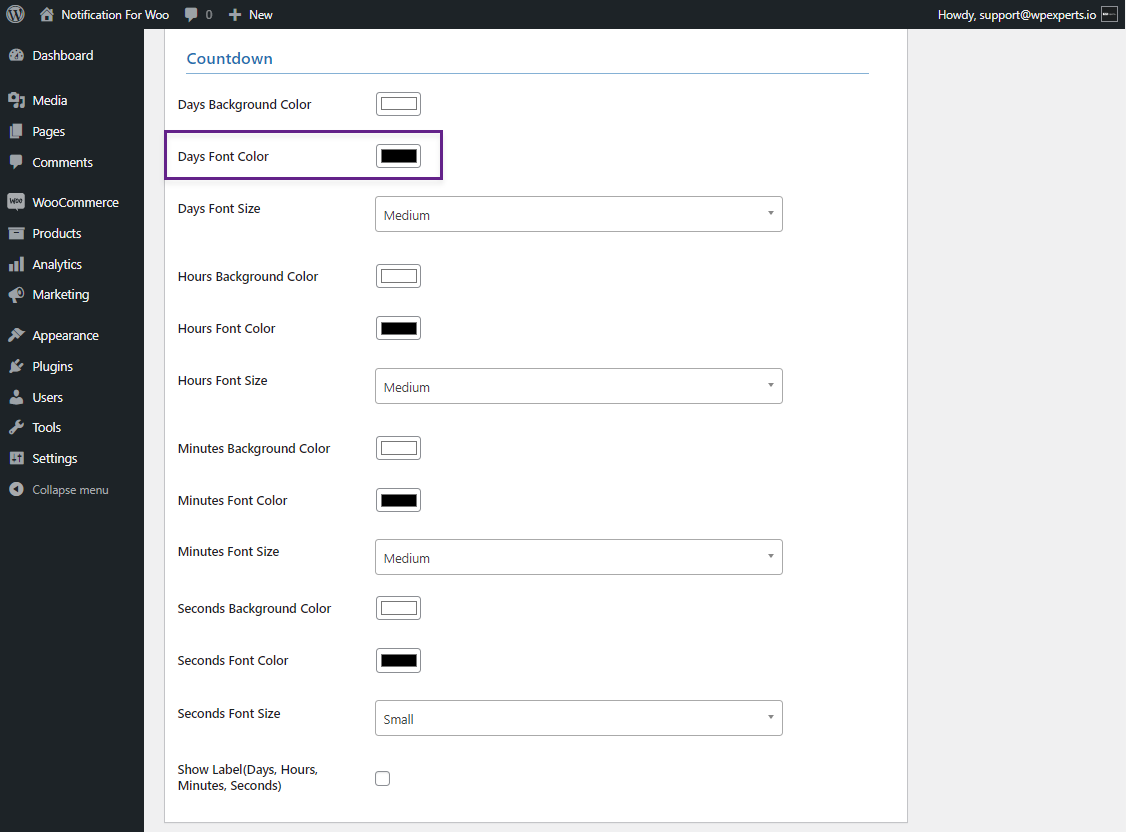
- The font color of days can be changed using the Days Font Color option.
- The font size of days can be changed using the Days Font Size option.
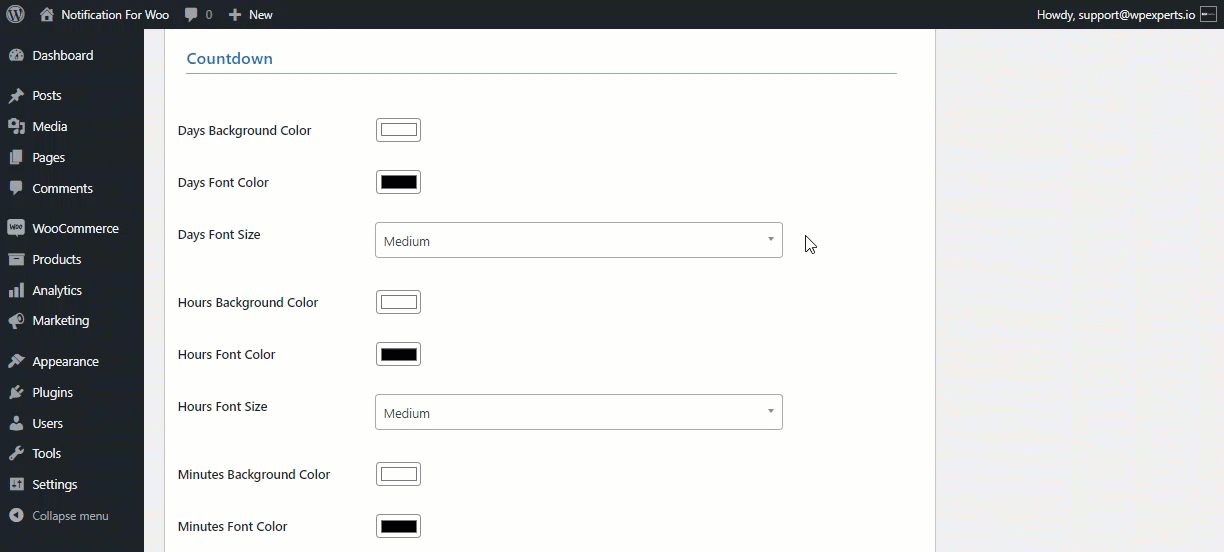
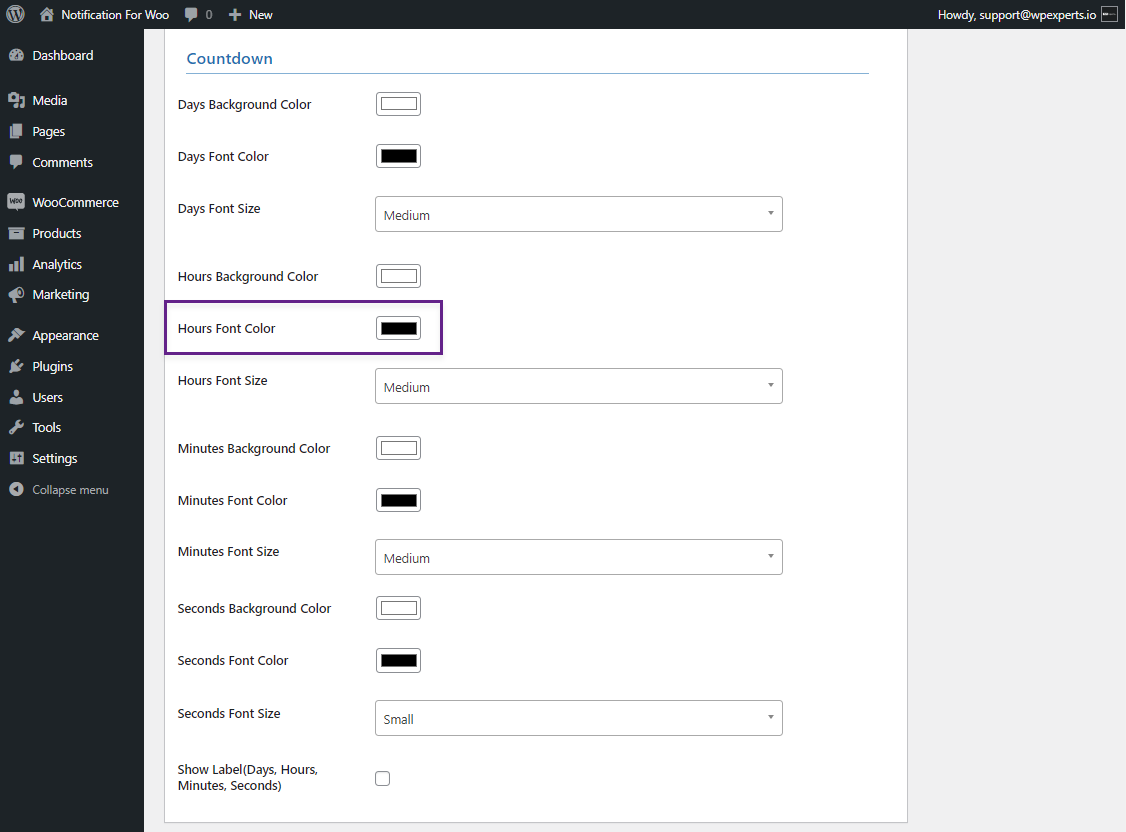
- The background color of hours can be changed using the Hours Background Color option.
- The font color of hours can be changed using the Hours Font Color option.
- The font size of Hours can be changed using the Hours Font Size option.

- The background color of minutes can be changed using the Minutes Background Color option.
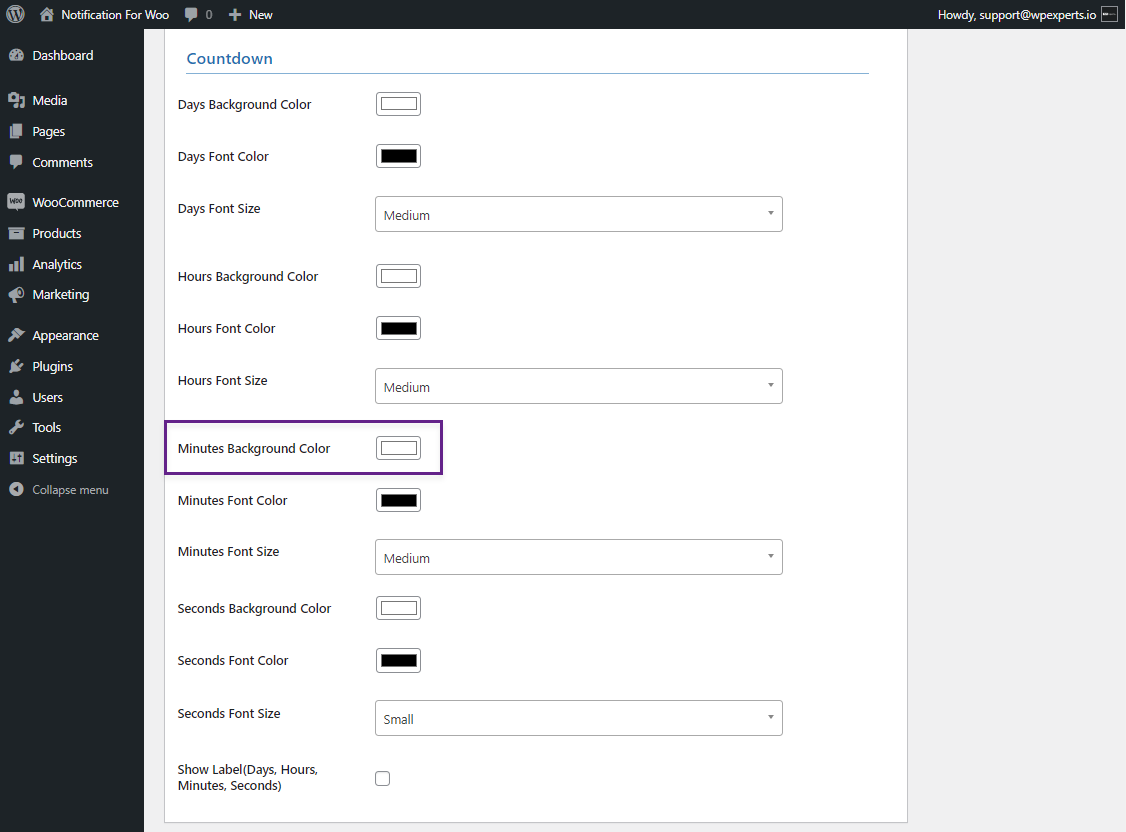
- The font color of minutes can be changed using the Minutes Font Color option.
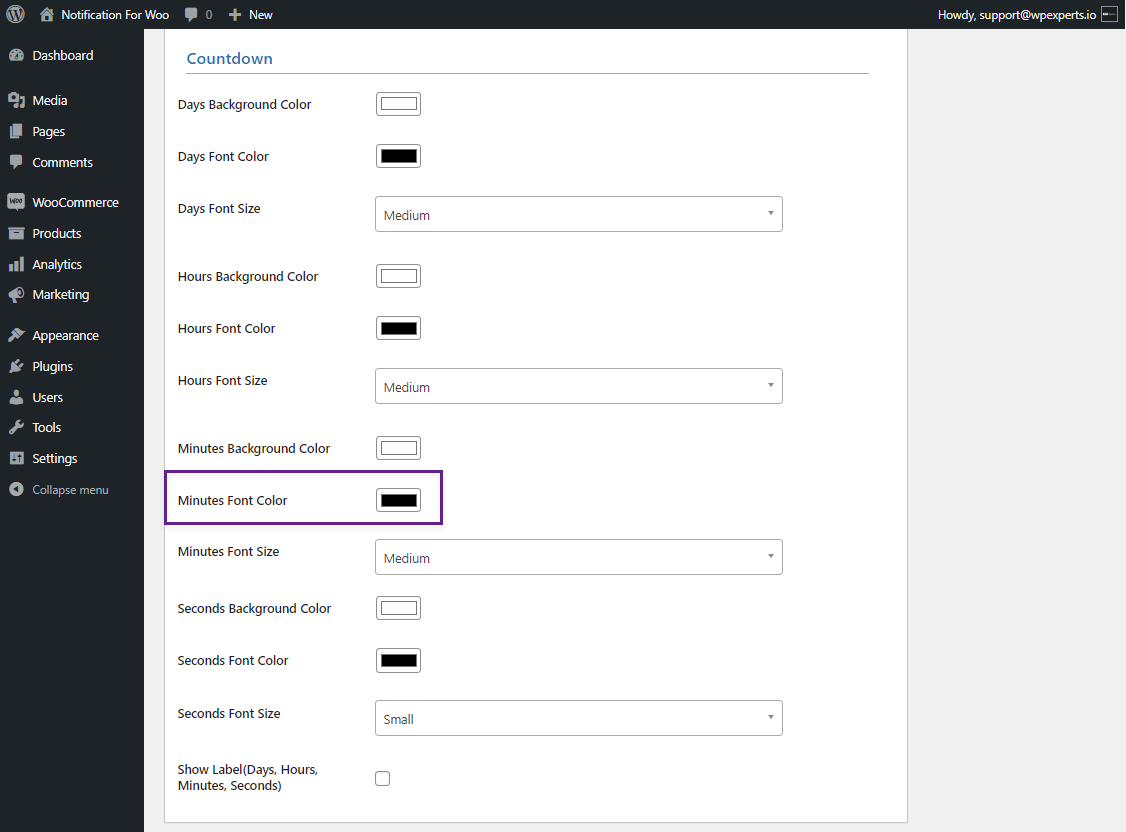
- The font size of minutes can be changed using the Minutes Font Size option.

- The background color of seconds can be changed using Seconds Background Color.

- The font color of seconds can be changed using Seconds Font Color.
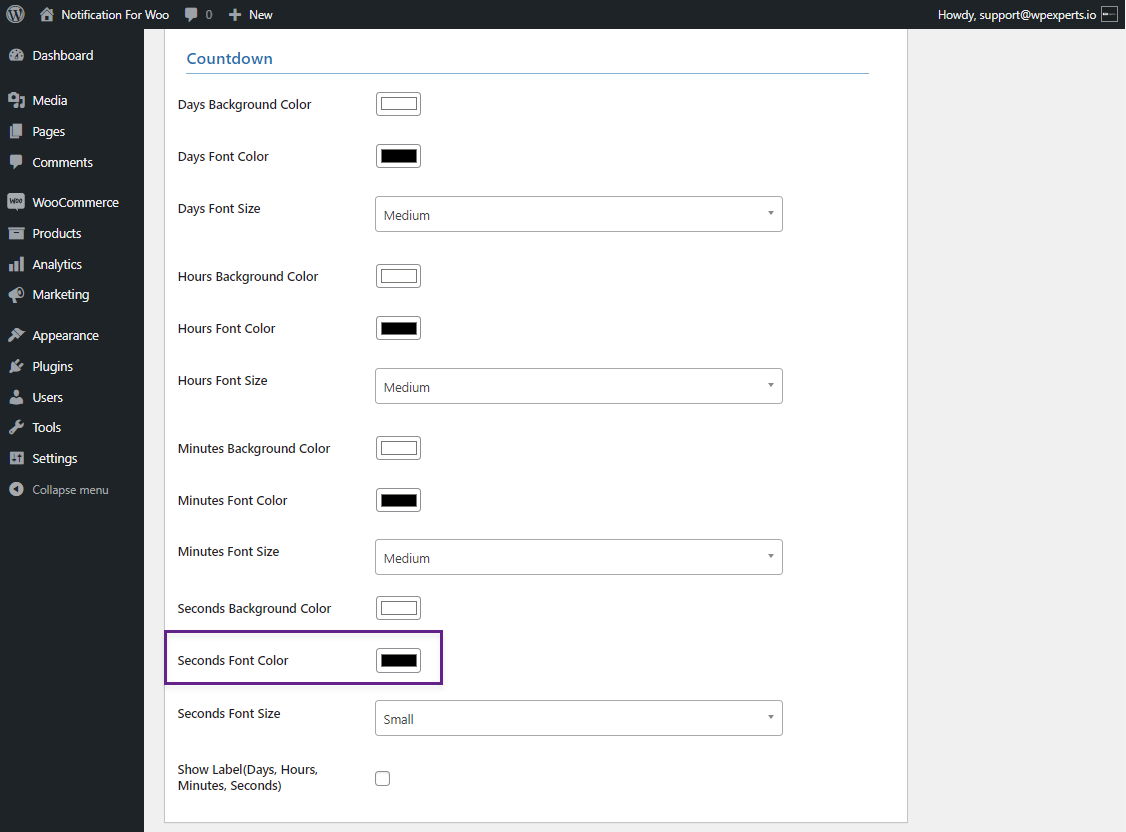
- The font size of seconds can be changed using Seconds Font Size.

- Select the Show Labels option to display Labels (Days, Hours, Minutes, Seconds).
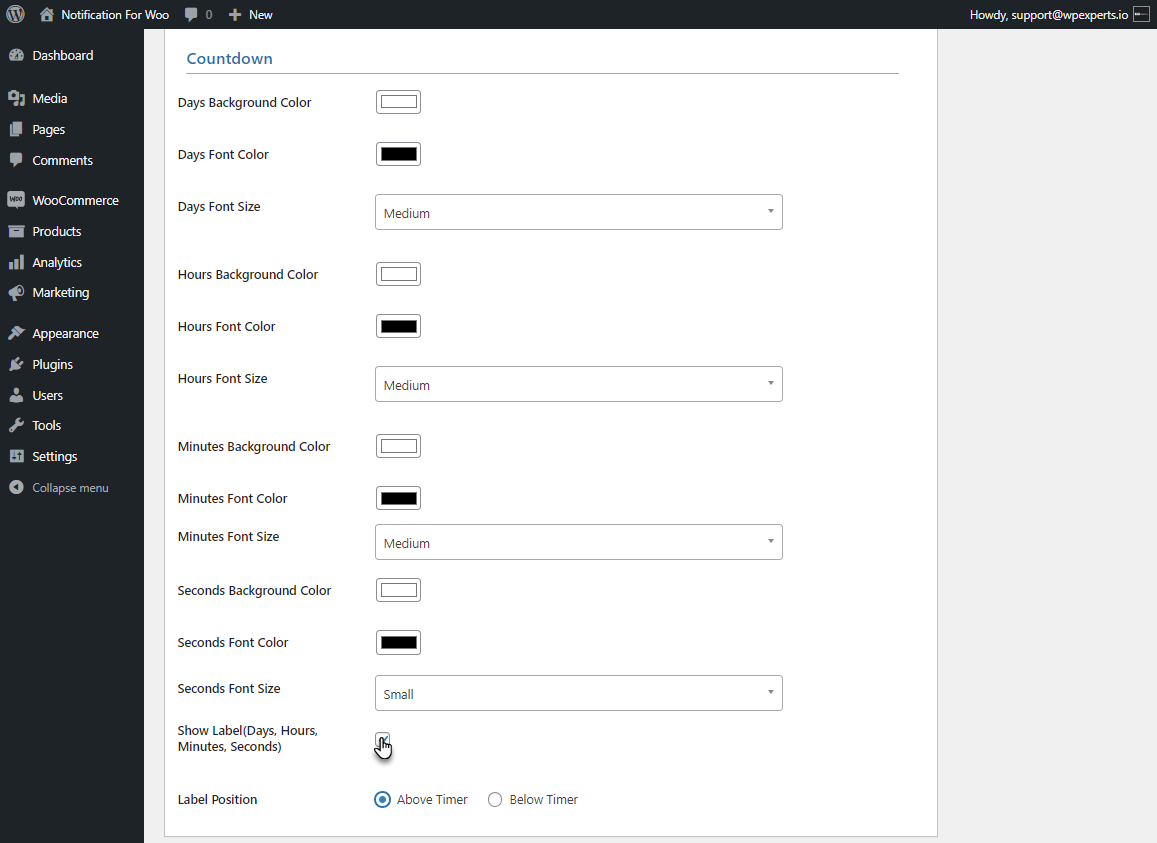
- Adjust the label Position by using the Label Position option.

Custom Template
- Select Custom Template from the Template Type option.
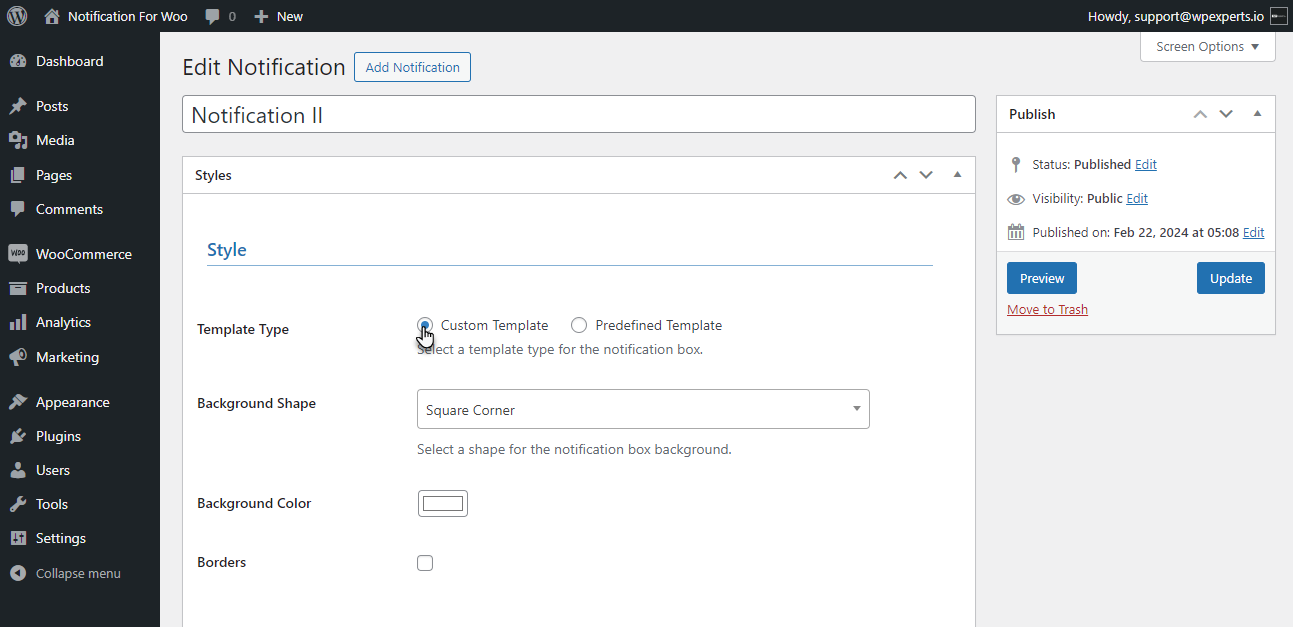
- Select the shape for the notification box background from the Background shape option.

- Users can change the background color using the Background Color option.

- Select the Border check button to add a border to your notification. This allows you to add a border to your notification.
- Add a border Stroke to your notification using the Border Stroke option.

- The border color can be changed by using the Border Color option. This allows to change the border color of your notification.

PLEASE NOTE: The rest settings will be the same as for the Predefined Template.
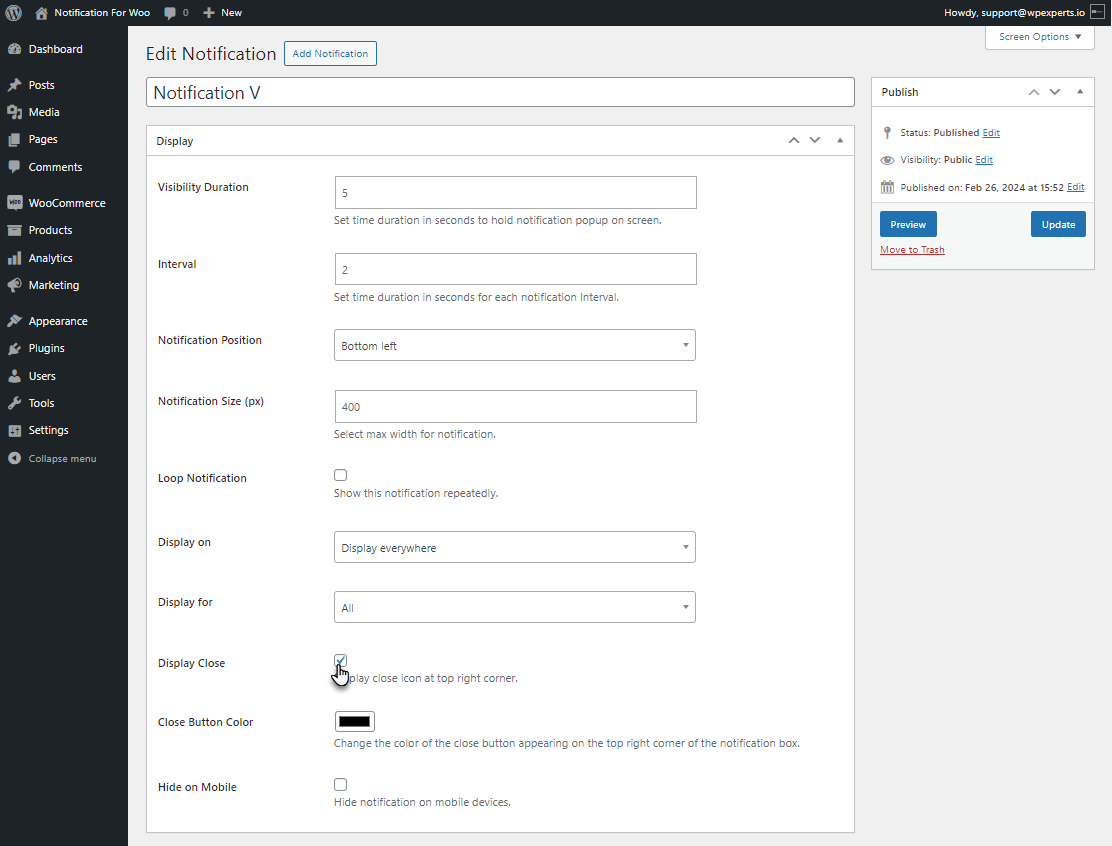
Display Tab
↑ Back to top- In the Display Tab, the user can alter the Display settings of the notification.
- Set the visibility duration of the notification using the Visibility Duration option. This duration will hold the notification on the screen.
- Use the Interval option to set the interval time for your notification. This will provide a gap between the appearance of two notifications.
- Set the notification position of your notification by using the Notification Position drop-down list.
- Adjust notification size by using the Notification size option.

- Enable the Loop Notification option to show your notification on the loop.
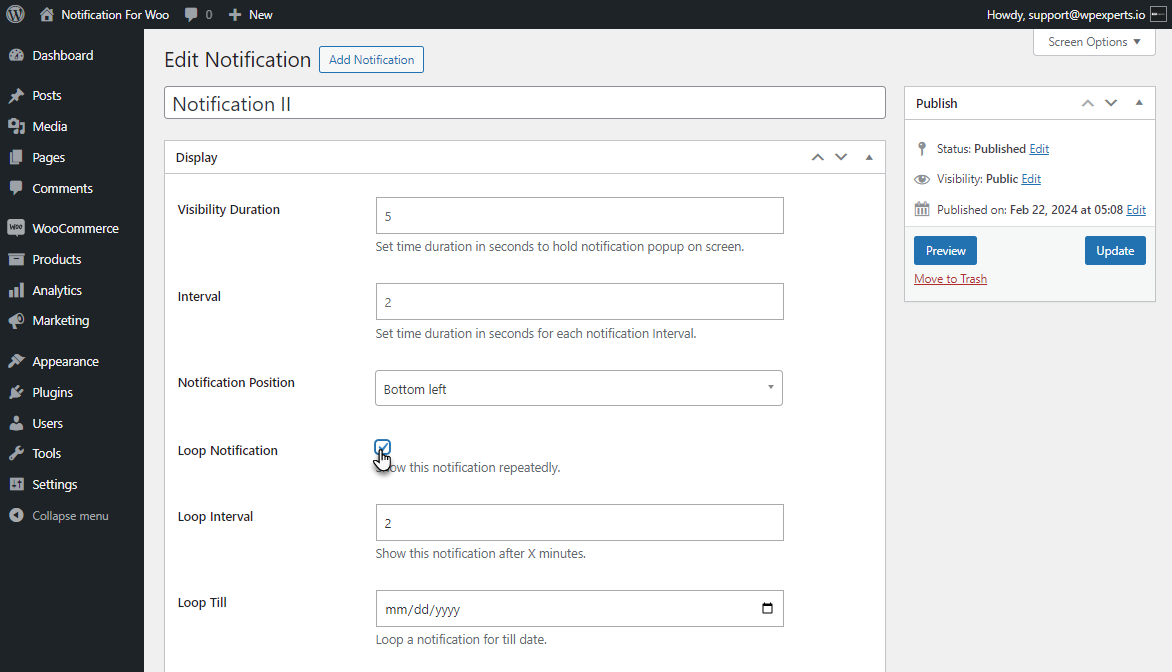
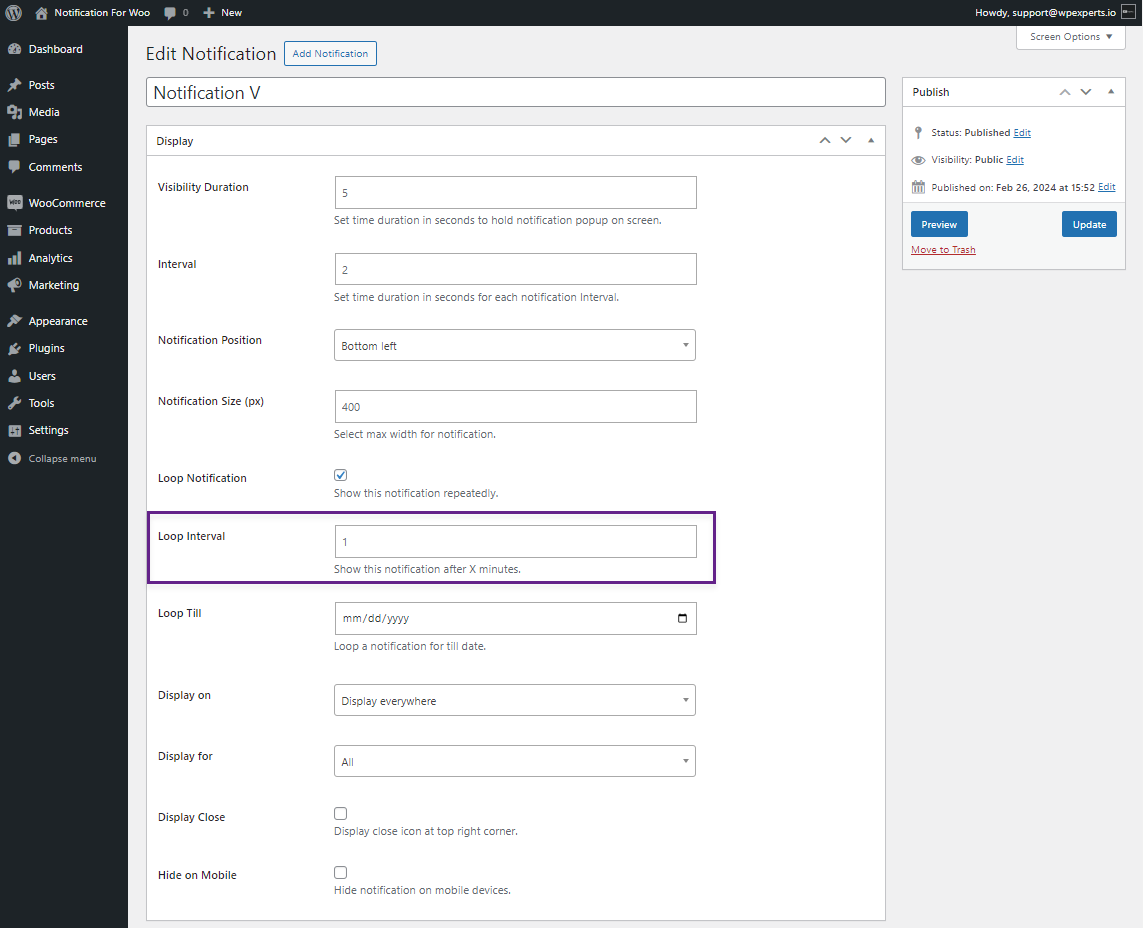
- Set the Loop interval for the notification. This will provide a gap of a specific time to the notification to reappear.

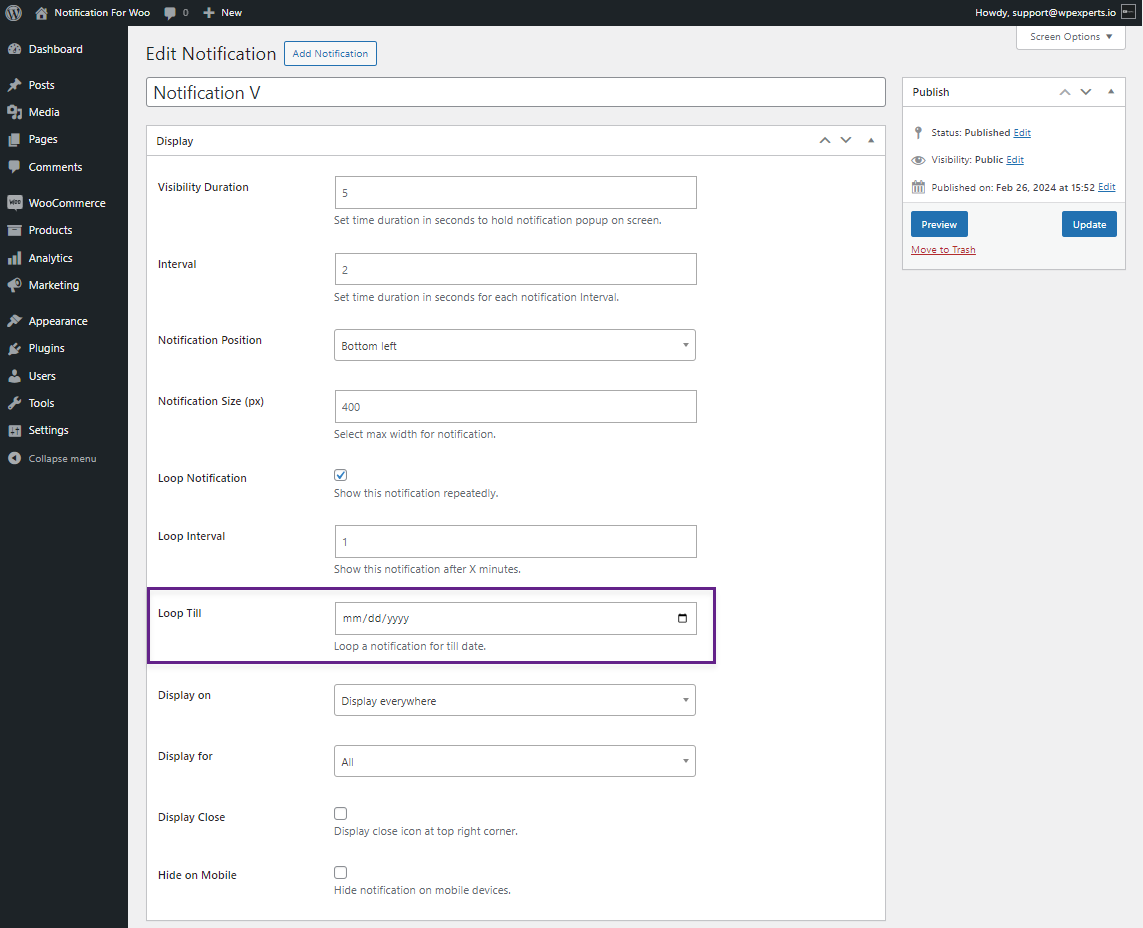
- Set the date you want to run the loop for the notification. The notification loop will run until the date user sets.
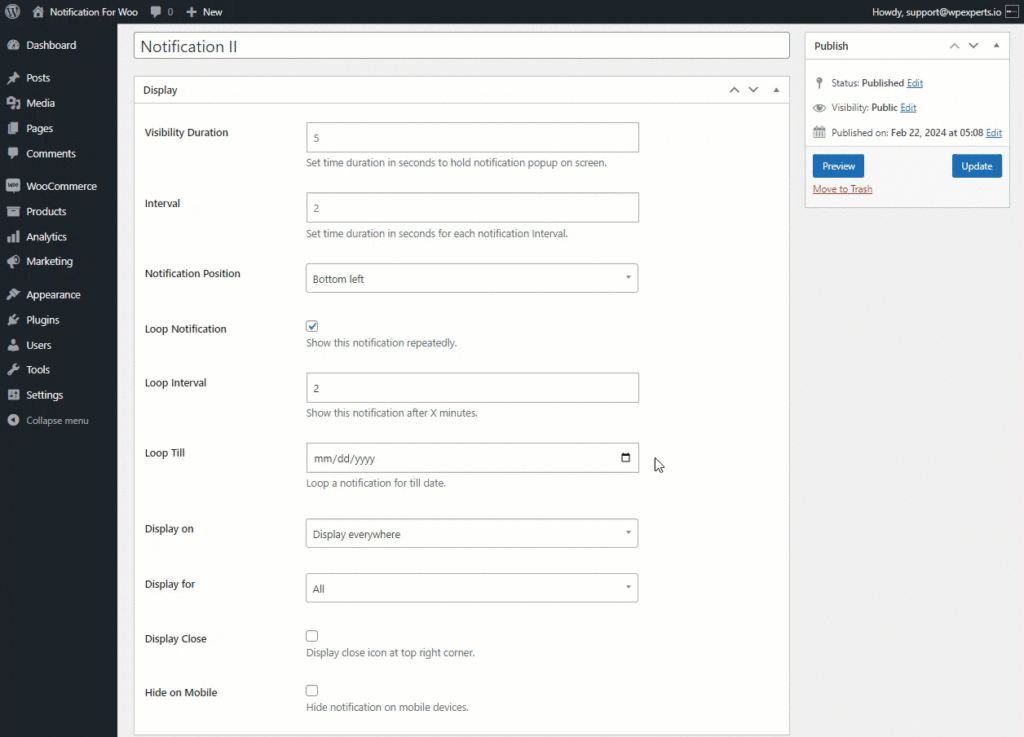
- Select where you want to show your notification by using Display on the drop-down list.

- Select the user you want to notify by using Display for drop-down list.
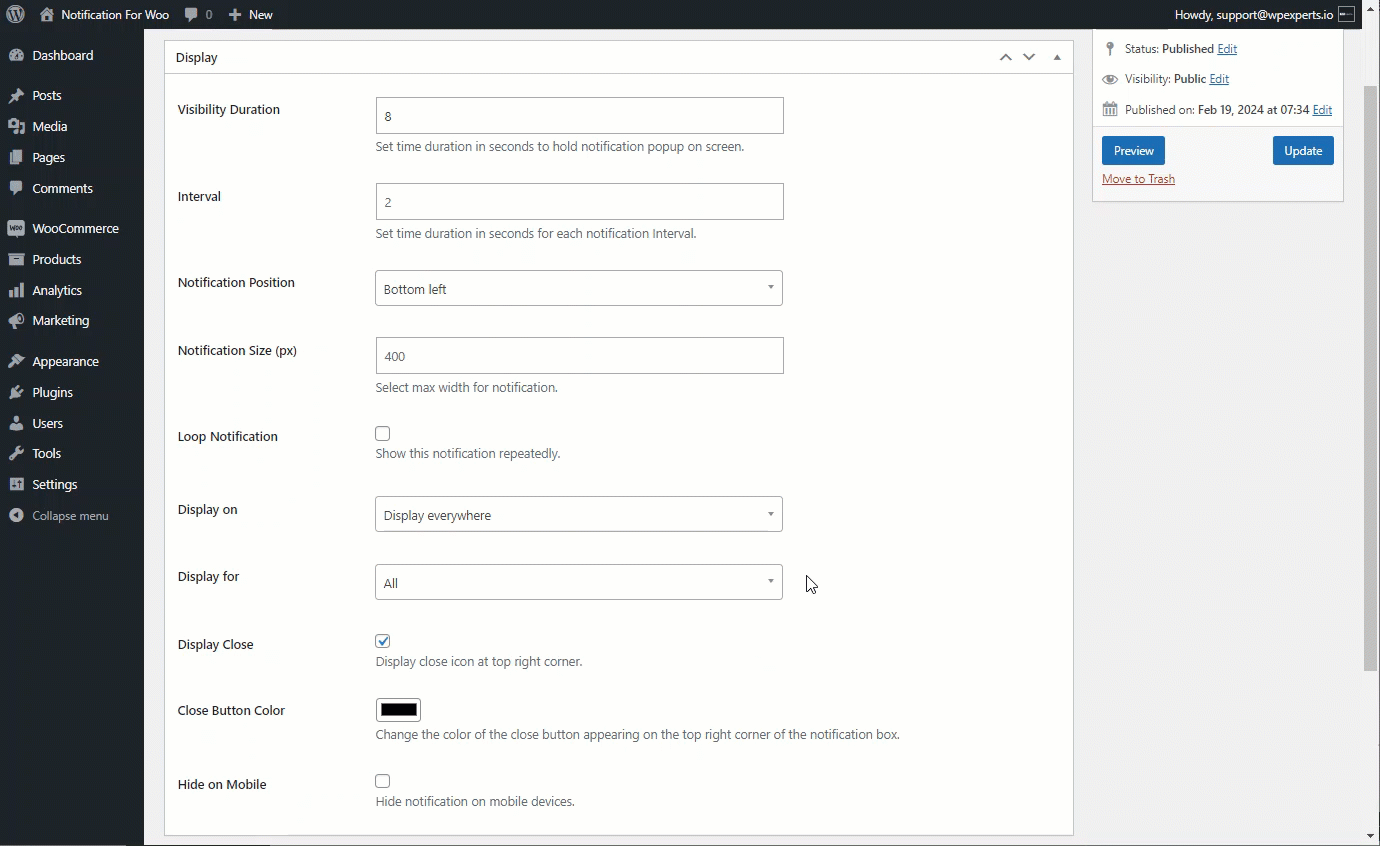
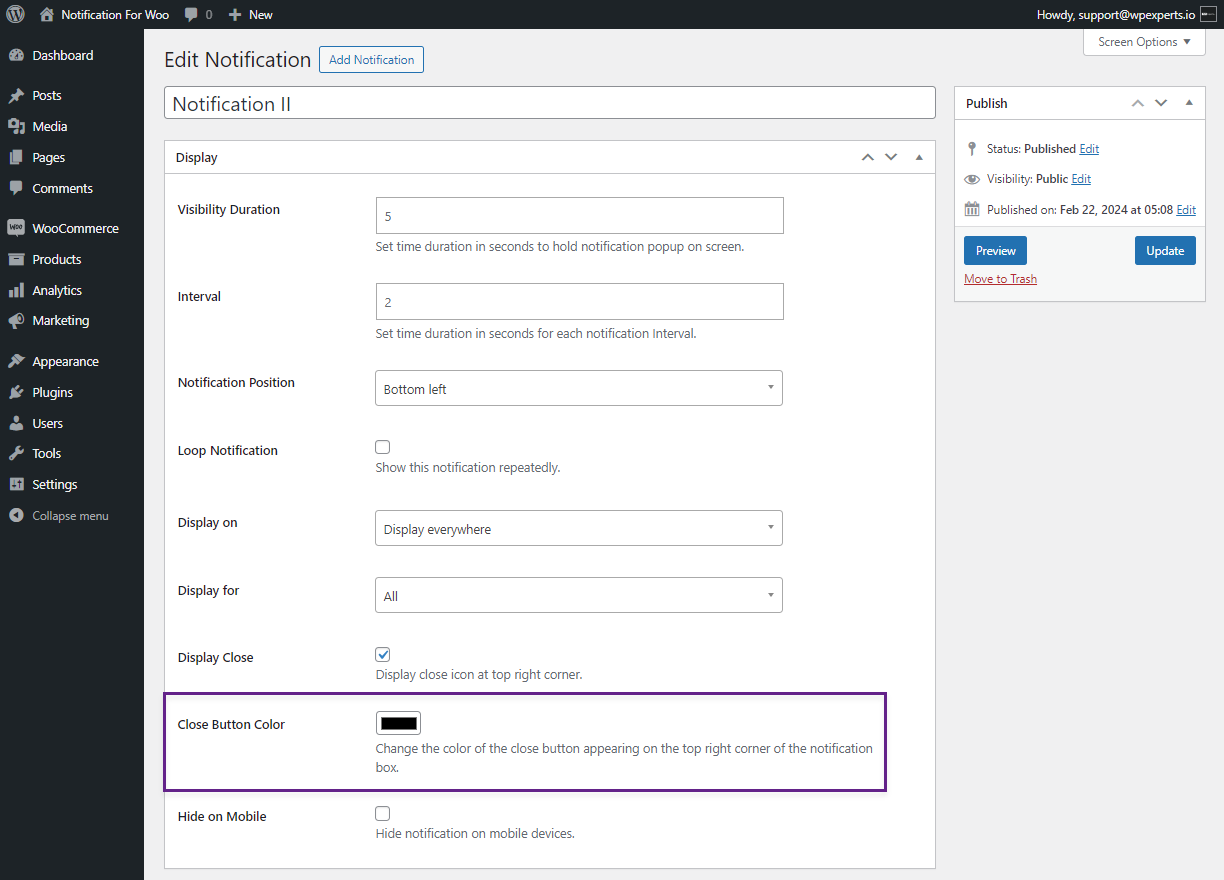
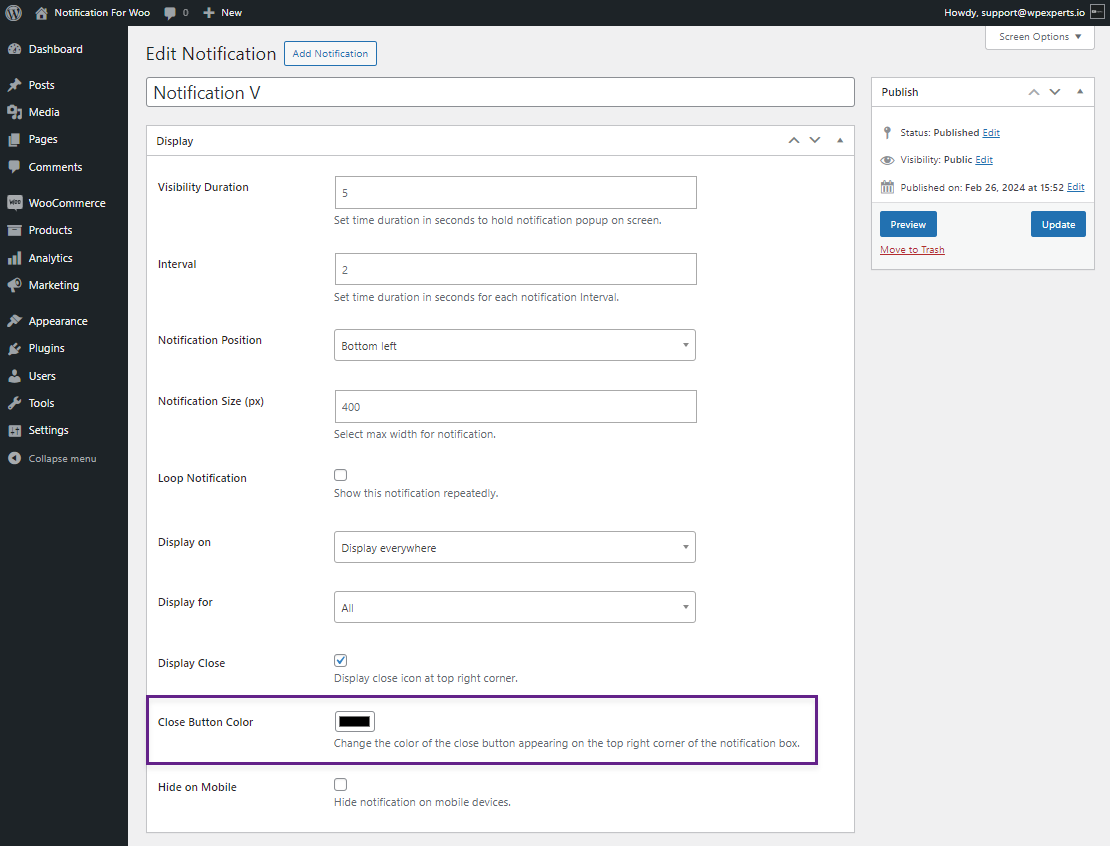
- Enable the Display Close check button to display a close icon on the notification.
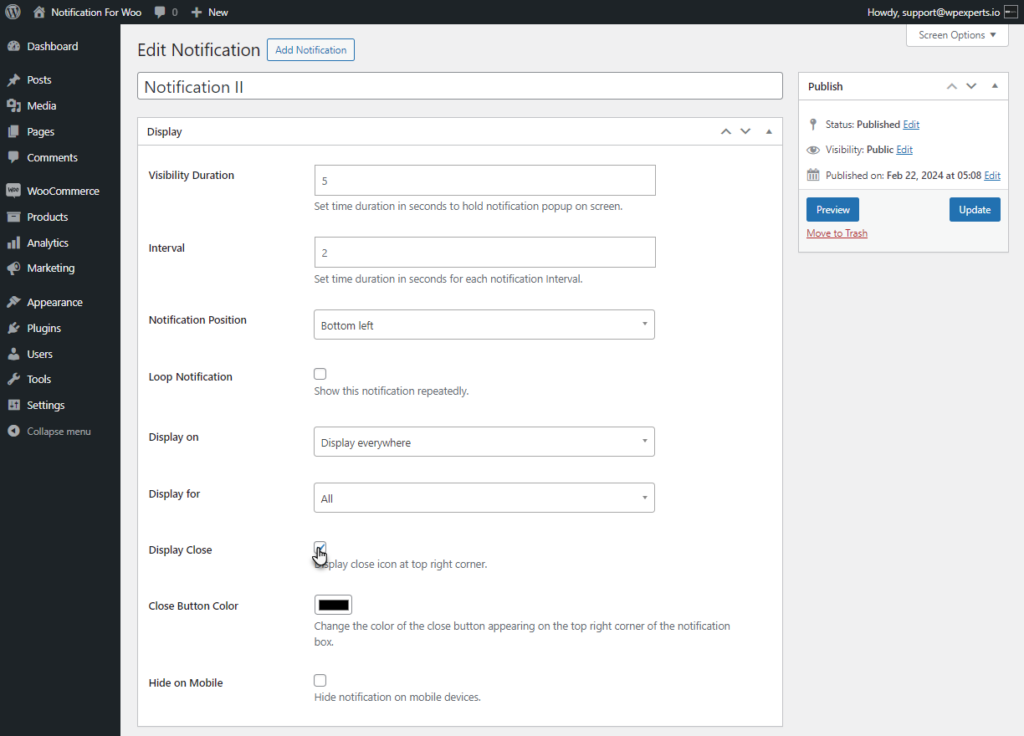
- Select the color for the Close button by using the Close Button Color.
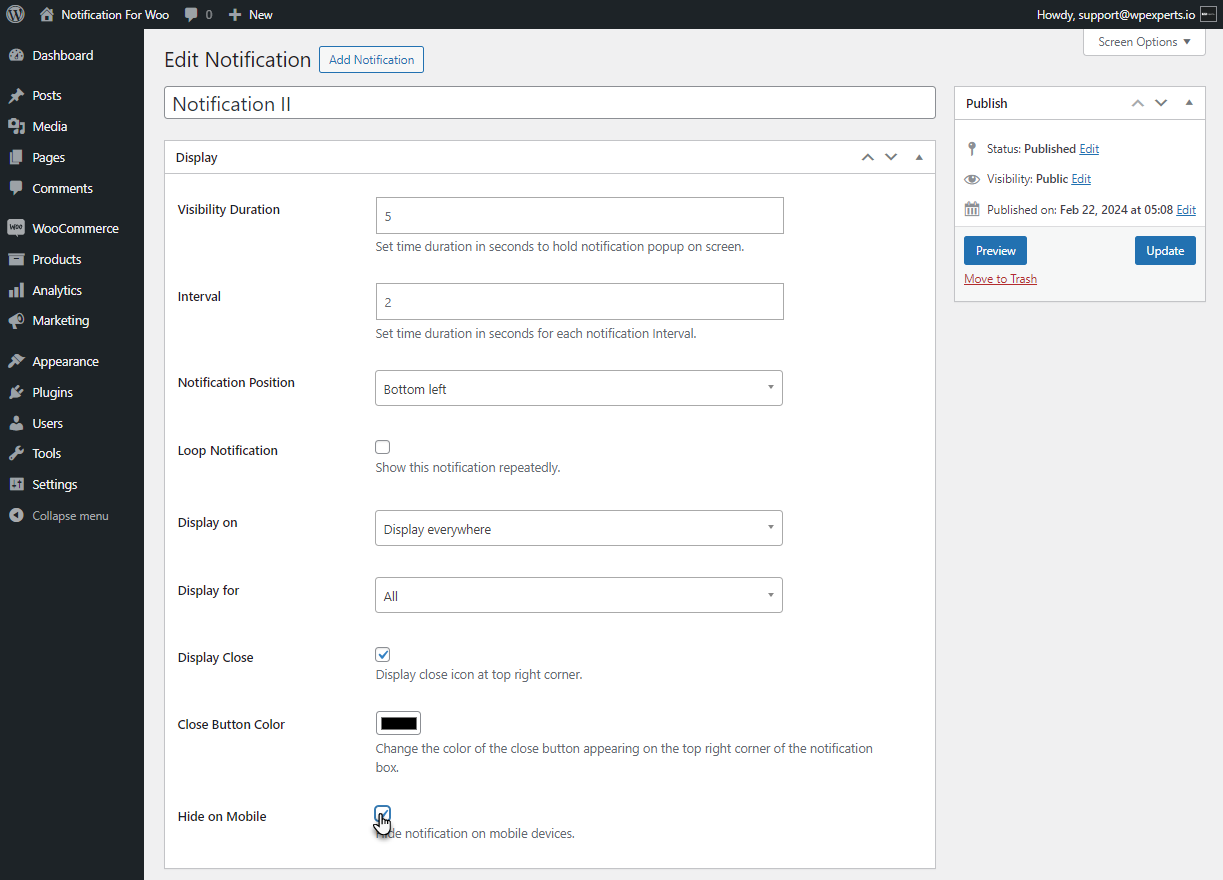
- Enable the Hide on Mobile option to restrict your notification on mobile devices.
- Click on the Preview button to preview your notification.
- Click on the Publish button to publish your notification.
Front End Impact
- Login to your Account.
- A notification will pop up on your screen.
- Click on the notification to navigate to the product page.
- Countdown will be running on the Product page.
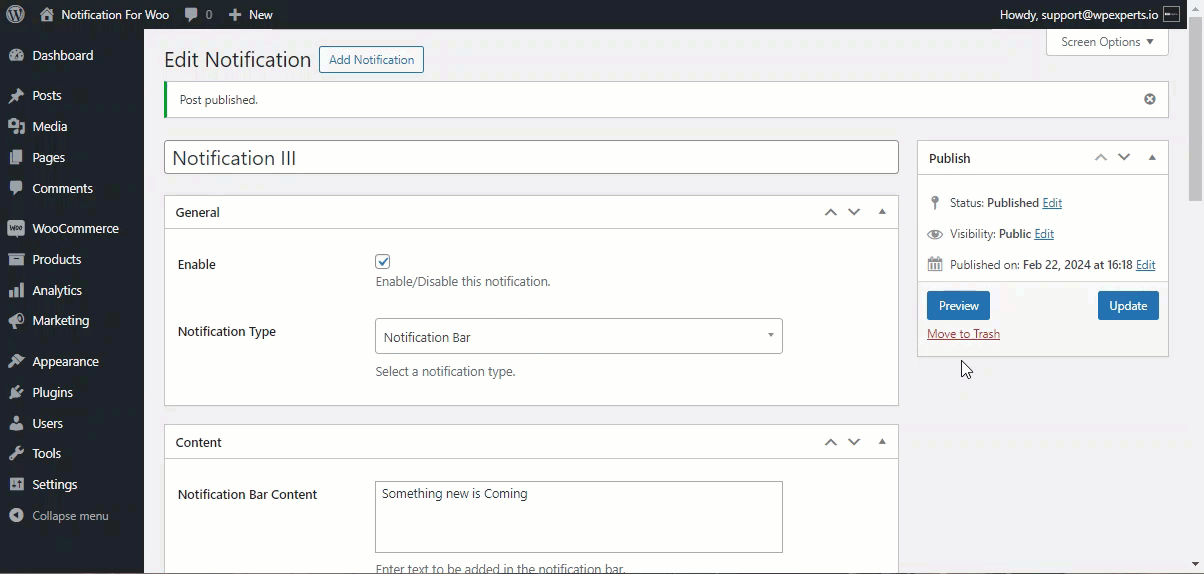
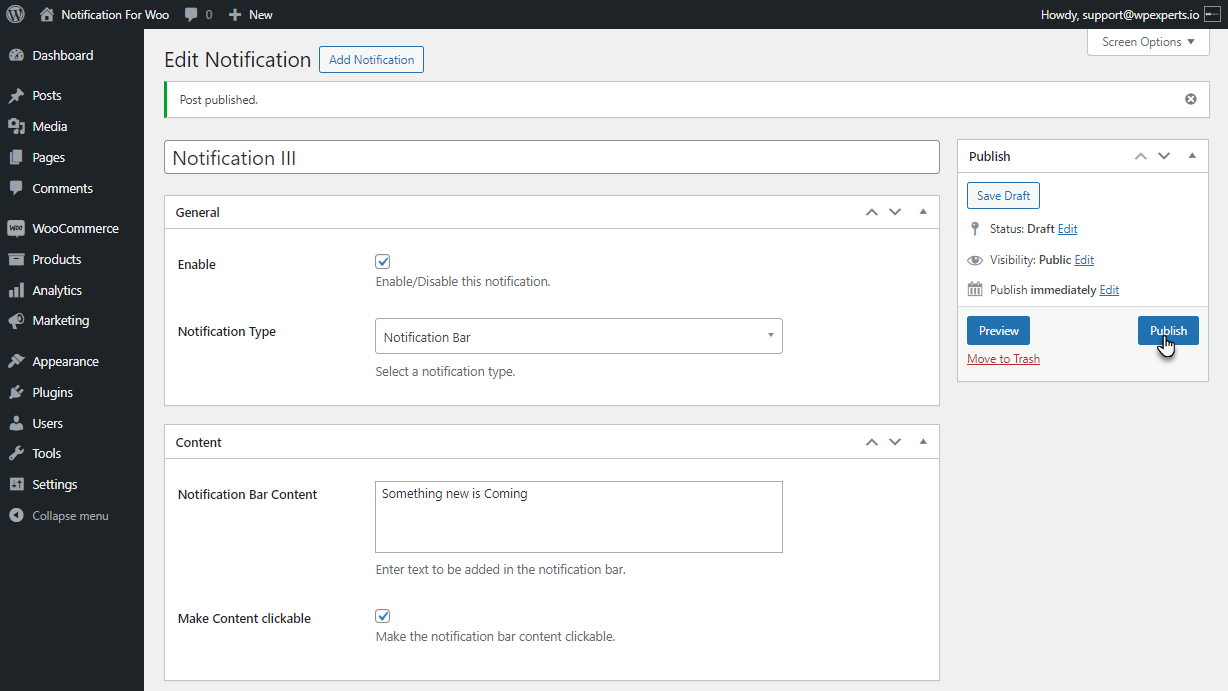
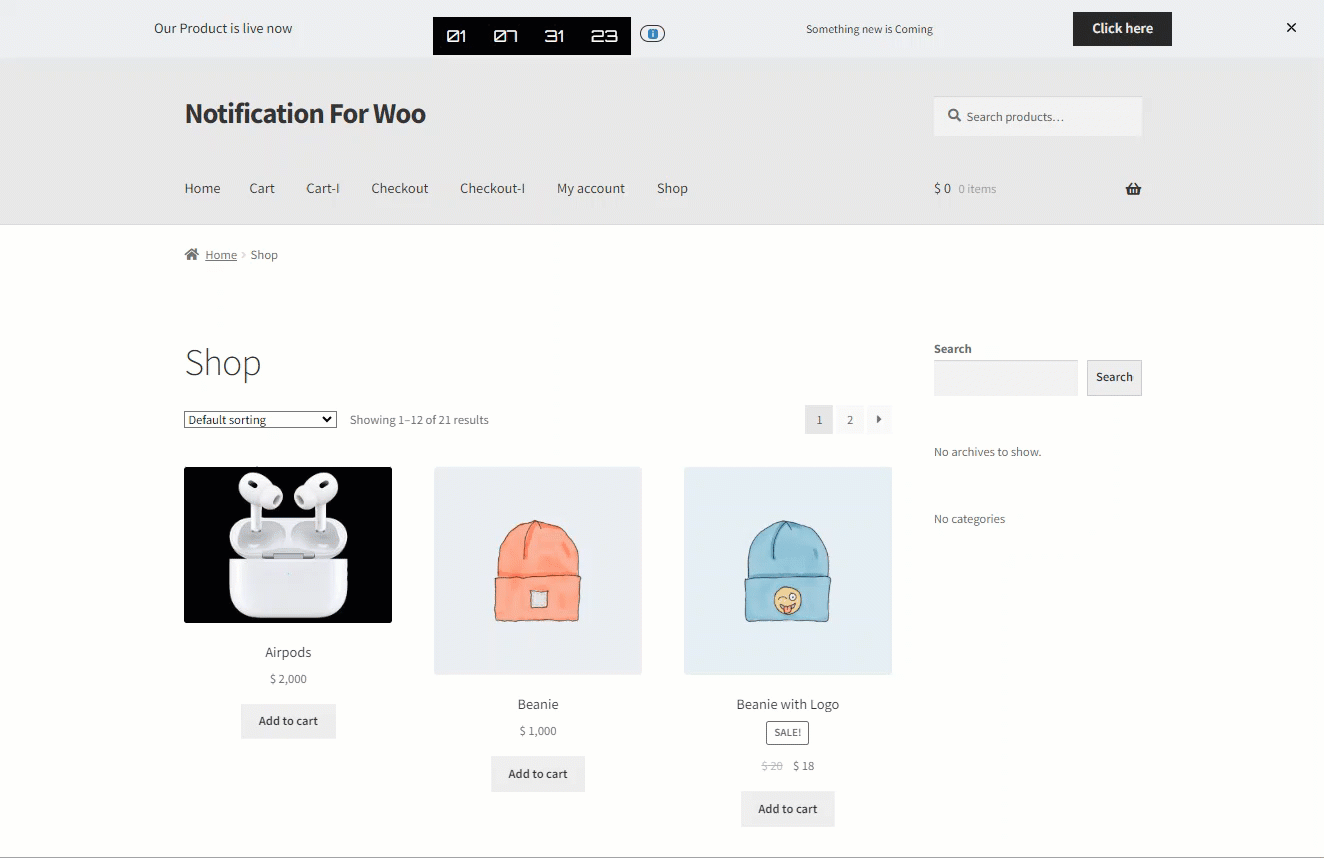
Notification Bar
↑ Back to top- The Notification Bar enables users to get updates about the upcoming events via notification bar on the website.
- Go to WordPress AdminDashboard > Notification > Add Notification.
- There will be four tabs to configure your notification.
- General
- Content
- Styles
- Display
General Tab
- Scroll Down to the General Tab. This Tab consists General settings of the notification.
- Enable the Notification by checking the Enable Option.
- Select Notification Bar from the drop-down list.
Content Tab
- Once done with the General Tab, move to the Content tab.
- The content tab allows the user to alter the content of the notification.
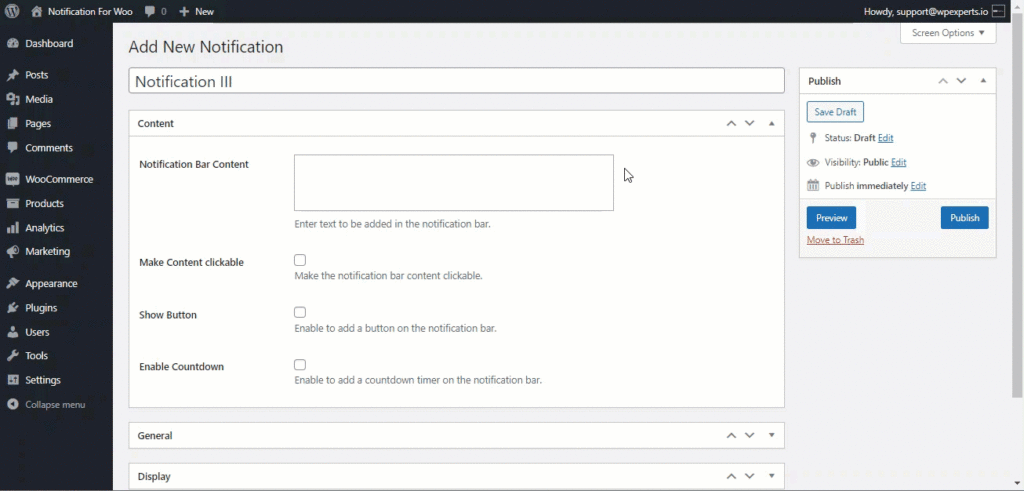
- In the content tab, scroll down to the Notification Bar content.
- You can add text to your Notification bar by using this option. This text will be displayed in the notification bar.
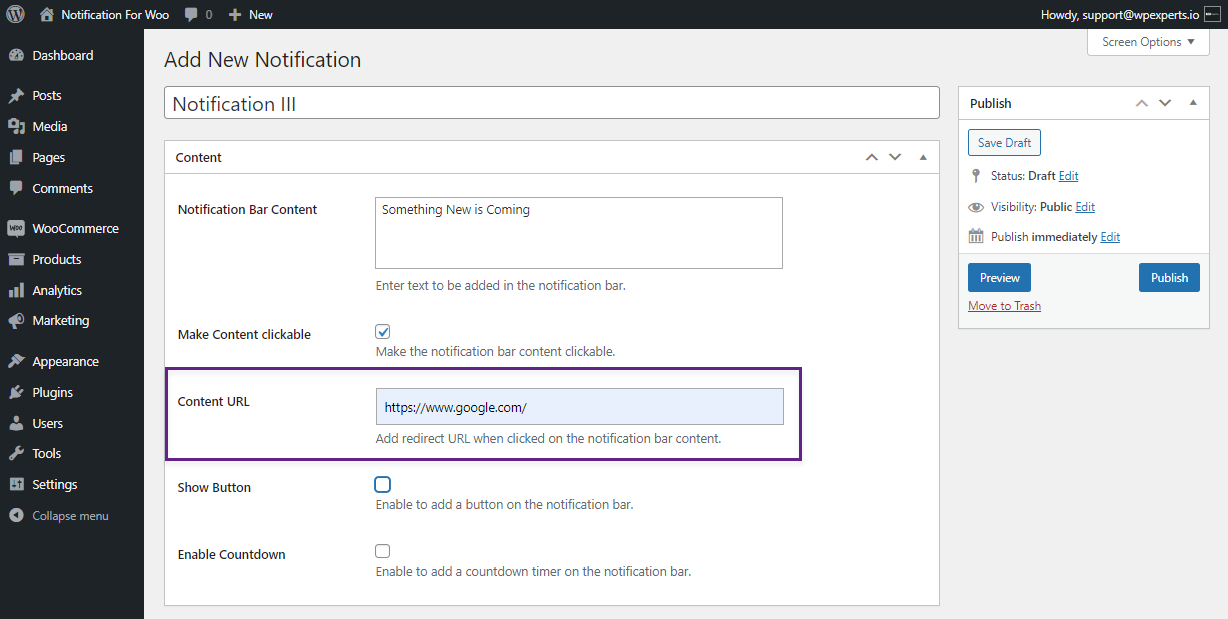
- Select the Make Content Clickable check button to make your content clickable. This option allows you to link a page or product linked to the content.
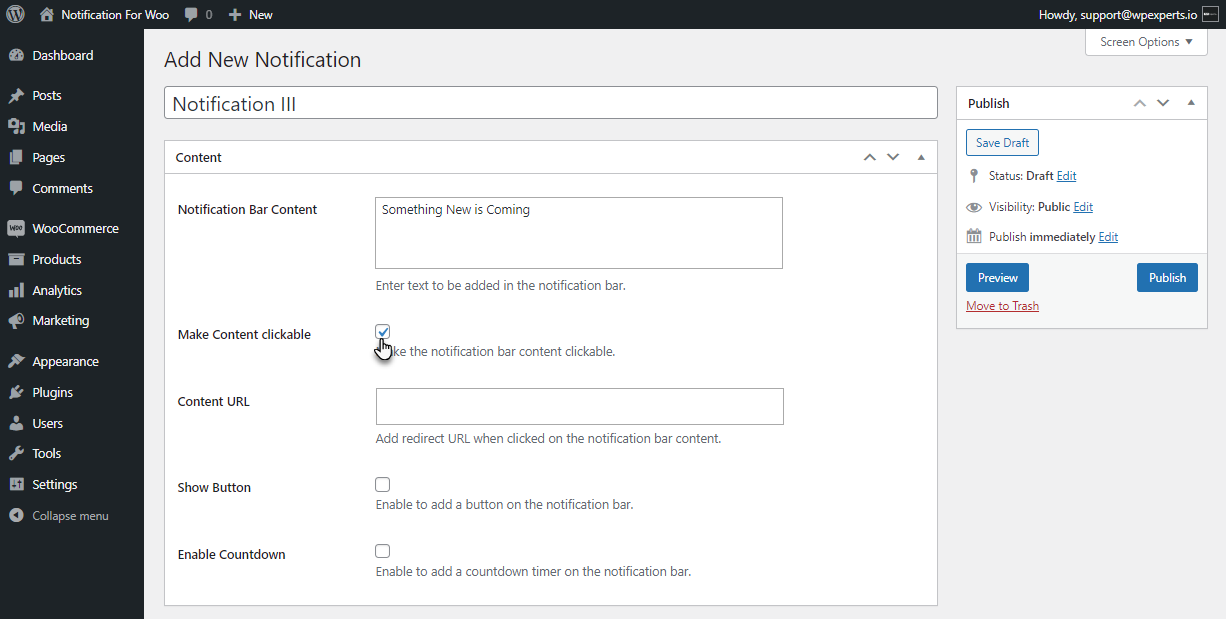
- When the Make Content Clickable option is checked, it will provide you with the Content URL option.
- Select the Show Button option to add a button on the notification bar. This option provides a button to the notification bar.
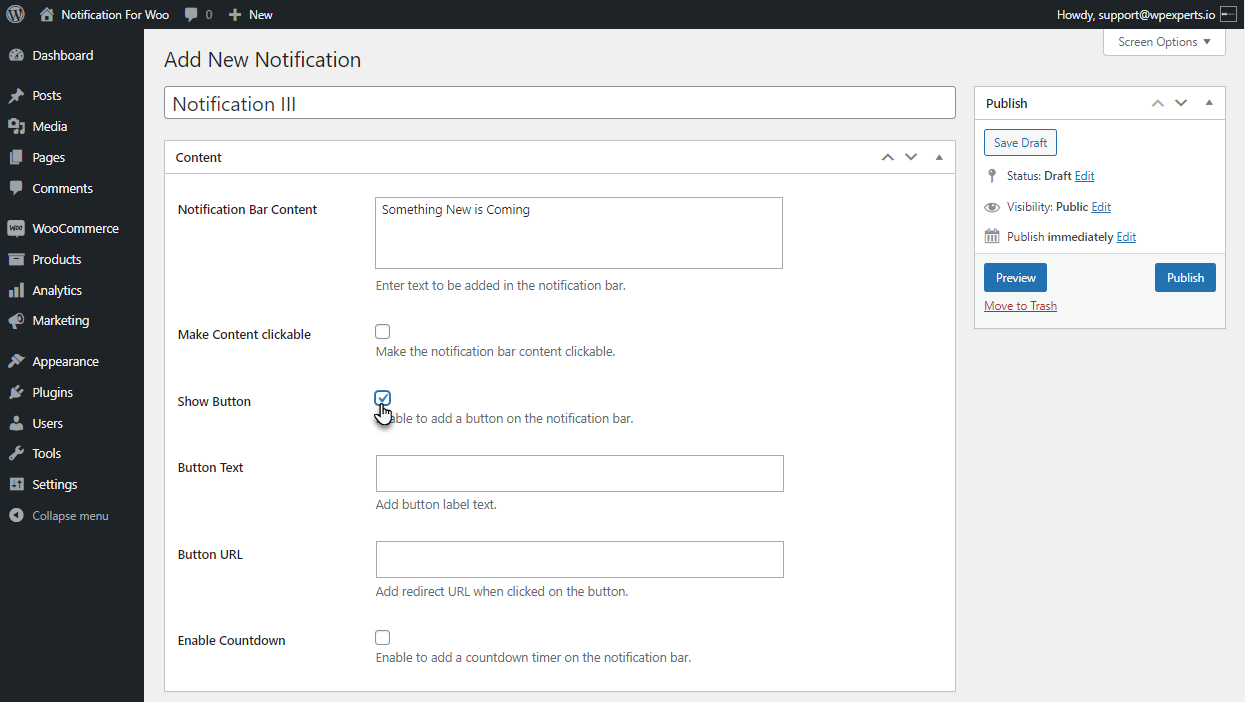
- Add a Label to the Button added on the notification bar.
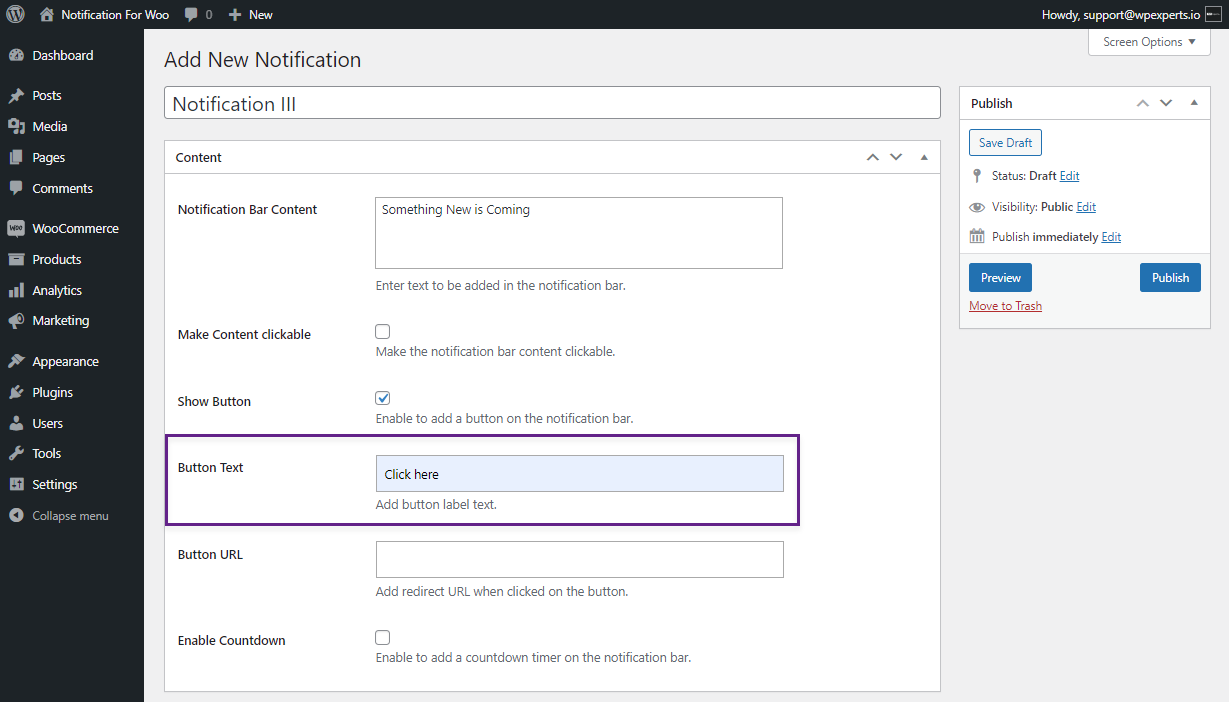
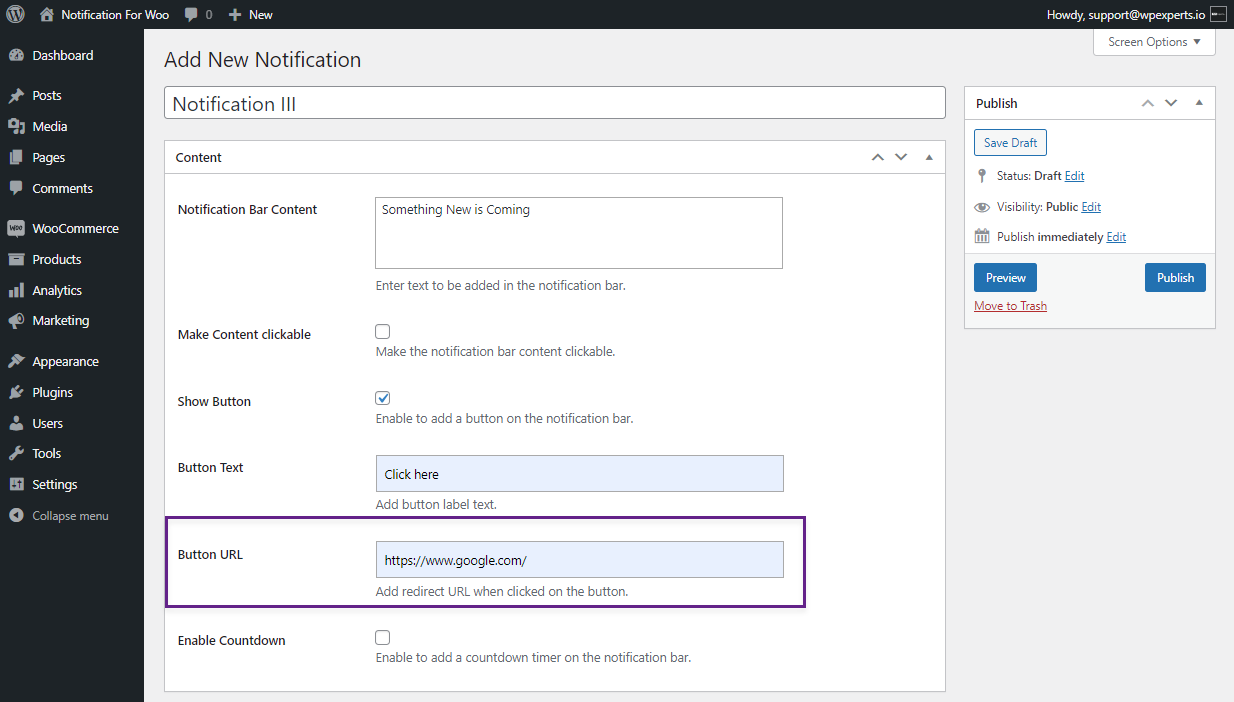
- The user can add a URL to the button.
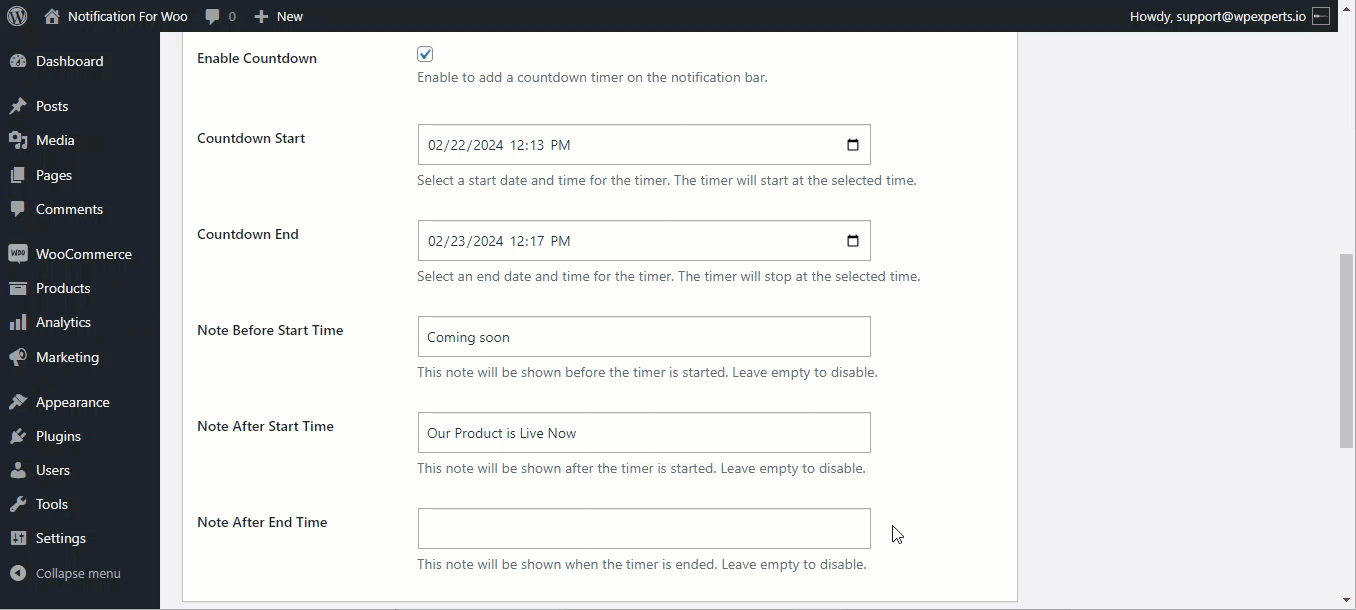
- Select the Enable Countdown check button to add a countdown to your notification bar. A countdown will be added to the notification bar.
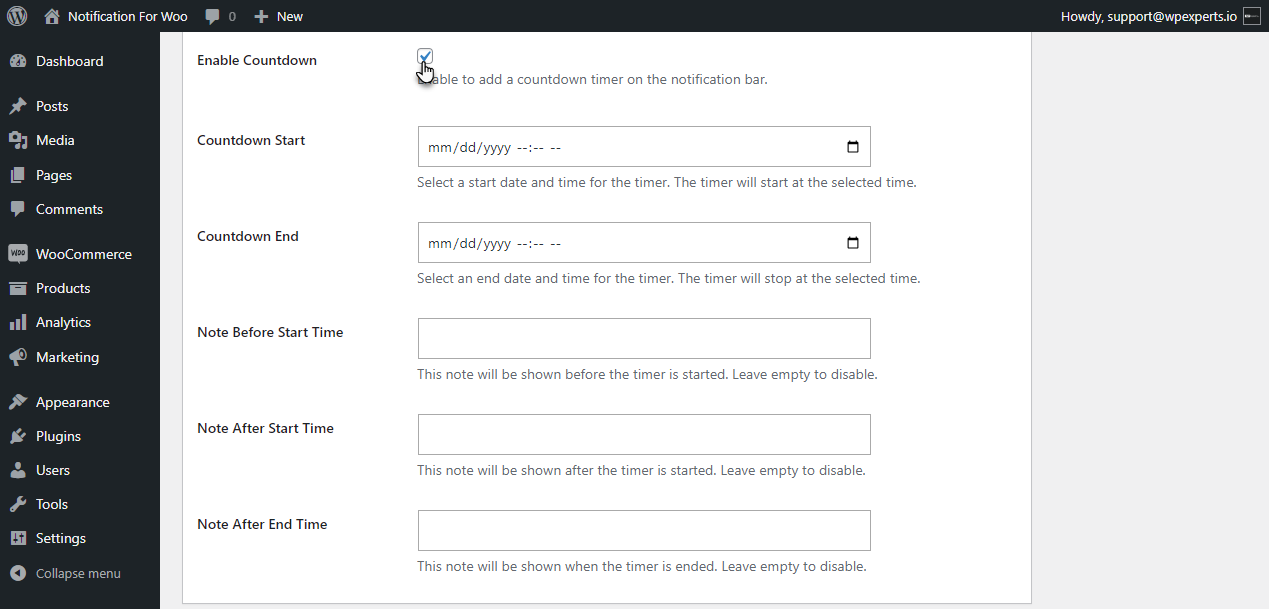
- Enabling Countdown will provide you with multiple options for the countdown.
- Set the countdown start time using the Countdown Start option.
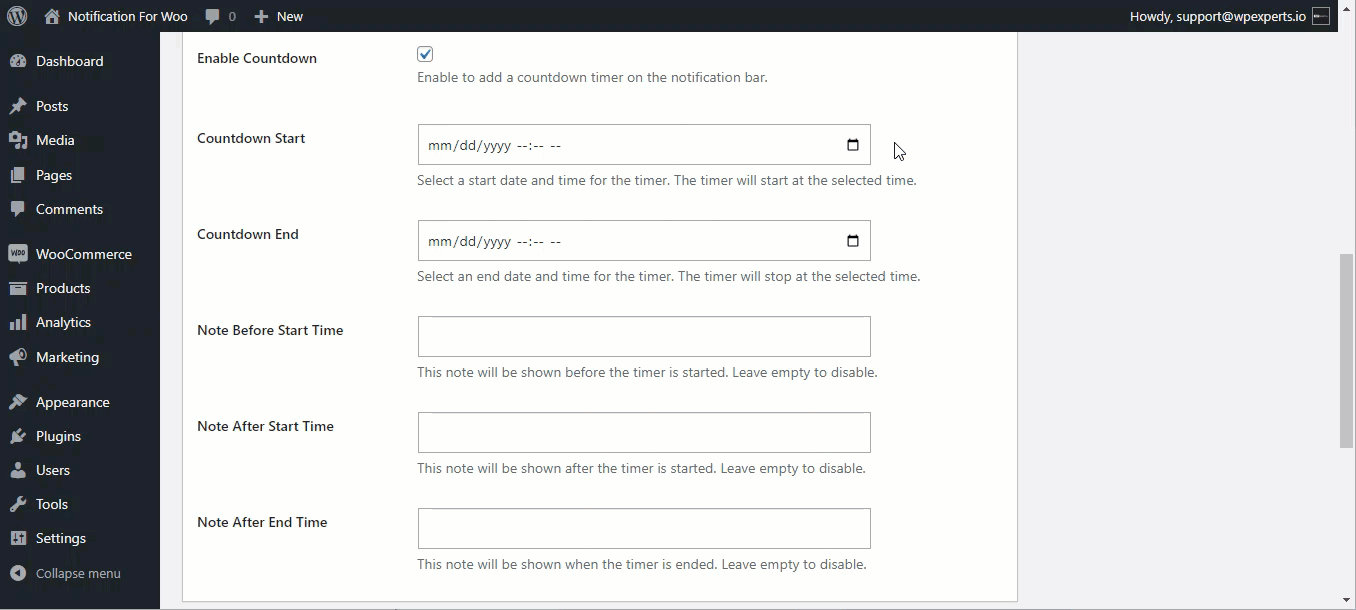
- Set the countdown end time using the Countdown End option.

- A user can add a note before the countdown starts using the Note Before Start Time option.
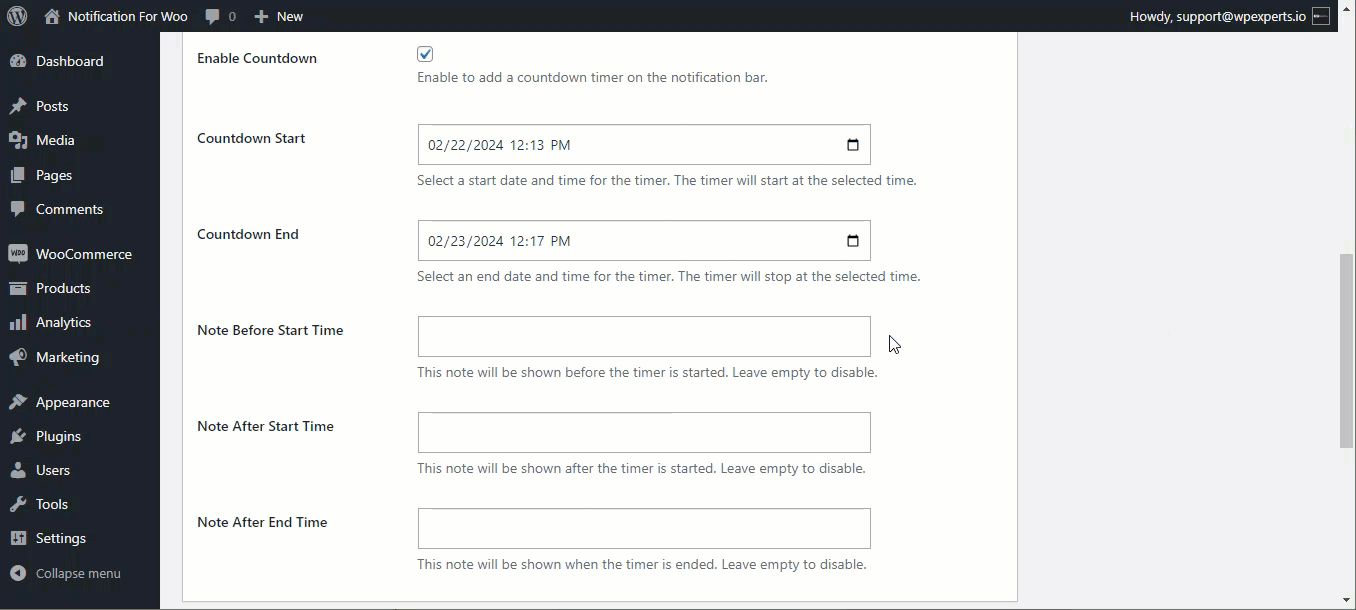
- A user can add a note After the countdown starts using the Note After Start Time option.
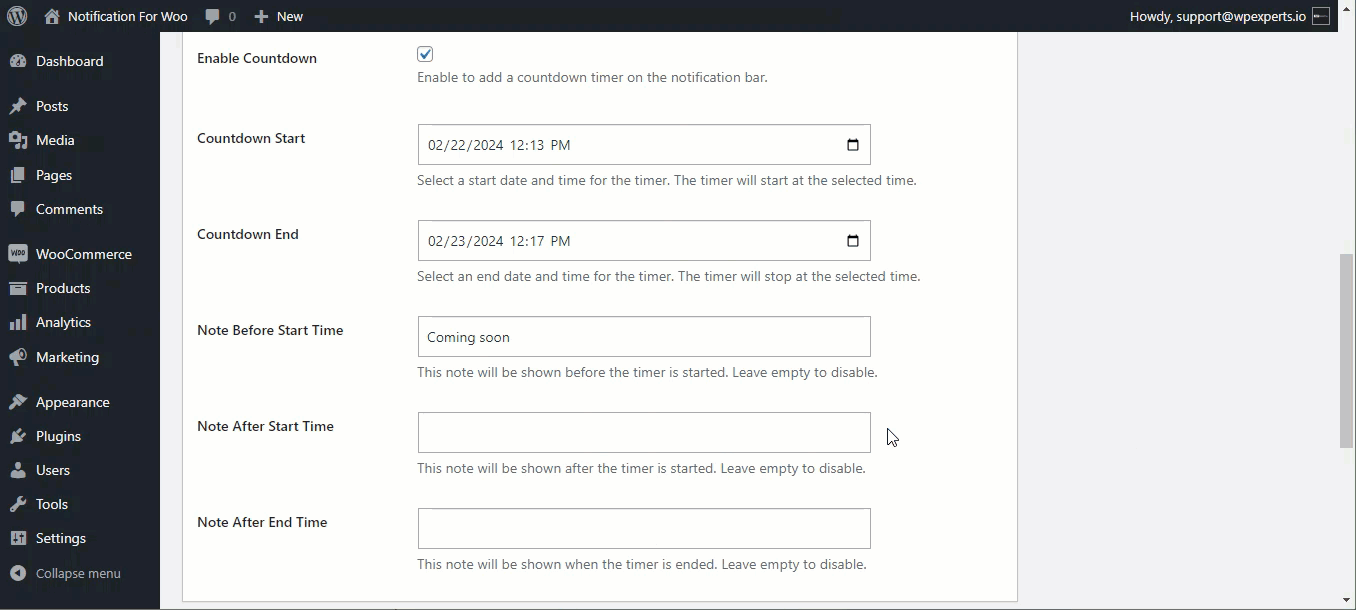
- Using the Note After End Time option, a user can add a note after the countdown ends.
Style Tab
- After finishing with Content, move to the Styles tab.
- The Style tab enables users to style the notification.
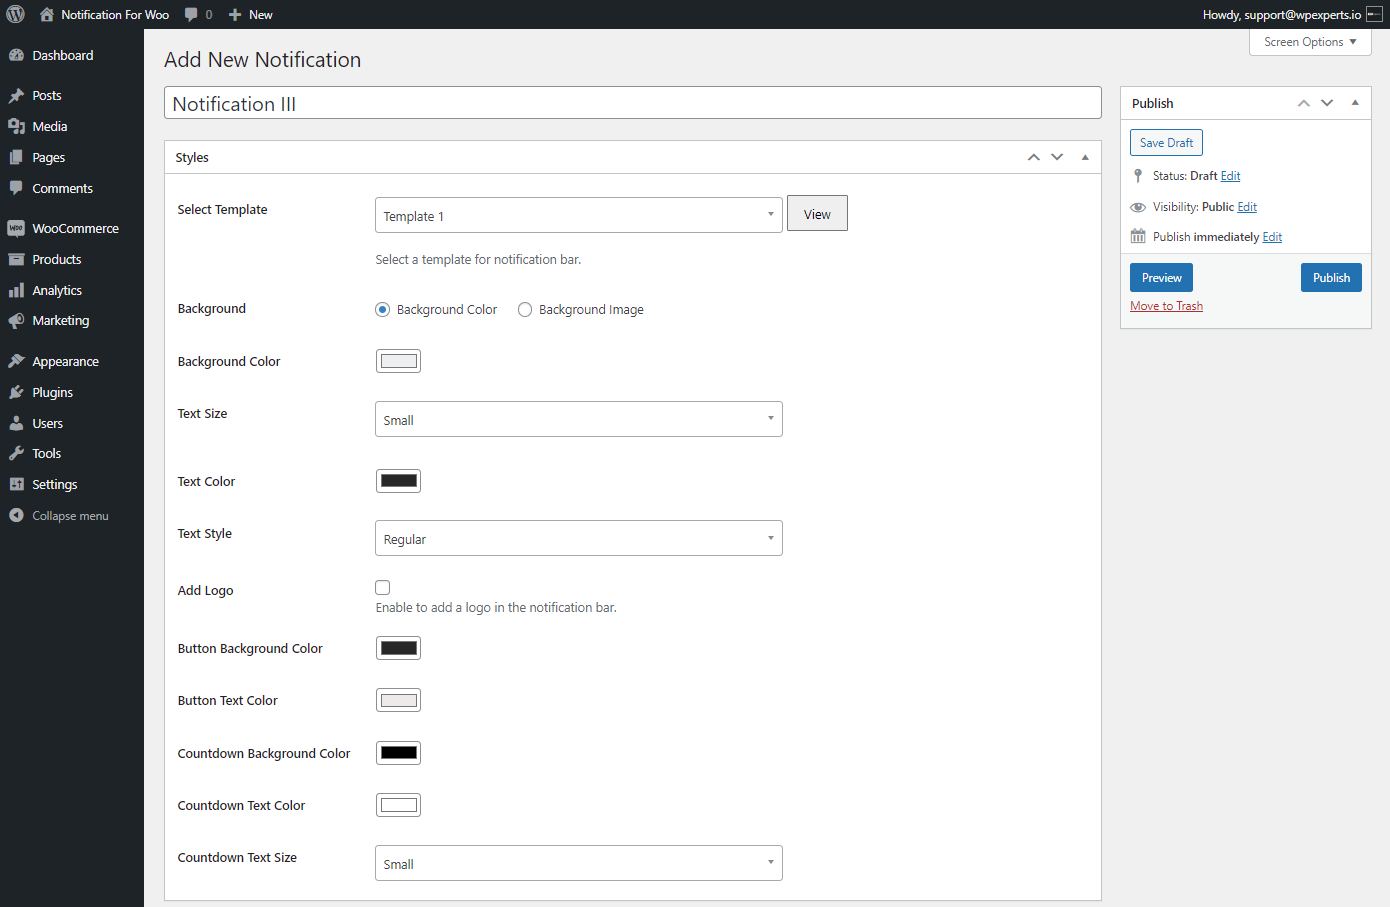
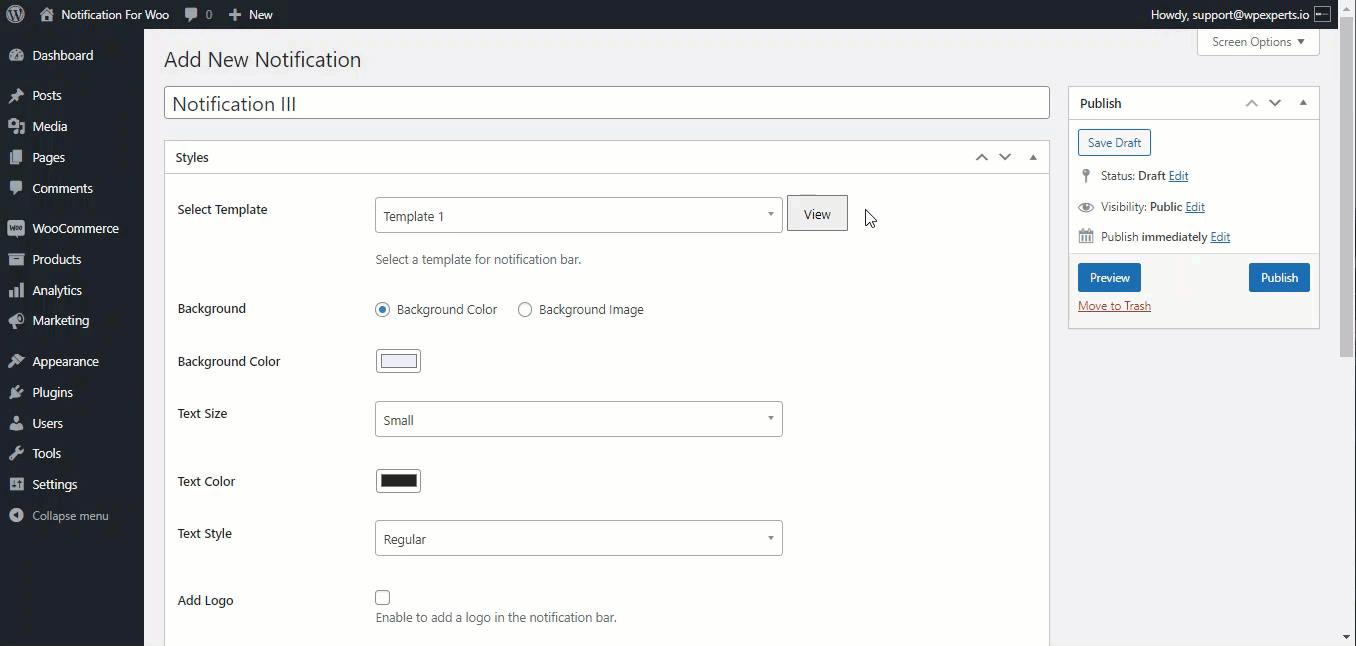
- Scroll down to the Select Template option, and select the template for your notification bar.
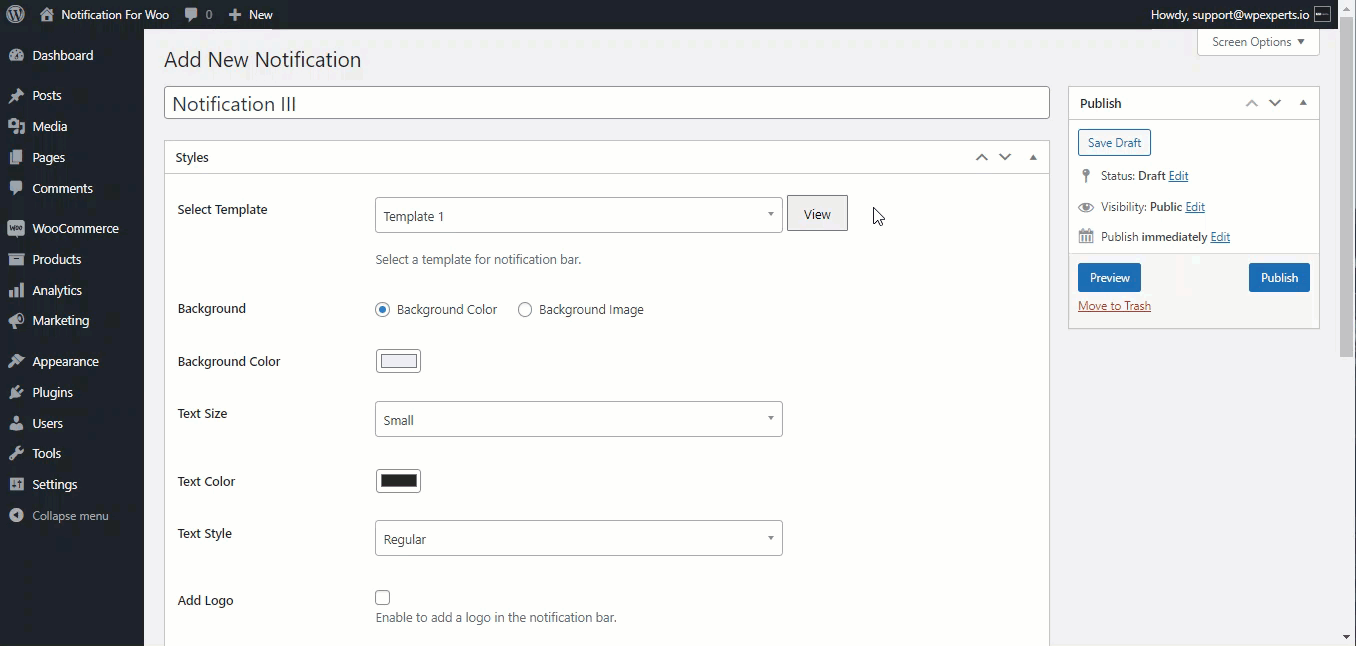
- Click on the View button to preview the template of your notification.
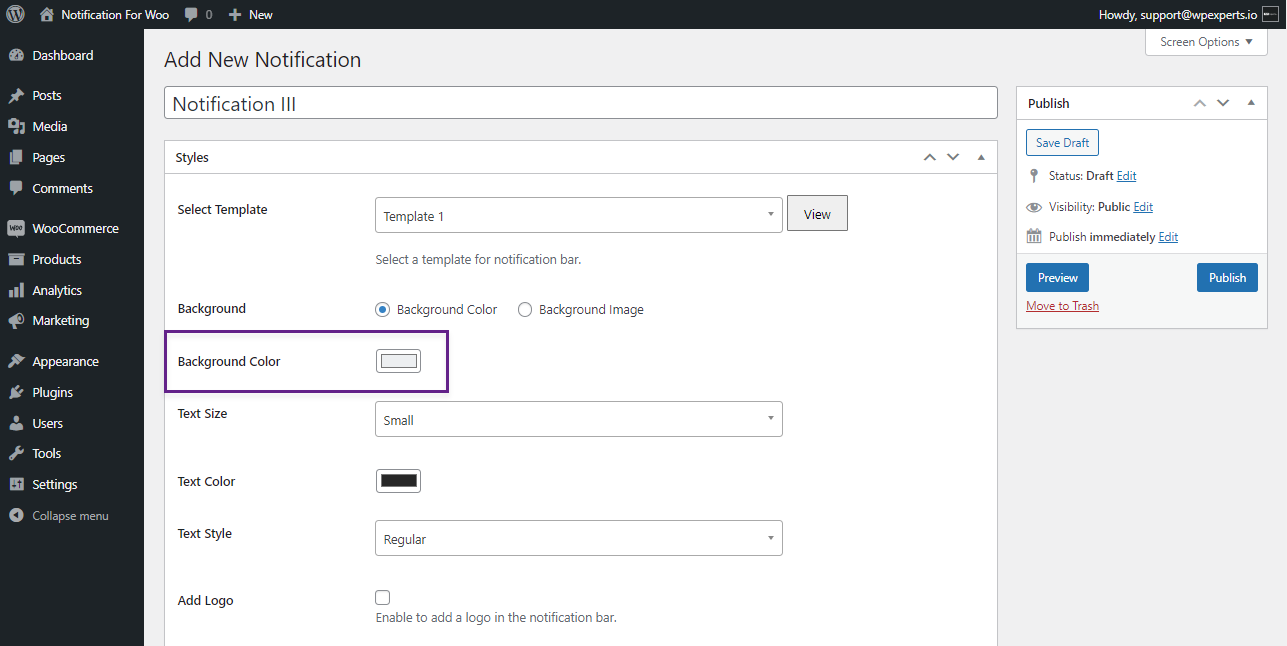
- A user can add the background to the notification bar.
- It provides two options.
- Background Color
- Select the Background Color option to add a background to your notification bar.
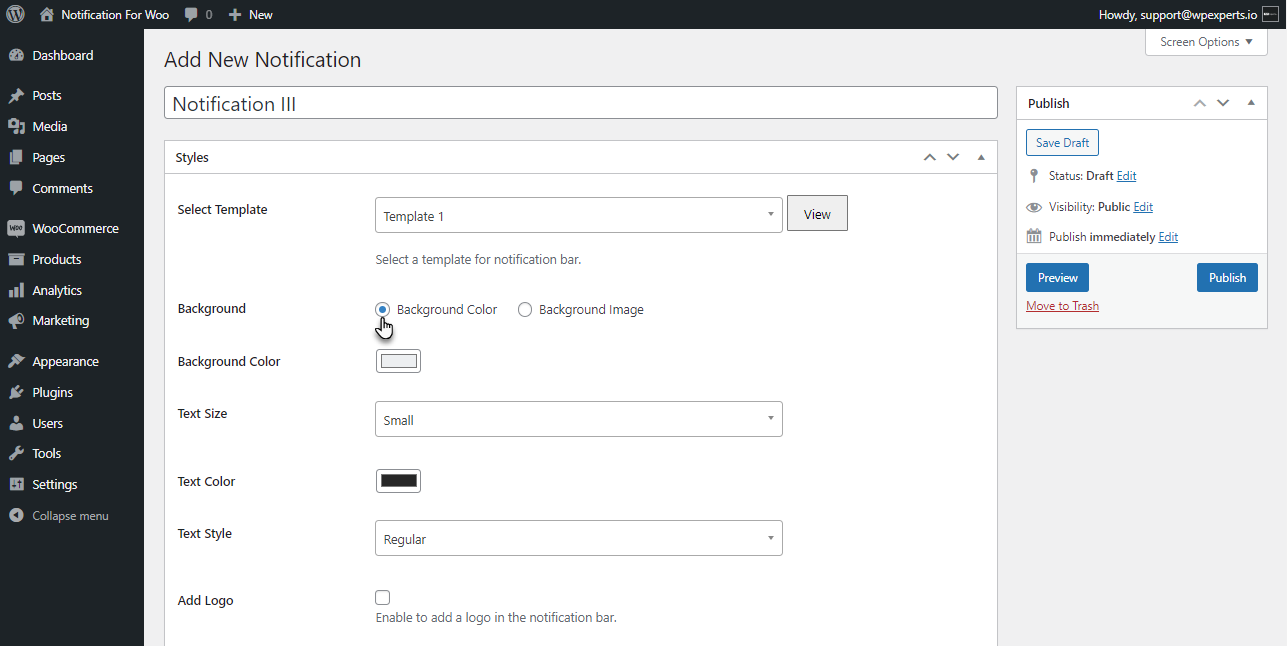
- Change the Background color of the notification bar by using the Background Color option.
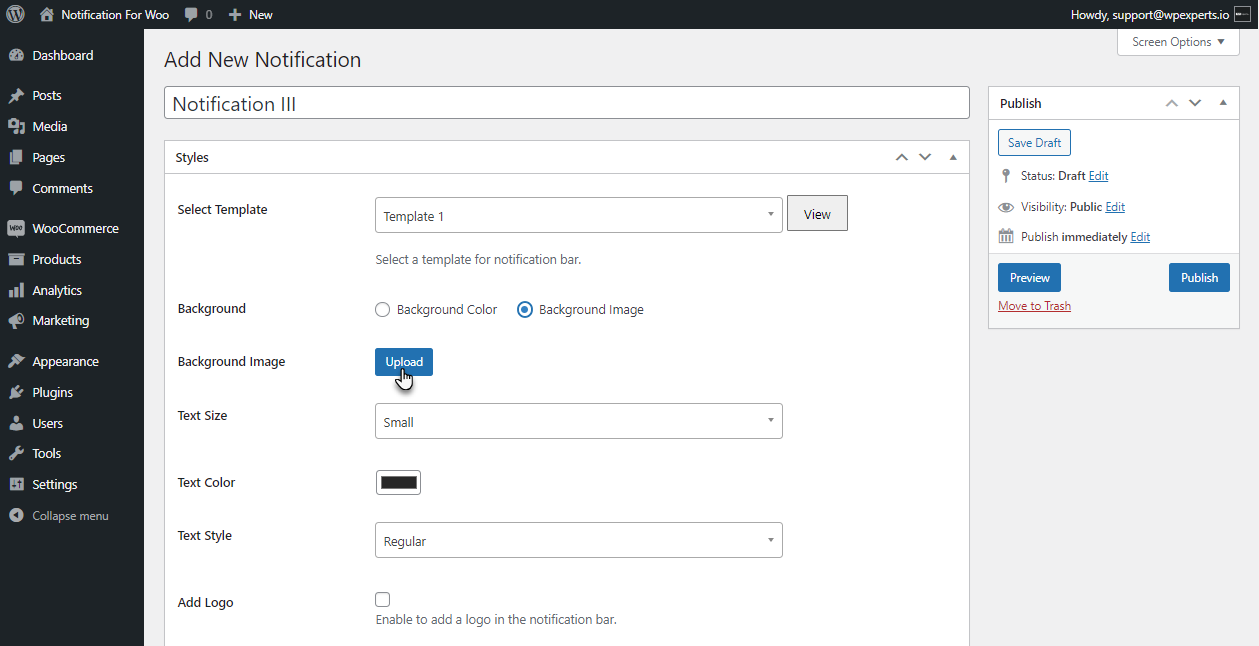
- Background image.
- Select the Background image option to add a background to your notification bar.
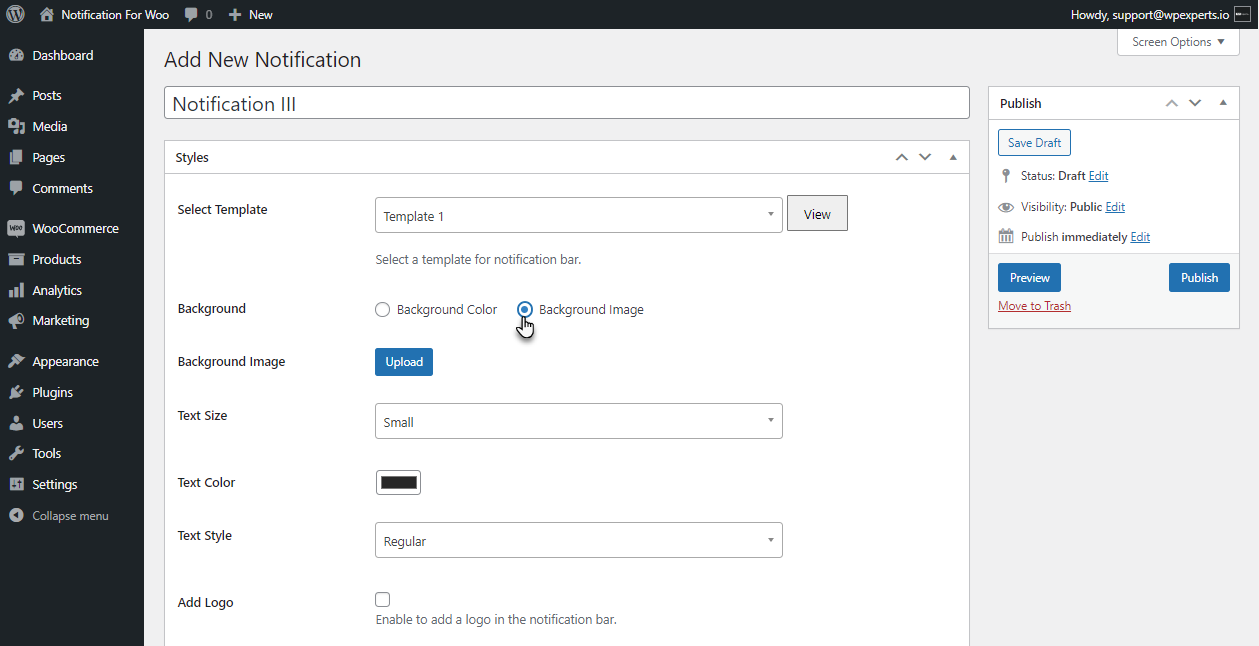
- A user can upload an image for the background of the notification bar by using Background Image.
- The user can change the text size of the notification by using the Text Size option.

- The user can change the text color of the notification by using the Text Color option.

- The user can change the text style of the notification by using the Text Style option.

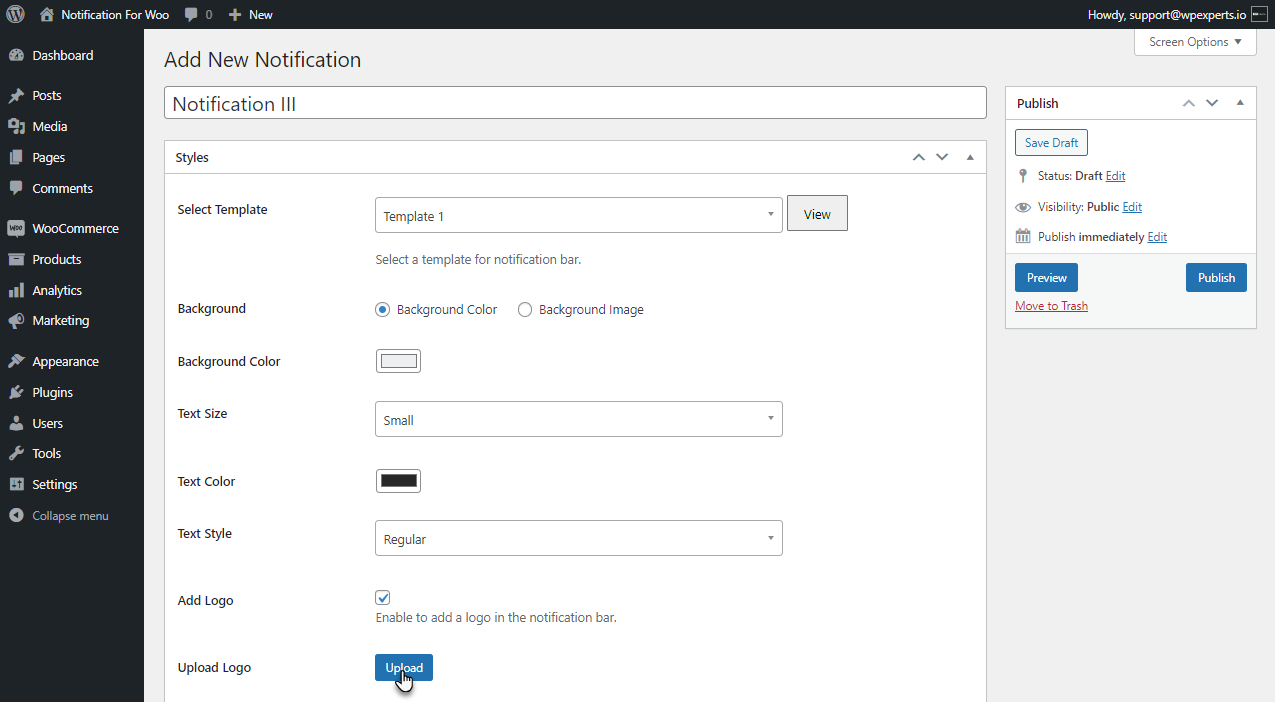
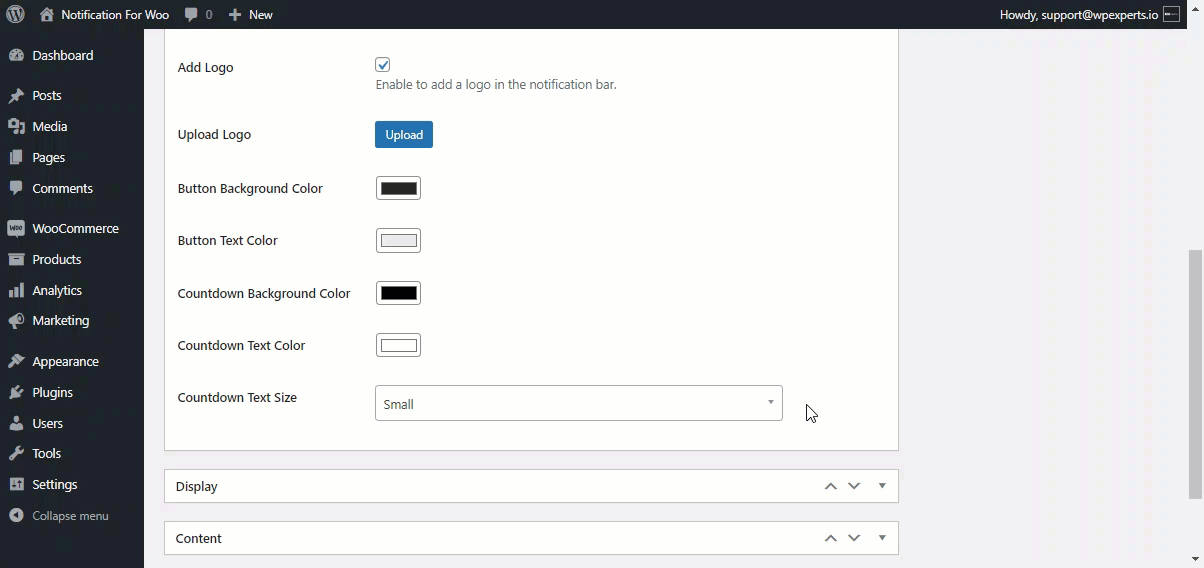
- The user can add a logo to the notification bar by enabling the Add Logo check button option.
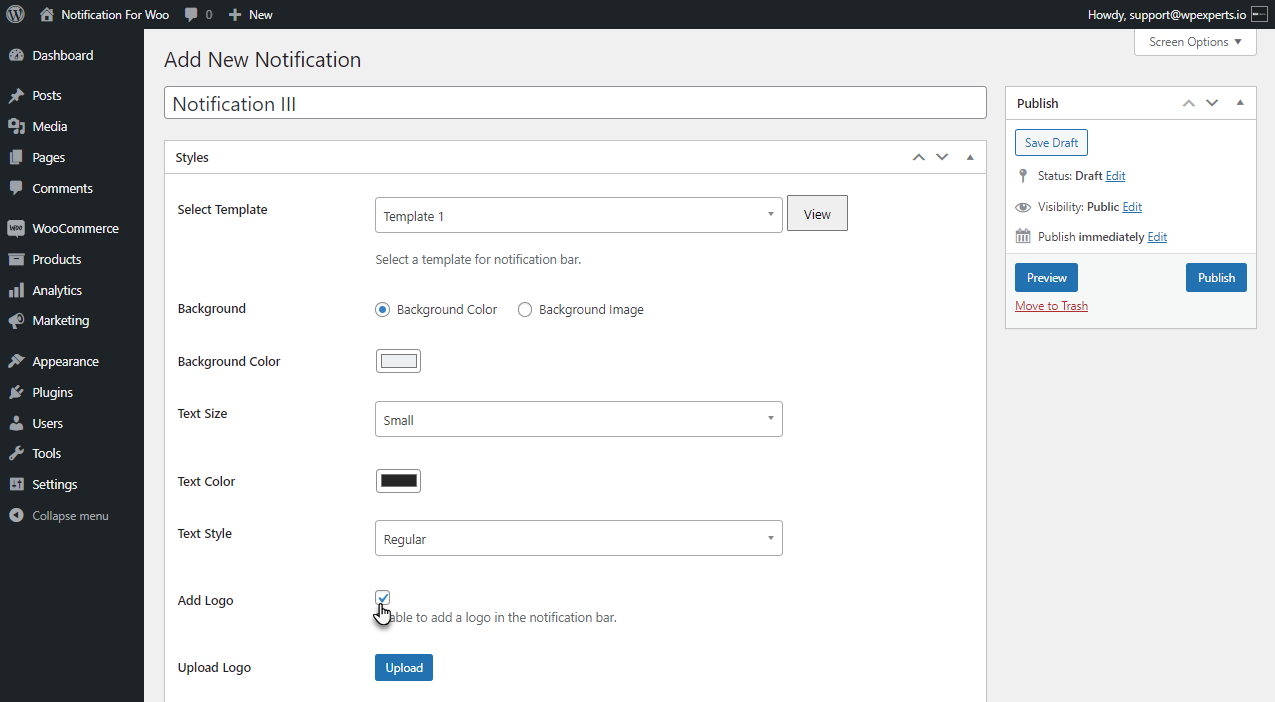
- When the Add Logo check button is enabled, the Upload Logo option will be available for the user to upload a Logo.
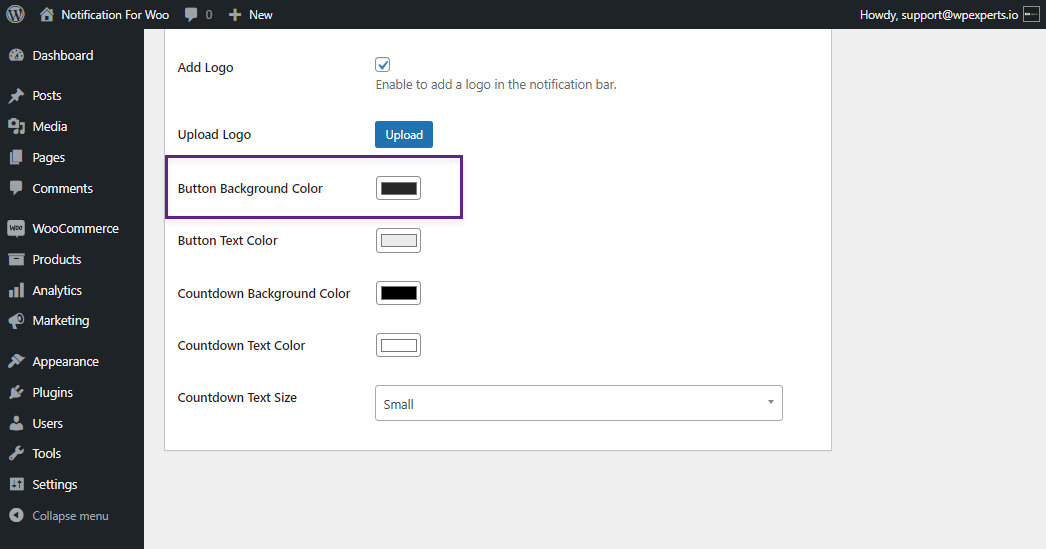
- The user can change the background color of the button by using the Button Background Color option.
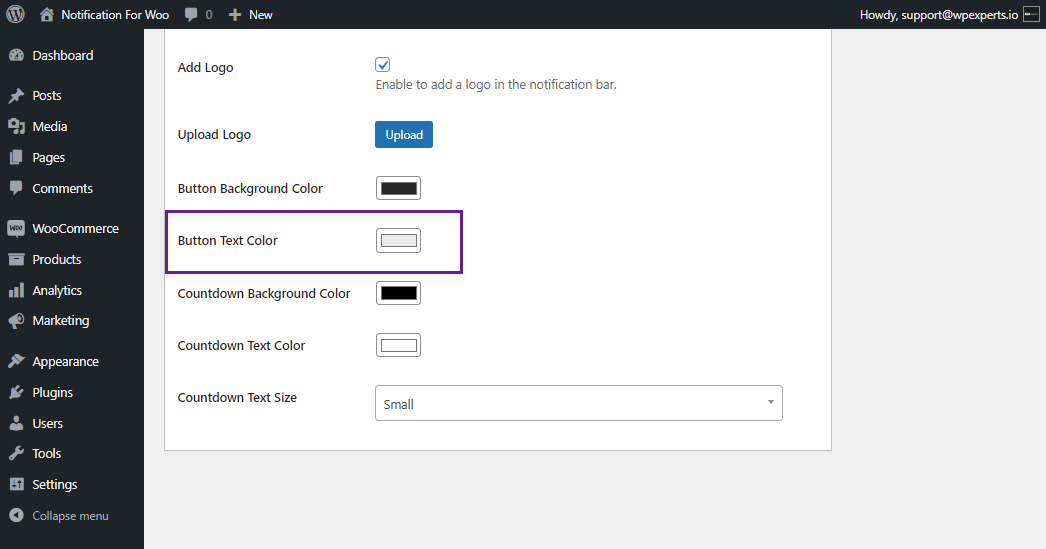
- The user can change the color of the button text by using the Button Text Color option.
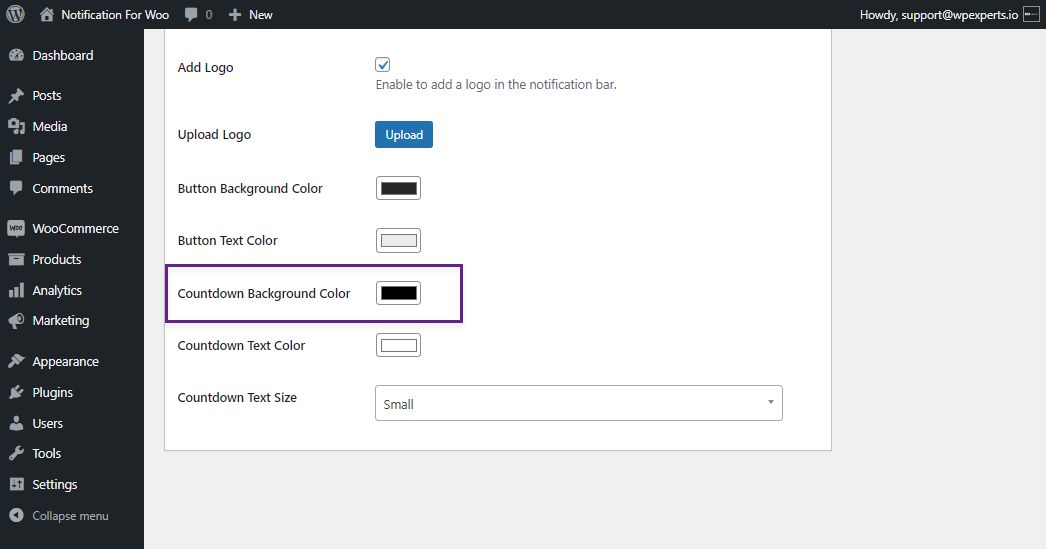
- The user can change the countdown background Color using the Countdown Background Color option.
- The user can change the color of the countdown text by using the Countdown Text Color option.

- The user can change the size of the countdown text by using the Countdown Text Size option.
Display Tab
- In the Display Tab, a user can alter the Display settings of the notification.
- Select where you want to show your notification using Display on the drop-down list.

- Select the user you want to notify by using Display for drop-down list.
- Enable the Display Close check button to display a close icon on the notification.

- The user can change the close button’s color by using the Close Button Color.
- Enable the Hide on Mobile option to restrict your notification on mobile devices.
- After finishing with the Customization, Click on the Preview button to preview your notification.
- Click on the Publish button to publish your notification.
Front End Impact
- Login to your account.
- The Notification Bar will be visible at the top of your website.
Before
After
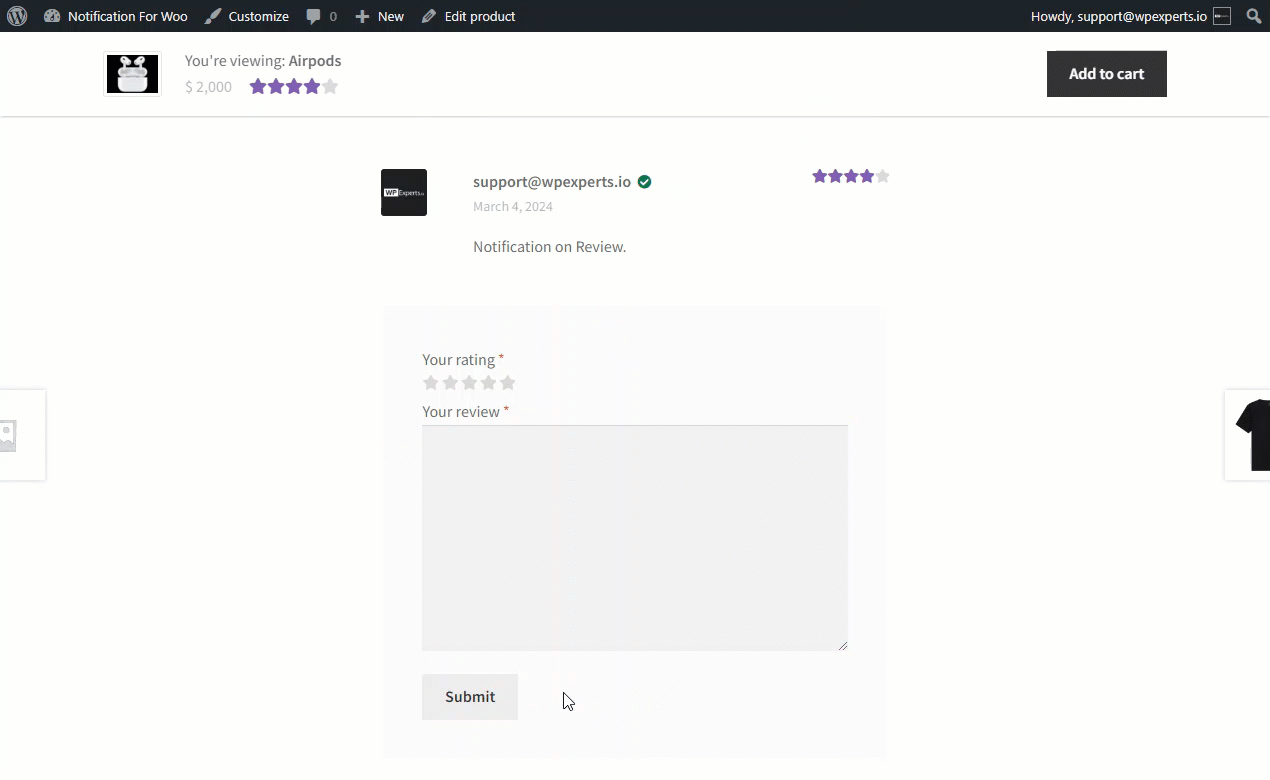
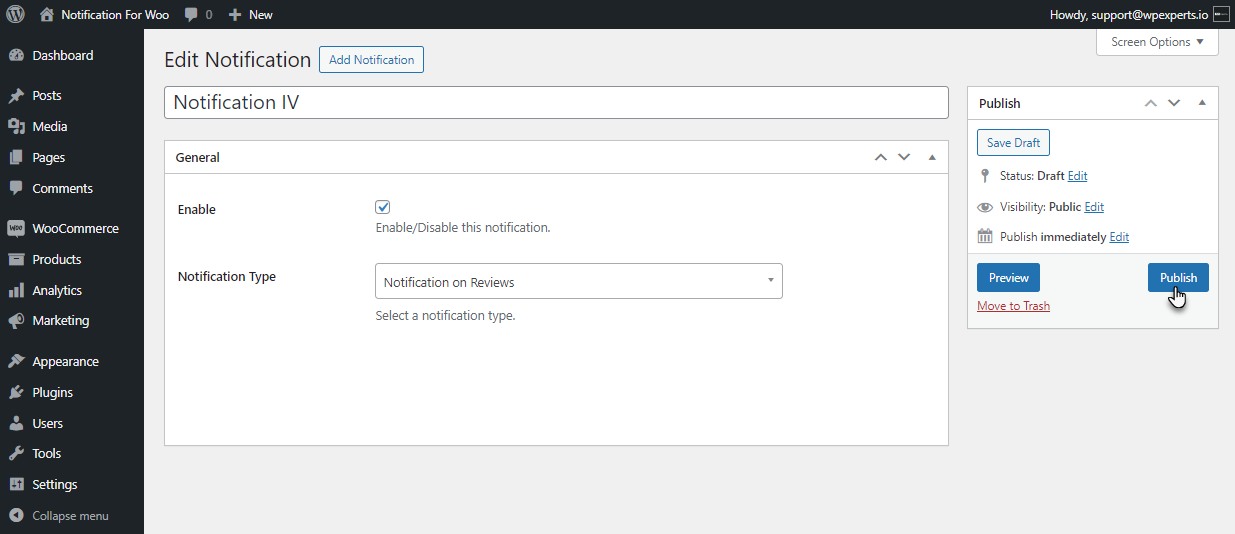
Notification on Review
↑ Back to top- This notification will be triggered and displayed when a user leaves a review to a product or services.
- Go to WordPress AdminDashboard > Notification > Add Notification.
- There will be four tabs to configure your notification.
- General
- Content
- Styles
- Display
General Tab
- Scroll Down to the General Tab. This tab consists General settings of the notification.
- Enable the Notification by checking the Enable Option.
- Select Notification on Reviews from the drop-down list.

Content Tab
- Once done with the General tab, scroll down to the Content tab.
- The Content tab allows the user to alter the content of the notification.

- Select Products or Category from the drop-down list in the Show Purchase of option.
- Select Products in the Select Reference option for which notification will be shown.
- Navigate down to Notification Content in the Content tab.
- There are three rows for the notification. Text and Styles can be added to the notification bar.
- Click on the Row to edit it.
- You can disable the row by selecting the disable check button.

- In the Text bar, you can add text you want to display on your notifications with provided variables.
- The Font size of the notification can be changed by the Font Size option. This allows to change the font size of the notification.

- The Font Color can be changed by the Font Color option. This allows you to change the color of the font of the notification.

- The Text Alignment option can align text. This allows to align the text of the notification.
- Text Style can be changed by the Text Style Option. This allows to change the text style of the notification.

PLEASE NOTE: Row 2 and Row 3 can be configured by the same process.
Style Tab
- After finishing with Content, move to the Styles tab.
- The style tab enables users to style the notification.
- In the style tab, users have two Template Types to show notifications. By default, the Predefined Template radio button will be selected.
Predefined Template
- By default, the Predefined Template radio button will be selected.
- There are three Predefined Templates provided for the user.
- Select Template from the Select Template option.
- After selecting Template, There’s a View button to preview the template.

- The template will be previewed on the same settings page.
- The notification’s background color can be changed using the Background Color option.

- In the image section, the user can display the image on the notification as per his needs provided with four options.

PLEASE NOTE: The Select Image option is briefly explained in the Conversion Notification Configuration.
- In the animation section, the user can select the enter animation of the notification from the Enter Animation drop-down list.
- Similarly, animation can be added for the exit of notification using the Exit Animation drop-down list.

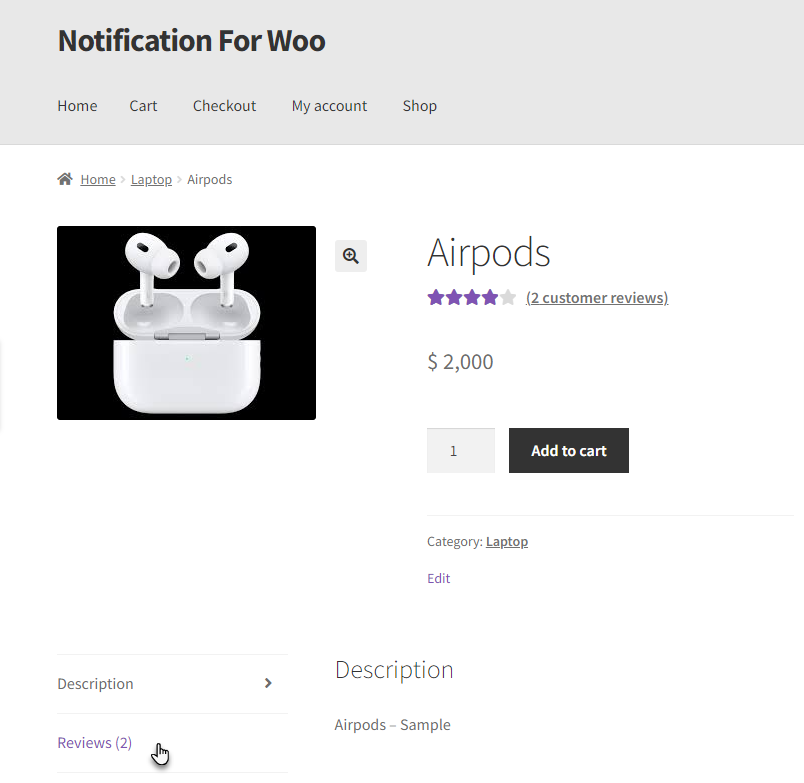
Front End Impact
- Login to your account.
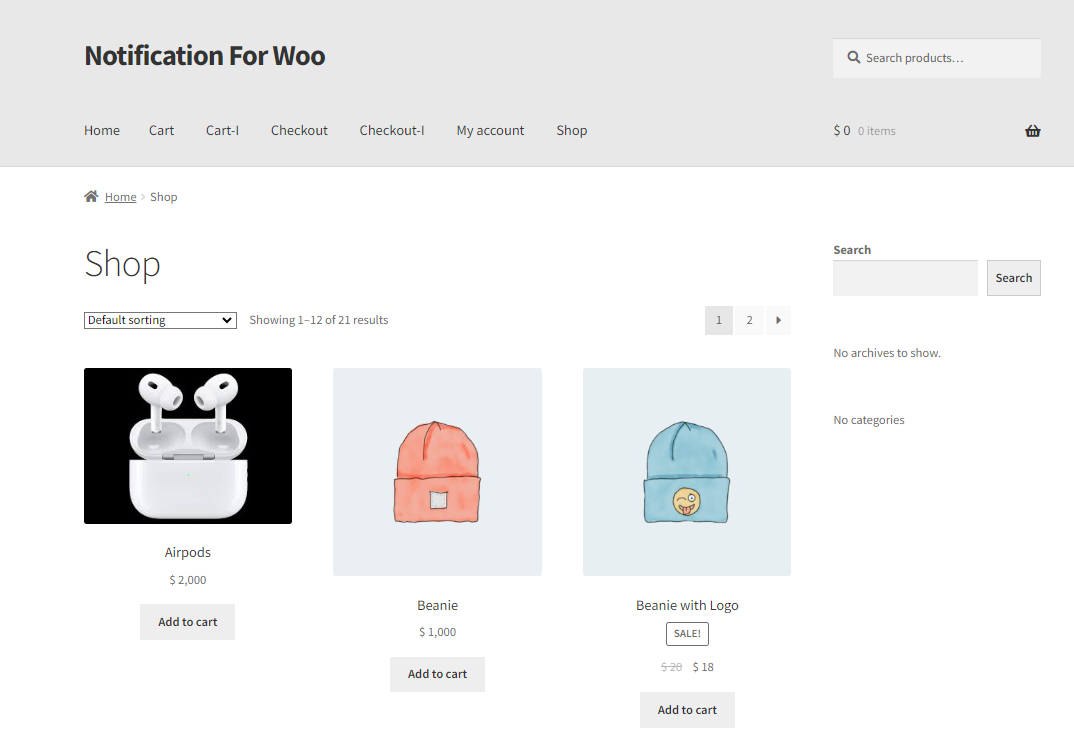
- Go to the Shop page.
- Navigate to the Product page

- Scroll to the Product Review Section.

- Add a review to the product.
- As your review is published, a notification will pop up on your screen.

Custom Template
- Select Custom Template from the Template Type option.
- Select the shape for the notification box background from the Background shape option.
- Users can change the background color of the notification by using the Background Color option.

- Select the Border check button to add a border to your notification.
- Add a border Stroke to your notification using the Border Stroke option.
- The border color of the notification can be changed by using the Border Color option.
PLEASE NOTE: The rest settings will be the same as for the Predefined Template.
Front End Impact
- Login to your account.
- Go to the shop page.
- Navigate to the Product page

- Scroll to the Product Review Section.

- Add a review to the product.
- As your review is published, a notification will pop up on your screen.
Display Tab
- In the Display Tab, the user can alter the Display settings of the notification.
- Set the visibility duration of the notification using the Visibility Duration option. This option holds the notification for the specific span of time on the screen.

- Set the interval time for your notification by using the Interval option. This option provides a gap between the appearance of the notifications.
- Set the notification position of your notification by using the Notification Position drop-down list.
- Adjust notification size by using the Notification size option.

- Enable the Loop Notification option to show your notification on the loop.
- Select where you want to show your notification using Display on the drop-down list.

- Select the user you want to notify by using Display for drop-down list.

- Enable the Display Close check button to display a close icon on the notification.
- Enable the Hide on Mobile option to restrict your notification on mobile devices.
- Click on the Preview button to preview your notification.
- Click on the Publish button to publish your notification.
Front End Impact
- Login to your account.
- Go to the shop page.
- Navigate to the Product page
- Scroll to the Product Review Section.

- Add a review to the product.
- As your review is published, a notification will pop up on your screen.
Notification on Comments
↑ Back to top- This notification will be triggered and displayed when a user leaves a comment to a post.
- Go to WordPress AdminDashboard > Notification > Add Notification.
- There will be four tabs to configure your notification.
- General
- Content
- Styles
- Display
General Tab
- Scroll Down to the General Tab. This tab consists General settings of the notification.
- Enable the Notification by checking the Enable Option.
- Select Notification on Comments from the drop-down list.
Content Tab
- Once done with the General tab, scroll down to the Content tab.
- The content tab allows the user to alter the content of the notification.
- Navigate down to Notification Content in the Content tab.
- There are three rows for the notification. Text and Styles can be added to the notification bar.
- Click on the Row to edit it.
- You can disable the row by selecting the disable check button.
- In the Text option, you can add text you want to display on your notifications with the provided variables.

- The font size of the notification can be changed by the Font Size option.

- The font color of the notification can be changed by the Font Color option.
- The Text Alignment option can align text. This option allows you to align the text of the notification.

- The text style can be changed by the Text Style Option. This allows to change the text style of the notification.
PLEASE NOTE: Row 2 and Row 3 can be configured by the same process.
Style Tab
- After finishing with Content, move to the Styles tab.
- The style tab enables users to style the notification.

- In the style tab, users have two Template Types to show notifications. By default, the Predefined Template radio button will be selected.
Predefined Template
- By default, the Predefined Template radio button will be selected.
- There are three Predefined templates provided for the user.
- Select Template from the Select Template option.
- After selecting Template, there’s a View button to preview the template.
- The template will be previewed on the same settings page.

- The notification’s background color can be changed using the Background Color option.

- In the image section, the user can display an image on the notification according to his needs, provided with four options.
PLEASE NOTE: The Select Image option is defined briefly in the Conversion Notification Configuration.
- In the animation section, the user can select the enter animation of the notification from the Enter Animation drop-down list.

- Similarly, animation can be added for the exit of notification using the Exit Animation drop-down list.

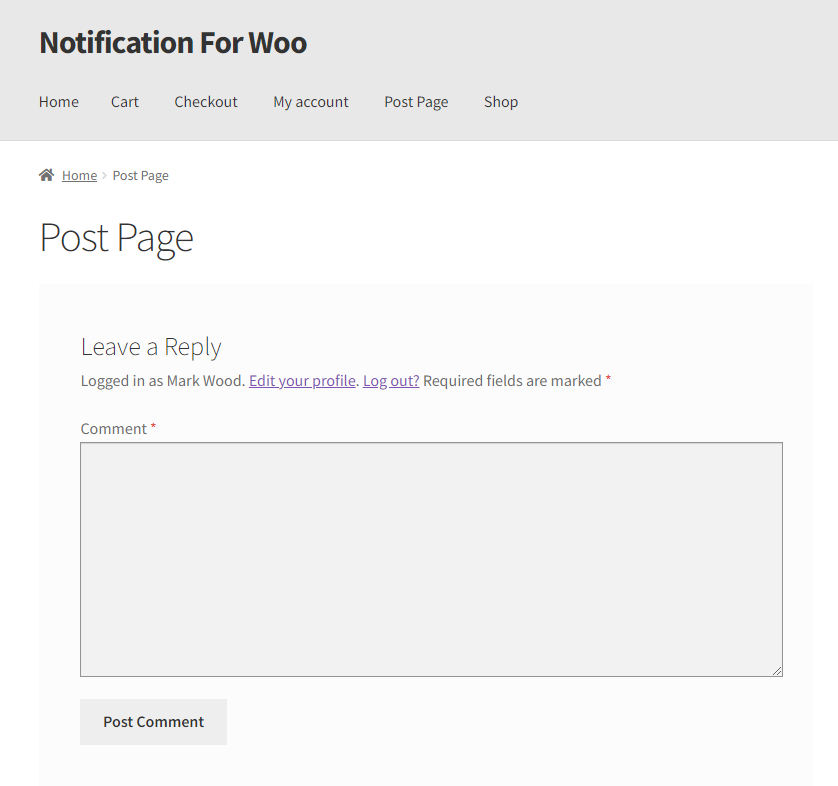
Front End Impact
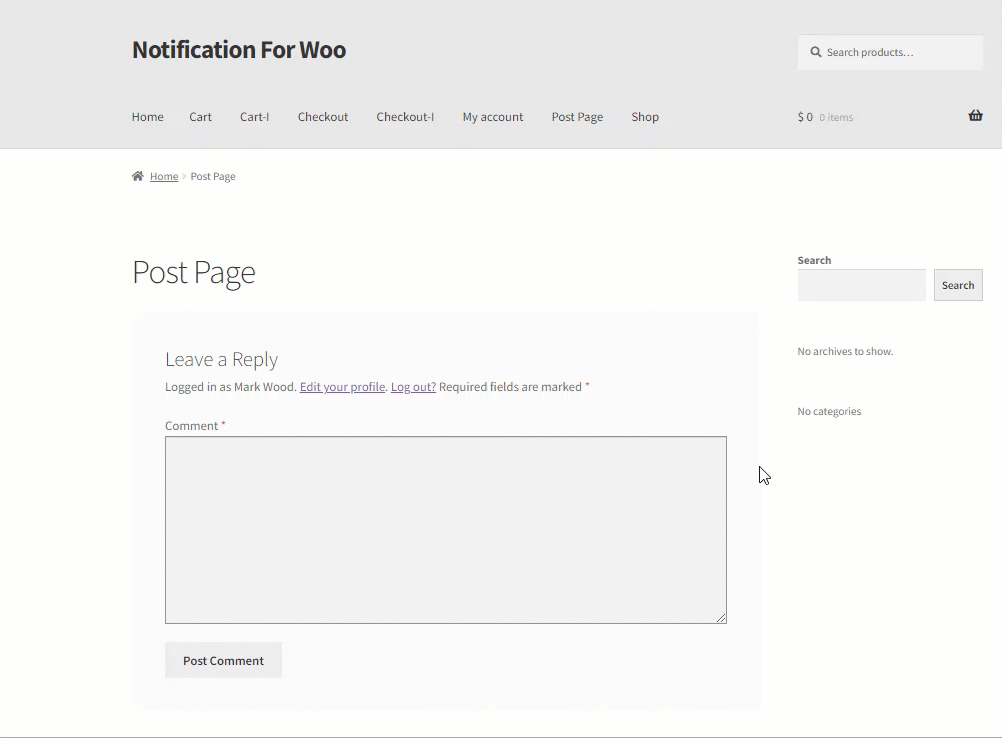
- Login to your account.
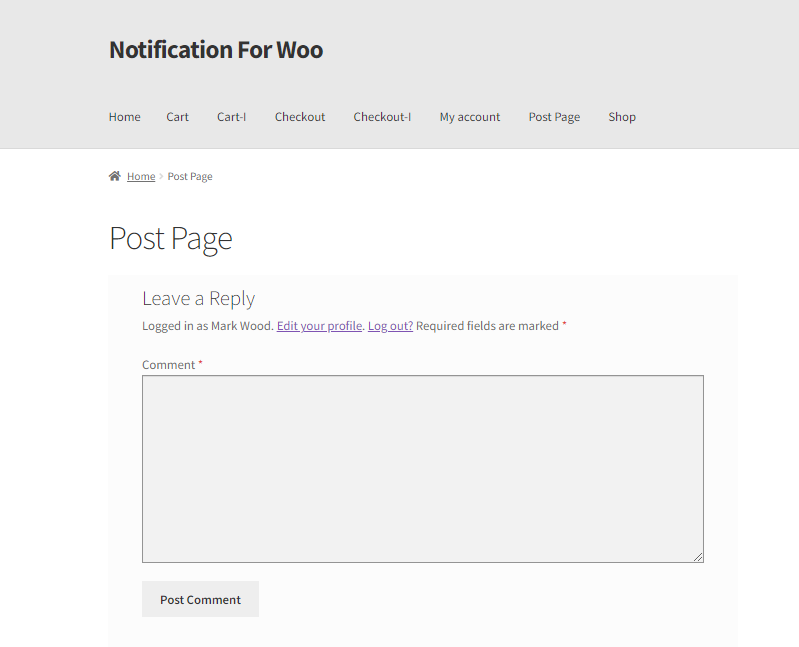
- Go to the Post page.

- Add a comment to any post.
- As your comment is published, a notification will pop up on your screen.

Custom Template
- Select Custom Template from the Template Type option.

- Select the shape for the notification box background from the Background shape option.
- User can change the background color by using the Background Color option.
- Select the Border check button to add a border to your notification.
- Add a border Stroke to your notification using the Border Stroke option.
- The border color can be changed by using the Border Color option.
PLEASE NOTE: The rest settings will be the same as for the Predefined Template.
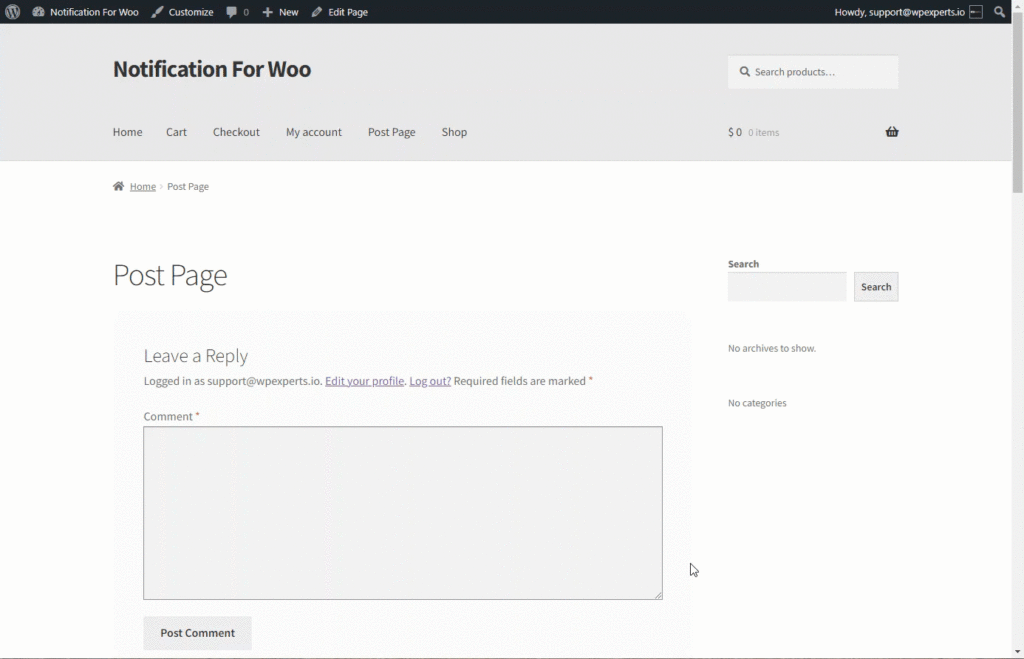
Front End Impact
- Login to your account.
- Go to the Post page.
- Add a comment to any post.
- As your comment is published, a notification will pop up on your screen.

Display Tab
- In the Display Tab, the user can alter the Display settings of the notification.
- Set the visibility duration of the notification using the Visibility Duration option. This option holds the notification for the specific span of time on the screen.

- Set the interval time for your notification by using the Interval option. This option provides a gap between the appearance of the notifications.

- Set the notification position of your notification by using the Notification Position drop-down list.
- Adjust notification size by using the Notification size option. This allows to change the size of the notification box.
- Enable the Loop Notification option if needed to show your notification on the loop.

- Set the Loop interval for the notification. A notification will reappear after the specific time set for this option.
- Set the date you want to run the loop for the notification. The notification loop will run till the date admin will set.
- Select where you want to show your notification by using Display on the drop-down list.

- Select the user you want to notify by using Display for drop-down list.

- Enable the Display Close check button to display a close icon on the notification.
- Select the color for the Close button by using the Close Button Color.
- Enable the Hide on Mobile option to restrict your notification on mobile devices.

- Click on the Preview button to preview your notification.
- Click on the Publish button to publish your notification.
Front End Impact
- Login to your account.
- Go to the Post page.

- Add a comment to any post.
- As your comment is published, a notification will pop up on your screen.
Notifications Log
↑ Back to top- The Notification log displays all triggered notifications for easy reference.
- Go to WordPress AdminDashboard > Tools > Notification Logs.
- In the Notification Log, Per notification log will be recorded.
- The notifications log will appear with DateTime, Notification Type, User, CTA ( Call to Action ), and Action.
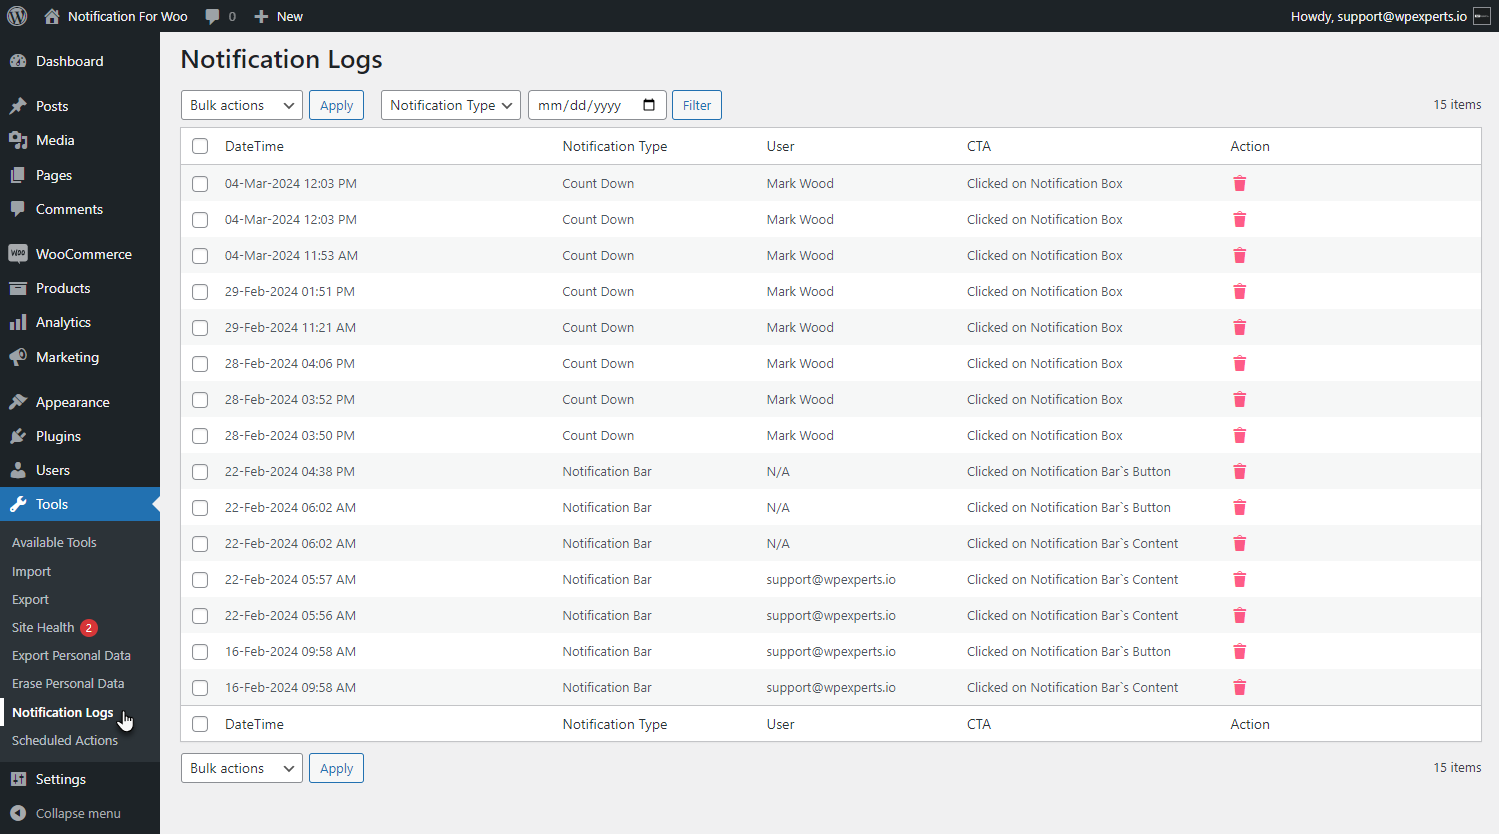
PLEASE NOTE: Notifications Logs will only work for Notification Alert in Countdown Notification Type and Notification Bar Notification Type.
- The Bulk Action option is available to delete a specifc or all the logs.
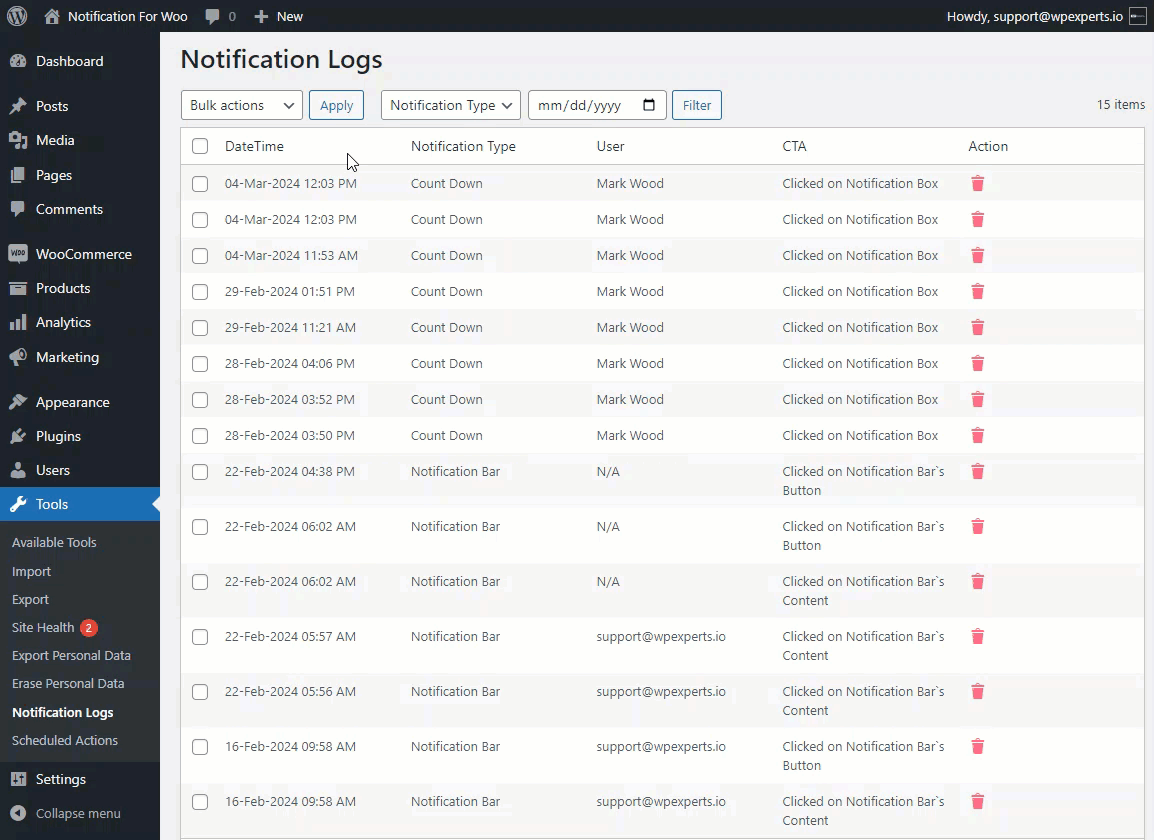
- The Notification type drop-down list is available to select specific notification types.
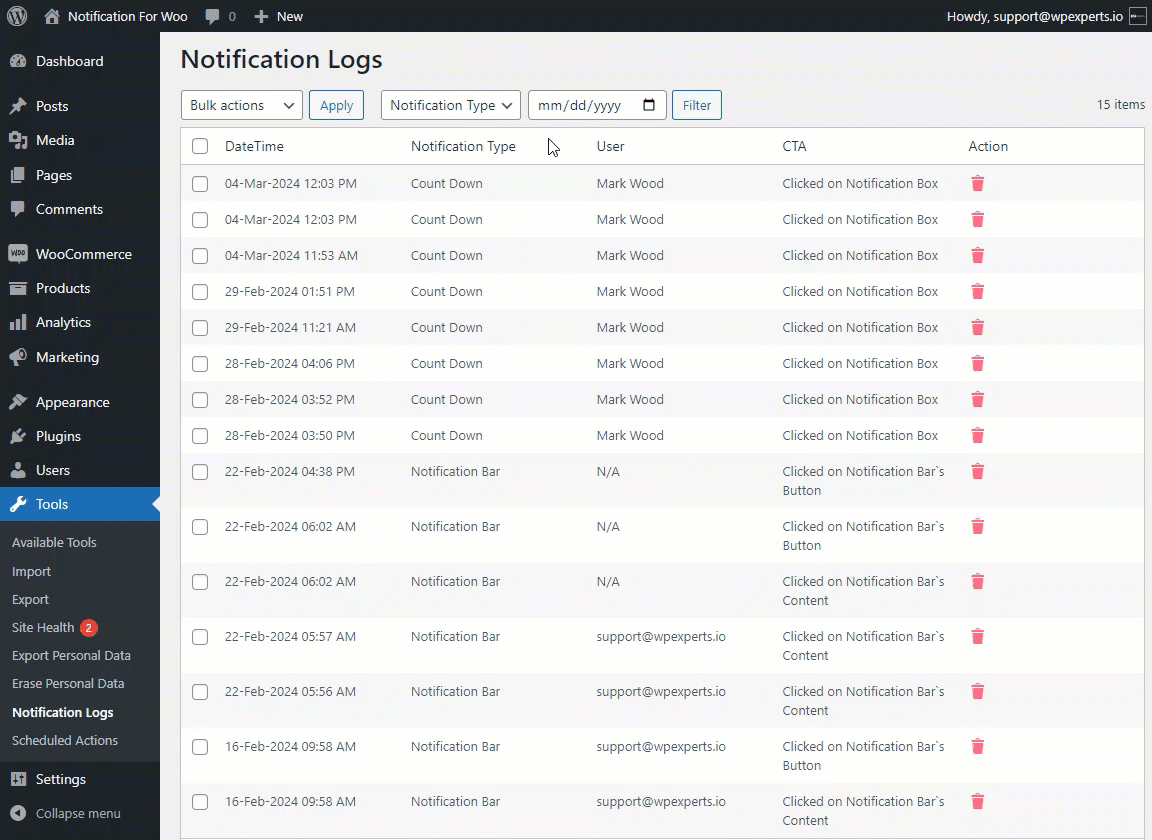
- A Date filter option is available so users can find notifications on a particular date.

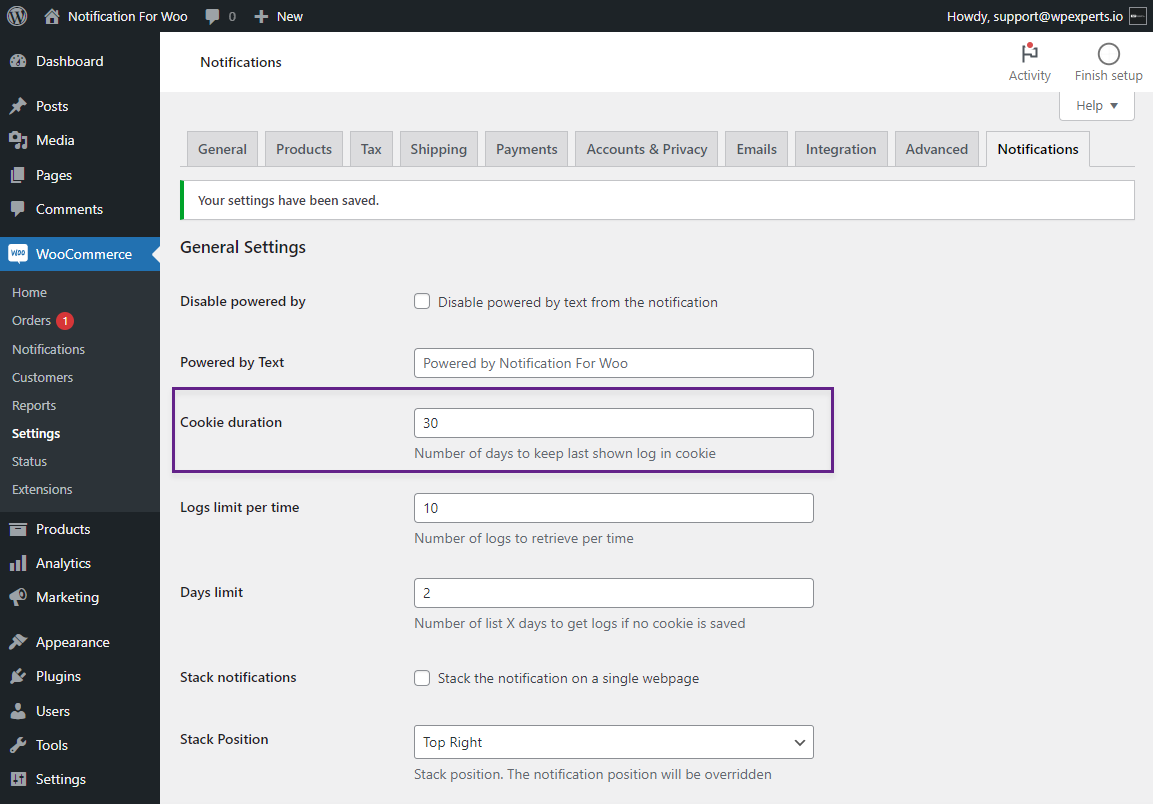
Notification Settings
↑ Back to top- For the General Settings of the Notifications Go to WordPress AdminDashboard > WooCommerce > Settings.

- Switch to the Notification Tab.
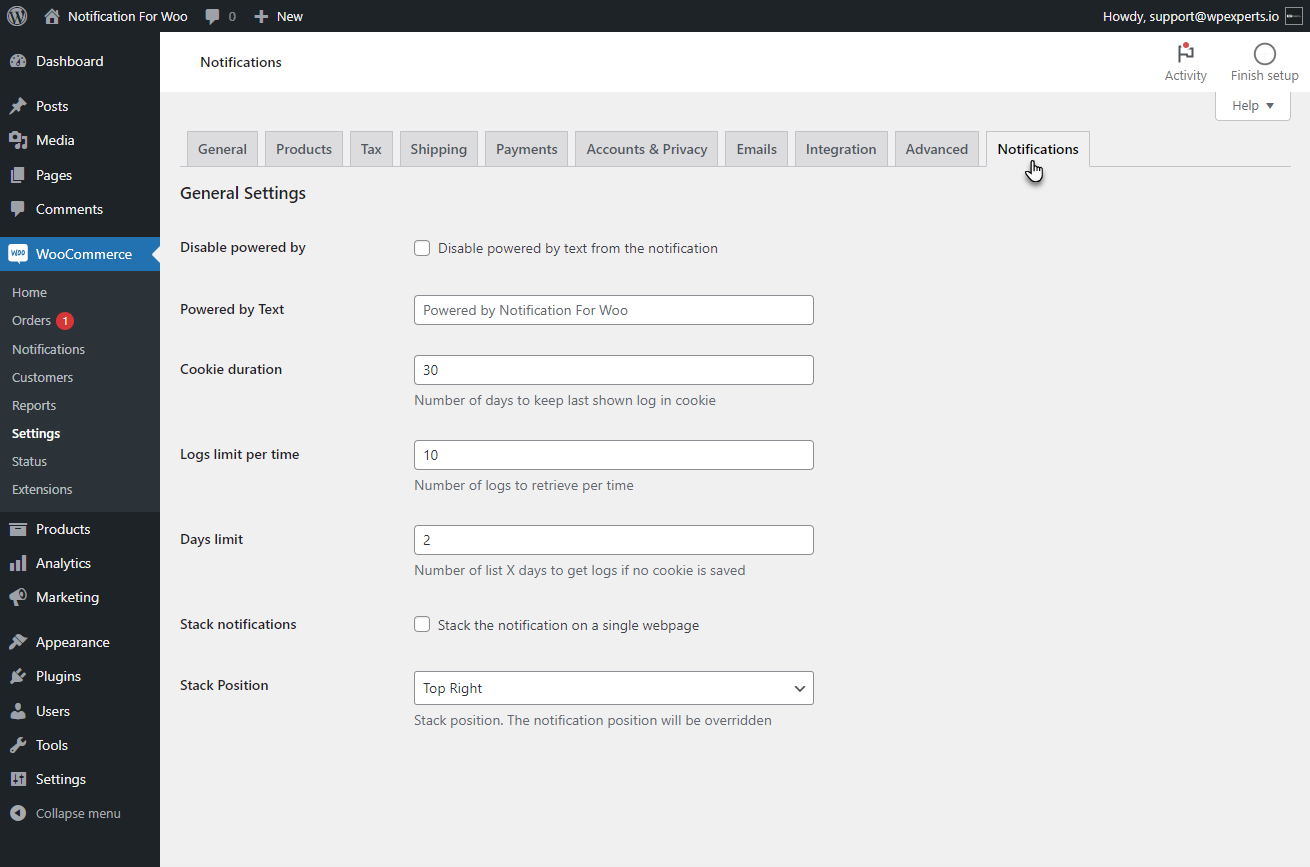
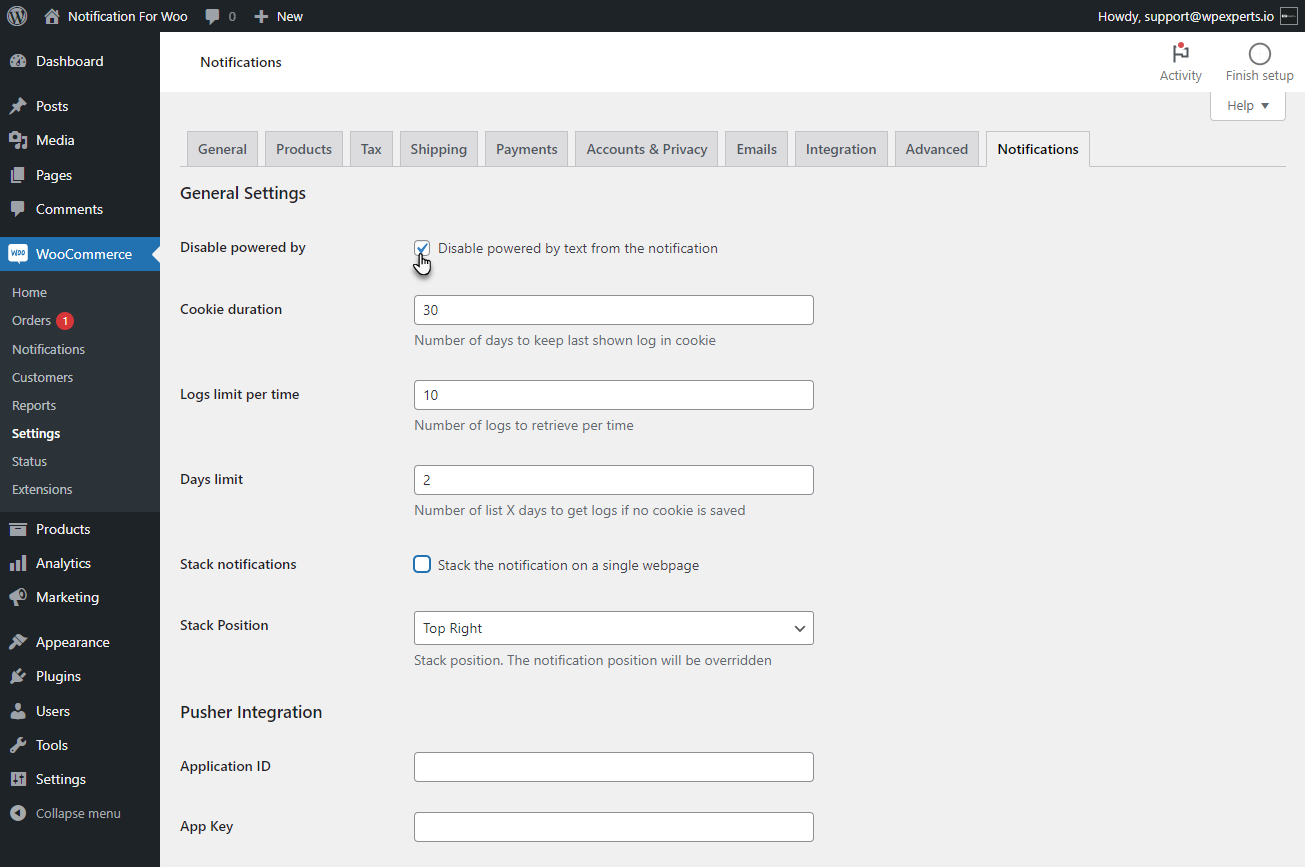
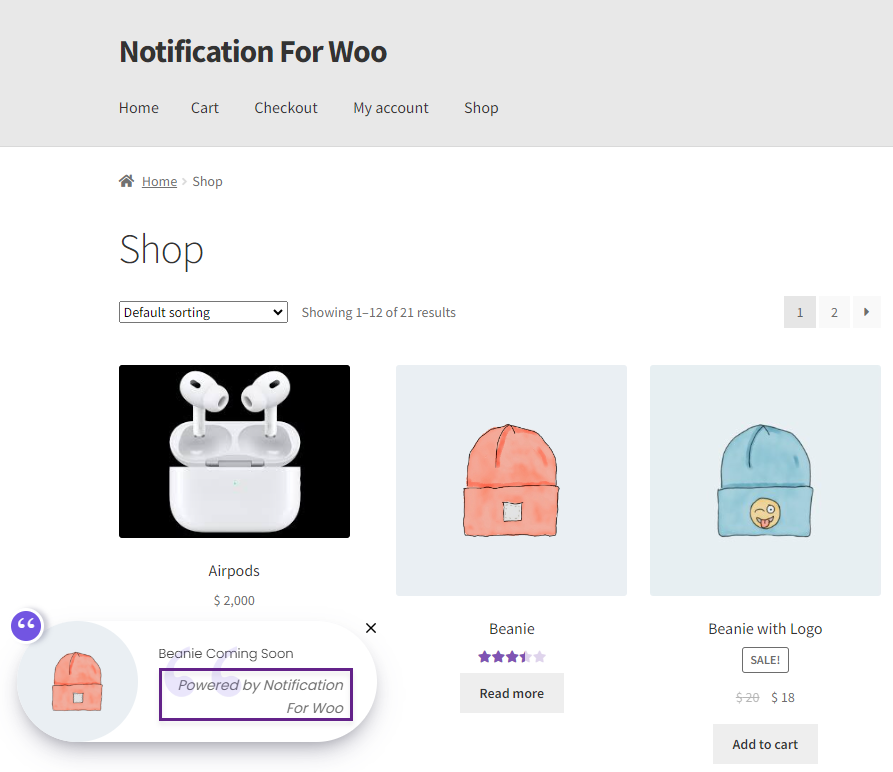
Disable Powered by
Select the Disable Powered by option to remove powered by text from the notification.
Front End Impact
Before

After
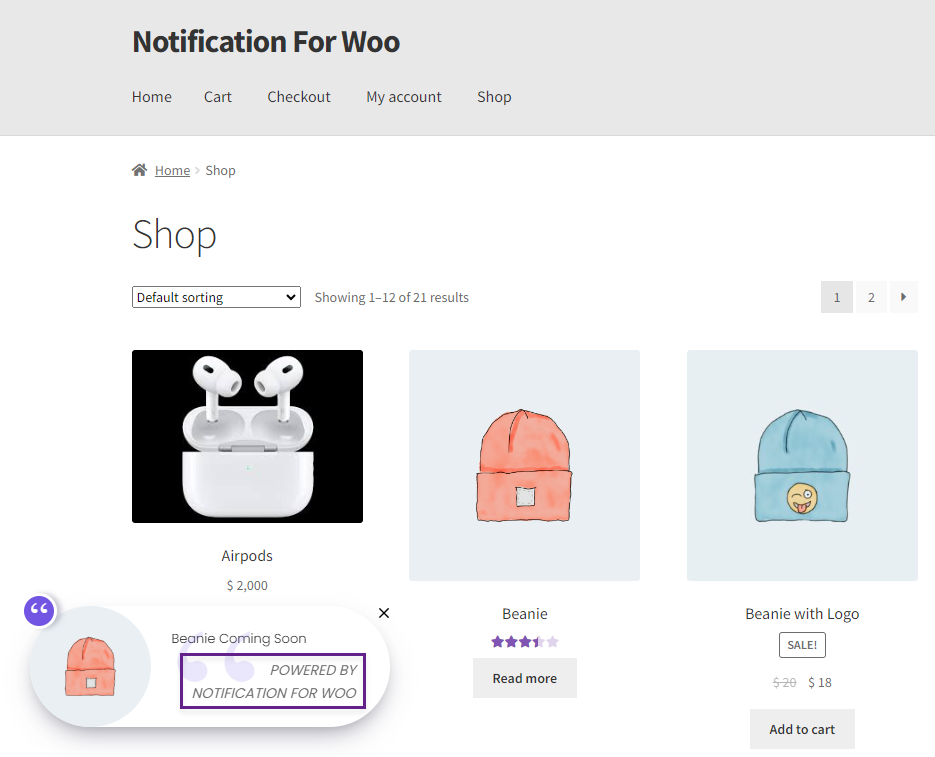
Powered by Text
↑ Back to topThe Powered by Text can be changed using the Powered by Text option.
Front End Impact
Before
After
Cookie Duration
↑ Back to topEnter the number of days to keep the notifications log cache.
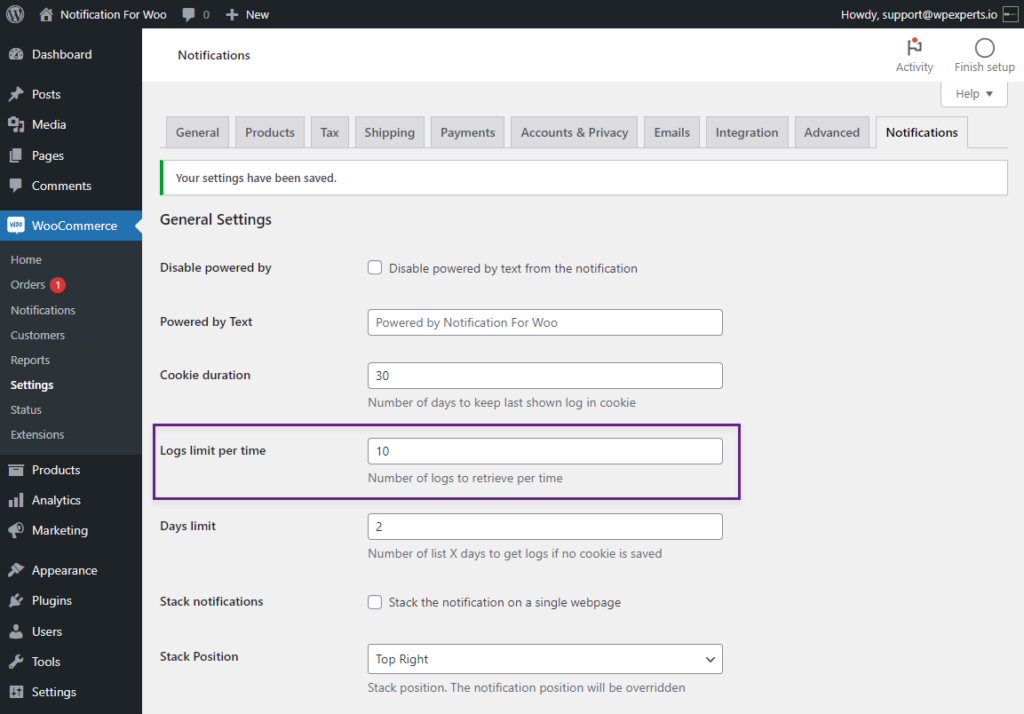
Logs limit per time
↑ Back to topEnter the number of logs to keep the notifications log cache.
Days Limit
↑ Back to topSet the duration in days to get logs if no cookie is saved.

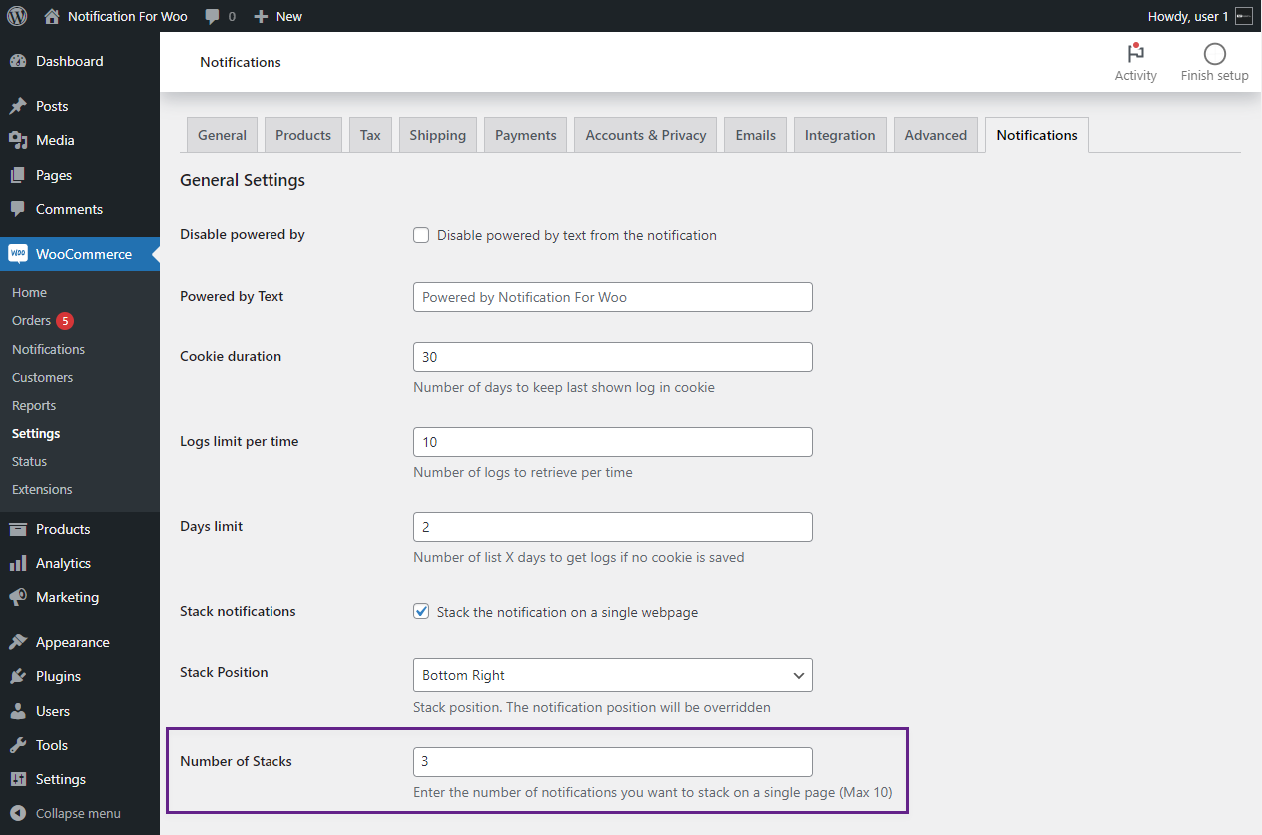
Stack Notification
↑ Back to top- The Stack Notification feature enables users to view multiple notifications simultaneously.
- Select the Stack Notification check button to show the notification stack on a single webpage.

- Adjust the Notification stack position by using the Stack Position option.
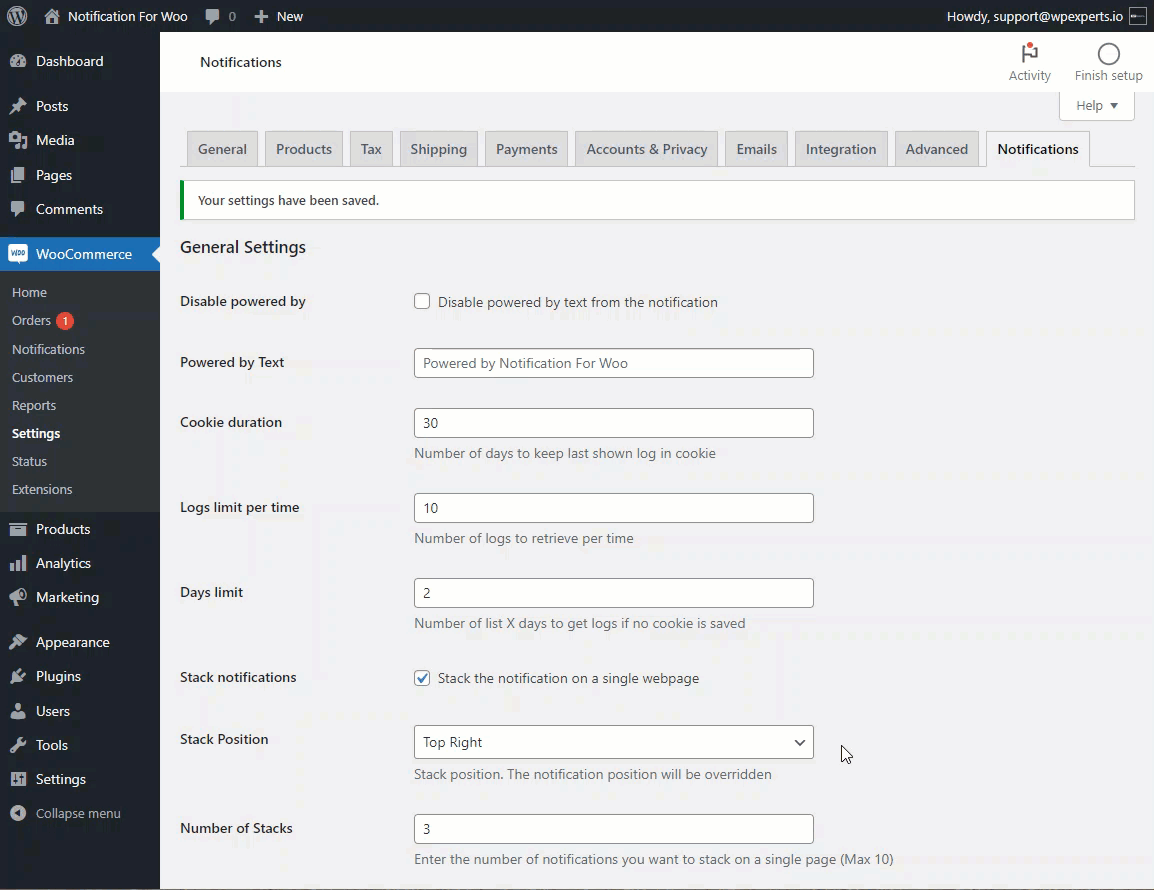
- Enter the number of the notification you want to stack on a single webpage by using the Number of Stacks option.
Front End Impact
- After enabling Stack Notifications and enabling the Notifications.
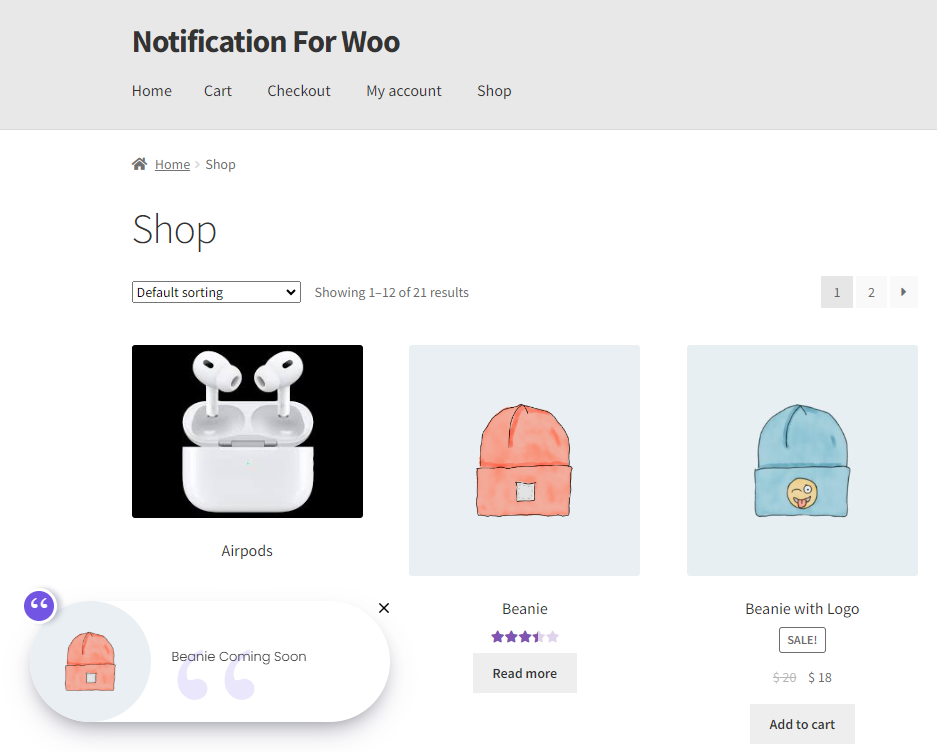
- Go to any webpage Notification Stack will be visible.
Pusher Integration
↑ Back to top- The Pusher integration enables real-time notifications to be delivered to your website.
- Go to pusher.com click on sign up and sign up with your account.
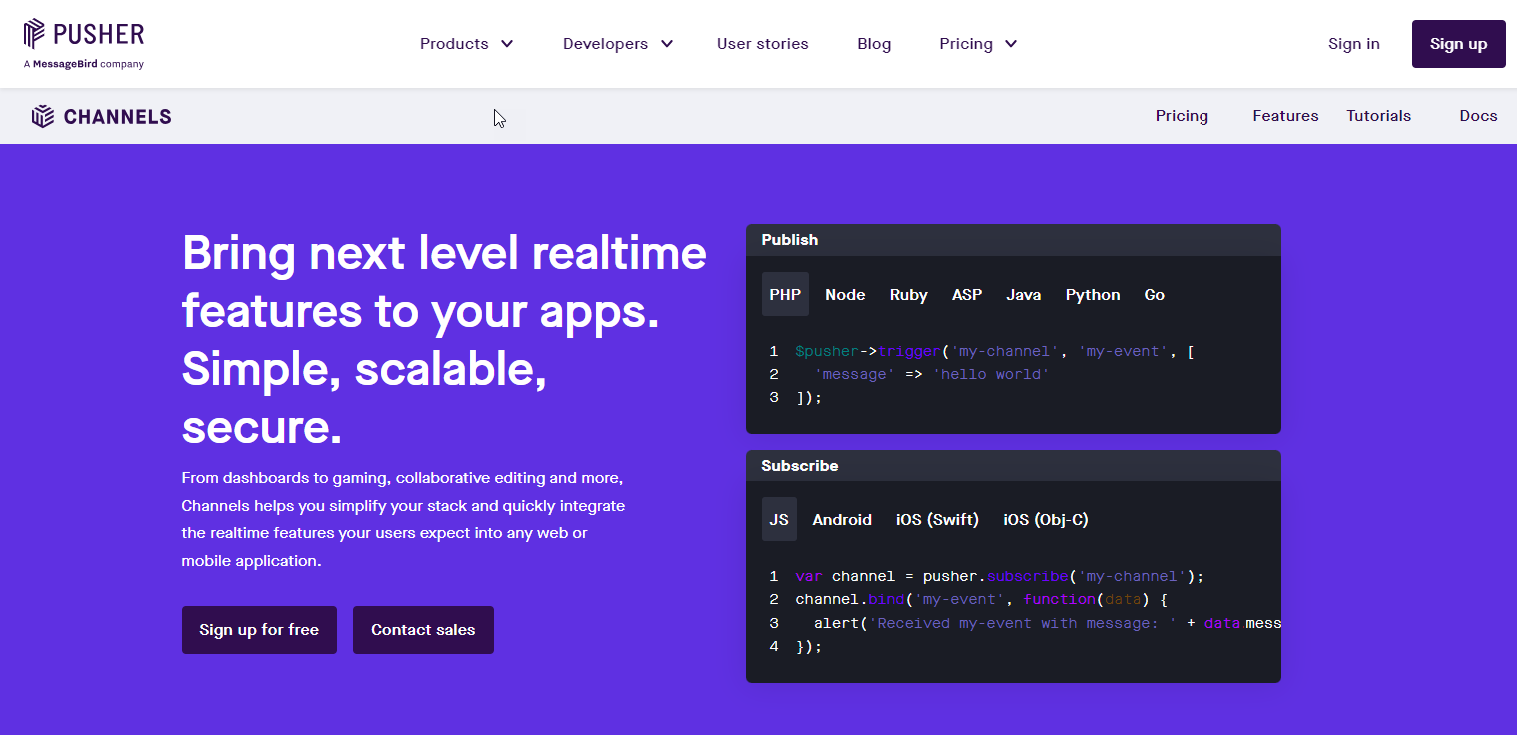
- In the Channels Box, click on get started. A popup will appear, so click on continue.
- In the Overview Section, click on App Keys.

- Copy and paste the keys into the WooCommerce > Settings > Notifications > Pusher Integration.
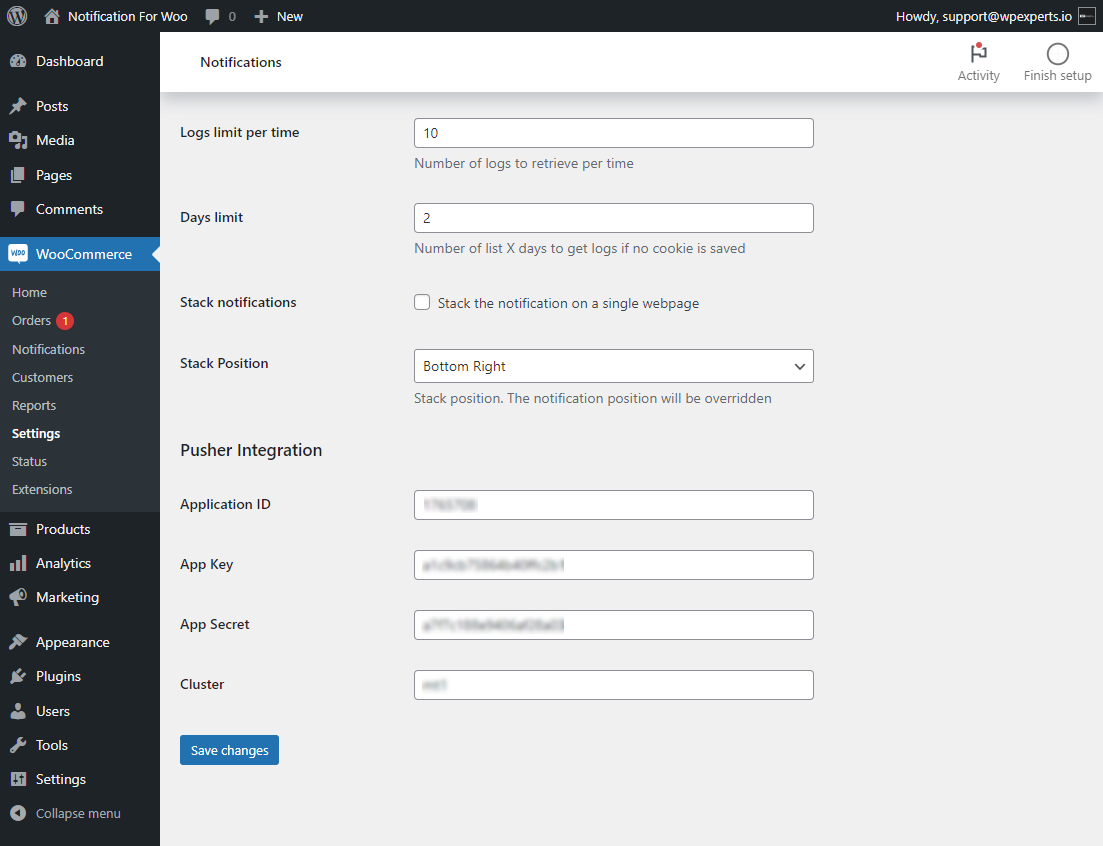
- The real-time notifications will only work for the following notification types:
- Conversion.
- Comment.
- Review.
Conversion Notification
↑ Back to top- Go to WordPress AdminDashboard > Notification > Conversion Notification.
- Enable Conversion Notification
- Go to the Shop page.
- Add an item to the cart.
- Click on the Proceed to Checkout button to navigate to the Checkout page.

- Place your order by clicking on the Place Order button.
- Your order will be Placed and a Real-time notification will pop up to your screen.
Front End Impact
Notification on Comments
↑ Back to top- Go to WordPress AdminDashboard > Notification > Notification on Comments.
- Enable Notification on Comments.
- Go to the Post Page.
- Add a comment on the Post Page.
Front End Impact
As your comment will be published, a notification will popped up on your screen.
Notification on Reviews
↑ Back to top- Go to WordPress AdminDashboard > Notification > Notification on Reviews.
- Enable Notification on Reviews.
- Go to the Product page.
- Move to the Review Tab
- Add a review to the product.
Front End Impact
As you will add a review, a notification will pop up on your screen.