Set a joyful mood for your website with Treehouse — a colorful block-based theme ideal for children’s apparel and toys online stores.
Installation
↑ Back to topThanks for purchasing Treehouse from WooCommerce.com! Each purchase from our site is a yearly subscription which you can view and manage under the My Subscriptions section of your WooCommerce.com account dashboard.
(Optional) We recommend you to complete WooCommerce subscription setup after completing the order/purchase. It will help you to install your theme/extensions & keep them up to date.
Theme Install and Activation
↑ Back to topThe theme can be installed automatically or manually. We’d recommend one of the automatic options, but if you prefer you can always download the product .zip file and install your purchase manually.
Automatic Installation
There are two ways to automatically install your purchase from WooCommerce.com.
Read more: Automatic Installations
Manual Installation
If you prefer to install your purchase manually, you can certainly do so.
Read more: Manual Installations
Theme Setup Wizard
↑ Back to topOnce activated, you will be redirected to the theme setup page.
You can find the Theme Setup Wizard under Appearance > Theme Setup in case you decide to return to the dashboard and continue with it later on.

1. Required Plugins
The WooCommerce plugin is required in order for Treehouse to work. If the WooCommerce plugin is missing or is not active, theme features and demo import will not be complete.
If you skipped the required plugins step, you can manually install and activate WooCommerce. It can be installed through the WordPress admin dashboard or by uploading the plugin archive through FTP.
Installing WooCommerce through the WordPress admin dashboard
- Go to Plugins -> Add New.
- Search for “WooCommerce”.
- In the search results, click on Install Now.
- When the installation is done, click on Activate button.
2. Demo Import
The automatic importer will import posts, pages, products and set the site to look like the demo. This way it will recreate the minimal theme’s demo setup so you don’t need to start from scratch. The demo import may take a few minutes.
You can select the components you want to be imported from the Advanced list, so you don’t end up with undesired content.
Theme Update
↑ Back to topOnce you connect your site and WooCommerce.com account, you will receive update notifications in your WordPress dashboard as soon as they’re made available allowing you to update the theme with one click or set up automatic updates.
If you still need to manually update your theme, follow the details at Updating Your Theme.
Manage Theme Subscription
↑ Back to topRead more on how to manage your subscription, transfer a purchase to another account on WooCommerce.com or share the subscription with another account.
Theme Defined Block Patterns
↑ Back to topBlock Patterns are predefined block layouts, available from the block inserter’s Patterns tab. Once inserted into content, the blocks are ready for additional or modified content and configuration.
Here you can find the step by step instructions to insert patterns.
- Go to Pages and choose your desired page.
- Now, you can click + icon and choose Patterns tab to see all available patterns.
- Choose your desire one and start editing
Note: You can use patterns inside posts & products as well in the same way you’re using it for pages.
Treehouse theme comes with 15 theme-specific patterns:
- Content Patterns:
- About
- Post Content – Layout One
- Post Content – Layout Two
- Post Content – Layout Three
- Headers:
- Header – Layout One
- Header – Layout Two
- Footers:
- Footer – Layout One
- Page Headers:
- 404 Not Found Header
- Blog Header
- Category Header
- Homepage Header
- Page Header – Layout One
- Page Header – Layout Two
- Page Header – Layout Three
- Post Header
Block Editor
↑ Back to topThe block editor introduces a modular approach to pages, posts & products each piece of content in the editor, from a paragraph to an image gallery to a headline, is its own block. And just like physical blocks, WordPress blocks can be added, arranged, and rearranged, allowing WordPress users to create media-rich pages in a visually intuitive way — and without work-arounds like shortcodes or custom HTML.
Here you can find the instructions to insert blocks,
- Go to Pages and choose your desired page.
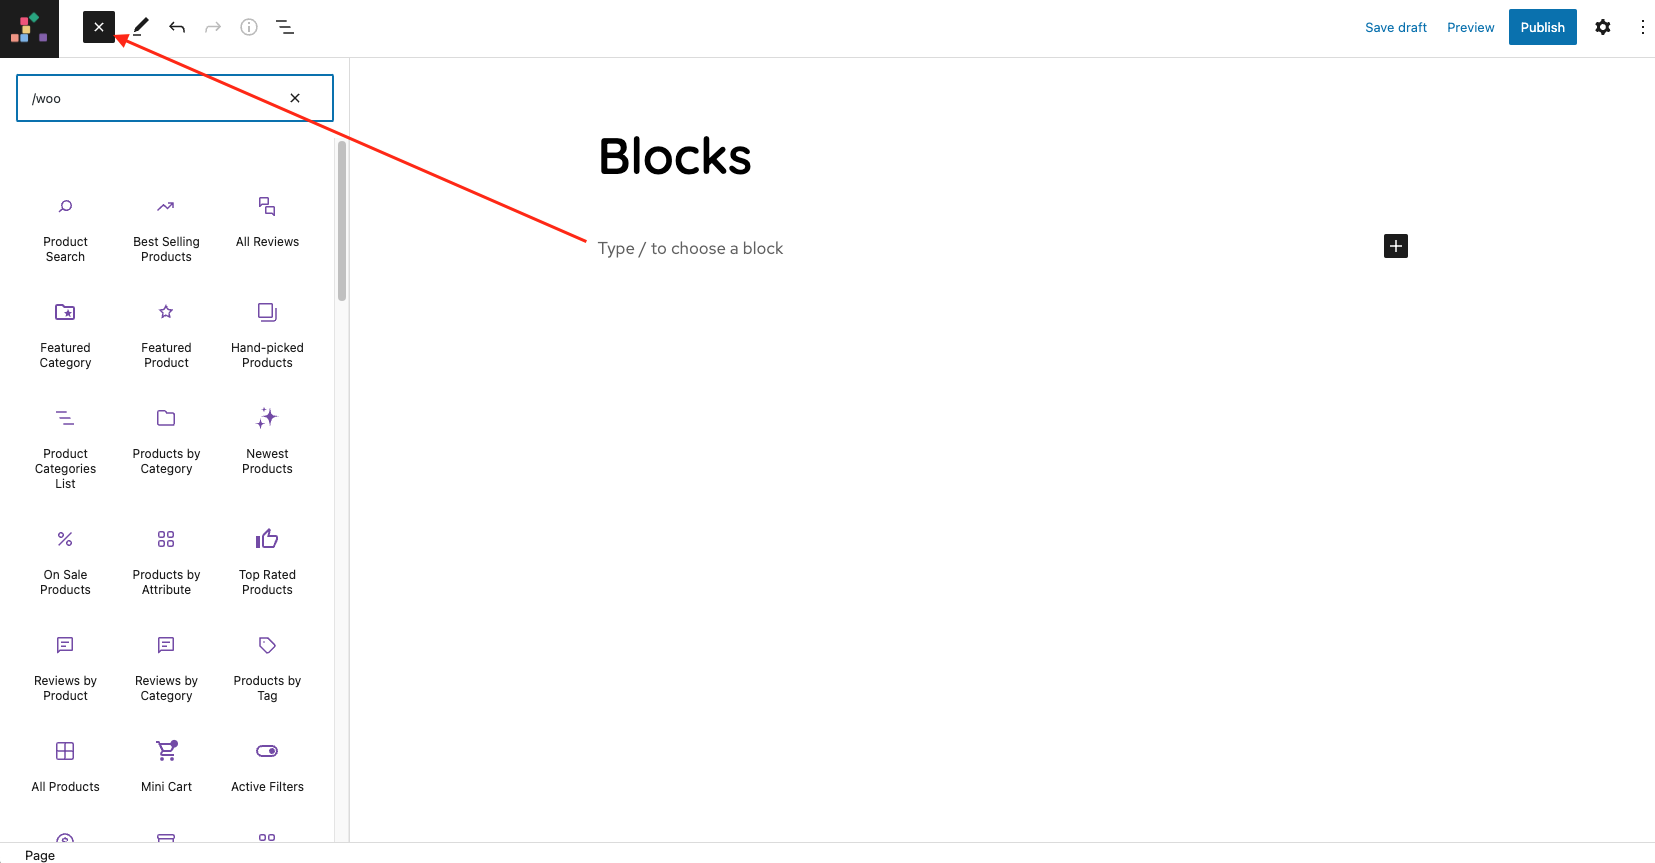
- Now, you can click + icon at the top left inside toolbar to insert blocks
Optionally you can simply start typing the block name with “/” prefix. It will list all available blocks. For example “/woo” it will display all blocks exclusively created by woocommerce team.
Note: You can use blocks inside posts & products as well in the same way you’re using it for pages.
Useful Links:
- Master the Block Editor and create visually stunning blog posts and pages: https://wordpress.org/support/article/wordpress-editor/
- All available WordPress blocks: https://wordpress.org/support/article/blocks/
- All WooCommerce blocks: https://woocommerce.com/document/woocommerce-blocks/
Site Editor (FSE)
↑ Back to topSite Editor allows you to controls whole site such as Header, Content & Footer. Site Editor can be accessed by clicking WordPress icon (WordPress logo) at the top left corner. It consists of three areas:
- Site
- Templates
- Template Parts
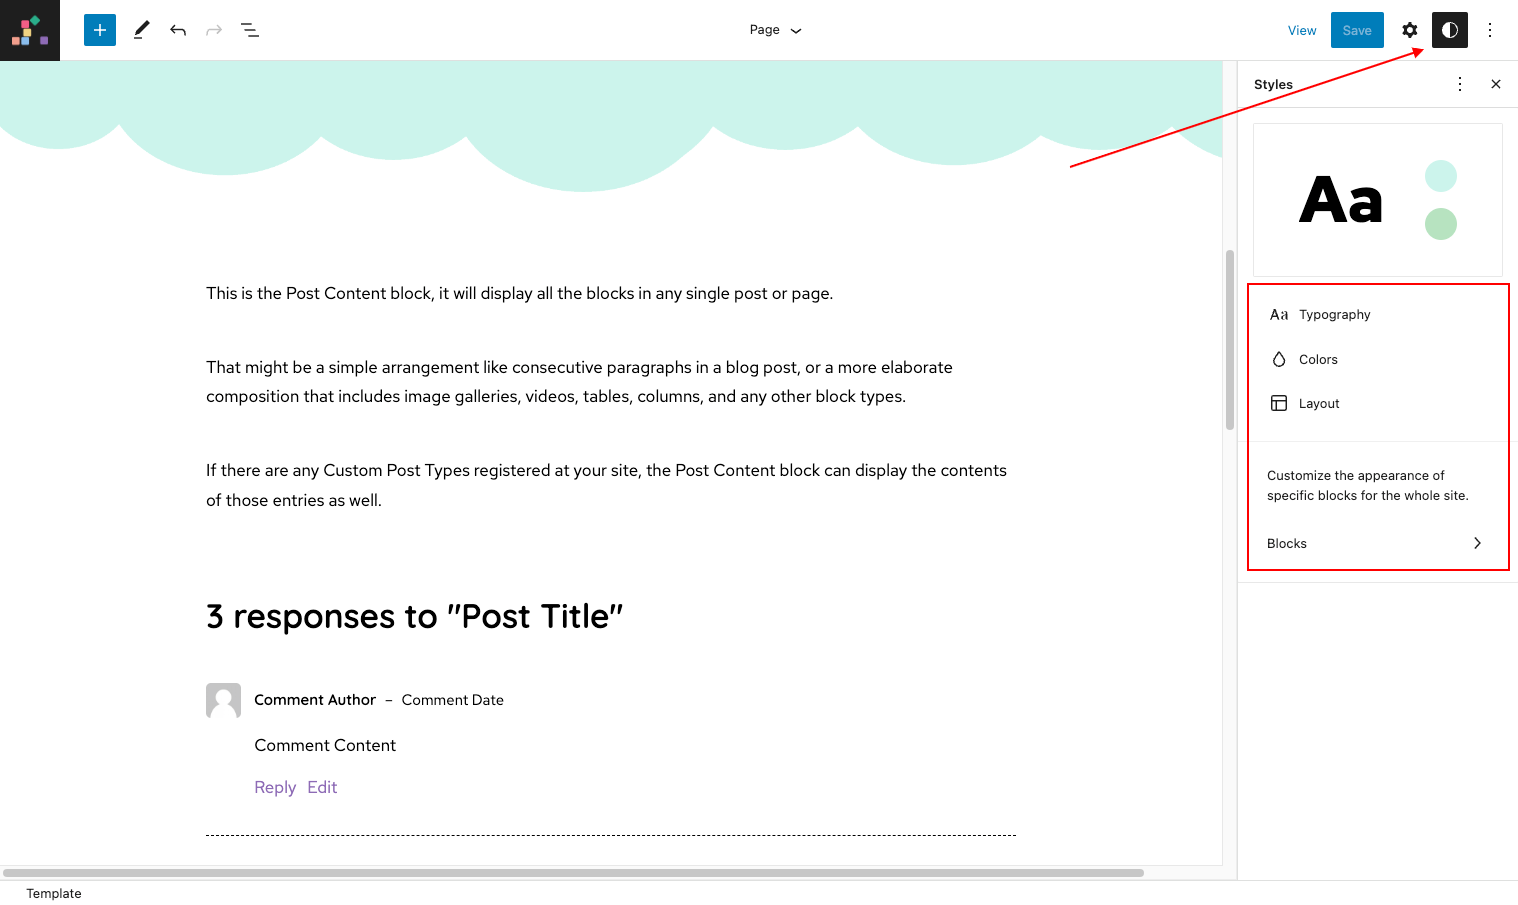
1. Site
The site editor allows you to edit the global site settings, such as typography, colors or layout widths. You can also customize the appearance of specific blocks for the whole site.
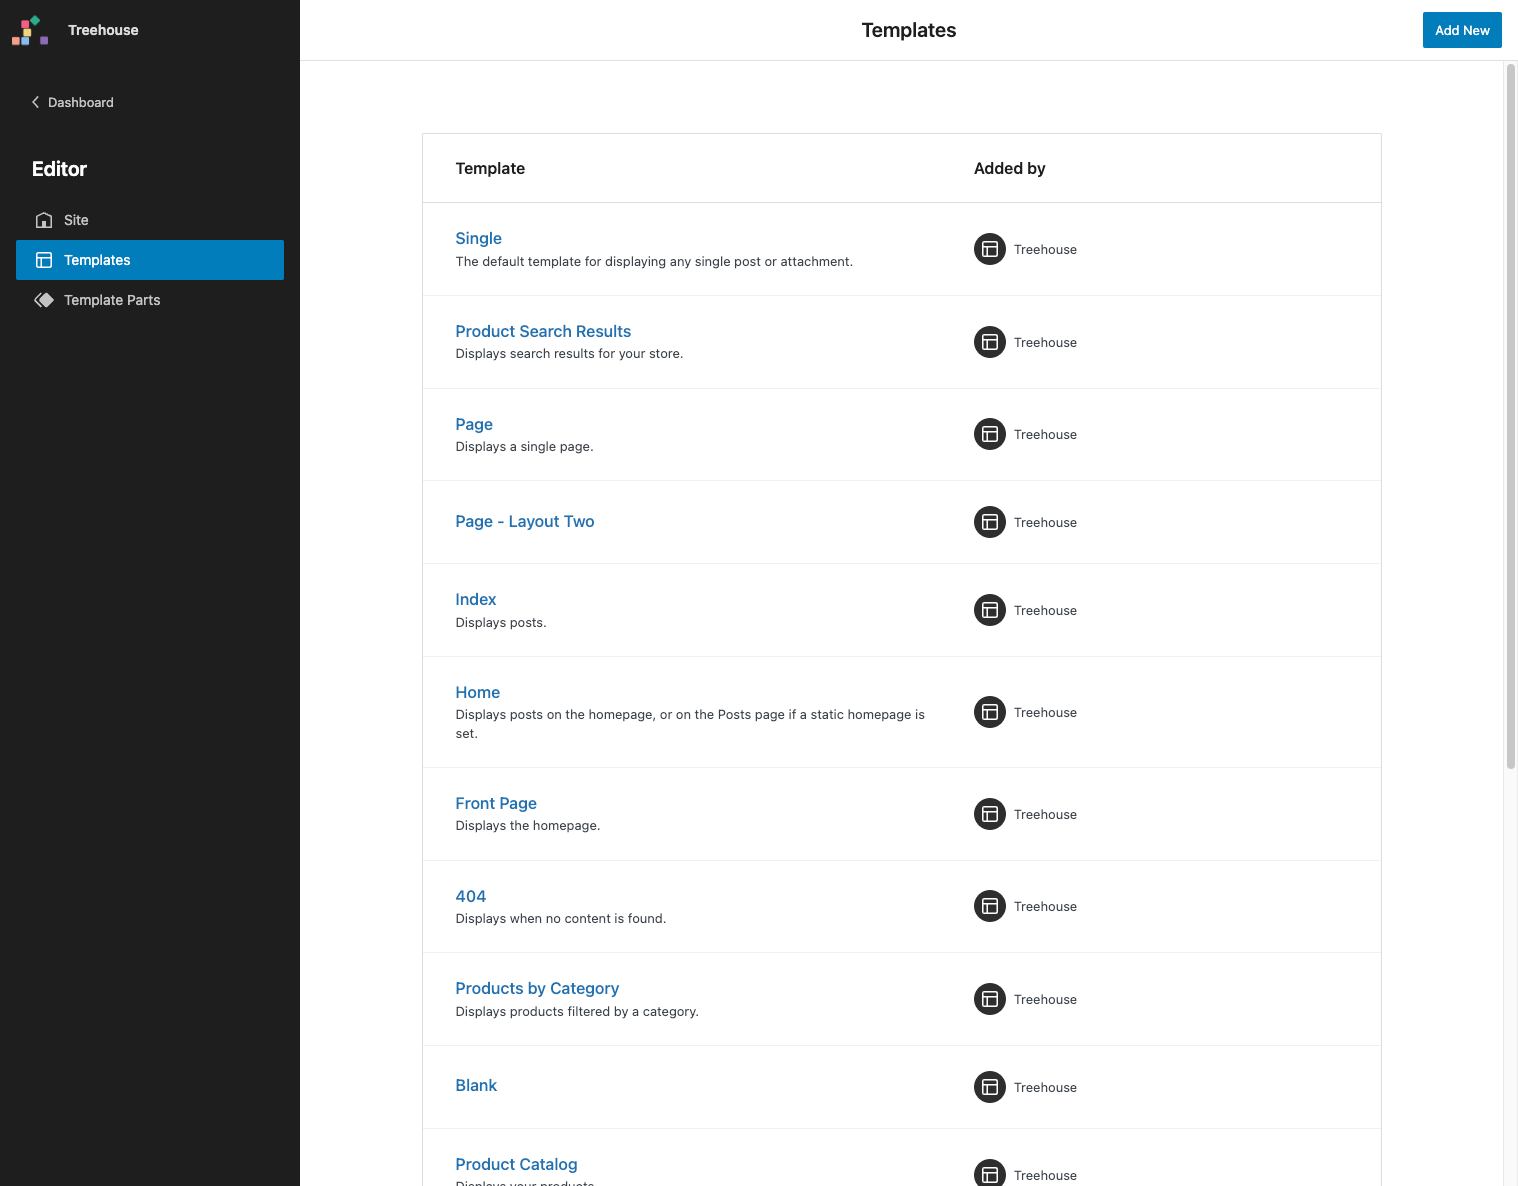
2. Templates
Templates area will allow you to define the structure of content area of your site such as archives of products & posts, page, 404, search, etc…
- From the Site Editor Appearance -> Editor(beta) click on the WordPress icon (or Site icon if you have set one) to open the Site Editor left navigation.
- Click on Templates to view the list of templates on your site, including any you have created and any that come with theme.
- Click on any of the templates in the list to edit the template. From here you can customize the layout of the selected template using blocks.
3. Template Parts
Template parts will allow you to display same set of contents (global contents) for all templates to keep it organized and to customize easily. It defines the header, footer, filter & cart sidebar areas. It can be accessed commonly by all templates such as pages, products, etc…

Theme built-in CSS classes
↑ Back to topHere is a list of theme predefined classes that may help you with a little extra customization when working on your blocks.
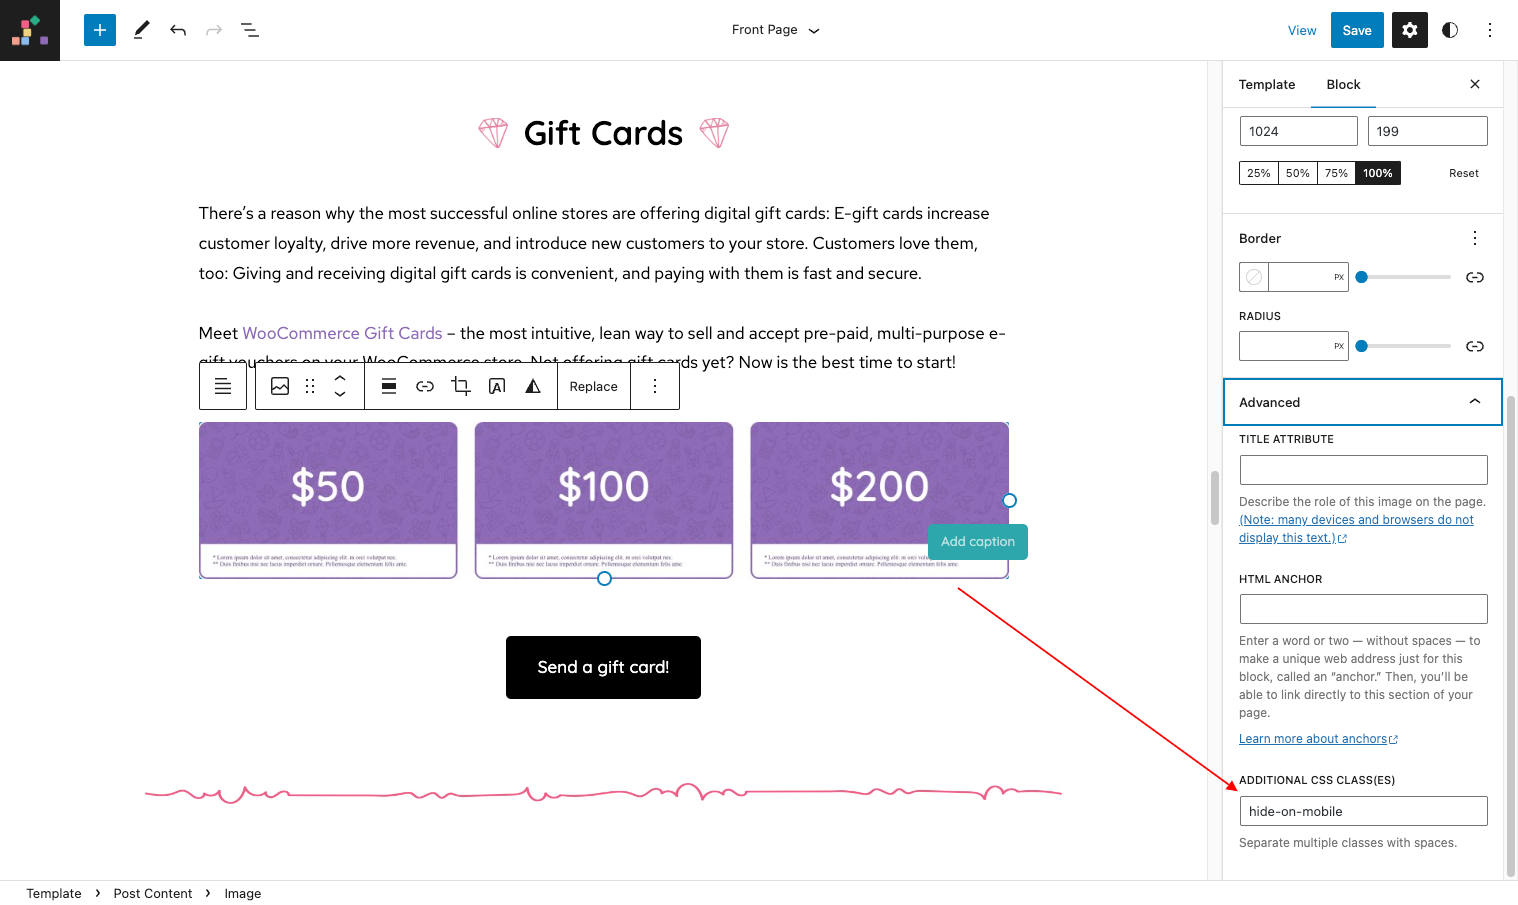
- Go to Pages -> All Pages and find the desired page.
- On the page, click on the desired element.
- Expand Advanced panel ,on the right-hand side.
- Paste the name of the class there. You can add multiple classes, separated by space.
| Class | Explanation |
|---|---|
| .text-left | text-align: left; |
| .text-center | text-align: center; |
| .text-right | text-align: right; |
| .no-margin | margin: 0; |
| .no-margin-left | margin-left: 0; |
| .no-margin-right | margin-right: 0; |
| .no-margin-top | margin-top: 0; |
| .no-margin-bottom | margin-bottom: 0; |
| .no-padding | padding: 0; |
| .no-padding-left | padding-left: 0; |
| .no-padding-right | padding-right: 0; |
| .no-padding-top | padding-top: 0; |
| .no-padding-bottom | padding-bottom: 0; |
| .relative | position: relative; |
| .absolute | position: absolute; |
| .flex | display: flex; |
| .inline-block | display: inline-block; |
| .block | display: block; |
| .hidden | display: none; |
| .left | float: left; |
| .right | float: right; |
| .right-0 | right: 0; |
| .left-0 | left: 0; |
| .light | opacity: 0.25; |
| .medium | opacity: 0.5; |
| .dark | opacity: 0.75; |