Link automatically fills in your customers’ payment information to create an easy and secure checkout experience. Link is built into the hundreds of thousands of sites that use Stripe, not just WooPayments sites!
Requirements
↑ Back to topIn order to use Link, the following requirements must be met:
- Your WooPayments account must be U.S.-based.
- The customer must be paying in USD.
Link will not be shown if either of those requirements is not met.
Enabling
↑ Back to topTo enable Link, go to Payments > Settings, then locate the Express Checkouts section below and check the Link by Stripe box. Scroll to the bottom and click Save Changes.

NOTE: Link and WooPay are currently incompatible. You cannot have both enabled at the same time. Our developers are working to address this.
User experience
↑ Back to topThe sections below describe how Link works for both new Link users and for users who already have a Link account.
New users
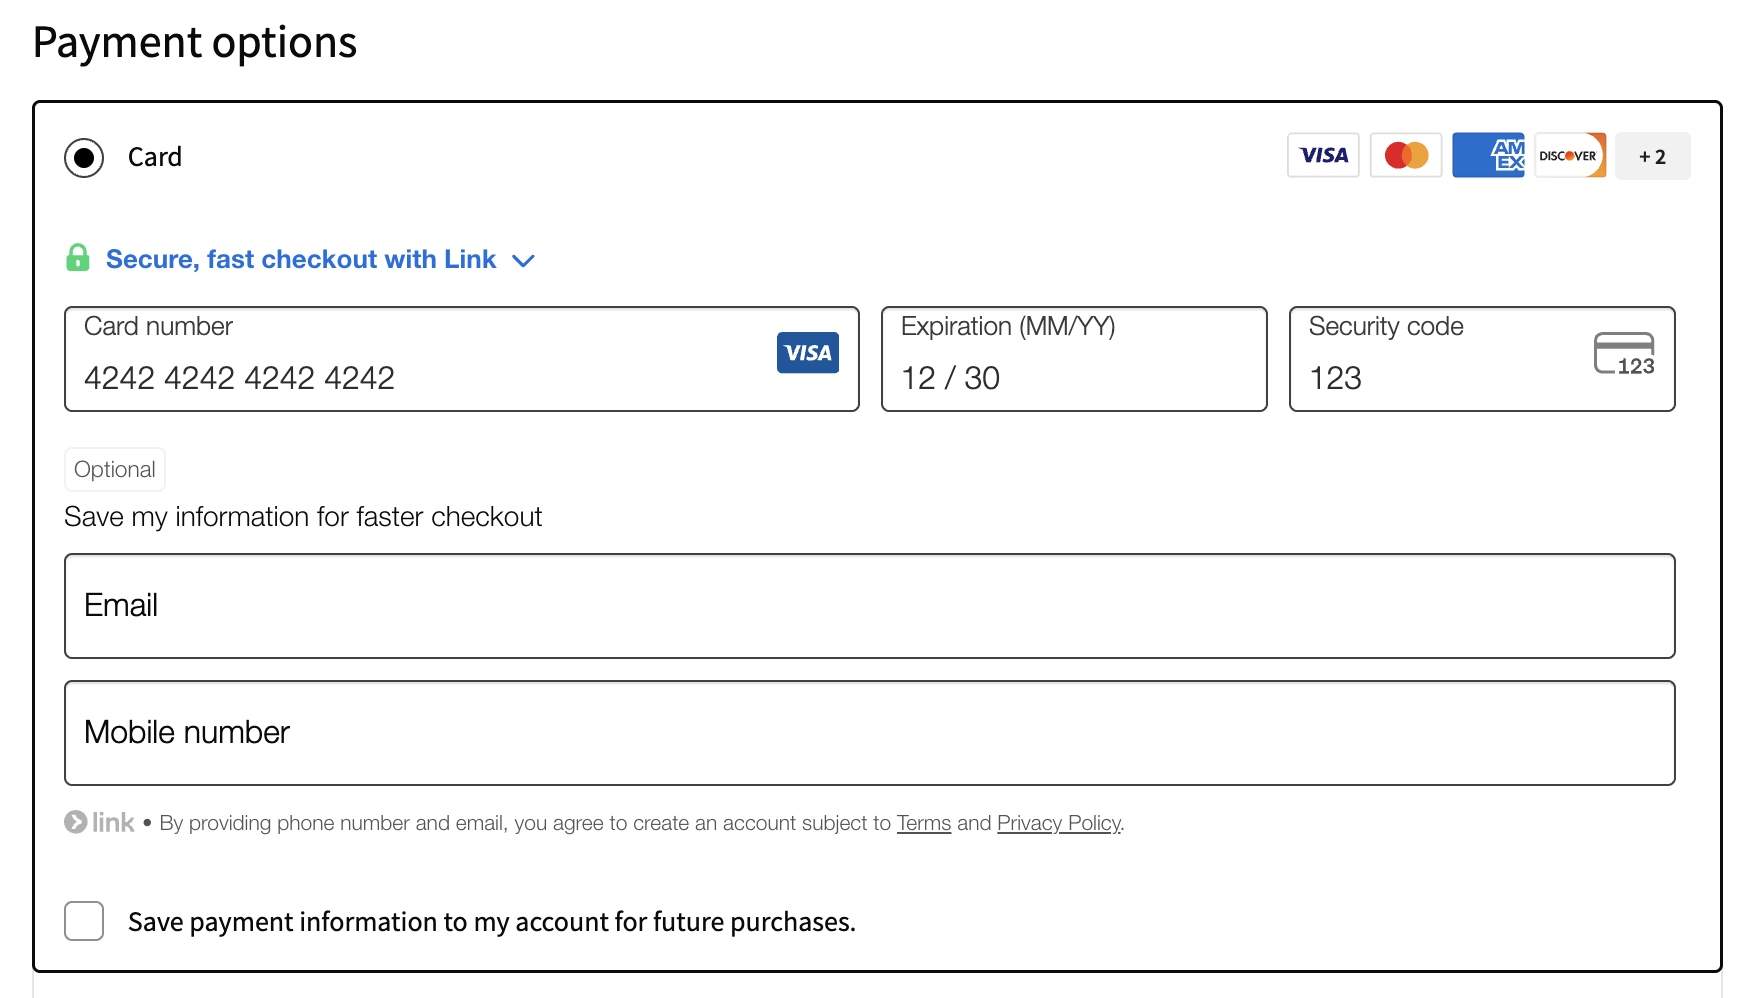
↑ Back to topIf a customer doesn’t already have Link account, they can opt to create one during the checkout process by entering their email and phone number into the Link interface.
Customers may also be shown the signup form after entering their card details:
If they fill out the form, a Link account will be created for them with the email and phone number they entered. These accounts can then be managed via the Link website.
Existing users
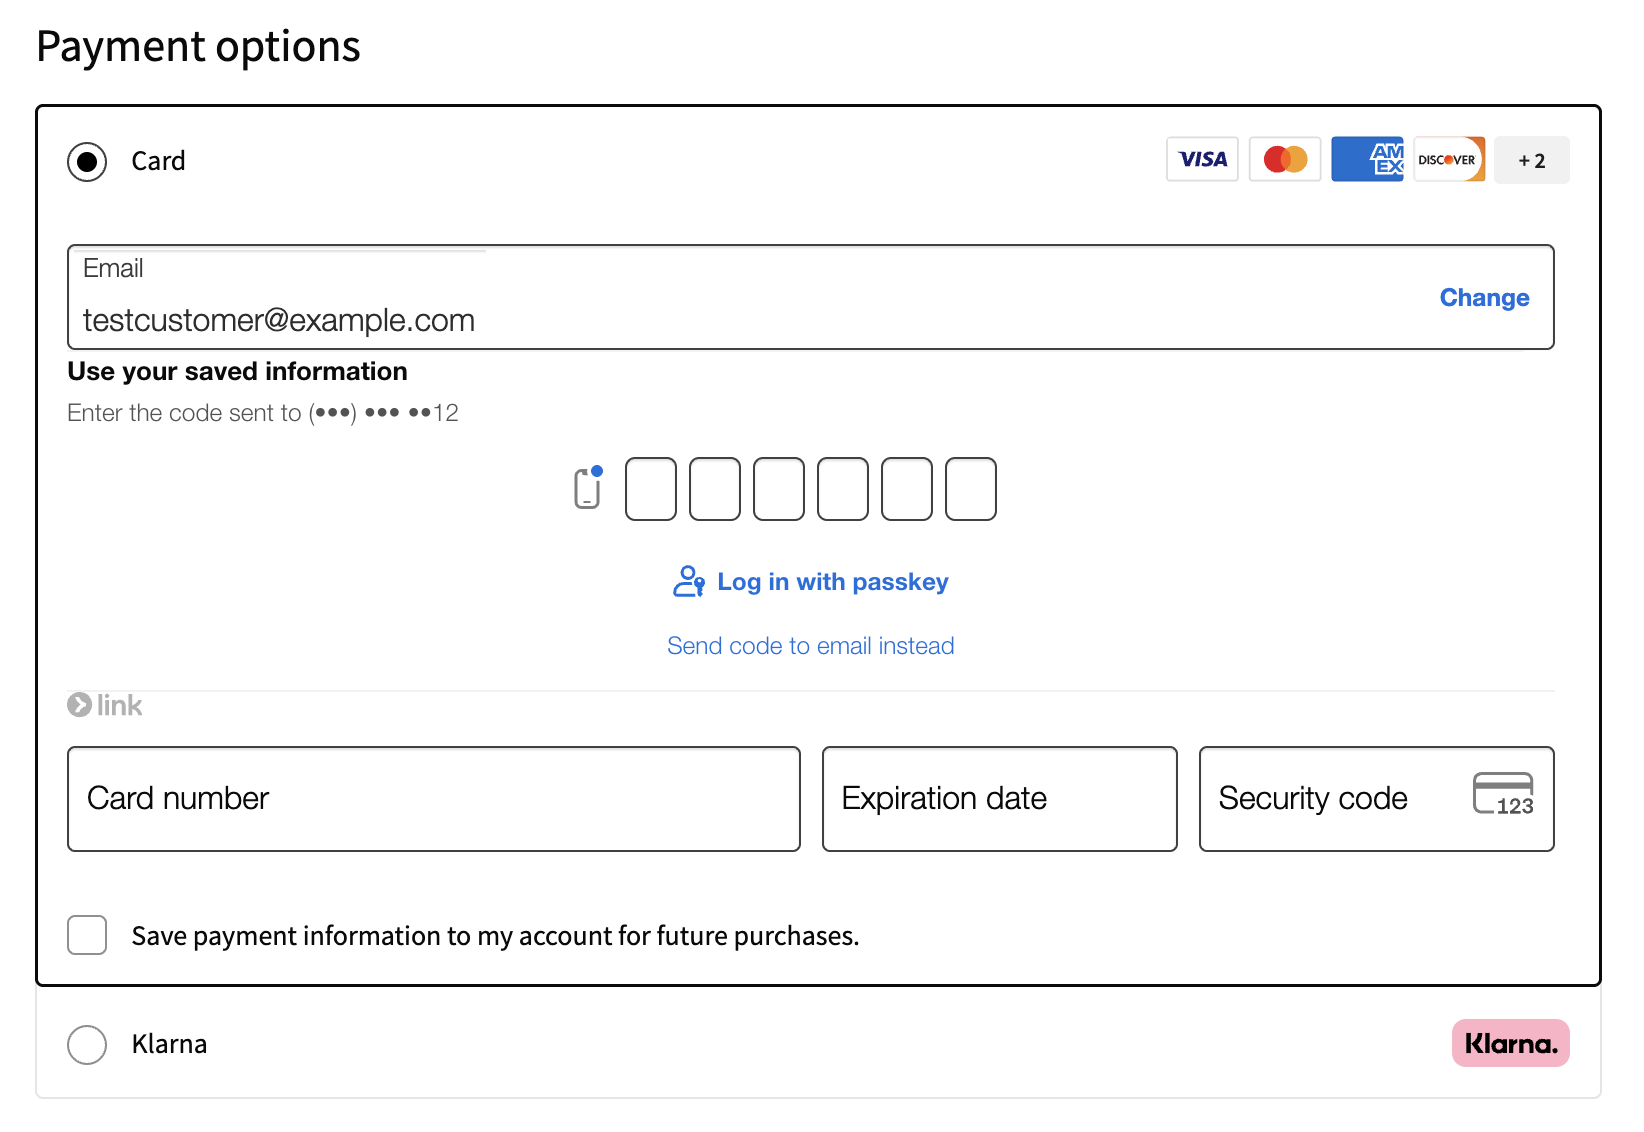
↑ Back to topIf a customer already has a Link account (created on your site or any other site using Link), they will be prompted to log in once they enter their email into the Link form.
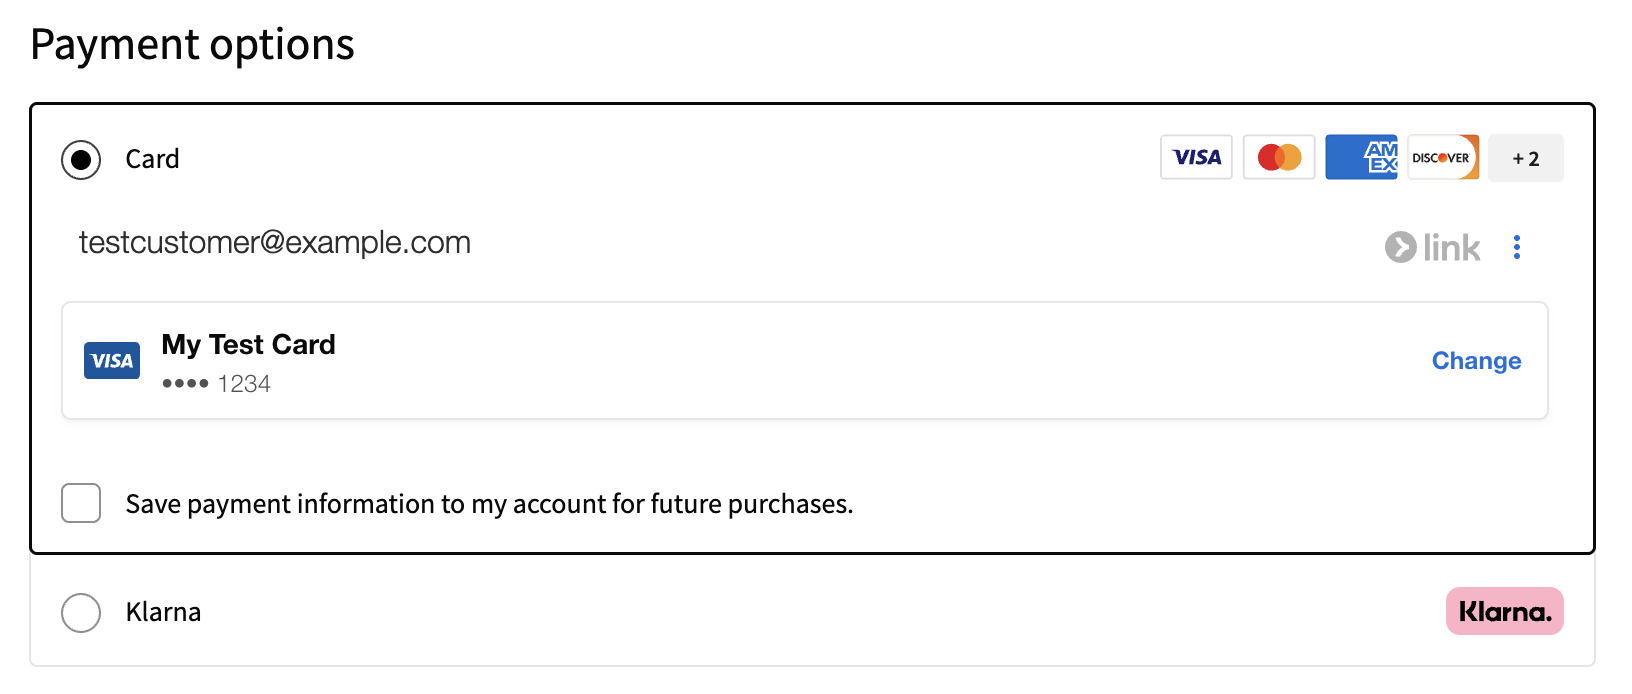
After verifying, customers will be shown their default Link payment method. If they wish, they can click Change to pay with an alternative method.
Testing
↑ Back to topYou can test Link to see how it functions without actually performing a real transaction. To do so, you must first have WooPayments in test mode and then enable Link itself.
Once those requirements are in place, you can test Link like so:
- Make sure your site is in test mode and Link is enabled.
- Log out of your site and log out of Link.com as well.
- Open your site, add a product to the cart, and go to checkout.
- Fill out the checkout form with fake data for the name, address, etc.
- In the Link form, enter a fake email (e.g.
something@example.com). - Enter
201-555-0123as the phone number. - Enter the test card info in the payment form.
- Place the order.
If you log back into the site as an administrator, you should now be able to see the order under WooCommerce > Orders just like normal.
To test how an existing Link user makes a purchase:
- Log back out of your site.
- Open your site, add a product to the cart, and go to checkout.
- Fill out the checkout form with fake data for the name, address, etc.
- In the Link form, enter the same email address you used above.
- The Link form will prompt you to log in. Enter
000 000to do so. - The Link form will show your pre-saved card information.
- Place the order to complete the testing process.
Managing accounts
↑ Back to topCustomers with a Link account can manage their account via the Link website, where they can add and remove payments methods and addresses, view their order history, learn more about the security of Link, and delete their Link account if they wish.
The Link documentation has guidance on how to perform these tasks.
Compatibility
↑ Back to topWhile Link may seem similar to Apple Pay or Google Pay, the way it works is slightly different. Here are a few things to note:
- The settings that are available for Apple Pay and Google Pay do not apply to Link.
- Link will always show on the checkout page only, not the product or cart pages.