
Canvas settings control the size and display options of the design area for a template.
- Open the design template from WordPress Admin → Products → Smart Product Designer → Design Templates.
- Click Additional Settings to expand the settings panel.
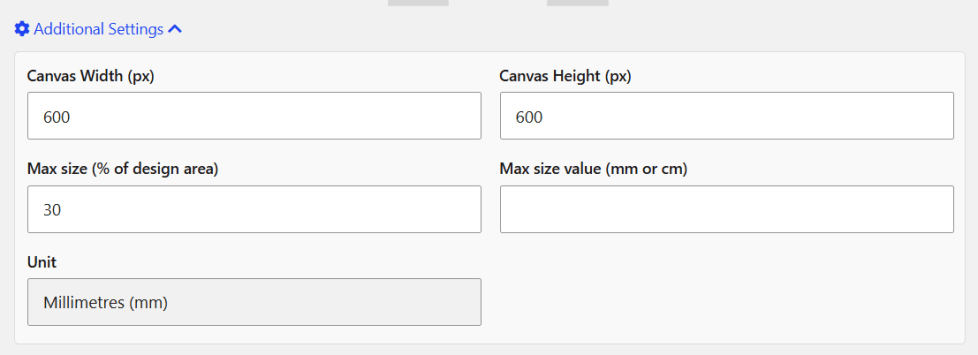
- Set the Canvas Width and Canvas Height — these control the size of the design canvas shown to customers.
- Set the Max Size of Design Area (by percent for values) — limits how large customers can make design elements on the canvas.
- Configure any other settings as needed.
- Click Publish to save.
That’s it.
Note: Canvas dimensions are in pixels. To match a physical print size, multiply the inches by your print DPI (e.g. 12″ at 300 DPI = 3600px).

