
A design template is the canvas customers design on. It holds the product mockup image and the design areas (sides) customers can personalize, such as the Front, Back, and Sleeve of a T-shirt. You create a template once and reuse it across multiple products.
Create the design template
↑ Back to top- Go to WordPress Admin → Products → Smart Product Designer.
- Click the Design Templates tab.
- Click Add New Design Template.
- Enter a name for the template (e.g. T-shirt Design, Mug Design).
Add design areas (sides)
↑ Back to topEach side is a separate design area with its own mockup image. Customers switch between sides while designing.
- In the Product Sides section, click Add.
- Enter a name for the side (e.g. Front).
- Upload a Background Image – the product mockup image customers design on top of.
- Upload an Icon Image – a small thumbnail that identifies this side in the designer.
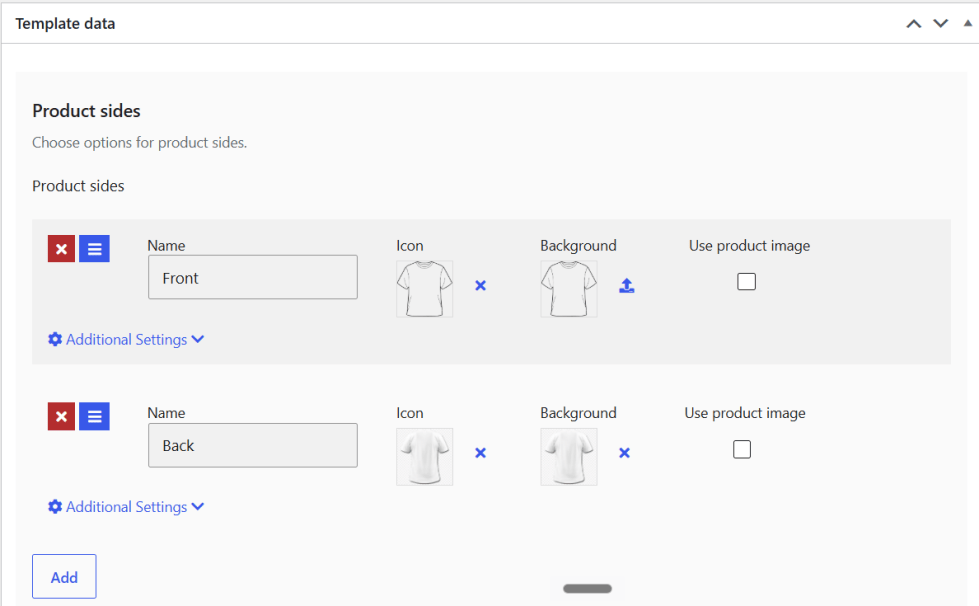
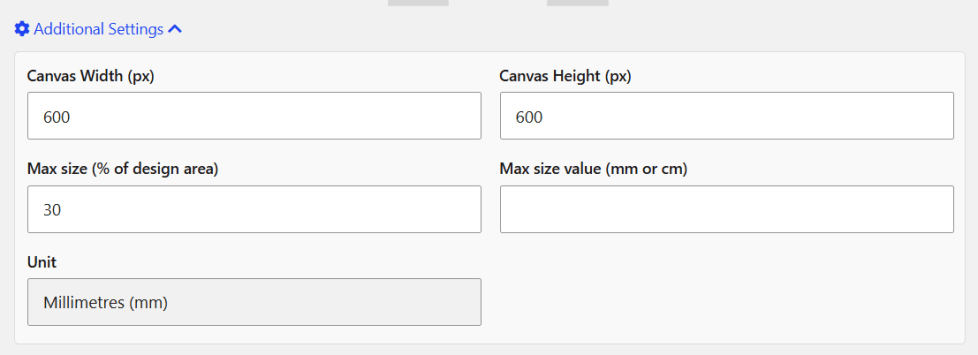
- Repeat steps 5–8 to add more sides (e.g. Back, Sleeve).
- Click Publish.
That’s it. Your design template is ready, and customers can switch between design areas using the side tabs in the designer.
Tip: Use a flat-lay or straight-on product photo as the background image. This gives customers the clearest preview of their design.
Next step: Add the template to a product. See How to Add a Design Template to a WooCommerce Product in the Assigning Templates tab.

