Kutchara is a premium Full Site Editing (FSE) WooCommerce WordPress theme designed for kitchenware, interior design, and home décor stores. Built with craft and elegance in mind, this theme provides everything you need to create a beautiful, high-converting online store for lifestyle and home products.
Installation
↑ Back to topTo start using a product from WooCommerce.com, you can use the “Add to store” functionality on the order confirmation page or the My subscriptions section in your account.
- Navigate to My subscriptions.
- Find the Add to store button next to the product you’re planning to install.
- Follow the instructions on the screen, and the product will be automatically added to your store.
Alternative options and more information at:
Managing WooCommerce.com subscriptions.

Demo Content Import
↑ Back to topKutchara includes a built-in Merlin setup wizard that makes it easy to import demo content and get your store up and running quickly.
Running the Setup Wizard
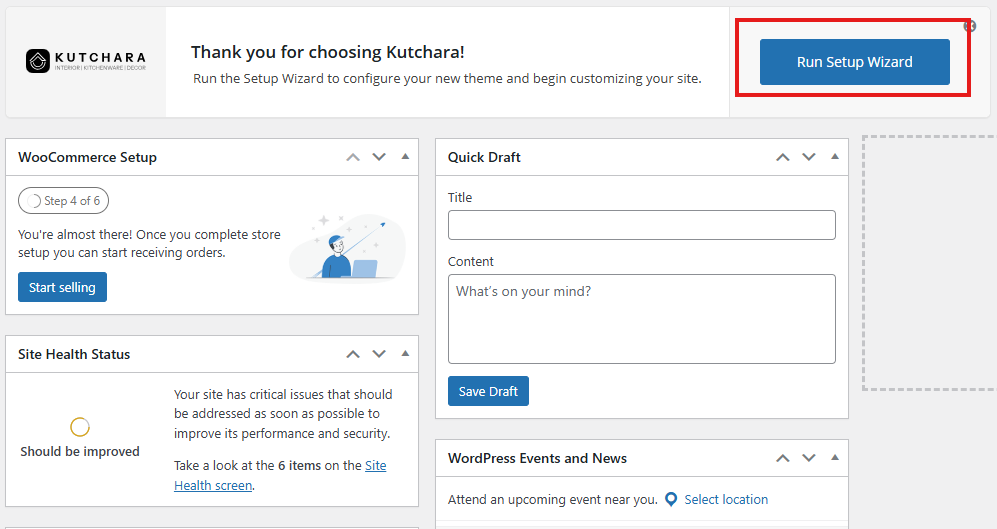
↑ Back to top- After activating the Kutchara theme, you’ll see a notification prompting you to run the setup wizard.
- Click the Run Setup Wizard button to get started.
- You’ll be redirected to the Merlin setup wizard interface.
Installing Required Plugins
↑ Back to topThe setup wizard will first guide you through installing the required plugins:
- Review the list of recommended plugins (including WooCommerce and other essential plugins).
- Select the plugins you want to install by checking the boxes next to them.
- Click Continue to install and activate the selected plugins.
- Wait for the installation process to complete.
Importing Demo Content
↑ Back to topAfter the plugins are installed, you can import the demo content:
- The wizard will present you with the demo content import option.
- Click the Import button to begin importing demo content.
- Wait for the import process to complete. This may take a few minutes as the wizard imports pages, posts, products, images, and theme settings.
- Once complete, you’ll see a success message.
Note: The demo import will add sample pages, posts, products, images, and theme settings to your site. It will not delete your existing content.
Setting Up Your Logo
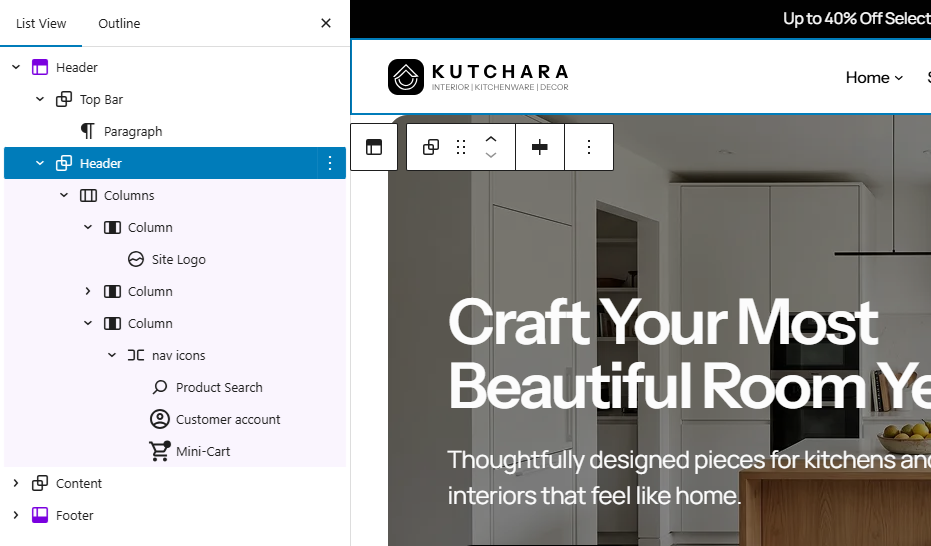
↑ Back to top- Go to Appearance > Editor.
- In the Site Editor, navigate to Patterns > Header, and click the Header pattern.
- Locate the Image block that represents the logo and replace it with your own logo.
Site Header Setup
↑ Back to topTo update or change your site’s header template, follow these steps within the Site Editor. You can do the same for any template part block (such as the Header or Footer) to change its design if an alternative is available.
- Open the List View Panel – Ensure you are in the Site Editor. Open the List View panel, which displays a listing of blocks on the page. This panel is typically found on the left side of the editor.
- Select the Header Block – In the List View panel, locate the header block and click it.
- Choose a New Header Template – In the Block settings panel, expand the Design option group to reveal available templates and choose the template you want to apply.
- Save Your Changes – Once you’ve finished, click Save in the top-right corner to apply the changes to your site.
Navigation & Menus
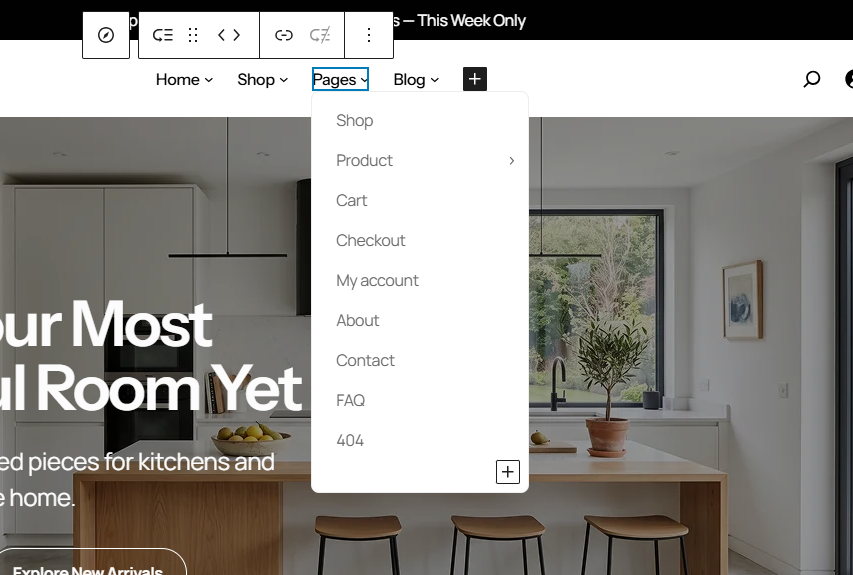
↑ Back to top- Go to Appearance > Editor.
- In the Site Editor, navigate to Patterns > Header, click Header pattern.
- Locate the header Navigation block.
- Click the Plus (+) icon to add links to pages, products, posts or custom URLs.
- To switch to a different menu, use the More Settings option inside the Navigation block.
- Click ‘Save’ to apply the changes.
Mega Menu
↑ Back to topKutchara includes a custom Dropdown Menu block that nests inside the core Navigation block to build rich, multi-column mega menu dropdowns — ideal for stores with multiple product categories.
Adding a Mega Menu Item
- Go to Appearance > Editor and open your header pattern.
- Click on the Navigation block and select a top-level menu item where you want to add a mega menu dropdown.
- Click the + icon inside the navigation item, search for Dropdown Menu, and insert it.
- With the Dropdown Menu block selected, go to the Settings panel on the right.
- Under Dropdown Menu, select an existing menu or click create a new one to open the Site Editor and build your mega menu template from scratch.
- In the template editor, compose your mega menu layout using any blocks — columns, links, images, headings, and more.
- Save the template and return to your header. The dropdown will now display your composed mega menu.
Tip: Each top-level navigation item can have its own separate dropdown menu template, allowing you to create unique mega menu layouts per category.
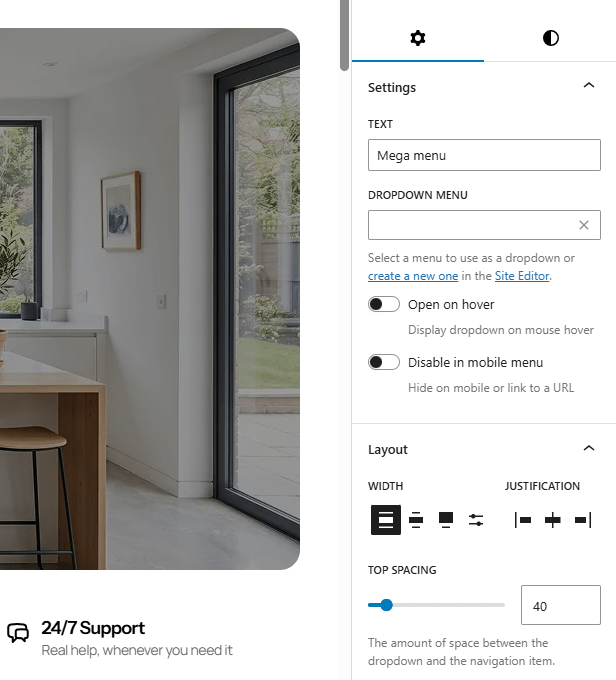
Dropdown Menu Settings
With the Dropdown Menu block selected, the following options are available in the block settings panel:
- Text – The label displayed for the top-level navigation item that triggers the dropdown.
- Dropdown Menu – Select an existing menu template to use as the dropdown content, or click create a new one in the Site Editor to build one from scratch.
- Open on Hover – When enabled, the dropdown opens automatically on mouse hover. When disabled, it opens on click.
- Disable in Mobile Menu – When enabled, the dropdown is hidden on mobile devices. You can pair this with a direct URL on the top-level item so mobile users are sent to a category page instead.
- Width – Controls the width of the dropdown panel. Choose from preset width options to match your layout.
- Justification – Aligns the dropdown panel relative to the trigger item — left, center, or right.
- Top Spacing – Sets the gap in pixels between the navigation bar and the dropdown panel. Defaults to 40.
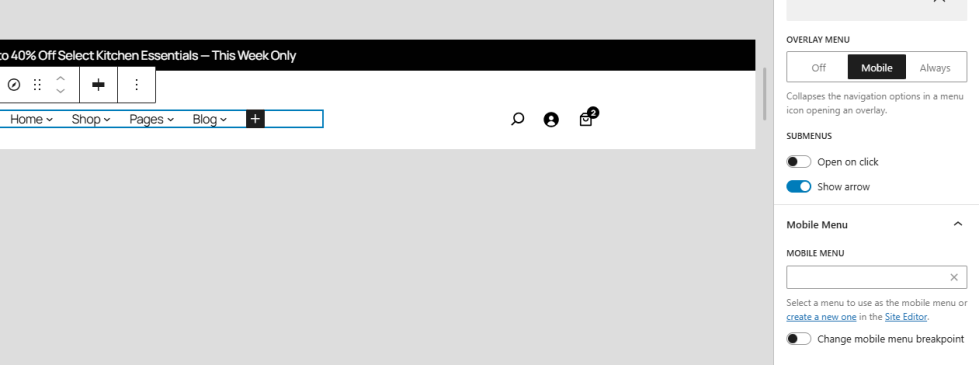
Mobile Navigation
↑ Back to topKutchara includes responsive navigation that automatically adapts to mobile devices. The mobile menu appears as a hamburger icon on smaller screens. Mega menu items collapse into a standard mobile-friendly list, using the Mobile URL setting if configured.
To customize the mobile navigation:
- Go to Appearance > Editor and select your header template.
- Click on the Navigation block.
- In the block settings, you can adjust mobile menu options such as:
- Overlay menu style
- Menu icon appearance
- Submenu background and color styles
Additionally, you can create a completely custom mobile menu. Click on the navigation block and navigate to Settings tab. Here you can find the Mobile menu section. Click create a new one to open the Site Editor and build your mobile menu template from scratch.
In the template editor, compose your mobile menu layout using any blocks — columns, links, images, headings, and more.
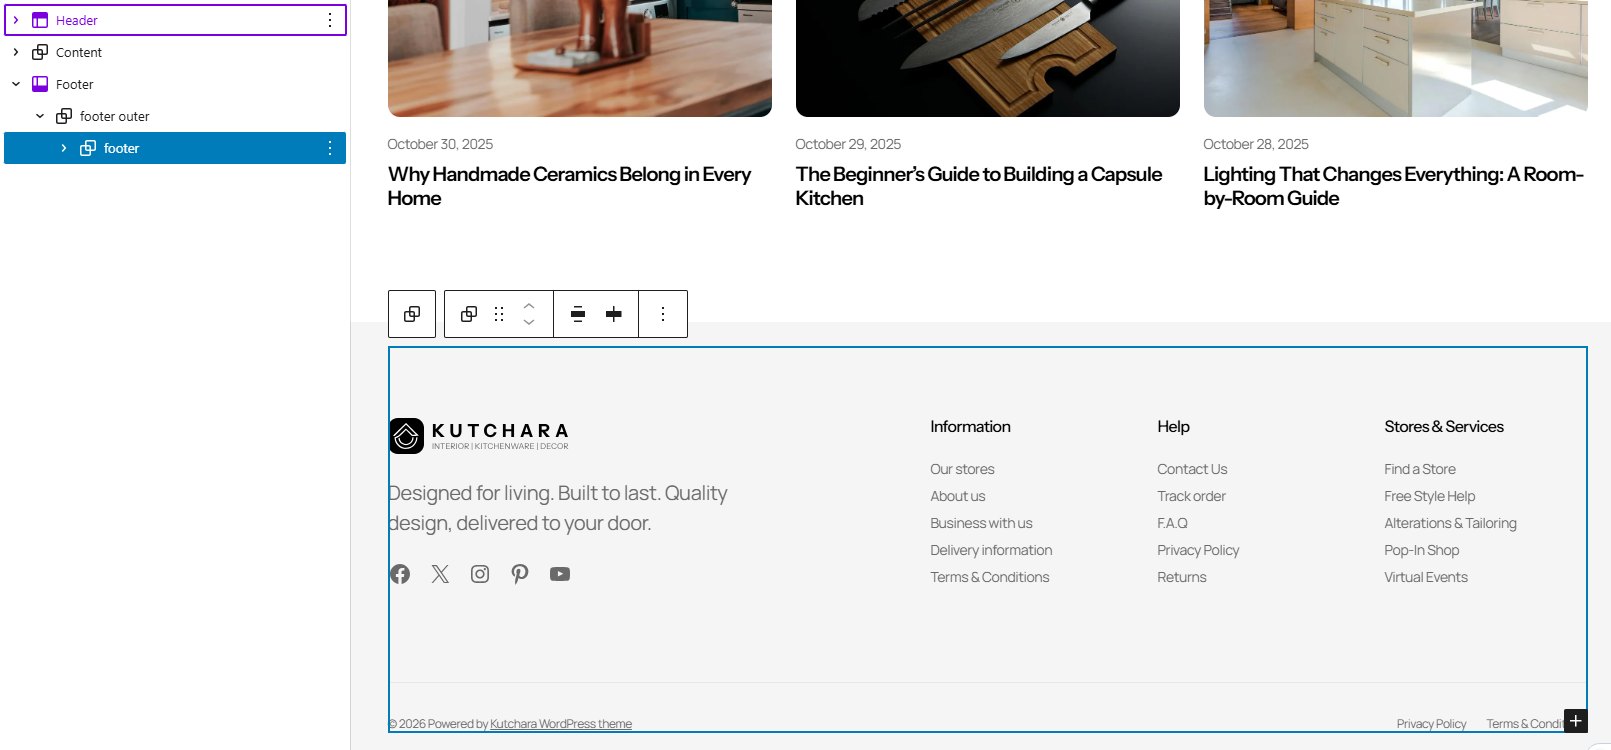
Site Footer Setup
↑ Back to topTo update or change your site’s footer template, follow the same process as the header setup:
- Open the List View Panel – In the Site Editor, open the List View panel on the left side.
- Select the Footer Block – In the List View panel, locate the footer block and click it. Make any required changes.
- Save Your Changes – Click Save in the top-right corner to apply the changes.
Customizing Your Site
↑ Back to topAccessing the Site Editor
↑ Back to topKutchara is a Full Site Editing theme, which means you can customize every aspect of your site using the WordPress Site Editor.
- Navigate to Appearance > Editor in your WordPress dashboard.
- The Site Editor will open, showing you a preview of your site.
- Use the navigation panel on the left to access different templates, template parts, and patterns.
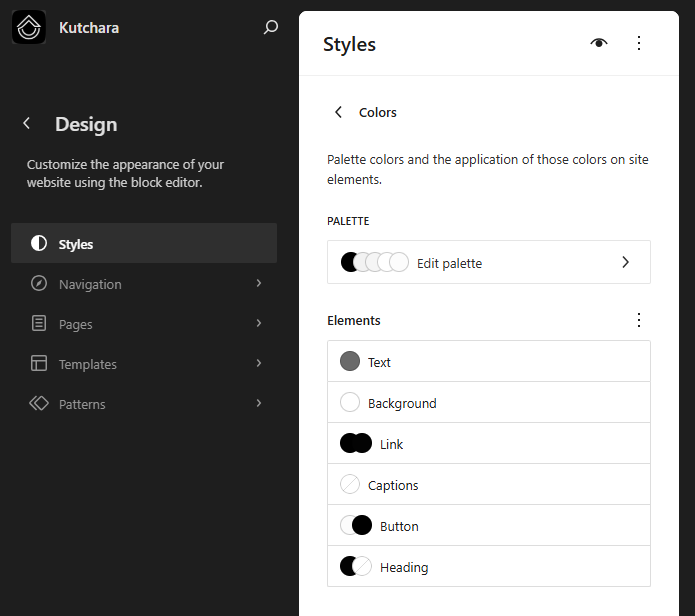
Global Styles and Color Schemes
↑ Back to topKutchara includes 12 professionally designed color schemes to suit a wide range of kitchenware and home décor brands. To change your site’s color scheme:
- In the Site Editor, click the Styles icon in the top-right corner (it looks like a palette).
- Click Browse styles to see the available color schemes.
- Click on any color scheme to preview it on your site.
- Once you’ve found the one you like, click Save to apply it.
You can also customize individual colors by clicking on the Colors section within the Styles panel and adjusting the color values.
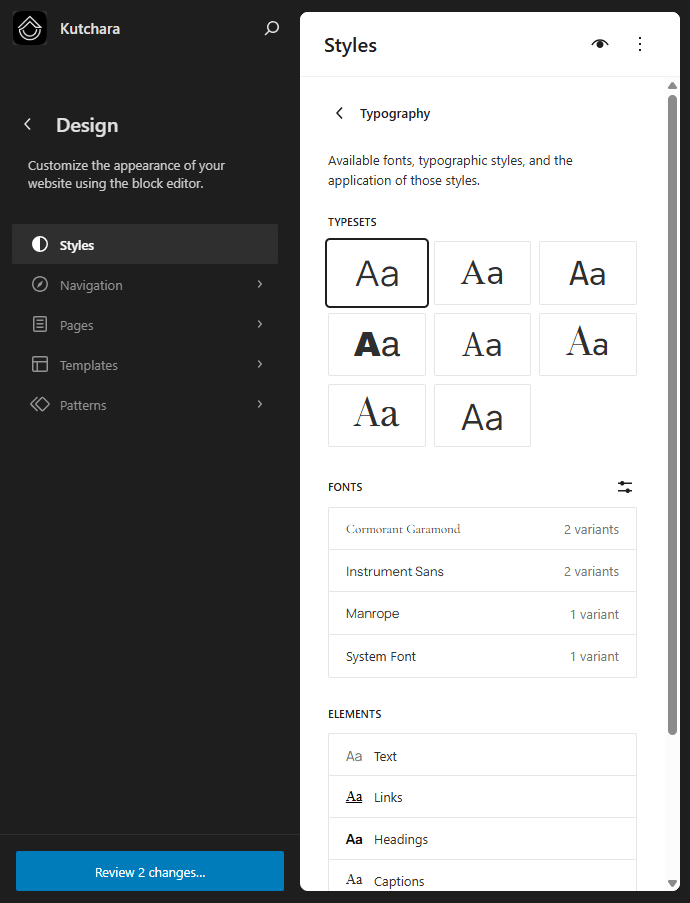
Typography Settings
↑ Back to topTo customize your site’s typography:
- In the Site Editor, click the Styles icon.
- Click on the Typography section.
- You can adjust font families, sizes, line heights, and letter spacing for different text elements.
- Changes will be applied globally across your entire site.
Kutchara ships with 7 typography style presets.
Layout Options
↑ Back to top- In the Site Editor, click the Styles icon.
- Click on the Layout section.
- Adjust the content width, wide width, and padding settings to control how content is displayed.
- Click Save to apply your changes.
Homepage Setup
↑ Back to topKutchara includes two homepage designs to suit different store layouts and content strategies. You can switch between them at any time by assigning a different front page inside the admin.
Choosing Your Homepage
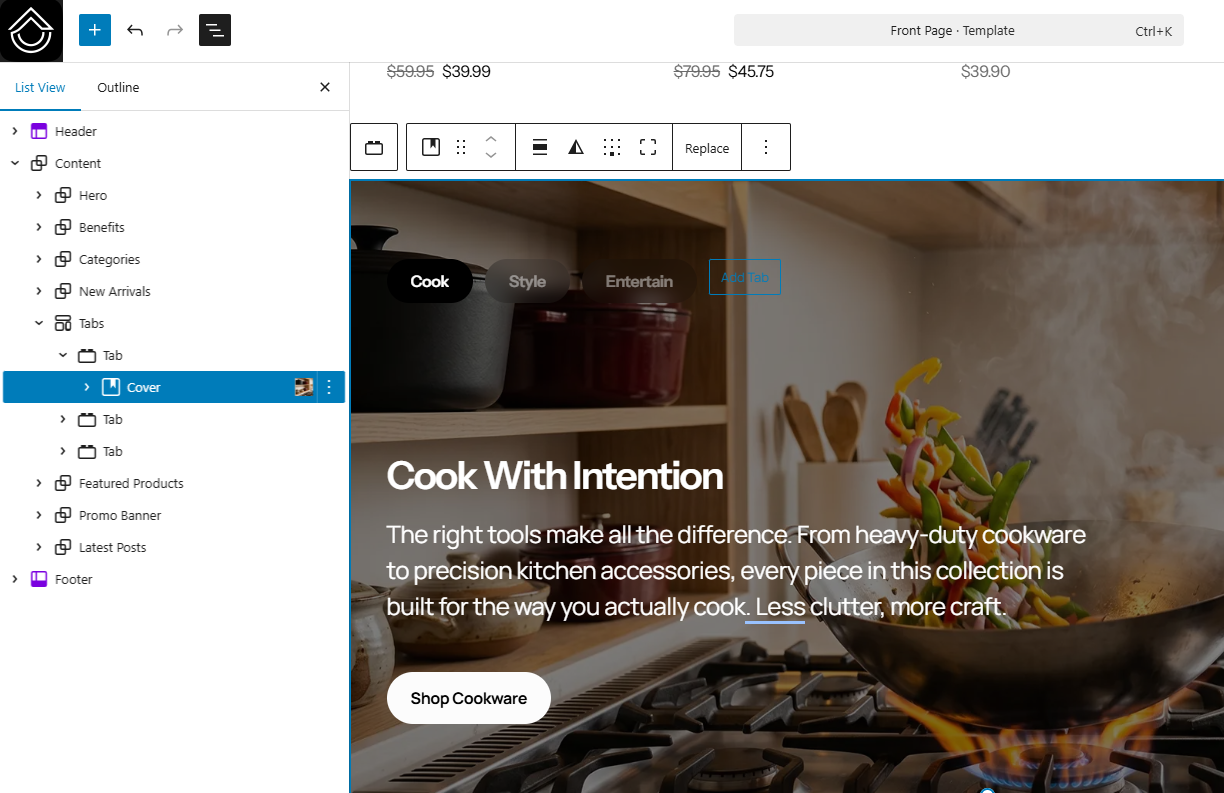
↑ Back to top- Homepage One – A full-featured layout with a hero banner, benefits bar, category grid, featured products, promotional banners, new arrivals carousel, fullwidth banner with tabs, blog posts, and footer.
- Homepage Two – A streamlined alternative layout with a refined hero, featured collections promo, and a tighter product-focused content flow.
To switch between homepages, you can edit the Front Page template and insert pre-defined homepage pattern.
Switching a Homepage Template
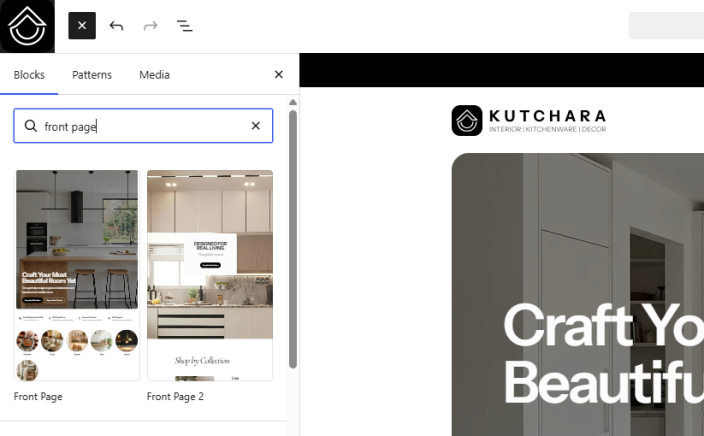
↑ Back to top- Go to Appearance > Editor > Front Page in your WordPress dashboard.
- Click the + icon and search for the “Front page 2” pattern.
- Choose the pattern you want to use as your homepage from the results. The pattern will be inserted in your template.
- Delete your old Content group block containing homepage sections.
- Edit the new front page pattern if needed.
- Click Save Changes.
Tip:
If you used the demo content import, your Homepage One will be assigned automatically.
Customizing Homepage Sections
↑ Back to top- Click on any block or pattern on your homepage.
- Use the block toolbar and settings panel on the right to modify text, images, colors, and spacing.
- You can also use the List View panel to see the structure of your page and navigate between sections easily.
Homepage Template Customization
↑ Back to top- Go to Appearance > Editor.
- Click on Templates in the left sidebar.
- Find and click on the Front Page template.
- Make your desired changes to the template structure.
- Click Save to apply your changes.
Or, when viewing the front page of your site, click on the Edit Site icon in the top bar.
Block Patterns
↑ Back to topOverview of Included Patterns
↑ Back to topKutchara includes 39 pre-designed block patterns to help you build professional pages quickly. These patterns are organized into the following categories:
- Kutchara General – Versatile patterns for various sections including hero sections, features, testimonials, calls-to-action, FAQ, and content blocks
- Kutchara Headers – Pre-designed header layouts with different navigation styles
- Kutchara Footers – Footer designs with different column layouts and widget areas
- Kutchara Posts – Blog post layouts and archive page designs
- Kutchara Pages – Complete page layouts for about, contact, and other standard pages
- Kutchara Shop – WooCommerce-specific patterns for product showcases, category displays, and shop sections
How to Insert Patterns
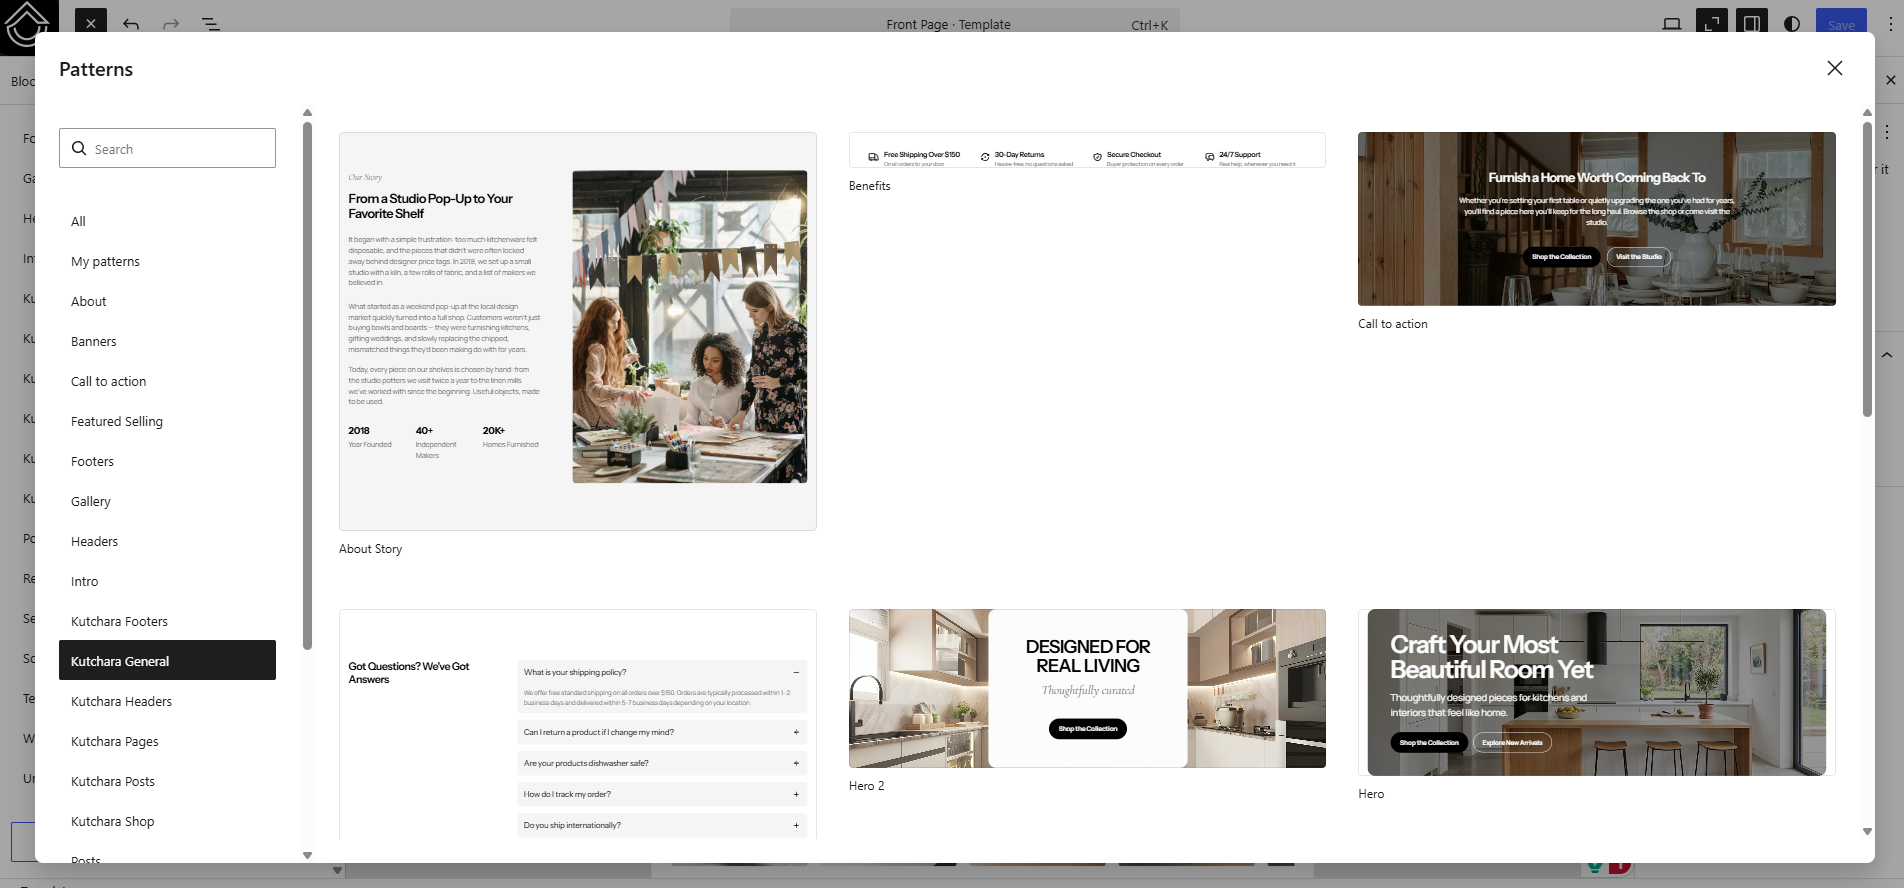
↑ Back to top- While editing any page or post, click the + icon to add a new block.
- Click on the Patterns tab at the top of the inserter panel.
- Browse through the available patterns or use the search function to find specific patterns.
- Click on any pattern to insert it into your page.
Customize Blog Index Page
↑ Back to topAccessing the Blog Archive Template
↑ Back to top- Go to Appearance > Editor.
- Click on Templates in the left sidebar.
- Find and click on the Index template.
- The template editor will open, allowing you to customize the layout and design.
Layout Options
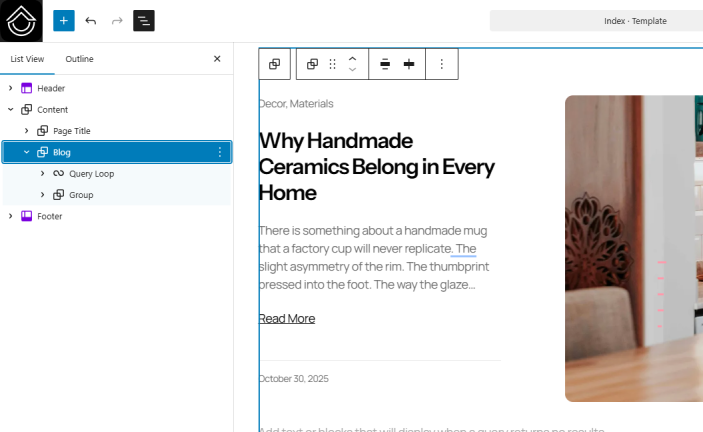
↑ Back to top- Query Loop Settings – Click on the Query Loop block to adjust how many posts are displayed per page, post order, and which categories to include or exclude.
- Post Template – Customize how individual post excerpts appear by editing the blocks within the Post Template, such as the featured image, title, excerpt, date, and author.
- Spacing and Alignment – Adjust padding, margins, and alignment to achieve your desired layout.
Sidebar Configuration
↑ Back to topKutchara includes an Archive with Sidebar template that you can assign to your blog index page if you want to display a sidebar:
- In the Site Editor, go to Templates.
- Find the Archive with Sidebar template.
- Customize the sidebar content by editing the template and adding blocks to the sidebar area.
- Save your changes.
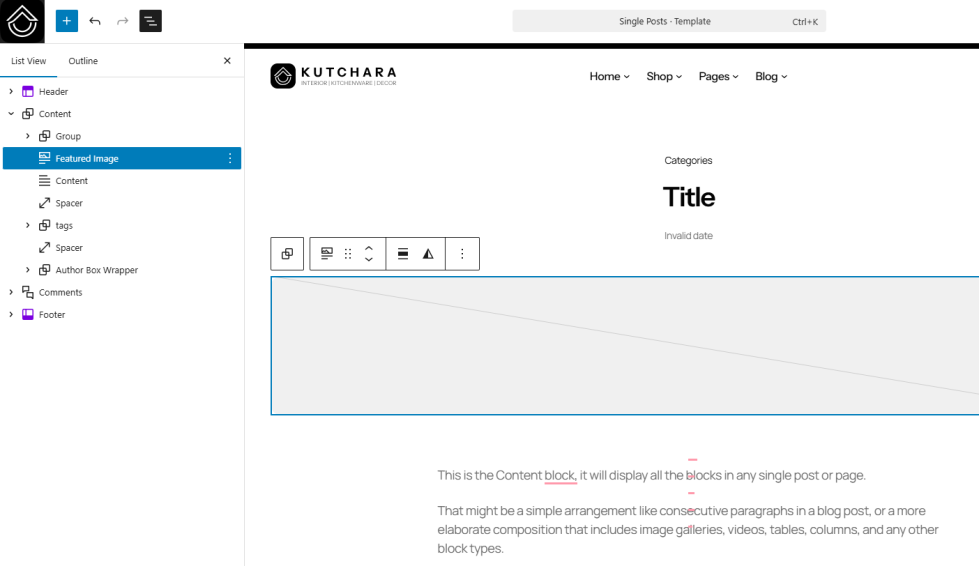
Customize Single Blog Posts
↑ Back to top- Go to Appearance > Editor.
- Click on Templates in the left sidebar.
- Find and click on the Single Posts template.
- Customize the template structure, including header, content area, and footer.
- Click Save when finished.
Customize Shop Page
↑ Back to topShop Page Layout Options
↑ Back to top- Go to Appearance > Editor.
- Click on Templates in the left sidebar.
- Find and click on the Products by Category or Product Catalog template.
- Customize the layout, spacing, and design of the shop page.
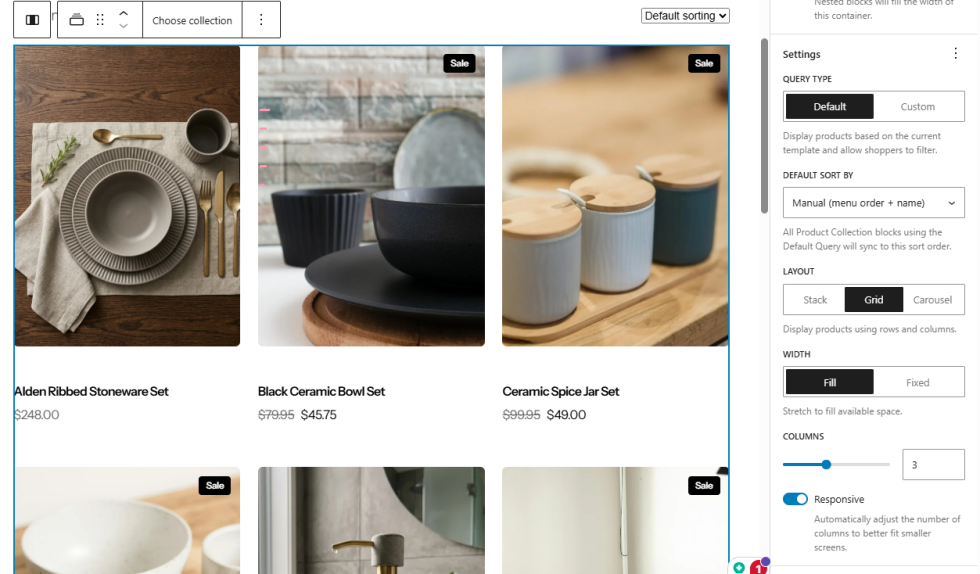
Product Grid Settings
↑ Back to top- In the shop template, click on the Product Collection block.
- In the block settings, you can adjust:
- Number of columns (2, 3, 4, or more)
- Product order (newest, price, popularity, etc.)
- Spacing between products
WooCommerce Setup
↑ Back to topProduct Page Customization
↑ Back to top- Go to Appearance > Editor.
- Click on Templates and find the Single Product template.
- Customize the layout of product images, titles, descriptions, pricing, and add-to-cart buttons.
- You can add additional blocks like testimonials, related products, or custom content sections.
Cart and Checkout Styling
↑ Back to top- Navigate to WooCommerce > Settings > Advanced.
- Set your Cart and Checkout pages if not already configured.
- Go to Appearance > Editor > Templates and find the Page: Cart and Page: Checkout templates.
- Customize these templates to match your site design.
Product Categories
↑ Back to top- Go to Products > Categories in your WordPress dashboard.
- Add new categories or edit existing ones.
- You can add category descriptions and images that will be displayed on category archive pages.
- To customize the category archive template, go to Appearance > Editor > Templates and edit the Product by Category template.
Page Templates
↑ Back to topAvailable Templates
↑ Back to top- Default Template – Standard page layout
- Page No Title – Page layout without page title
- Blank – Minimal template with no header or footer, useful for landing pages
Creating Custom Templates
↑ Back to top- Go to Appearance > Editor.
- Click on Templates in the left sidebar.
- Click the + icon to add a new template.
- Select the template type (Page, Single Post, Archive, etc.).
- Build your template using blocks and patterns.
- Save your template with a descriptive name.
Once created, you can apply your custom template to any page by editing the page and selecting the template from the Template option in the page settings sidebar.
Troubleshooting
↑ Back to topCommon Issues and Solutions
↑ Back to topIssue: Demo content didn’t import properly
- Solution: Make sure WooCommerce is installed and activated before importing. Try increasing your PHP memory limit and max execution time in your hosting settings, then re-run the import.
Issue: Shop page showing incorrect layout
- Solution: Go to WooCommerce > Settings > Products and verify your shop page is correctly set. Clear any caching and check that the correct template is assigned to the shop page.
Issue: Colors not changing when switching color schemes
- Solution: Some blocks may have custom colors applied that override the global styles. Check individual blocks and remove custom color settings to allow global styles to take effect.
For WooCommerce-specific issues, consult the WooCommerce documentation.
FAQs
↑ Back to topHelp customers by answering commonly asked questions.
Is Kutchara compatible with page builders like Elementor?
Kutchara is a Full Site Editing theme designed to work with the WordPress Block Editor. While it may technically work with page builders, it is optimized for the native block editor experience.
Will my customizations be lost when I update the theme?
No. All customizations made through the Site Editor are stored in your database and will be preserved during theme updates.
Can I translate Kutchara into other languages?
Yes, Kutchara is translation-ready. You can use plugins like WPML or Polylang to create multilingual sites, or use the built-in WordPress translation tools.
Can I customize the checkout and cart pages?
Yes, you can customize the checkout and cart pages through the Site Editor by editing the checkout and cart templates, or use WooCommerce extensions for advanced checkout customizations.
Can I use the mega menu with any navigation item?
Yes. The Kutchara Mega Menu block can be added to any top-level item inside the Navigation block. Each mega menu panel is fully customizable with columns, links, images, and any other blocks you choose to add.
How do I switch between the two homepage designs?
Both homepage designs are included as separate pages in the demo content. To switch, edit the Front Page template and insert pre-defined homepage pattern.