Installation & Demo Content Import
↑ Back to topThank you for choosing sportiq theme to build your WooCommerce website.
To create a site with sportiq, you must install the sportiq theme and WooCommerce plugin.
Installation
↑ Back to top- In your Dashboard go to Appearance > Themes.
- Click on the Add New button on top.
- Click Upload New button on top.
- In the new interface click Choose File and browse your computer to locate sportiq.zip file you downloaded.
- Click Install Now.
- After installation Activate the theme.

Required Plugins
↑ Back to top- Woocommerce: The official WooCommerce plugin is required to display the modal cart and products. It includes many other necessary blocks for any website.
- WP Form : The plugin is recommended for creating contact forms.
- Install One Click Demo Import plugin from Appearance > Install Plugins.

Import Demo Site
↑ Back to topAfter installation and activation of the theme and required plugins. You can now install the demo content to get you started.
Importing demo content does not delete any existing content. It also imports WPForms.
Importing demo data (post, pages, images, theme settings, …) is the easiest way to setup your theme. It will allow you to quickly edit everything instead of creating content from scratch.
Before Import
↑ Back to topPlease make sure that all the required plugins are installed and activated.
- No existing posts, pages, categories, images, custom post types or any other data will be deleted or modified.
- Posts, pages, product, images, widgets, menus and other theme settings will get imported.
- Please click on the Import button only once and wait, it can take a couple of minutes.

Click Continue & Import
On confirmation, the importer will import the content specified. It may take 5-10 minutes to import all the demo content.

After import, you’ll be notified about the import completion.
Note :
- Product might not appear immediately due to cache
- Please open any single product and update to clear the product cache
Setting a homepage
↑ Back to topAfter import is completed, you can set one of the pages imported as your homepage. To set your home page:
- In your admin panel, go to Settings > Reading
- Select A Static Page option for the Your homepage displays option.
- In the dropdown, choose the page you want set as home.

Navigation Setup
↑ Back to topAfter installation & One click demo import go and check home page if navigation is broken(see below image) then follow below steps.
Header
↑ Back to topPrimary menu navigation are used for all header’s ( Header-v1, Header-v2 and Header-v3 ).
Header-v1

Header-v2

Header-v3

Primary Menu
↑ Back to topDetail view of Primary-menu

Megamenu setup
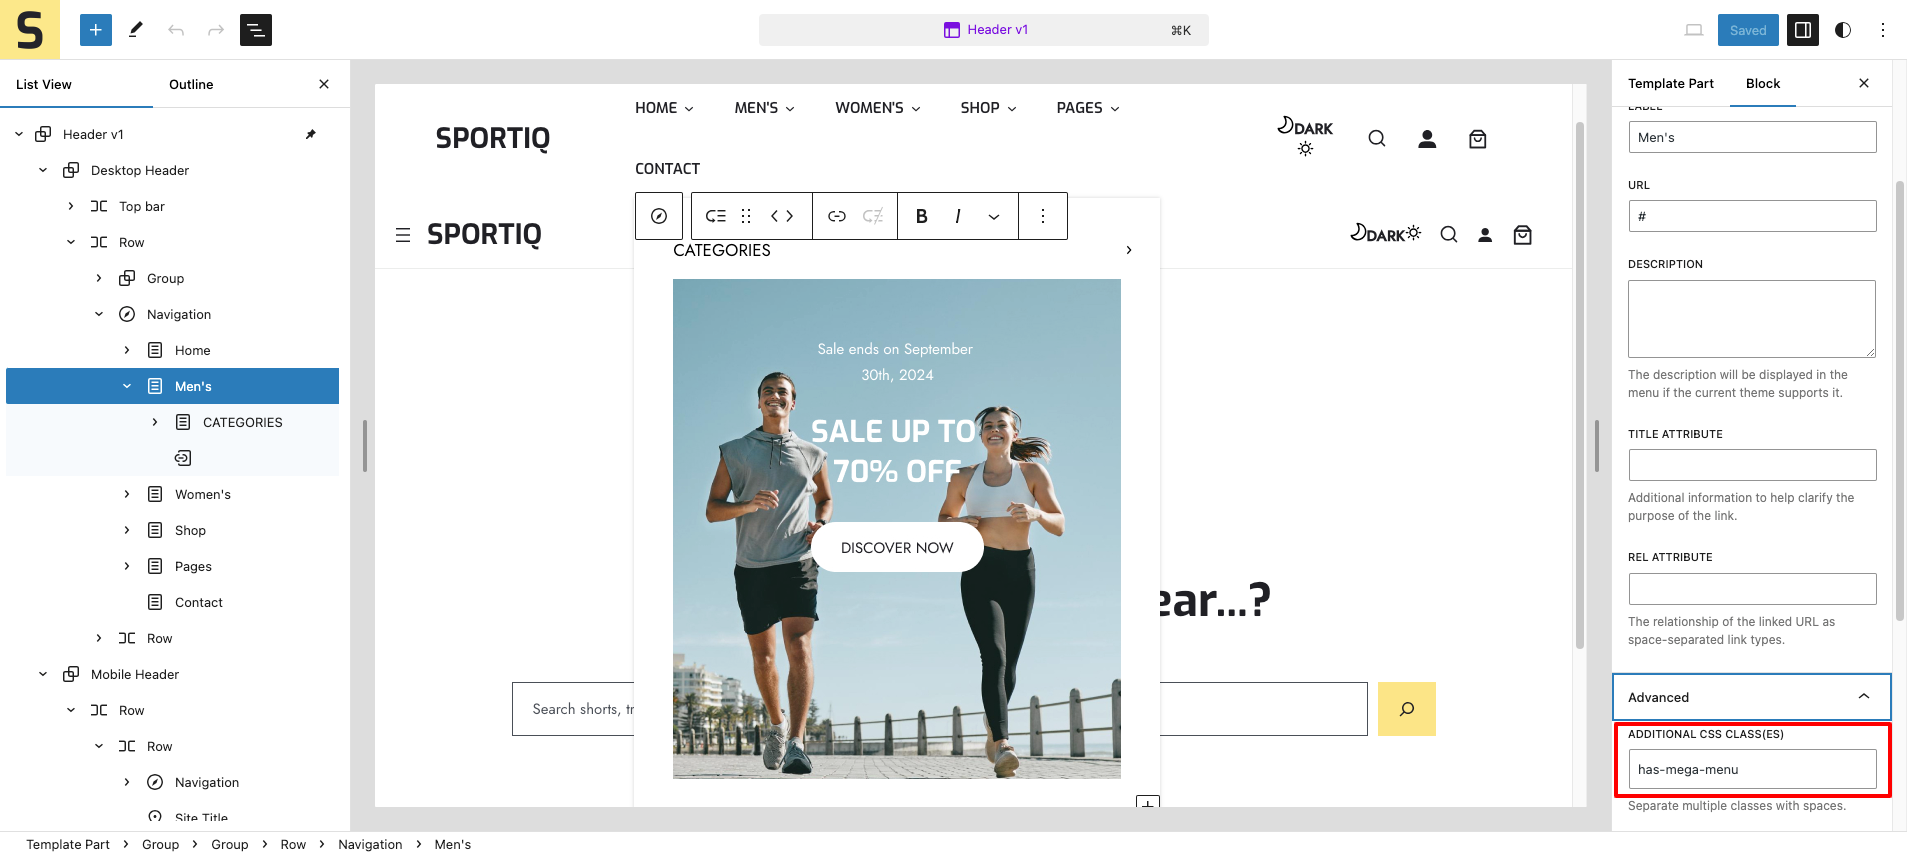
Assign a class name (“has-mega-menu“) in additional class name field for mega-menu.
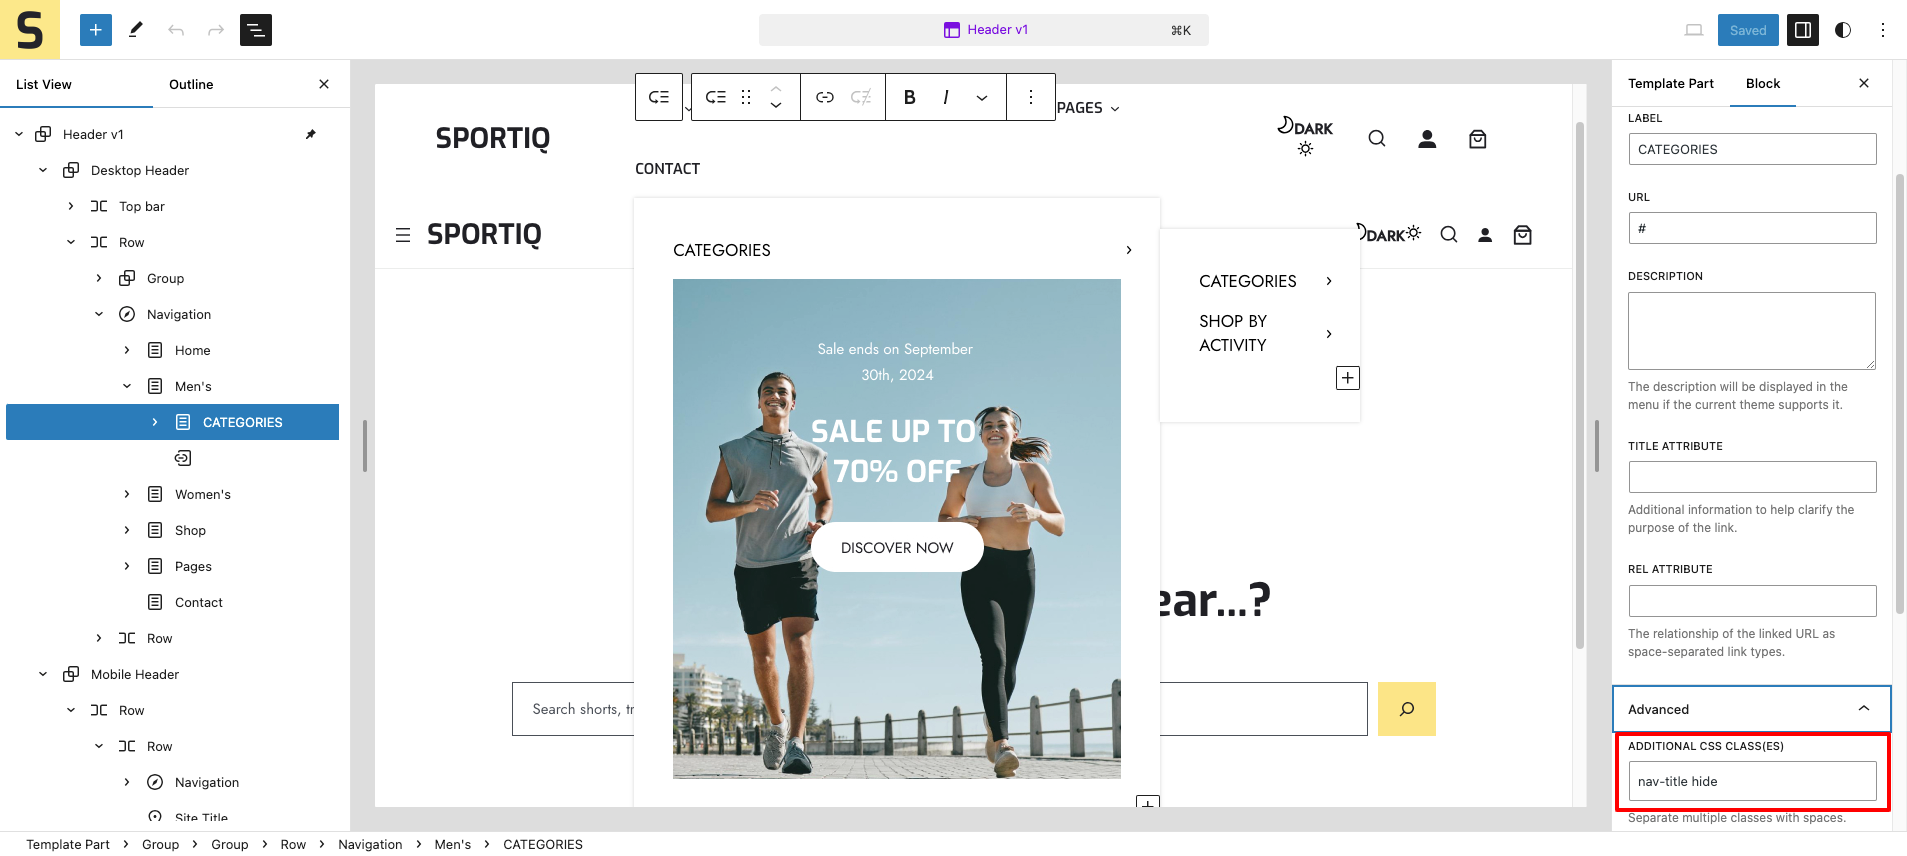
Add a class name (“nav-title-hide“) in additional class name field for mega-menu item.
Template & Template Parts
↑ Back to topTemplate
↑ Back to top- Home – v1
- Home – v2
- Home – v3
- About
- Contact
- 404
- index
- Single-Product
- Single
- Shop-v1
Template Parts
↑ Back to top- Footer-v1
- Footer-v2
- Footer-v3
- Header-v1
- Header-v2
- Header-v3
Blocks & Patterns
↑ Back to topPatterns
↑ Back to top- Home-v1-Hero
- Home-v1-Icon
- Home-v1-Categories
- Home-v1-best-selling
- Home-v1-Banner
- Home-v1-New-Arraivals
- Home-v1-Two-Banners
- Home-v1-Testimonial
- Home-v1-Bundle-Product
- Home-v1-Blog
- Home-v1-Instagram
- Home-v1-Logos
- Home-v2-Hero
- Home-v2-Logo
- Home-v2-Banner
- Home-v2-Best-Seller
- Home-v2-Categories
- Home-v2-Feature
- Home-v2-Sale-Banner
- Home-v2-trending
- Home-v2-Icon
- Home-v2-NewsLetter
- Home-v3-Hero
- Home-v3-tab
- Home-v3-categories
- Home-v3-Banner
- Home-v3-Get-Today
- Home-v3-Accessories
- Home-v3-Shop
- Home-v3-Testimonial
- Home-v3-Footwear
- Home-v3-Legging
- About-Top
- Contact-Form
- About-Who
- About-Icon
- About-Who-are
- About-logo
- About-Banner
- About-Testimonial
- About-Instagram
- Contact-Map
Blocks
↑ Back to topUsing Blocks
Blocks are the components used in the theme for adding content to the posts/pages. The sportiq theme support all WordPress and WooCommerce blocks that you can use to add text, media assets, and layout components, allowing you more freedom to create content.
To get access to the Block, you can follow the step below:
- Go to Pages and choose your desired page
- Now, you can click the plus (+) icon at the top left inside the toolbar to insert blocks
It will display a list of blocks available. You can use the appropriate block that suits your site requirements. For example, You can use the Site Title Block to add the site title on the header area.
