In this guide we explain in more details what webhooks are and how they are used.
What are Webhooks?
↑ Back to topA Webhook is an event notification sent to a URL of your choice. Merchants (or their developers) can configure a webhook that are triggered by events on one site, to invoke behavior on another site.
Webhooks are useful for integrating your site with third-party services or other external Application Programming Interfaces (API) that support them.
Webhooks in WooCommerce
↑ Back to topWebhooks can trigger events each time you add, edit or delete orders, products, coupons, or customers, when perchases are made, etc.
Note: We are unable to provide support for customizations under our Support Policy. If you need to further customize a snippet, or extend its functionality, we highly recommend Codeable, or a Certified WooExpert.
It’s also possible to use webhooks with WooCommerce actions, e.g. create a webhook for use every time a product is added to the shopping cart, using the action woocommerce_add_to_cart.
Webhooks also enable third-party apps to integrate with WooCommerce.
Creating webhooks
↑ Back to top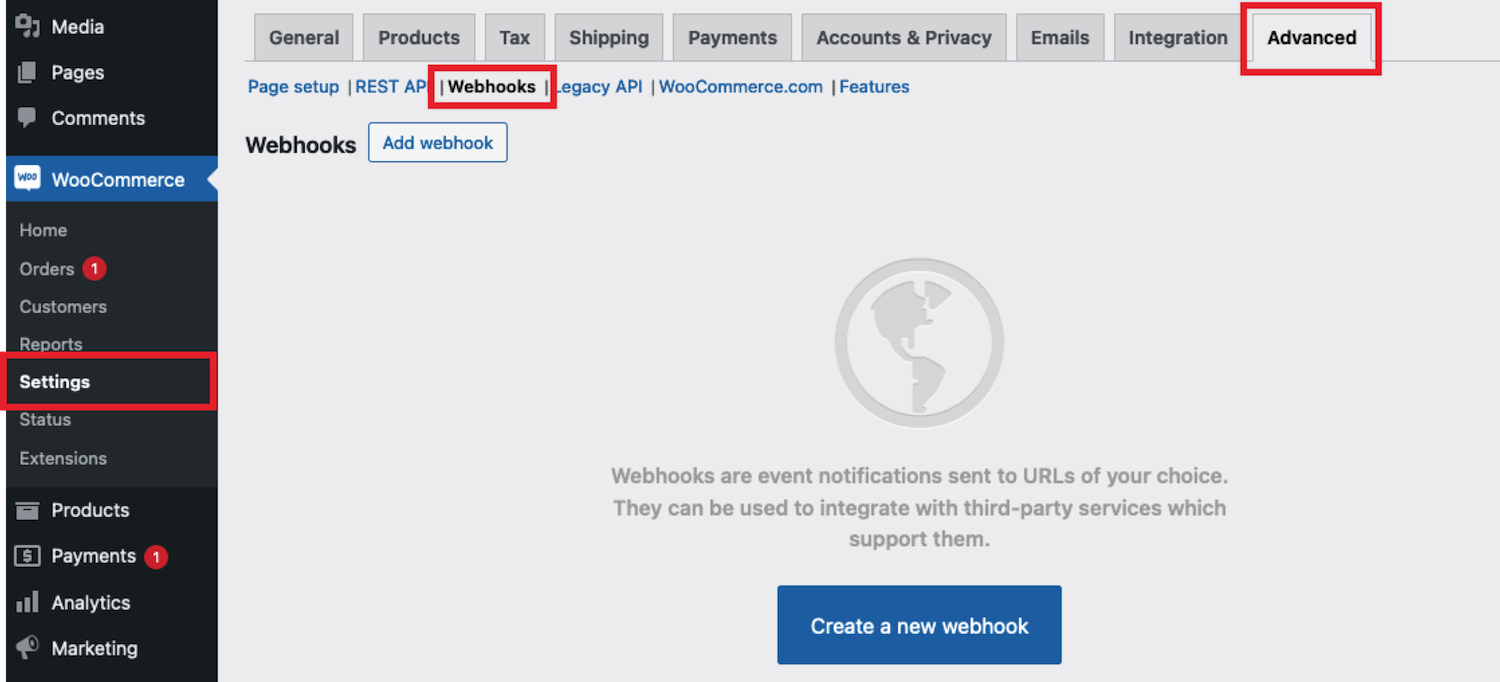
To create a new webhook:
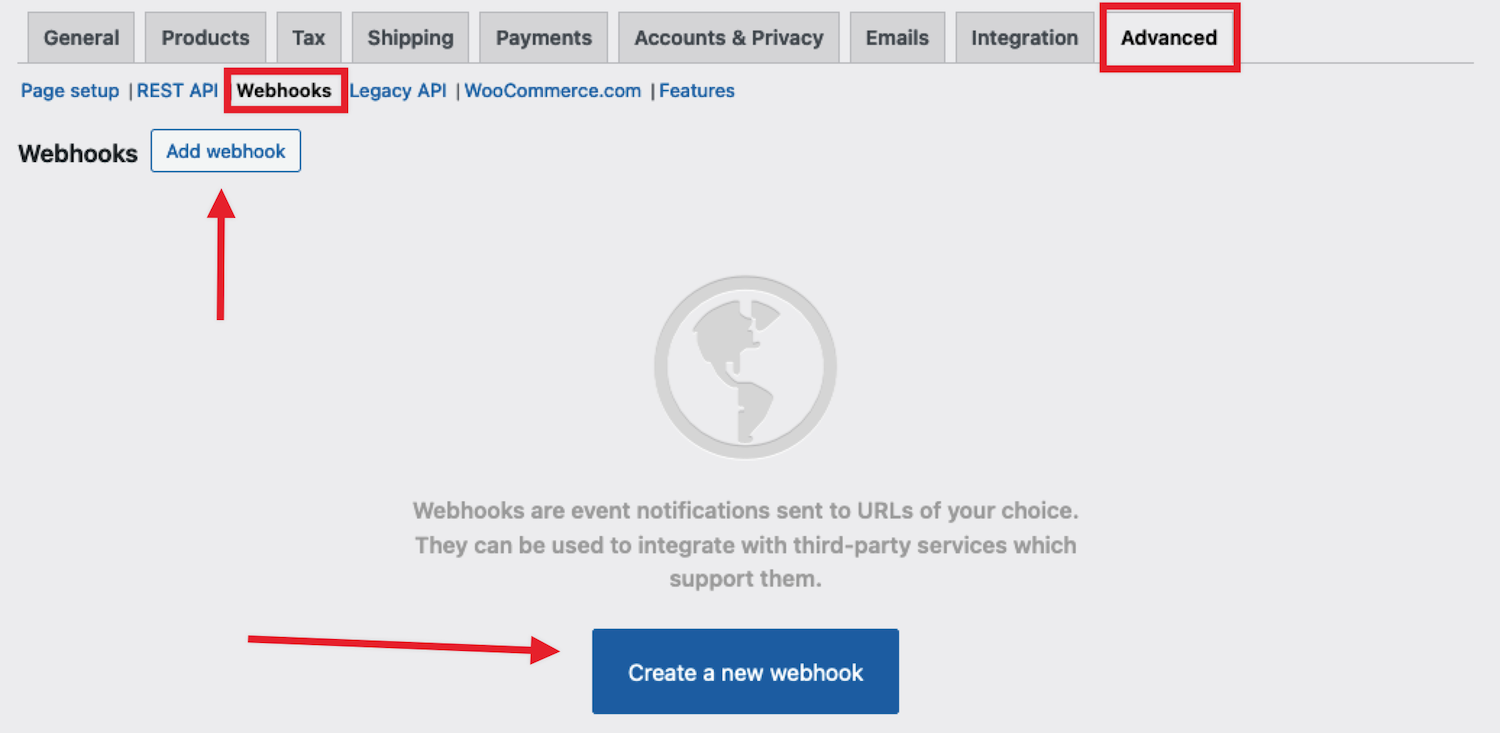
- Go to WooCommerce > Settings > Advanced > Webhooks.
- Select Create a new webhook if this is the first time adding one, or other Add webhook. The Webhook data screen appears.
- Fill in the fields according to requirements:
- Name – if left blank, the Name field defaults to “Webhook created on [date @ time of creation]”, but can otherwise be changed to a name of your choice.
- Status – set to Active to respond accrodingly, Paused to not respond, or Disabled to not respond due to failures.
- Topic – indicate when the webhook should be triggered based on a variety of events linked to coupons, customers, orders, products, and Action. Other topics may also be available depending on what plugins or extensions are active on the site.
- Custom Topic: This option is for advanced users only. It’s possible to introduce new, customized topics with the help of
woocommerce_webhook_topic_hooksfilter.
- Custom Topic: This option is for advanced users only. It’s possible to introduce new, customized topics with the help of
- Action Event – when Action is specified in the field above, this field is added and can be used to specify which action will trigger this webhook (for example
woocommerce_add_to_cartfor when customers add products to the shopping cart) - Delivery URL – specify the URL where the webhook response is delivered.
- Secret – the Secret Key generates a hash of the delivered webhook and is provided in the request headers. This defaults to the current API user’s consumer secret, if nothing is entered.
- Click Save Webhook to save the changes.
Note: The first time your webhook is saved with the Activated status, it sends a ping to the Delivery URL.
Webhooks are disabled after 5 retries by default if the delivery URL returns an unsuccessful status such as 404 or 5xx. Successful responses are 2xx, 301 or 302.
To increase the number of retries, you can use the woocommerce_max_webhook_delivery_failures filter function.
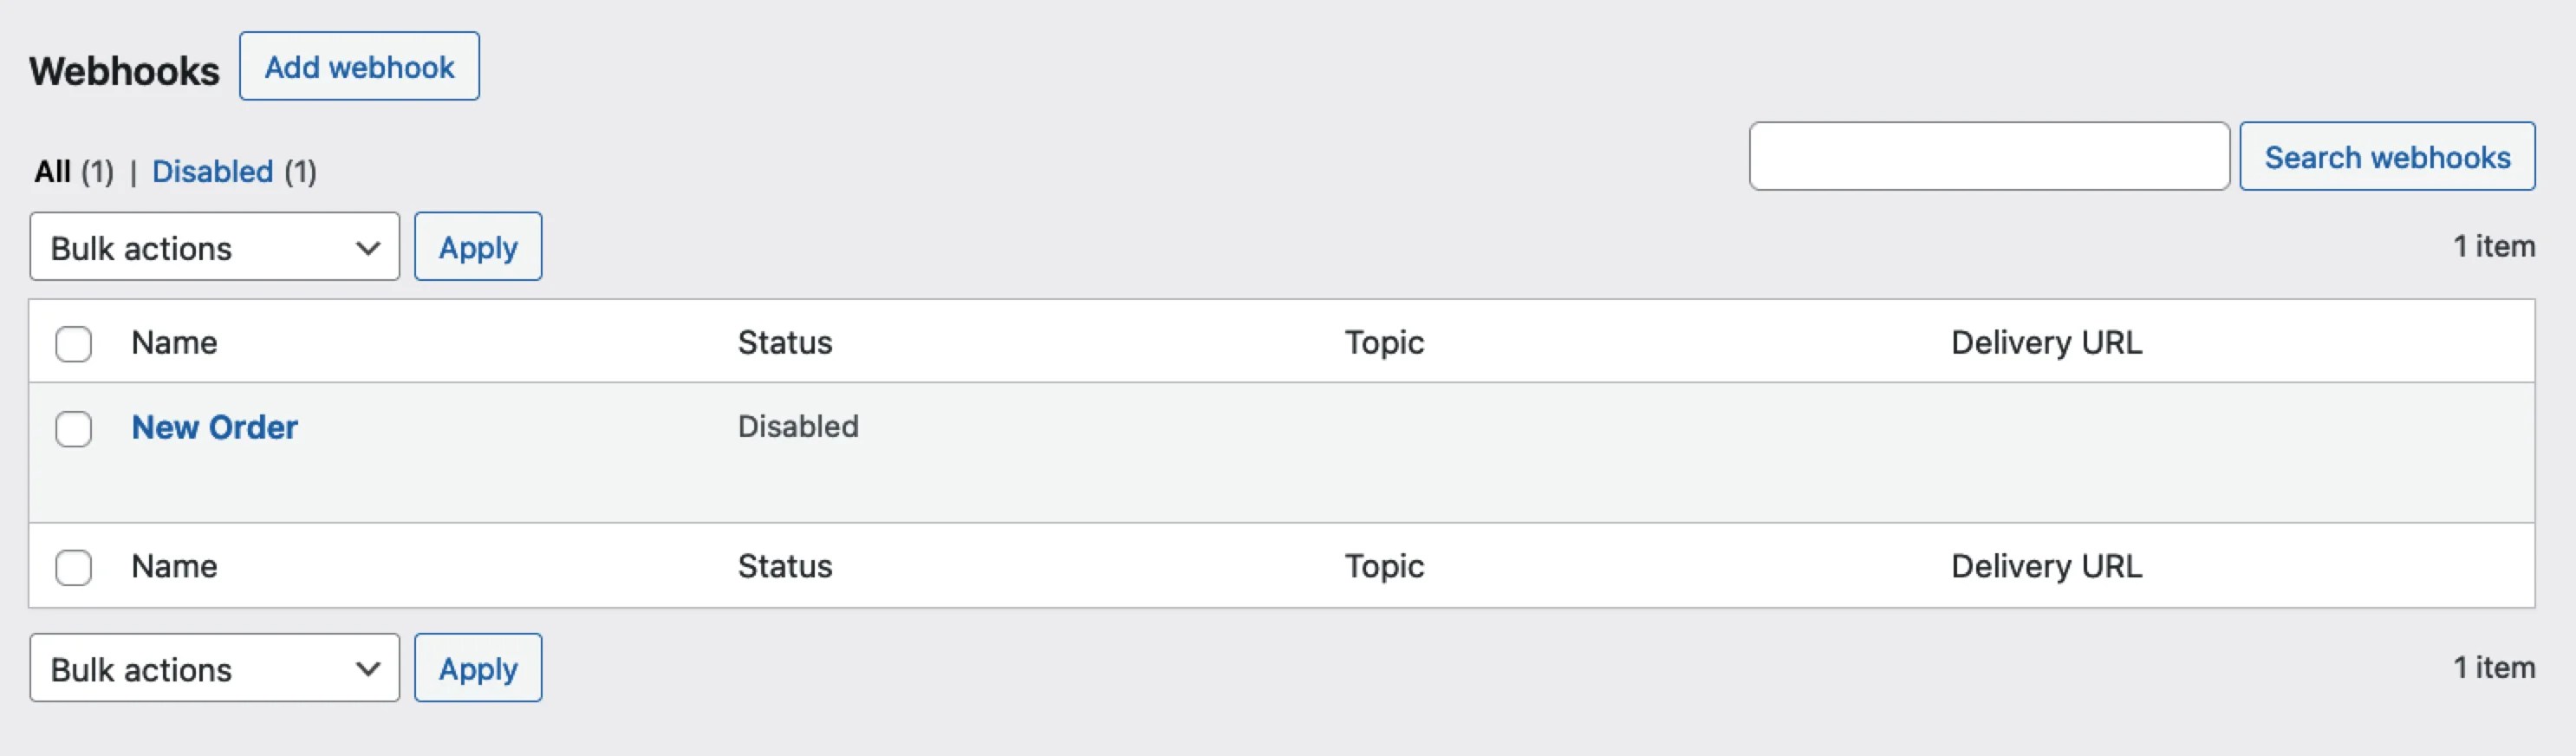
Editing and deleting webhooks
↑ Back to topWebhooks are listed the same way as posts or products.
- Find the webhook you wish to alter.
- Hover the pointed over the name to see the ID, Edit and Delete permanently options appear.
- Click Delete permanently, or click Edit to make and Save changes. Bulk deletion is also possible with the dropdown.
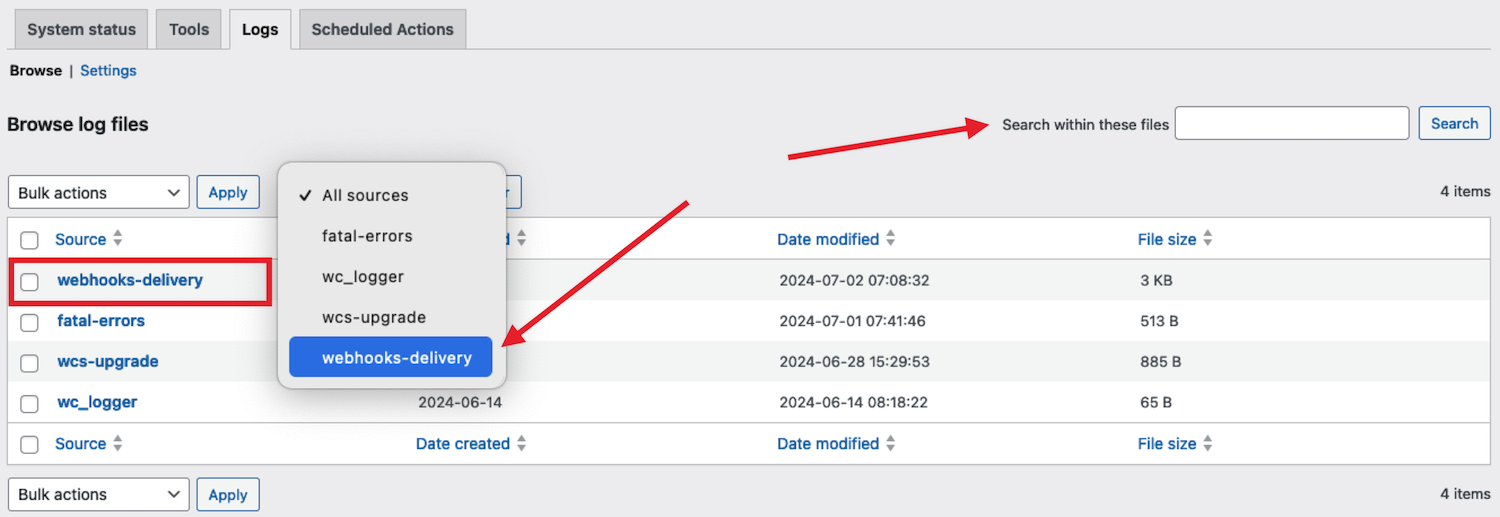
Webhook logs
↑ Back to topWooCommerce saves logs of all events triggering a webhook. Webhook logs are found at WooCommerce > Status > Logs, where it appears on the list and can be filtered in cases where a site has many different log files listed. The search box to the top right can be used to search the content of logs files.
Logs may be reviewed to see delivery and response from the server, making it simpler to integrate and debug.
Questions and Support
↑ Back to topDo you still have questions and need assistance?
This documentation is about the free, core WooCommerce plugin for which support is provided in our community forums on WordPress.org. Searching there you’ll often find that your question has been asked and answered before.
If you haven’t created a WordPress.org account to use the forums, here’s how.
- If you’re looking to extend the core functionality shown here, we recommend reviewing available extensions in the Woo Marketplace.
- Need ongoing advanced support, or a customization built for WooCommerce? Hire a WooExpert agency.
- Are you a developer building your own WooCommerce integration or extension? Check our Developer Resources.
If you weren’t able to find the information you need, please use the feedback thumbs below to let us know! 🙏