Introduction
↑ Back to topHaving a customizable ecommerce platform means that there are a lot of available settings to consider and adjust to fit your vision. The Onboarding Wizard and Setup Checklist take you through all the necessary initial steps to set up your store and get it ready to start selling!
Right after activating WooCommerce, you are taken to our Onboarding Wizard. The steps here will let you fill in the most important details about your store. Details like where your store is based, what industry you are in, what type of products you sell, etc…
Once you’ve gone through the onboarding wizard, you’ll see a follow-up checklist that helps make sure all aspects of your store are ready to start bringing in customers and taking orders.
Onboarding Wizard
↑ Back to topWelcome to Woo!
↑ Back to topAfter activating WooCommerce, select Set up my store to begin the guided setup. You can also skip guided setup and return to it later.
Which one of these best describes you?
↑ Back to topChoose the option that best matches your commerce journey: starting a business, already selling, or setting up a store for a client.
Tell us a bit about your store
↑ Back to topEnter your store name, choose the type of products or services you plan to sell, confirm your store location, and add the store email address. You can change these details later in WooCommerce settings.
Get a boost with our Free Features
↑ Back to topWooCommerce may recommend free features based on your store details, such as payments, shipping, tax, marketing, and security tools. You can continue with the selected features, clear selections you do not want, or skip this optional step.
Jetpack Connection
↑ Back to topSome optional features use a WordPress.com connection through Jetpack. If you choose those features, follow the WordPress.com connection flow. If you skip the optional features, you may not see this step.
Let’s Roll!
↑ Back to topAfter the wizard finishes, WooCommerce takes you to the Home screen and displays the setup checklist.
Skip Setup
↑ Back to topIf you select Skip guided setup from the Welcome screen, WooCommerce takes you to the setup checklist. You can return to the wizard later from the Help tab on supported WooCommerce pages.
Store Setup Checklist
↑ Back to topOnce you’ve finished onboarding, the setup checklist helps you complete the main tasks before launching your store.
The checklist starts with the core setup tasks in this order. Depending on your store details and enabled features, the Select your shipping options task can also appear before Launch your store.
- Add your products
- Set up payments
- Customize your store
- Collect sales tax
- Select your shipping options, when shown
- Launch your store

Add your products
↑ Back to topThe Add your products task opens a product type picker. Choose the product type that fits what you sell, such as a physical, variable, or grouped product, or select View more product types for additional options.
You can also import products from a CSV file. See the documentation on the built-in Product CSV Importer and Exporter for details, or review Adding and Managing Products before creating products manually.
Set up payments
↑ Back to topThe Set up payments task opens WooCommerce > Settings > Payments, where you can review payment providers available for your store country, install a provider, or enable offline payment methods.
Payment provider availability varies by country and by the information you entered during setup. Some providers guide you through account creation, authentication, or additional setup before you can accept payments.
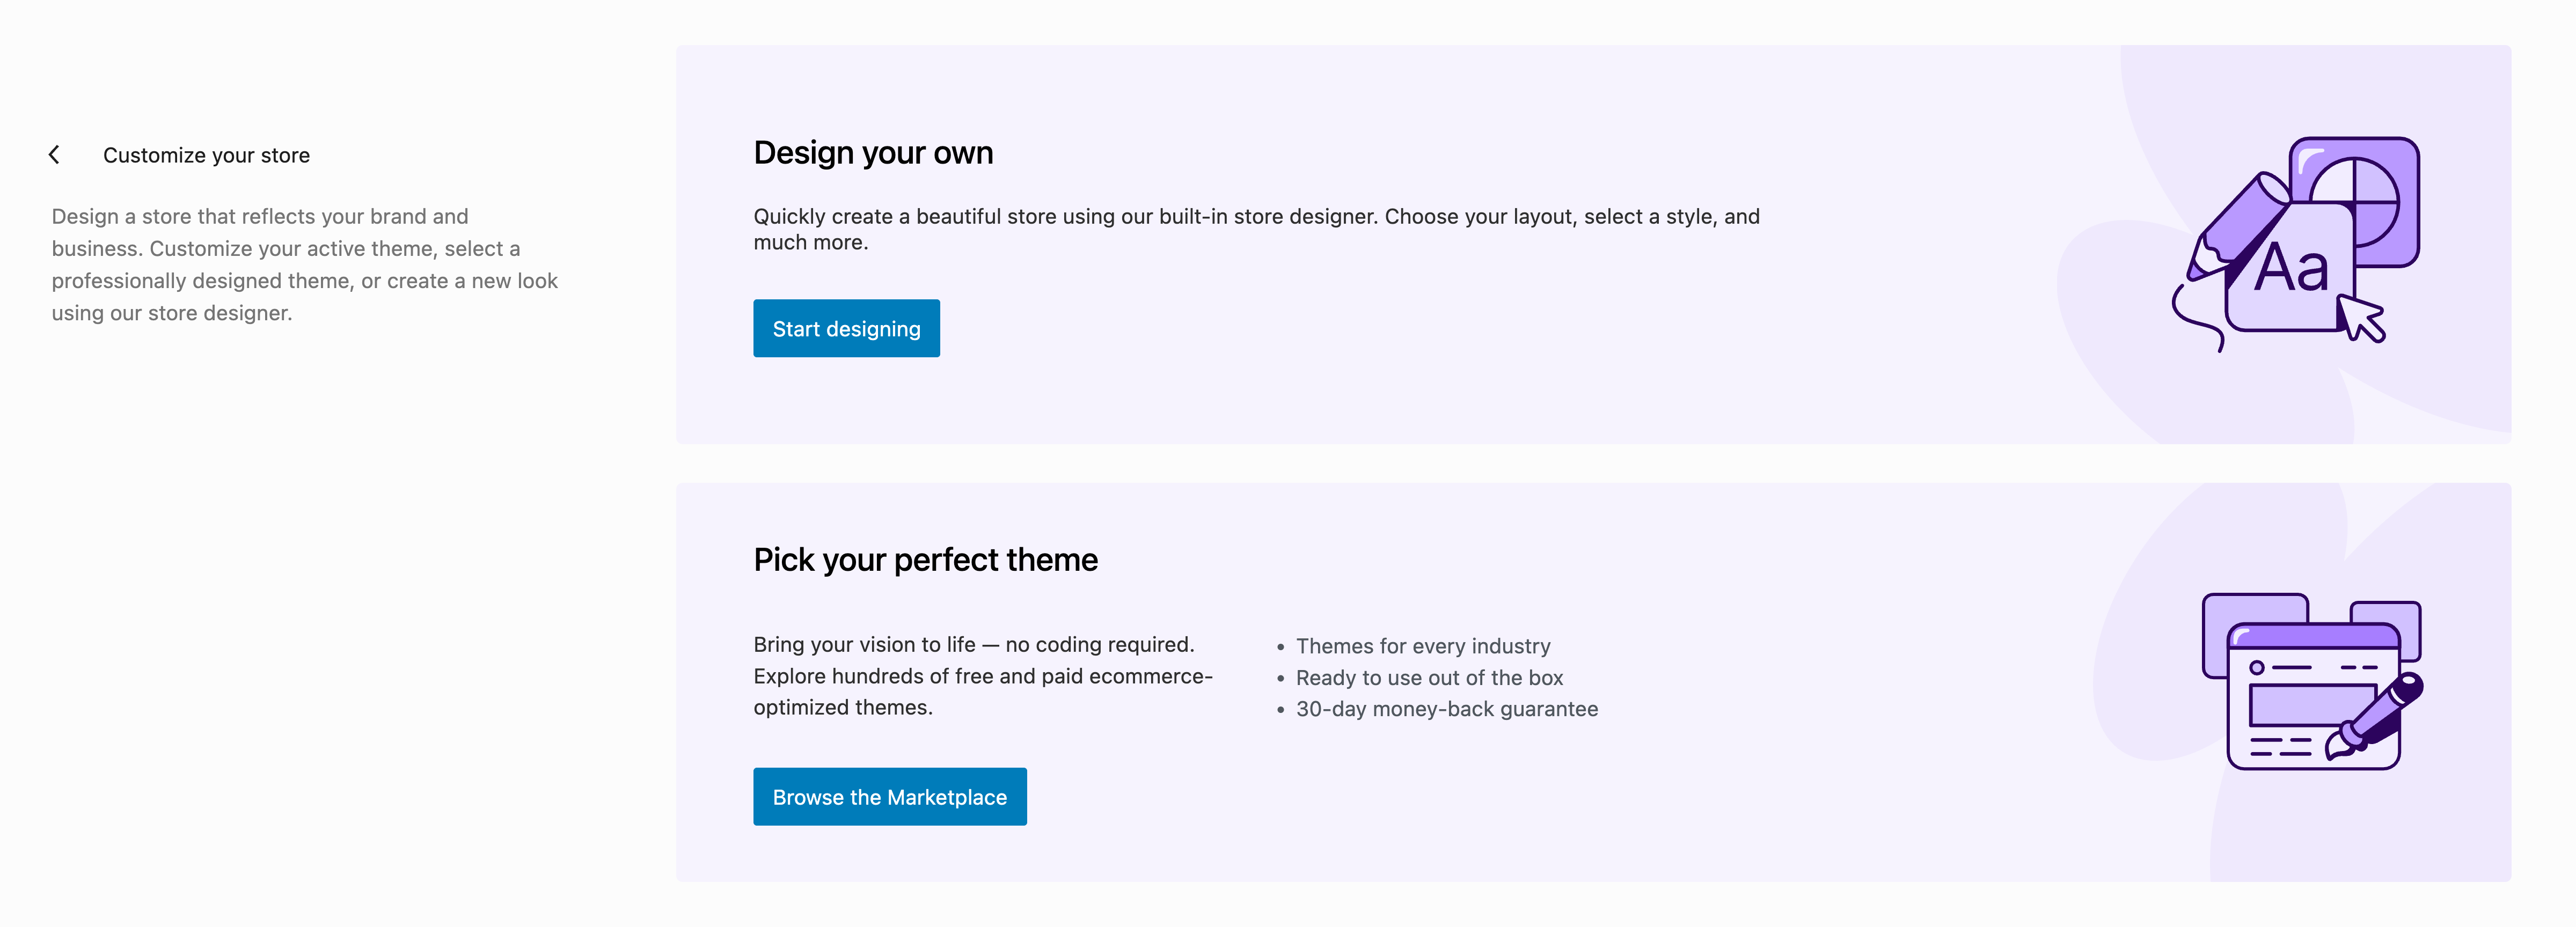
Customize your store
↑ Back to topThe Customize your store task opens a simplified design screen with options to start designing in the site editor or browse themes. The previous multi-step Customize Your Store flow has been removed from this documentation because it is no longer part of the current onboarding experience.
Collect sales tax
↑ Back to topThe Collect sales tax task lets you choose an automated tax partner when available, set up taxes manually, or mark that you do not charge sales tax.
If you choose an automated tax option, WooCommerce guides you through installing, connecting, or enabling any required service. If you choose to set up tax rates manually, WooCommerce takes you to the tax settings. See Setting up taxes in WooCommerce for more information.
Select your shipping options
↑ Back to topThis task appears when WooCommerce needs more information about where you ship. Use it to set your store location, choose where you’ll ship, and add or review shipping zones and shipping methods before launching your store.
Launch your store
↑ Back to topUse the Launch your store task when you’re ready to make your store public. This task helps you preview your store, review essential setup tasks, and turn off Coming soon mode.
Accessing the Onboarding Wizard and Setup Checklist
↑ Back to topIf you’d like to return to the onboarding wizard or restore a dismissed setup checklist, use the contextual Help tab on a supported WooCommerce admin page.
- Go to a WooCommerce page that shows the contextual Help tab, such as WooCommerce > Status.
- Select the Help menu to open it.
- In the Help menu, select Setup wizard from the options on the left.
- Select Setup wizard to re-enter the wizard, or use the available buttons to enable or disable the task lists.

Questions and support
↑ Back to topDo you still have questions and need assistance?
This documentation is about the free, core WooCommerce plugin, for which support is provided in our community forums on WordPress.org. By searching this forum, you’ll often find that your question has been asked and answered before.
If you haven’t created a WordPress.org account to use the forums, here’s how.
- If you’re looking to extend the core functionality shown here, we recommend reviewing available extensions in the WooCommerce Marketplace.
- Need ongoing advanced support or a customization built for WooCommerce? Hire a Woo Agency Partner.
- Are you a developer building your own WooCommerce integration or extension? Check our Developer Resources.
If you weren’t able to find the information you need, please use the feedback thumbs below to let us know.