WooPayments provides your store with Apple Pay, which makes it easier for customers to checkout quickly using their saved Apple Wallet details.
This document describes how to set up, test, and troubleshoot the Apple Pay feature in WooPayments.
NOTE: Apple Pay is available in all countries supported by WooPayments, but Apple Pay will only appear for customers who use an eligible device with an active Apple Wallet.
Setting up Apple Pay via WooPayments
↑ Back to topTo enable Apple Pay:
- Go to Payments > Settings in your site’s dashboard.
- Navigate to the Express Checkouts section.
- Check the box for Apple Pay / Google Pay.
- Scroll to the bottom of the page.
- Click Save Changes.
These steps will:
- Create a file on your site that Apple will use to verify your site can offer Apple Pay.
- Communicate to Apple that your site is ready to accept payments via Apple Pay.
NOTE: Apple Pay and Google Pay must be enabled together.
Customizing the Apple Pay experience
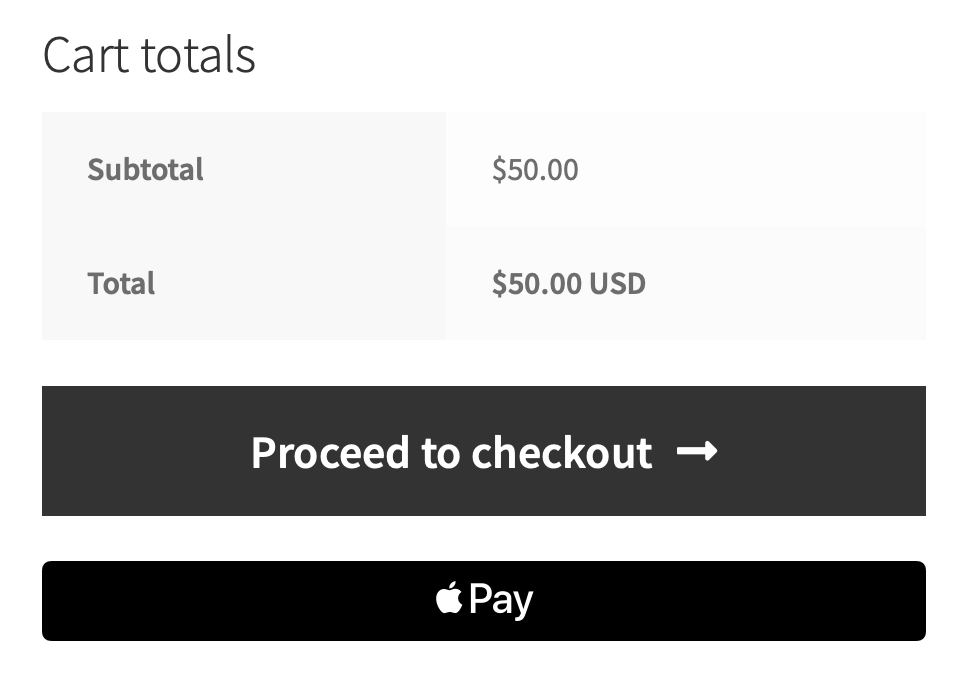
↑ Back to topWhen Apple Pay is enabled, the Apple Pay button can appear in three places on your site:
- The Checkout page.
- The Cart page.
- Individual product pages.
You can customize which of these locations show the Apple Pay button. To specify which pages you’d like to display the Apple Pay button:
- Navigate to Payments > Settings.
- Select the Customize link for Apple Pay / Google Pay in the Express Checkouts section.

When customizing the Apple Pay settings, you can change:
- Where the Apple Pay button shows up.
- The text of the Apple Pay button itself.
- The size and color scheme of the Apple Pay button.
- The button’s border radius, i.e. how rounded it is.
Note that some customizations may not apply if you’re also using the Express Checkout block’s “Apply uniform styles” setting, introduced in WooCommerce 9.4.0.

Purchasing via Apple Pay
↑ Back to topBy checking out with Apple Pay, customers skip the regular checkout process. All of the customer’s information is handled using the Apple Pay interface, where customers can select their:
- Billing details
- Payment method
- Shipping address, if applicable
Once the transaction is authorized through the customer’s Apple device, WooPayments processes the transaction and redirects the customer to your site’s thank you page.
Buy now, pay later
↑ Back to topApple may offer buy now, pay later options through the usual Apple Pay interface. Note that there is no way for WooPayments to control or disable these offerings, aside from disabling Apple Pay entirely.
Please check Apple’s documentation for further details on what BNPL offerings might be included in Apple Pay and how they work.
Testing Apple Pay via WooPayments
↑ Back to topYou can test Apple Pay while WooPayments is in test mode. A test purchase made using Apple Pay will use the card details from your real Apple account without incurring any actual charges. Test cards cannot be used.
To perform a test payment via Apple Pay:
- Enable test mode.
- Open your site using a supported device.
- Select the Apple Pay button.
- Confirm the purchase using your preferred customer details.
Your test order will be visible in the dashboard after it is completed.
NOTE: To set up Apple Pay on your device, you will need a supported card from a participating card issuer. For more information, please check the full list of requirements for Apple Pay users.
Feature and product compatibility of Apple Pay
↑ Back to topYou can read more about the compatibility of Apple Pay here.
Troubleshooting Apple Pay
↑ Back to topBefore troubleshooting Apple Pay, ensure you have Log Error Messages enabled under Payments > Settings > Advanced settings. This lets you see any error messages from WooPayments under WooCommerce > Status > Logs, which could potentially be useful if you need to contact our support staff.
Apple Pay button does not appear
↑ Back to topTo ensure there isn’t a problem with your browser and/or device, try using the Apple Pay button on another website. You can try this demo page, for example, which should show an Apple Pay button at the bottom. Clicking/tapping it should open Apple Pay.
If Apple Pay doesn’t work correctly on the demo site, there probably isn’t an issue with WooPayments itself. Rather, it’s likely that either your browser or device does not work with Apple Pay. Other browsers or devices should still function correctly.
If Apple Pay does appear on the demo site, but not on your WooPayments store, this can happen for several reasons. To try to remedy the issue, please:
- Make sure none of the generic incompatibility scenarios apply.
- Ensure the Apple Pay / Google Pay setting is enabled under Payments > Settings.
- Verify the site is served over HTTPS.
- Test with an eligible device and with Apple Pay enabled.
- Ensure one of the following combinations of settings are configured in WooCommerce > Settings > Accounts & Privacy:
- Enable guest checkout is enabled, or…
- Both of the following are enabled:
- Allow customers to create an account > During checkout
- Send password setup link

If the steps above don’t resolve the problem, the Apple Pay domain registration process may have failed. To try registering your domain again, follow these steps:
- Navigate to Payments > Settings.
- Disable Apple Pay and Google Pay.
- Click Save Changes at the bottom.
- Refresh the page.
- Enable Apple Pay and Google Pay.
- Click Save Changes at the bottom.
- Navigate to WooCommerce > Status > Logs.
- Find and open the WooPayments log for the current date.
- Look for the entry stating that your domain has been verified.

If you cannot find an entry like this in the logs, please contact support.
Apple Pay button does not appear at a specific location
↑ Back to topIf the Apple Pay button is missing from only some locations but not others — like the product page — this can happen because:
- The product may not be compatible with express checkouts.
- Your theme may not support the necessary WooCommerce hooks, which are needed for Apple Pay to show up.
Other issues
↑ Back to topIf you experience any other issues with Apple Pay, please take the following steps:
- Enable test mode and logging under Payments > Settings > Advanced settings.
- Attempt an Apple Pay transaction.
- Review the logs under WooCommerce > Status > Logs.
- Contact support and provide the logs for review.