
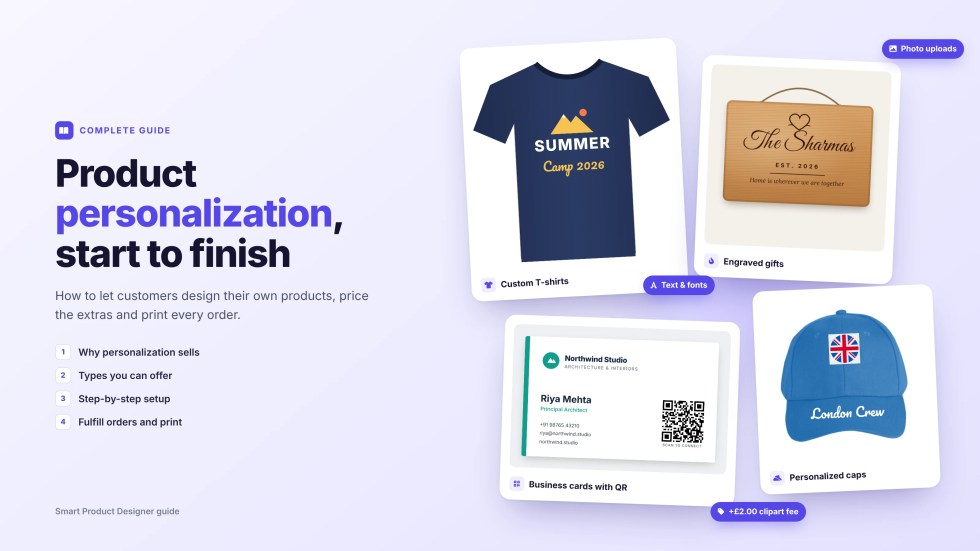
Product personalization has moved from a niche feature to a baseline expectation. Shoppers increasingly want to add their name to a mug, upload their own artwork for a t-shirt, or preview exactly how a custom item will look before they pay for it.
For WooCommerce store owners, this shift is also a revenue opportunity. Personalized products typically carry higher margins, higher average order value, and stronger customer loyalty than standard catalog items.
This guide walks through the types of personalization you can offer and the steps to set it up on a WooCommerce store.
How Personalization Increases Sales
↑ Back to topLetting customers see an accurate, real-time preview of their finished product before they pay increases confidence at checkout, which reduces cart abandonment.
It also reduces returns, since there’s no gap between what a customer expected and what actually arrives.
Personalization can increase average order value too. Premium fonts, cliparts, extra design sides, and other add-ons can each carry their own fee, turning the design process itself into an upsell.
Types of Personalization You Can Offer
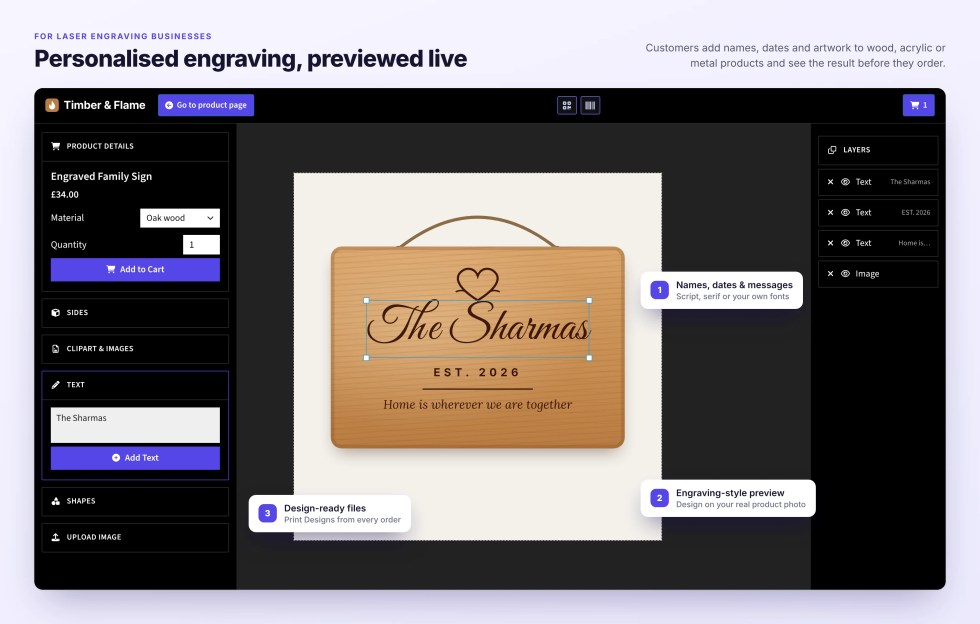
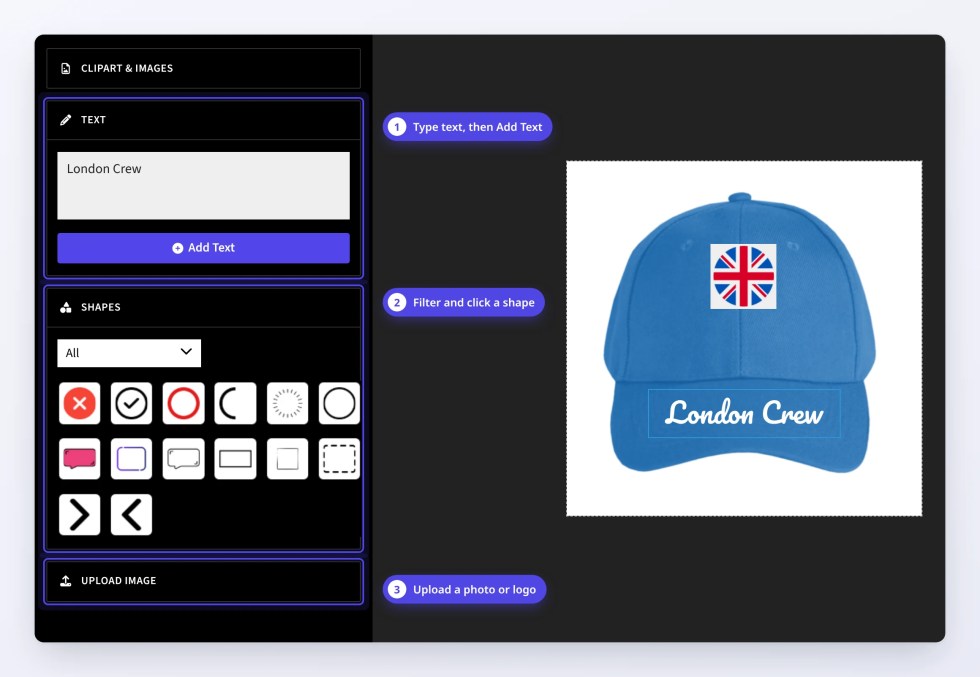
↑ Back to top- Text: names, initials, or custom messages.
- Image uploads: customers add their own photos or artwork.
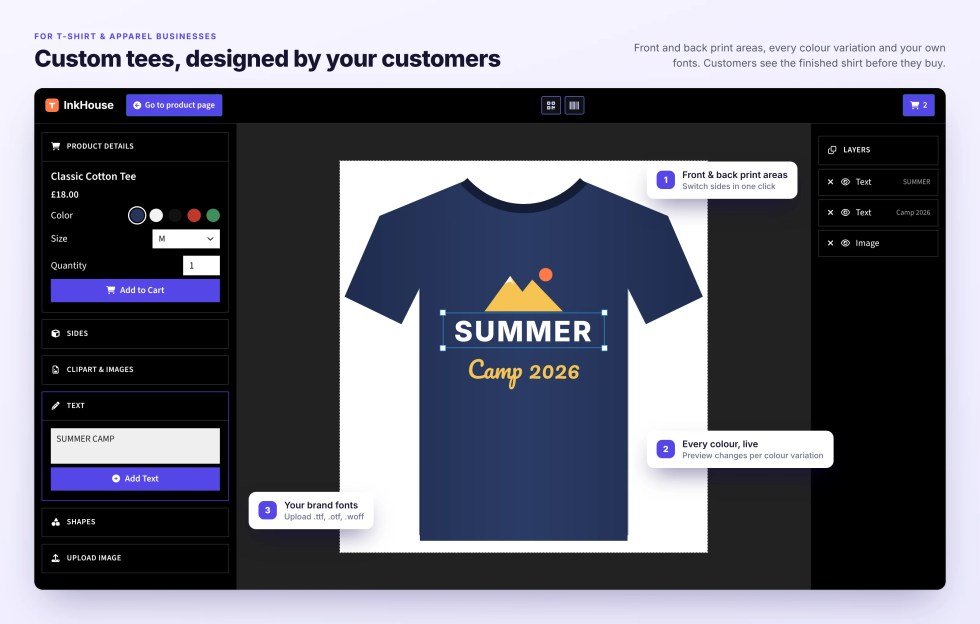
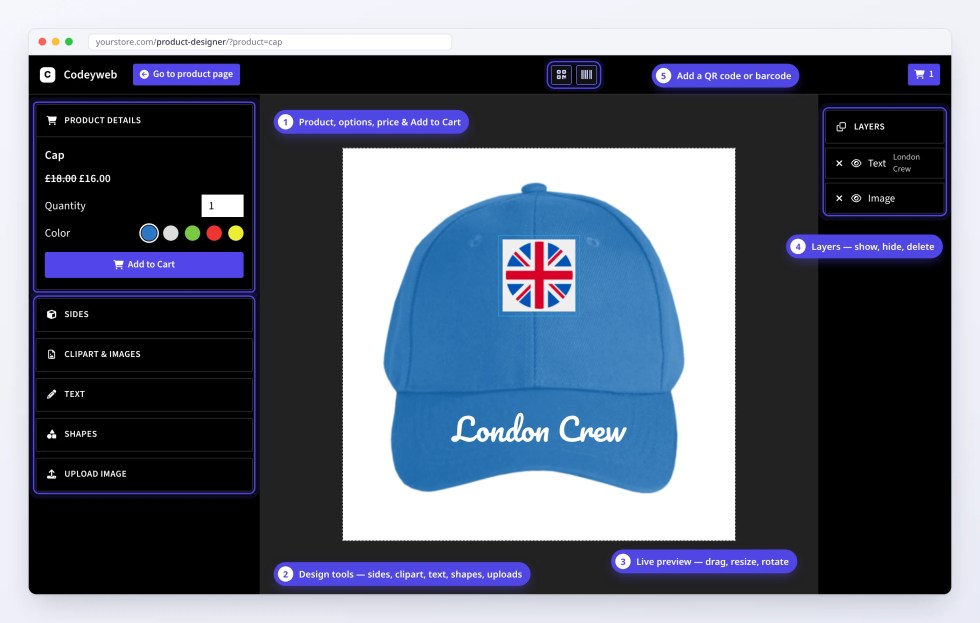
- Multi-side design: front, back, and sleeve customization for apparel or packaging.
- Shapes and cliparts: pre-made design elements customers can add to their product.
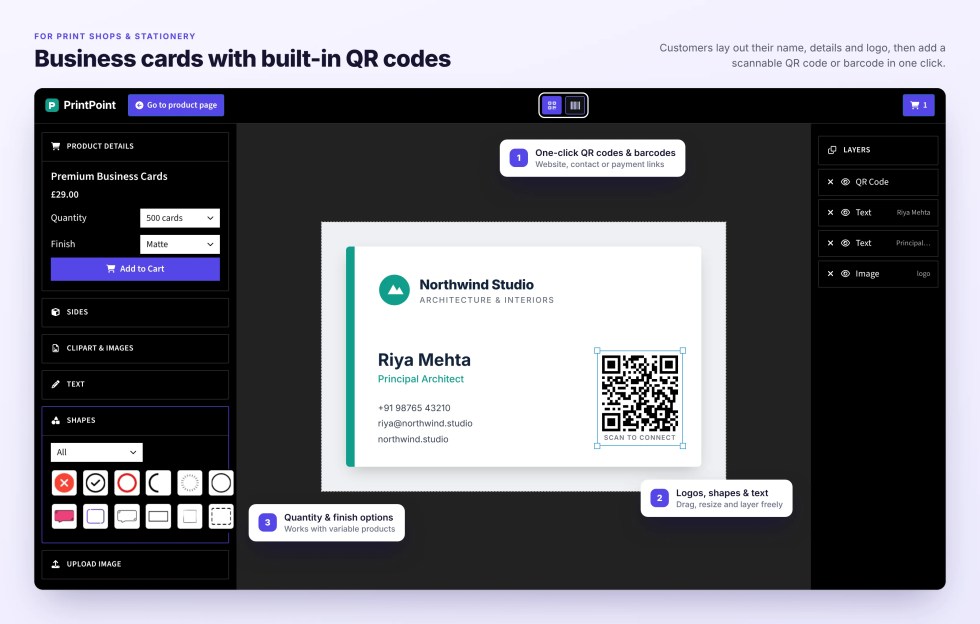
- QR codes and barcodes: generated directly within the design.
Steps to Set Up Product Personalization
↑ Back to top- Install a design plugin. WooCommerce doesn’t include a visual design canvas by default, so you’ll need a plugin like Smart Product Designer to add one.
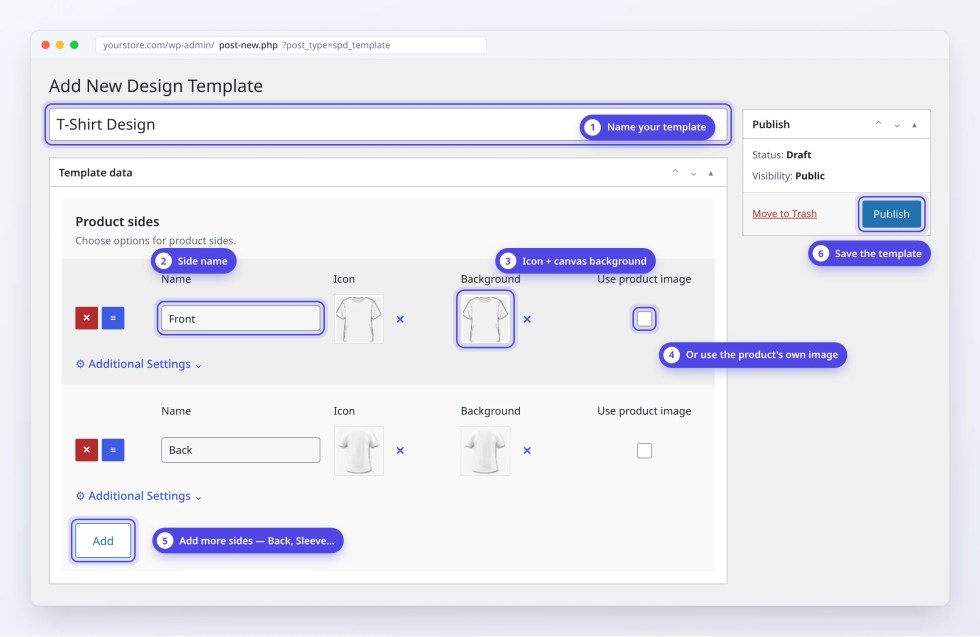
- Create a design template. Go to WordPress Admin > Products > Smart Product Designer > Design Templates and add a new template.
- Add product sides. For each side (front, back, sleeve, etc.), upload a mockup background image. Use a transparent PNG if you want the product’s color to update as the customer changes it.
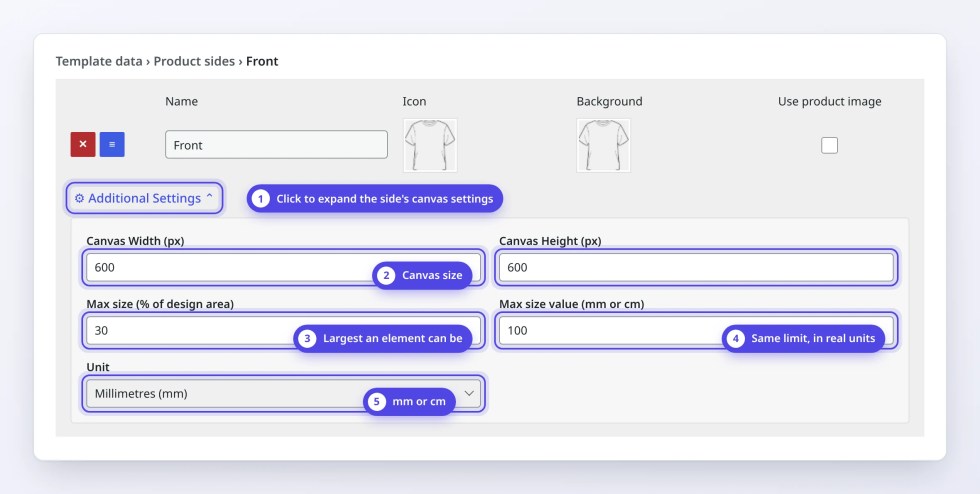
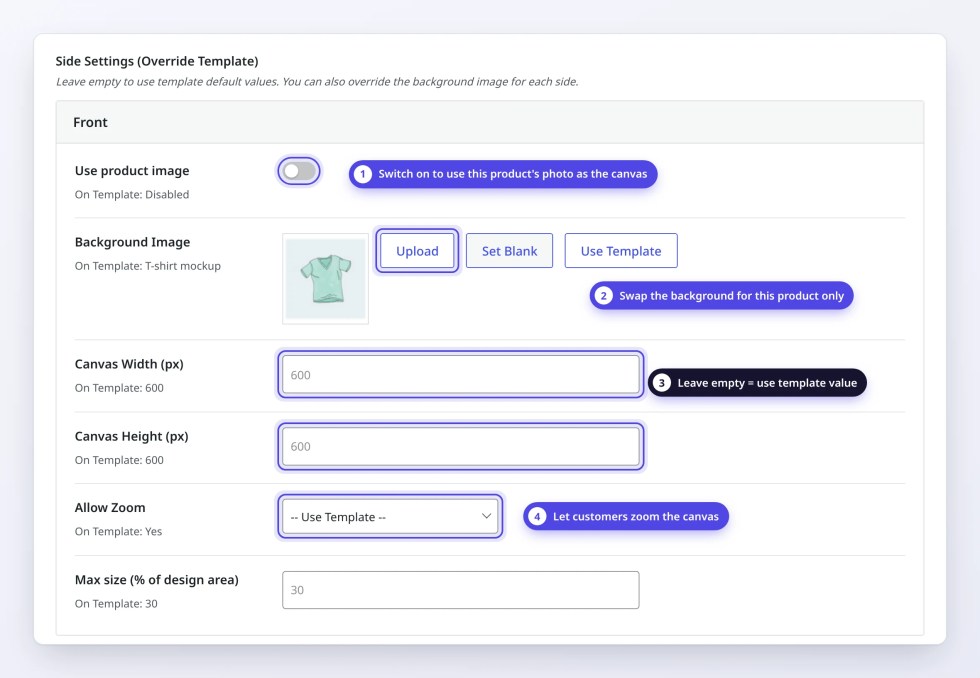
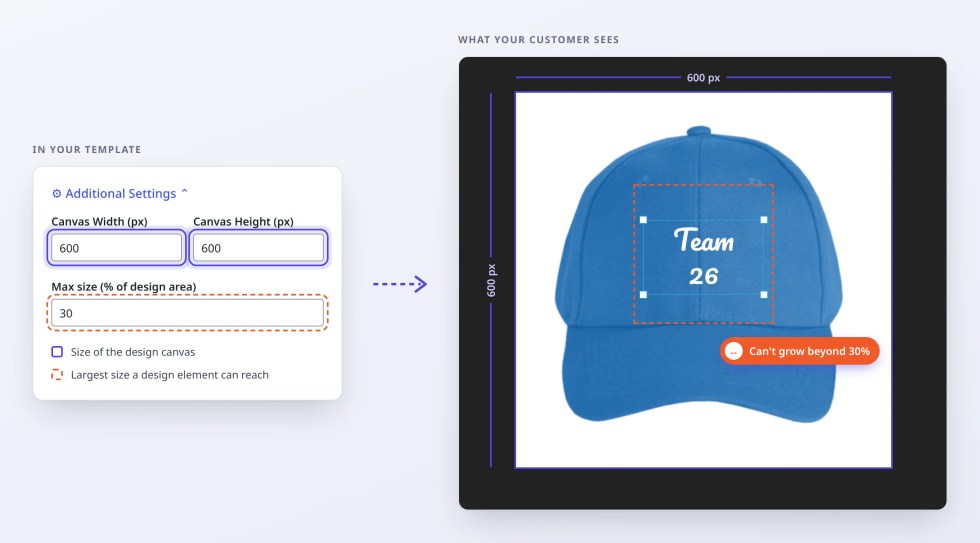
4. Set canvas limits. Under Additional Settings, set the canvas width, height, and max design area so customer designs stay within printable bounds.
- Set store-wide size limits (optional): You can also limit how big clipart and shapes can get across your whole store. Go to WooCommerce > Settings > Products > Smart Product Designer and, under Shapes and Cliparts Settings.
5. Add shapes and cliparts. Optionally set an additional fee on any shape, clipart, or font so your design library can generate extra revenue.
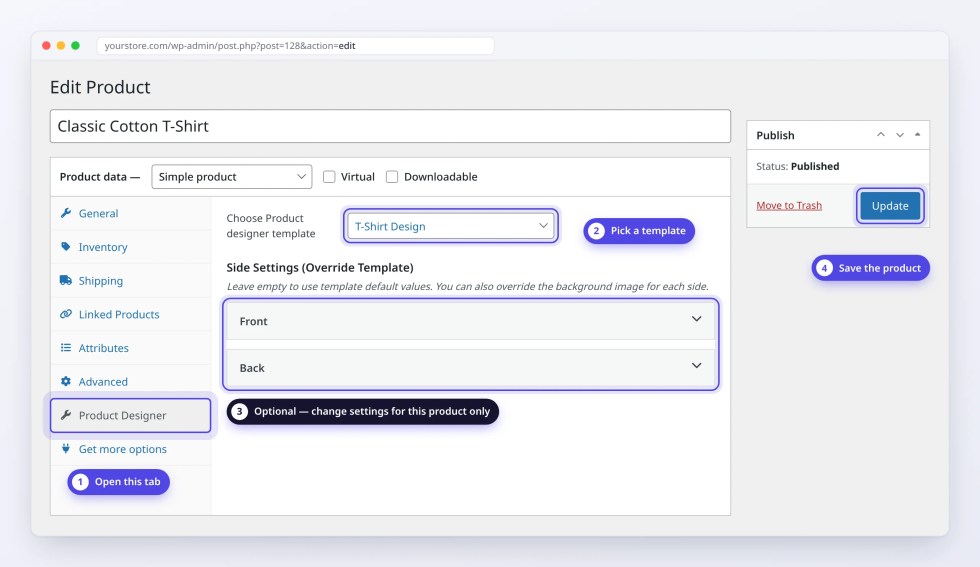
6. Assign the template to a product or variation. Open the product, go to the Product Designer tab, and select your template. Use the Side Settings override if one product needs a different canvas or background.
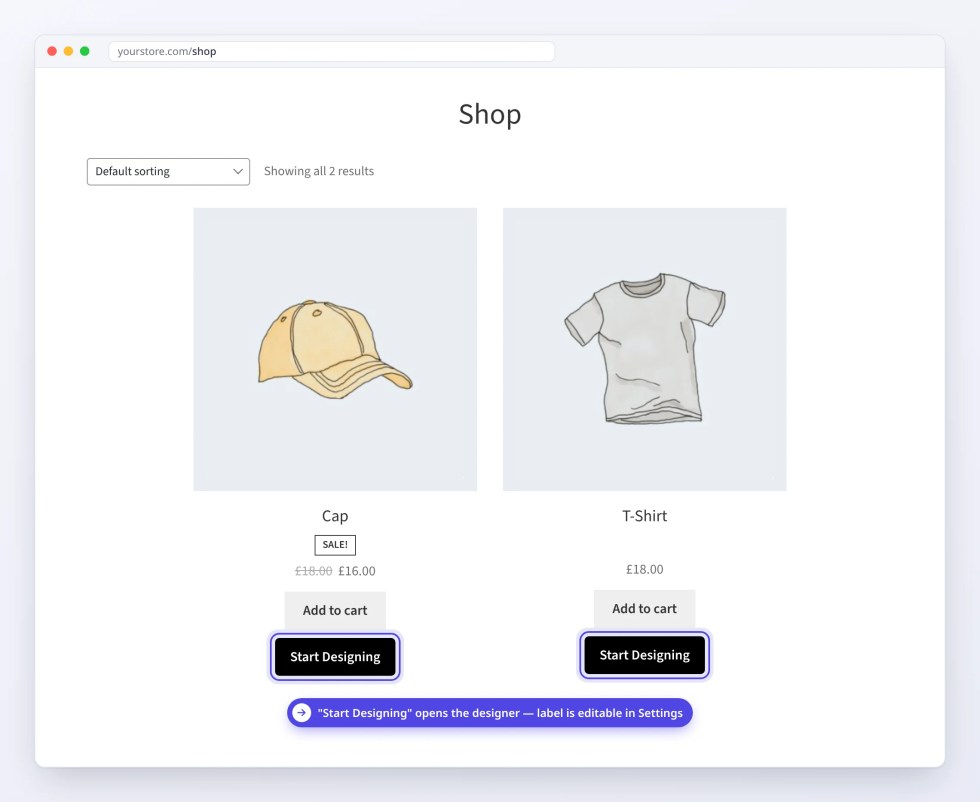
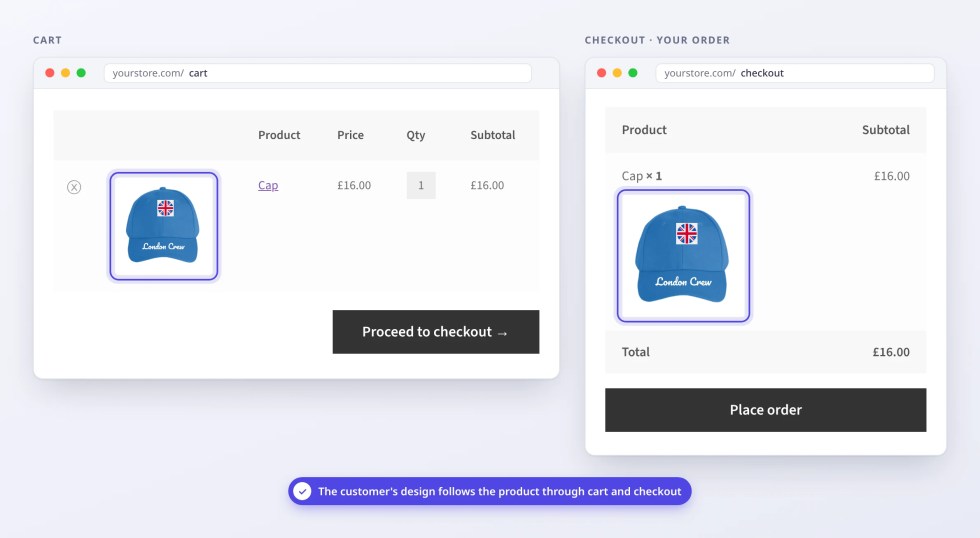
7. Test it as a customer would. Open the product on the frontend, click the design button, and confirm the preview updates as you add text, images, or shapes.
8. Fulfill Orders
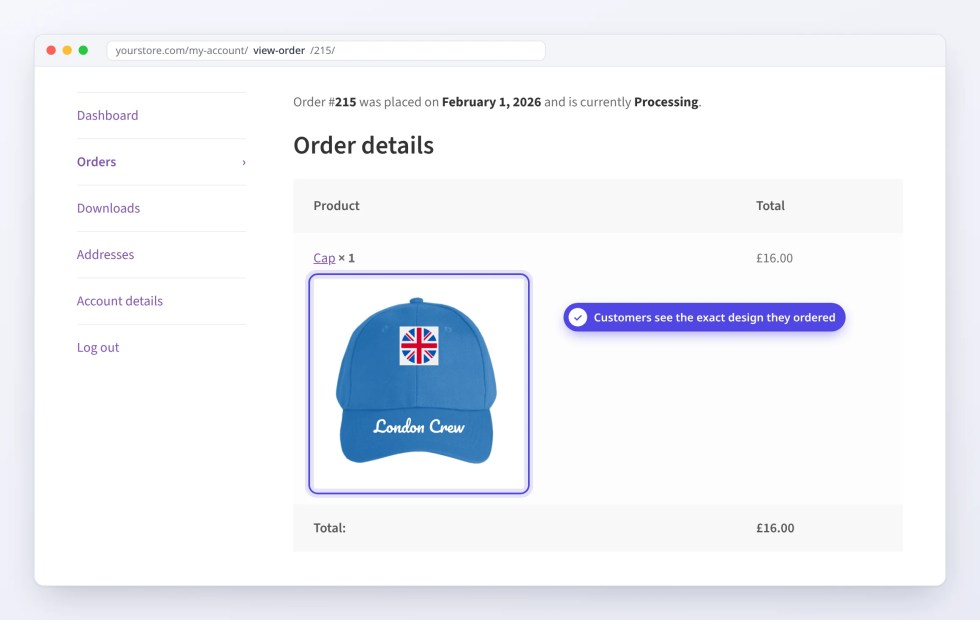
When a customer places an order, you get their design in two ways.
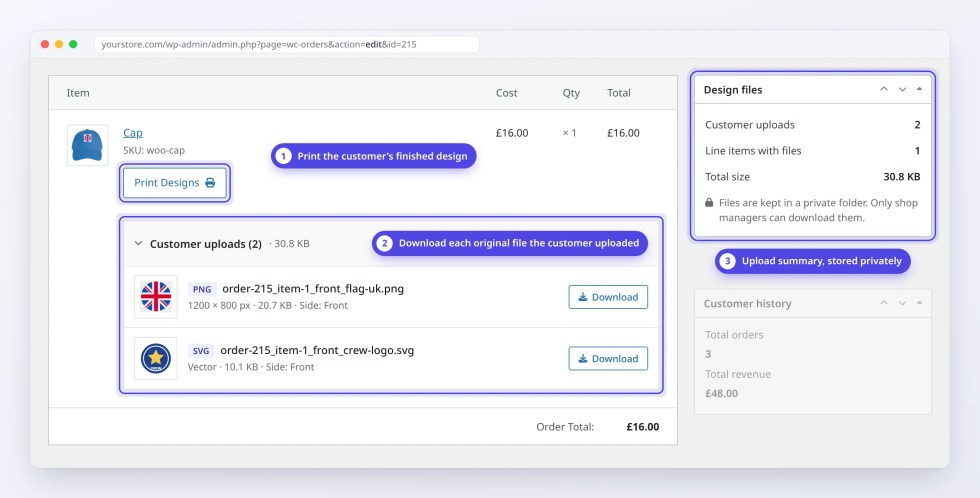
Print Designs from the order
Go to WooCommerce > Orders and open the order. Click Print Designs next to the product to get the customer’s finished design. If the customer uploaded their own photos or logos, they appear under Customer uploads, where you can download each original file.
Send designs straight to your printer
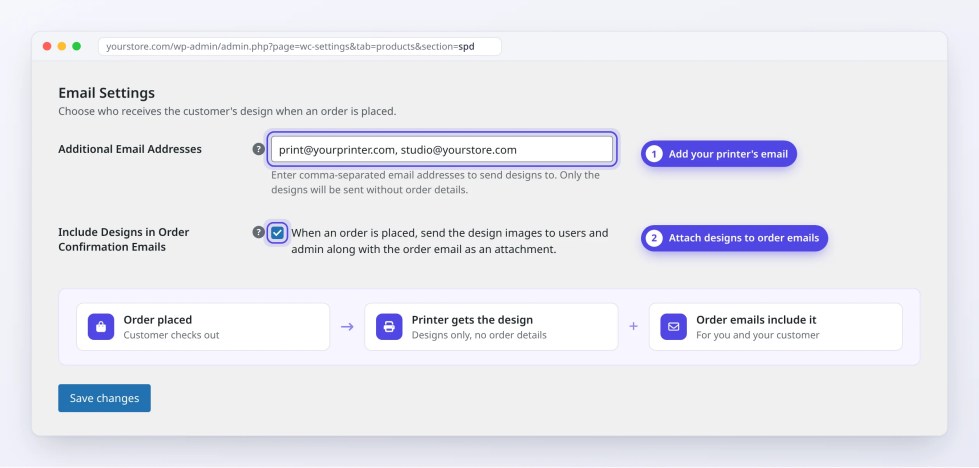
Go to WooCommerce > Settings > Products > Smart Product Designer. Under Email Settings:
- Add your printer’s email in Additional Email Addresses. Every new order’s designs are sent there automatically, without the customer’s order details.
- Turn on Include Designs in Order Confirmation Emails to attach the design to the order emails you and your customer receive.
No file preparation and no copying designs by hand. The order comes in and the design is ready to print.
A Few Tips
↑ Back to top- Enable personalization only on the products where it makes sense, not store-wide.
- Use multi-side templates for apparel so customers see every side before ordering.
- Use a transparent PNG background on your mockup images if you want the product’s color to update live as customers switch color options.
- Use Side Settings overrides instead of duplicating templates. If one product needs a different canvas size or background than the rest of its template group, override it at the product level rather than creating a near-duplicate template.
Common Use Cases
↑ Back to top- Print-on-demand: see How to Set Up a Print-on-Demand Store and Start Selling Fast
- Letting customers fully design a product: see How to Let Customers Design Their Own Products on Your Store
- Variable products with design options: see How to Sell Variable Products with Custom Design Options
- Pricing based on design choices: see How to Set Up Dynamic Pricing for Print-on-Demand Products
Frequently Asked Questions
↑ Back to topCan customers upload their own photos or logos?
Yes. Customers can upload images and place them on the product. You can set the maximum upload size under WooCommerce > Settings > Products > Smart Product Designer. You can download the original files from the order.
Can I charge extra for custom designs?
Yes. Add an Additional Fee to any clipart or shape. When a customer uses it, the fee is added to the product price. You can also set a higher base price for products that can be personalized.
How do I get the print file for an order?
Open the order and click Print Designs next to the product. You can also have designs emailed to your printer automatically for every new order.
Does it work with variable products?
Yes. Each variation can use its own design template. For example, a mug variation can open a mug template and a T-shirt variation can open a T-shirt template, all inside one product.
Can customers design the front and back of a product?
Yes. Add a side for each area you want to be customizable, like Front, Back or Sleeve. Customers switch between sides while designing.

