This document gives an overview of the Secure Sockets Layer (SSL) and Hypertext Transfer Protocol Secure (HTTPS), explaining their importance for securing your WooCommerce store. You’ll learn how to set up a free or paid SSL certificate on your site, and why they are essential for protecting customer data and boosting trust.
Our aim with this guide is to assist you in ensuring a secure and reliable shopping experience for your users.
Additionally, we cover WooCommerce’s Force SSL setting and share troubleshooting tips for common SSL issues. In many cases, it’s best to work with your host or a developer to get SSL working.
What are SSL and HTTPS?
↑ Back to topSecure Sockets Layer (SSL) is a protocol used on the web for:
- Encrypting website data sent from the browser to the server (and vice versa) to protect it.
- Authenticating your site to assure visitors that your identity is verified.
SSL creates a secure connection between two machines or devices over the web or an internal network, safeguarding sensitive data, and allowing it to be privately transmitted.
Hypertext Transfer Protocol Secure (HTTPS) is the secure version of HTTP, the protocol over which data is sent between a browser and a website.
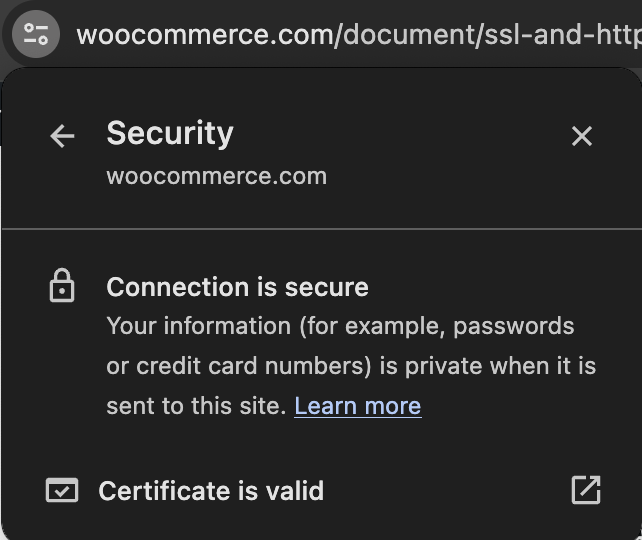
An SSL certificate is issued after verifying a website’s authenticity and the identity of its owner., as indicated by the https:// prefix in the site’s URL, alongside a padlock icon.
Most payment gateways require SSL; we strongly recommend it. Customers visiting your store see it as a sign of trustworthiness. They expect to see https:// and the padlock icon in the address bar when browsing, buying, and entering their account and payment details.
Why you need SSL
↑ Back to topSSL is necessary whenever customer information needs to be transmitted securely. You need to use it if:
- You are accepting/transmitting sensitive information — such as addresses and credit card numbers — and need to keep them safe.
- You want to secure logins and signups on your site.
- You need to comply with privacy and security requirements.
- You want users to trust your website.
- You want customers to buy from your online store.
Websites using SSL are also said to rank higher with search engines and load faster.
How to set up SSL with WooCommerce
↑ Back to topTo use SSL on your website, you must obtain an SSL certificate. There are both free and paid options available.
Let’s Encrypt (free)
↑ Back to topWe love this initiative! Let’s Encrypt is a certificate authority (CA) providing free SSL certificates for a more secure, privacy-focused internet. Learn more about Let’s Encrypt and see how it works.
There are two ways to get a free SSL certificate from Let’s Encrypt.
1. Select a hosting company with free SSL
Our WooCommerce hosting partners offer free SSL certificates that can be installed in a few minutes. Often, no installation is required when you purchase a web domain with a hosting package.
Ask your hosting company if they offer a free SSL certificate from Let’s Encrypt, and follow their instructions. If they do not, you can choose to install one yourself.
2. Install it yourself
If your hosting company does not include a click-and-install tool but offers the option to self-install a free SSL certificate, you can still use Let’s Encrypt.
Note: Support for installing and setting up an SSL certificate is not available from WooCommerce.com. Please contact your web host for assistance.
Paid SSL options
↑ Back to topSome third-party providers sell a range of SSL certificates that you install on your site. Your hosting company may also sell SSL certificates, which they can help install on a new or existing site.
For low-cost options, see: Where can I get an affordable SSL certificate?
After SSL setup
↑ Back to topOnce the certificate is set up on your server, you can access your store via https://yoursite.com (replacing yoursite.com with your domain). Your browser should also display a padlock icon in the address bar to indicate that it is secured. Alternatively, in Google Chrome, the information may be visible by clicking the gears icon in the address bar.

For new websites/stores
WordPress/WooCommerce URLs need to be updated after installing an SSL certificate.
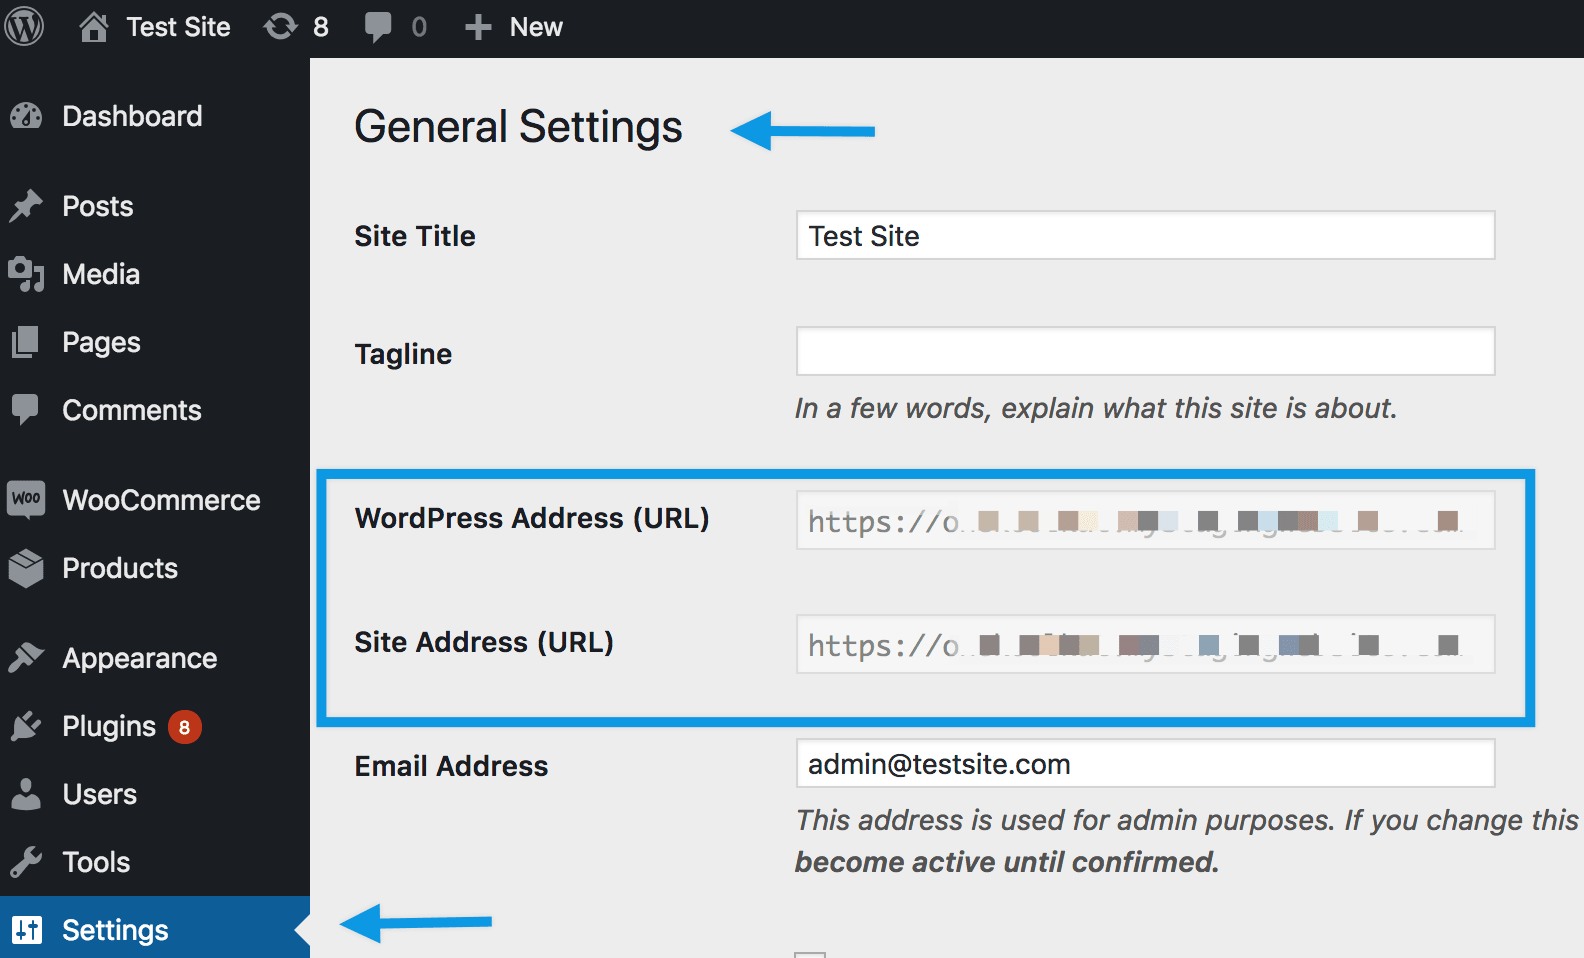
- In your store’s WP Admin dashboard, navigate to Settings > General.
- Update the WordPress Address (URL) and Site Address (URL) fields to include the prefix
https://. - Click the Save changes button.
For existing websites/stores
Because your website/store has already been indexed by search engines as having an http:// address, it needs to be redirected to https:// for visitors and customers to continue to find you. Really Simple SSL is a third-party plugin that can help with this.
Other tips:
- Amend internal links in your content using search and replace.
- Update your Google Analytics settings, if you use it.
- Use SSL Server Test to confirm that SSL has been implemented and fix any issues.
- Perform an SSL Check to uncover any non-secure links and content.
WooCommerce Force SSL setting
↑ Back to topBefore using this setting, we highly recommend running your entire store with https:// — not just the checkout page. If you choose not to follow this advice, you can enable SSL on your checkout page only.
Note: The Force SSL setting will not be available if your site’s URL already contains https://.
To enable SSL on your checkout page via Force SSL, navigate to WooCommerce > Settings > Advanced. This setting ensures that certain pages are only shown over https:// when enabled.
These pages are:
- Checkout
- My account
- Pay (a Checkout endpoint)
Troubleshooting SSL issues
↑ Back to topError pages over HTTPS
↑ Back to topThis may indicate a setup issue with your SSL certificate. We advise contacting your hosting provider for assistance.
Non-secure content warnings
↑ Back to topNon-secure content warnings when viewing a secure page could indicate that scripts, images, or stylesheets are directly linked via http:// instead of https://.
Most times, this can be fixed by changing links to https:// or by using relative URLs (such as /wp-content/file instead of http://yoursite/wp-content/file).
To identify non-secure links, use your browser’s built-in developer tools to view the error console. Non-secure resources for the page you’re viewing will be listed. You can also use a third-party plugin (such as Better Find Replace) to search for instances on your site where http:// is used and replace them with https://.
Redirect loops
↑ Back to topWooCommerce uses the is_ssl() WordPress function to redirect non-secure pages. This can cause a redirect loop when:
- Another SSL plugin that is trying to un-force the secure URL is installed (such as Easy HTTPS Redirection). Try removing this plugin or turning off the Force SSL setting.
- Your host uses SSL by proxy, making
https://undetectable. Learn about problems with SSL by proxy.
Websites behind load balancers or reverse proxies
↑ Back to topThis advanced topic is covered in more detail in our WooCommerce developer documentation.
Questions and support
↑ Back to topDo you still have questions and need assistance?
This documentation is about the free, core WooCommerce plugin, for which support is provided in our community forums on WordPress.org. By searching this forum, you’ll often find that your question has been asked and answered before.
If you haven’t created a WordPress.org account to use the forums, here’s how.
- If you’re looking to extend the core functionality shown here, we recommend reviewing available extensions in the WooCommerce Marketplace.
- Need ongoing advanced support or a customization built for WooCommerce? Hire a Woo Agency Partner.
- Are you a developer building your own WooCommerce integration or extension? Check our Developer Resources.
If you weren’t able to find the information you need, please use the feedback thumbs below to let us know.