The Menu tab is home to admin tasks, including switching stores, setting up payments on the go, accessing your store’s WooCommerce Admin, your store view, reviews, and app settings.
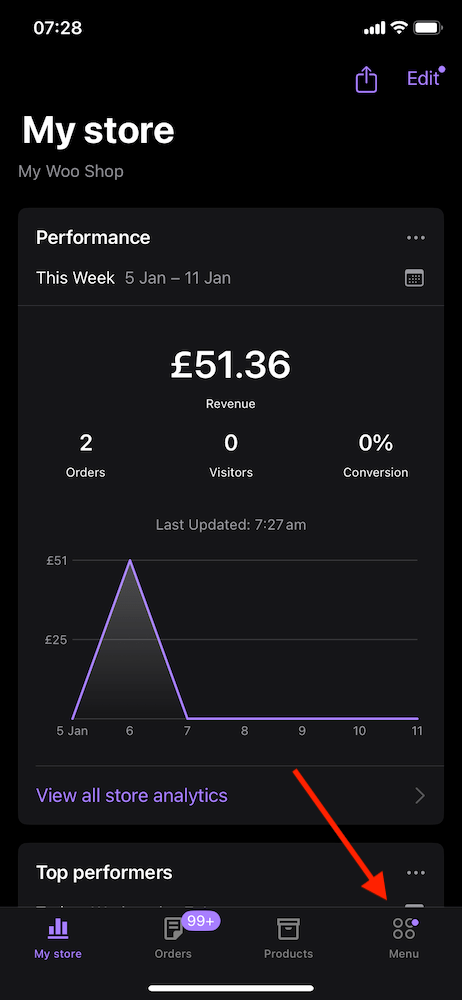
To access this view tap the Menu icon on the navigation bar at the bottom-right.
- The Menu view is headed by the store details the app is currently connected to. The name and URL of the store are visible at a glance. Expanding this option reveals other stores that were added to the app where the Pick store to connect to section allows switching to another store.
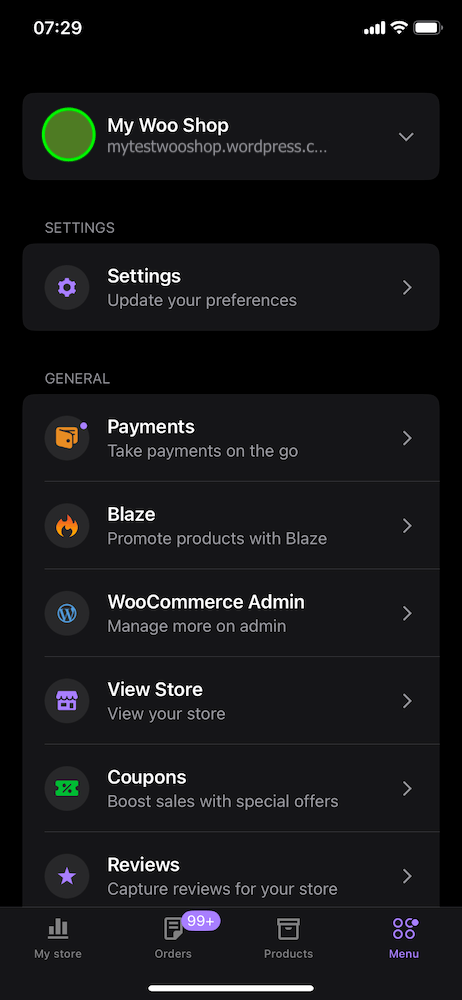
- Settings – at the top of this view, leads to app Settings
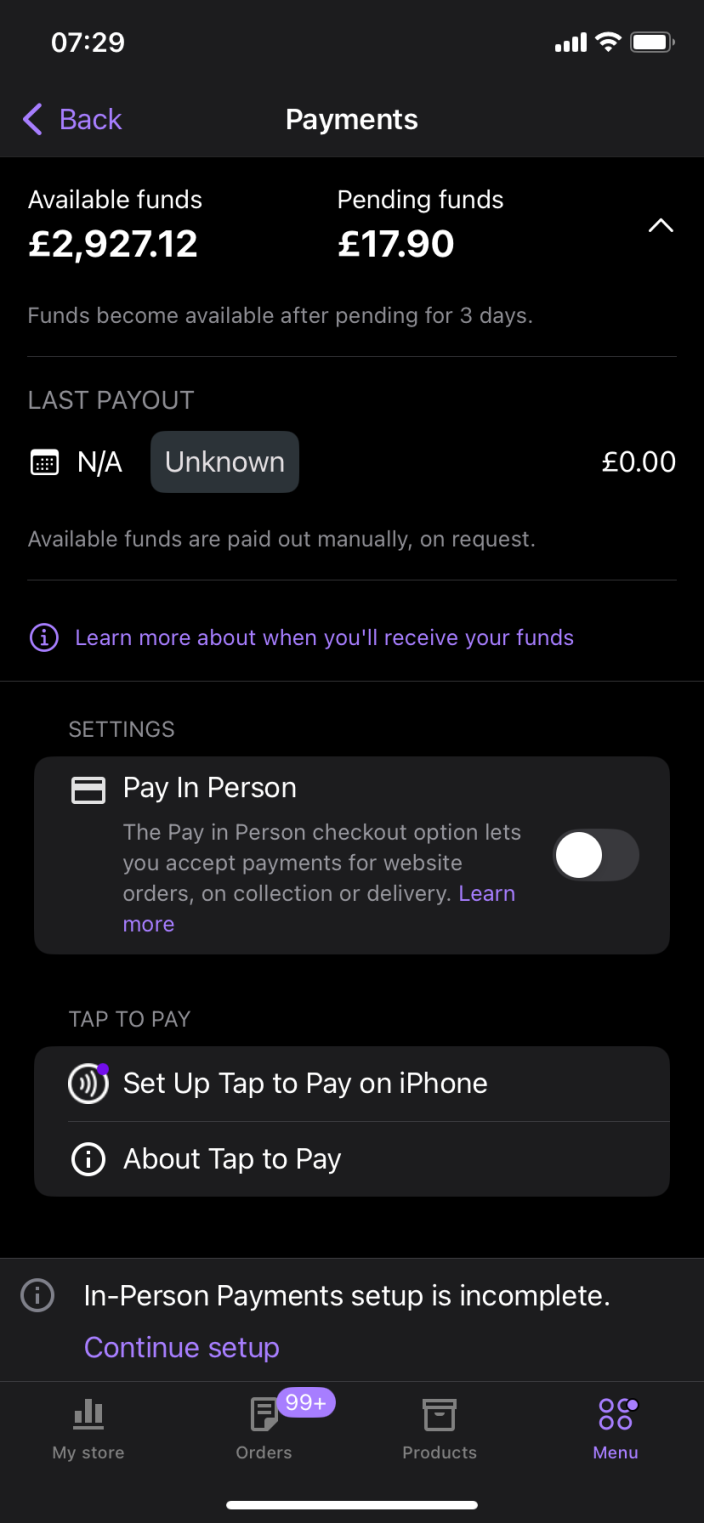
- Payments – set up Pay in Person or Tap to Pay. If WooPayments is set up on the site, this section is headed by an overview of available and pending funds, and last payout details
- Blaze – This lets you create Blaze campaigns to promote your products (Jetpack plugin required)
- WooCommerce Admin – launches your WordPress Admin in an in-app browser to perform any tasks the app might not natively support. Click Done at the top-left to exit this view
- View Store – launches the customer-facing view of your store in an in-app browser. Click Done at the top-left to exist this view
- Coupons – create and manage your store’s coupons
- Reviews – manage your product reviews
- Inbox – notifications, new features, and news
- Customers– view information about any customer, including their number of orders, total spent, average order amount, and general location information
Still experiencing issues?
↑ Back to topIf you’re using the Jetpack plugin to connect the app to your site, make sure that the Jetpack connection is active and working correctly. You can verify some known issues or try reconnecting your site.
If you’re still having difficulty, please fill out our contact form to reach our support team from within the app by going to Menu > Settings > Help & Support > Contact Support.