
Design
Tips, tricks, and ecommerce inspiration from WooCommerce experts.
Attract more customers with great ecommerce website design
With WordPress, your ecommerce website design options are endless. But with great flexibility comes great responsibility: designing your website can also be overwhelming.
In this section of our blog, we’ll show you how to build your brand from the ground up. Topics include choosing a theme, building custom web pages, designing ecommerce site elements, showcasing your products, and more.
Subscribe to Our Newsletter
Delivered to your inbox weekly packed with tips, tricks, and ecommerce inspiration from WooCommerce experts.
Latest Design Posts

The importance of web accessibility in ecommerce: A comprehensive guide

12 Tips (with examples!) for great ecommerce website design
How to Customize a WooCommerce Thank You Page
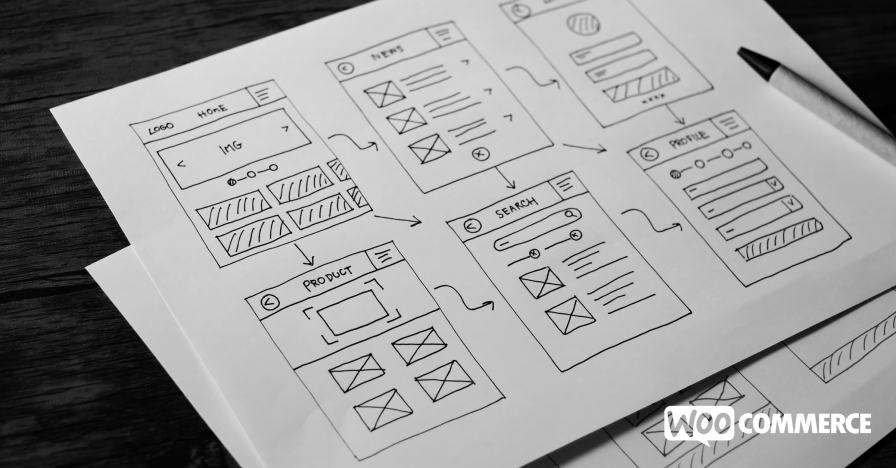
How to Create Powerful eCommerce Sliders
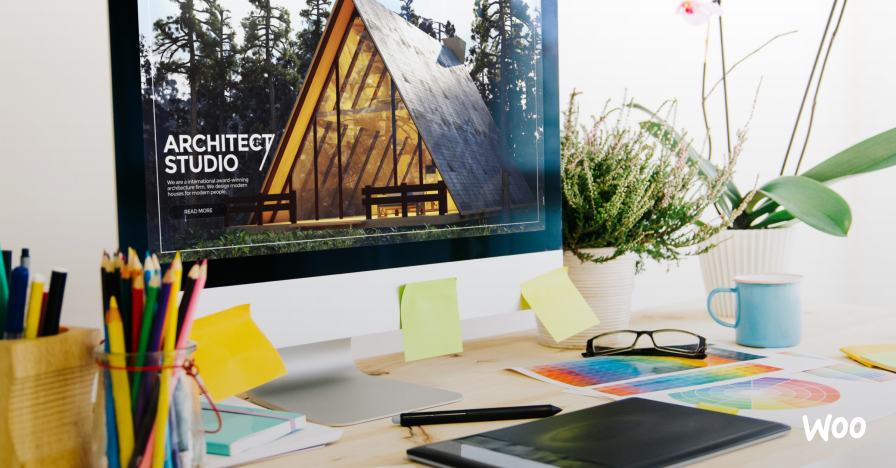
How to Showcase Brand Personality on Your Site

How to Create Beautiful, Effective Product Displays for Your Store

How to Choose a Theme for Your WooCommerce Store
Quick Guide to Conversion Rate Optimization for WooCommerce

The importance of accessibility for your online store