
This document explains how to transfer ownership of a website using WooPayments from one person to another. Doing so may be called for if, for example, you’ve sold the business to someone else and you need to transfer the website to be under their control.
NOTE: Please read this page carefully, as the potential for error is high! It also may be best to have the old owner and new owner complete the steps while in the same room, or on a call, because several steps need both people.
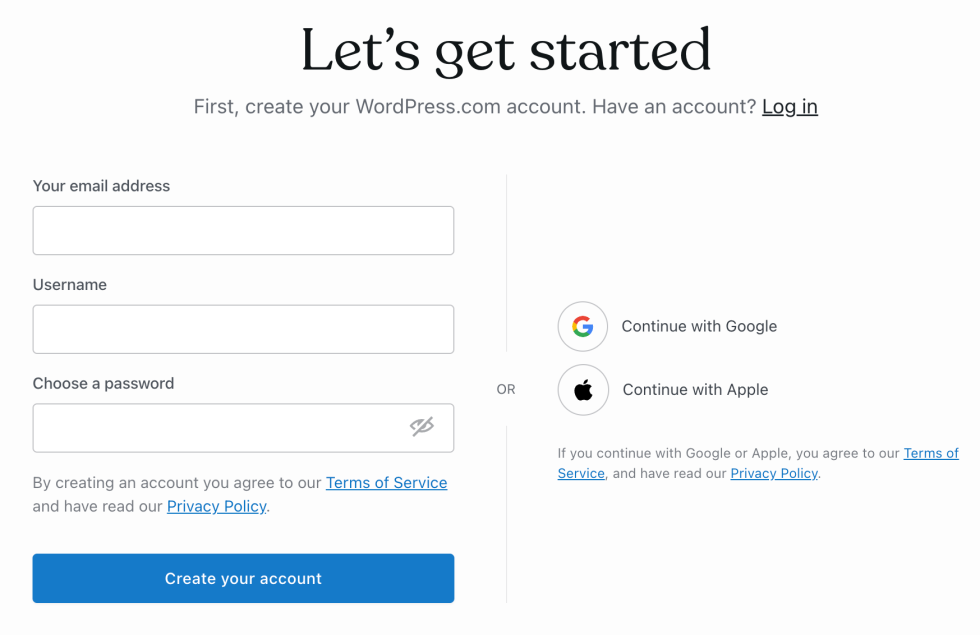
WordPress.com account for new owner
↑ Back to topThe first step is to have the new owner create a WordPress.com account for themselves, being sure to note their username and password. This is necessary because all websites that use WooPayments are required to be connected to WordPress.com.
To be clear, the new owner does not need to create a new WordPress.com site. They only need to create an account, which they can do by using the link above.
Site admin account for new owner
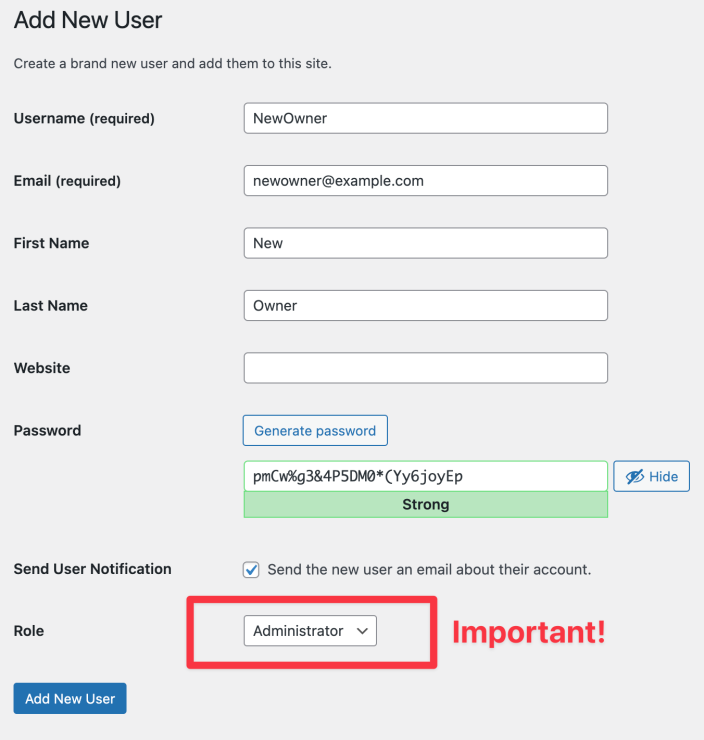
↑ Back to topNext, the existing owner can give the new owner administrator access to the site itself by making an account for them in the WordPress dashboard, under Users > Add New. The WordPress.org documentation has instructions on how to use that page.
Ensure that the Role field is set to “Administrator” in order to give the new owner full access!
Stripe Express account for new owner
↑ Back to topThe last account that the new owner will need to create is a Stripe Express account, which is what WooPayments uses to process payments. The old owner will need to invite the new owner to create an account like so:
- The old owner should log into their Stripe Express account.
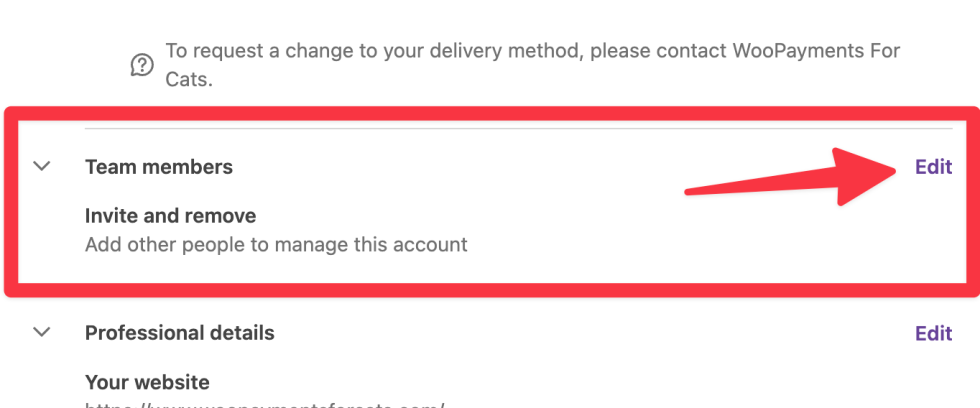
- Scroll down, and in the Team Members section, click the Edit link.
- Verify yourself with the code that Stripe will send to your account email address.
- Click the Add team member button.
- Enter the email address of the new owner.
- Preferably this is the same email they used for their WordPress.com account and their admin account on the actual website.
- Click the Invite button.
- The new owner will receive an invite link from Stripe in their email.
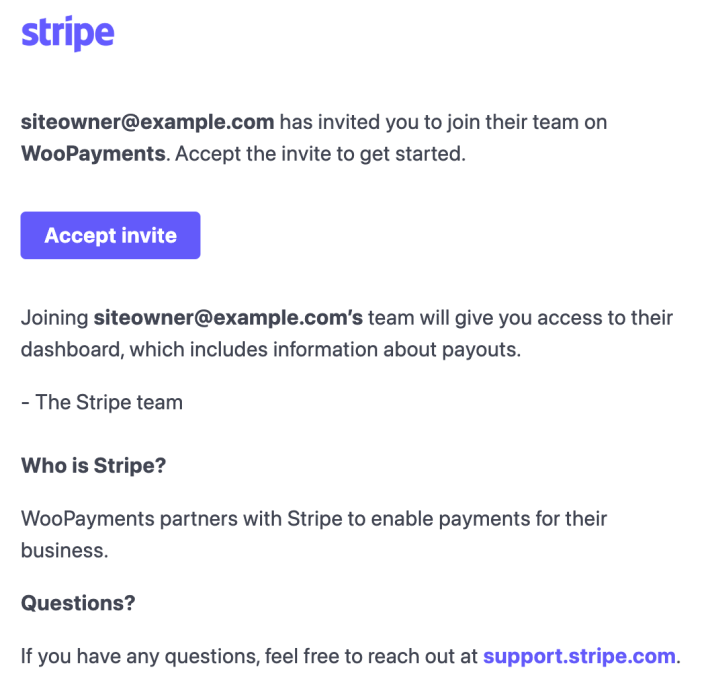
- On their device, have the new owner click the Accept invite button.
- They will be taken to a Stripe Express account signup page on Stripe’s website.
- The new owner should enter their phone number and click Next.
- After validating their phone number by entering a short verification code, the new owner will be able to log into the Stripe Express dashboard and manage the Stripe Express account in the same way that the original owner can.
Change business information in Stripe
↑ Back to topNow that the new owner has access to the site’s Stripe Express dashboard, they should change all the relevant information to reflect the new ownership. For example, the new owner will want to update the contact details on file as well as change the connected bank account(s).
Essentially, have the new owner click into each section of the Stripe Express dashboard and update any outdated information that they find.
Transfer the Stripe Express account
↑ Back to topNext comes the part where the old owner will transfer ownership of the Stripe Express account to the new owner. (The previous sections only resulted in the new owner co-managing the account.) To transfer ownership, the old owner should:
- Log into the Stripe Express account in the normal way.
- Scroll down, and in the Team Members section, click the Edit link.
- Click the three dots in the same row as the new owner’s email address.
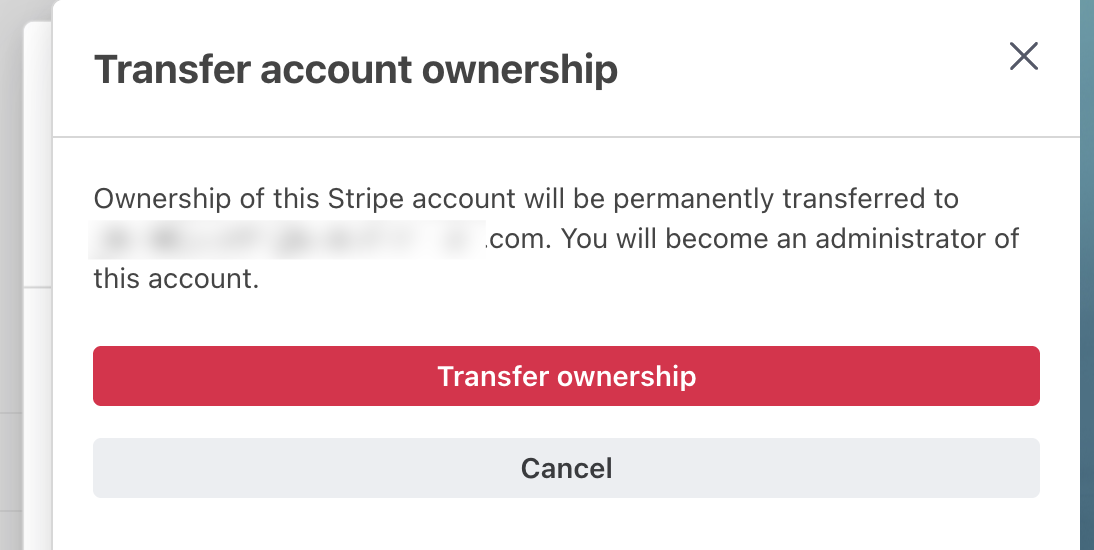
- Click Transfer account ownership.
- Stripe will need to verify the old owner’s identity as a precaution. This involves using your mobile phone to take a photo of your passport, driver’s license, or other government-issued identification.
- Once your identity has been successfully verified, you will be asked one final time to confirm the transfer of ownership.
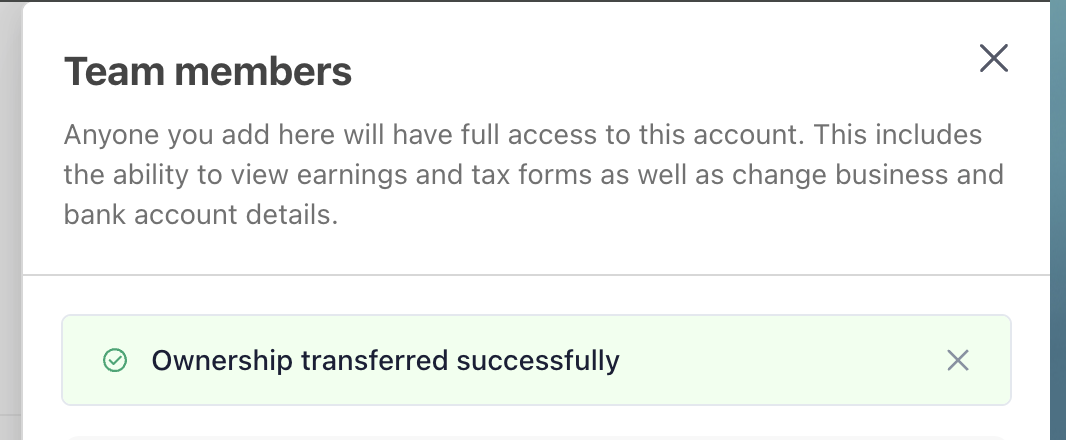
- When the transfer is done, you will an alert letting you know it worked. Both the old owner and the new owner will also get confirmation emails.
After you have finished transferring ownership, proceed to the next section.
WordPress.com connection transfer
↑ Back to topNow that the new owner has all of the required accounts and information in place, it’s time to transfer ownership of the WordPress.com connection to them.
First, the new owner connects their own WordPress.com account to the site. Then, the old owner transfers ownership of the connection to them. Both steps happen on the Jetpack Connection card under Settings > Connectors.
For step-by-step instructions, see Transferring ownership to another administrator.
NOTE: WooPayments keeps taking payments during this process.
Remove old owner access
↑ Back to topThe last step of the process is to remove the old owner’s various accounts.
The new owner can delete the old owner’s administrator account on the site, under Users > All Users. WordPress.org has documentation on how this is done.
The new owner should also remove the old owner from Stripe Express. To do so:
- Log into your Stripe Express account.
- Scroll down, and in the Team Members section, click the Edit link.
- Click the X icon by the old owner’s account to remove it.
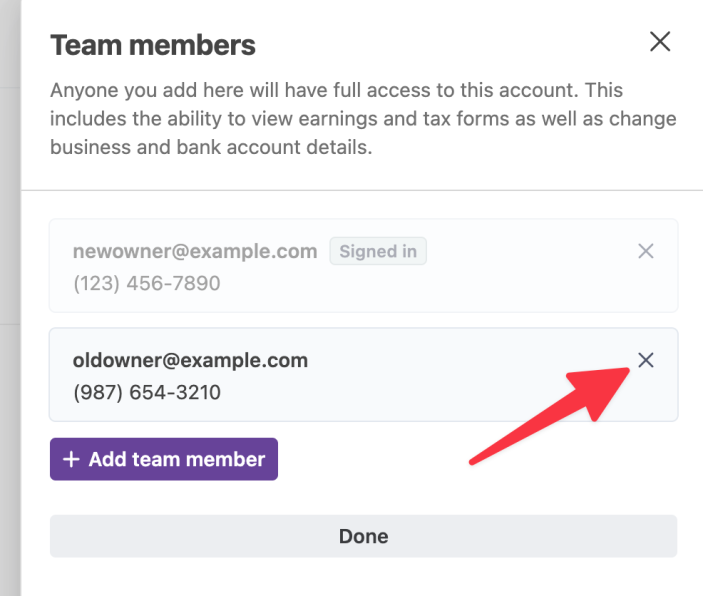
- Click Remove in the confirmation side panel that appears.
- Click the Done button.
Finishing up
↑ Back to topAfter this is all done, the new owner should now control all the relevant accounts:
- The WordPress.com connection
- The site itself, via their admin account
- The Stripe Express account
Note that it may still be necessary to transfer ownership of some other accounts, e.g. the web hosting account, but those are out of the scope of this guide.

