
The WooCommerce Blog
Tips, tricks, and ecommerce inspiration from WooCommerce experts.
Blog posts
What’s new with Woo: April 2024

How to write a return policy: The complete guide

The scalability checklist: preparing your WooCommerce store for growth
Subscribe to Our Newsletter
Delivered to your inbox weekly packed with tips, tricks, and ecommerce inspiration from WooCommerce experts.
Blog posts

Core Web Vitals: A guide for Woo store owners

Six ecommerce website examples to inspire you in 2024

Boost your conversions with AI-powered marketing

SEO checklist for ecommerce, blogs, and online businesses

Social selling 101: A complete guide to social sales success

How to start selling on marketplaces

Choosing the right WooCommerce hosting

Why you should choose an open source ecommerce platform

More WooCommerce traffic: Proven long and short-term strategies

Ecommerce security checklist: 15 steps to secure your online store
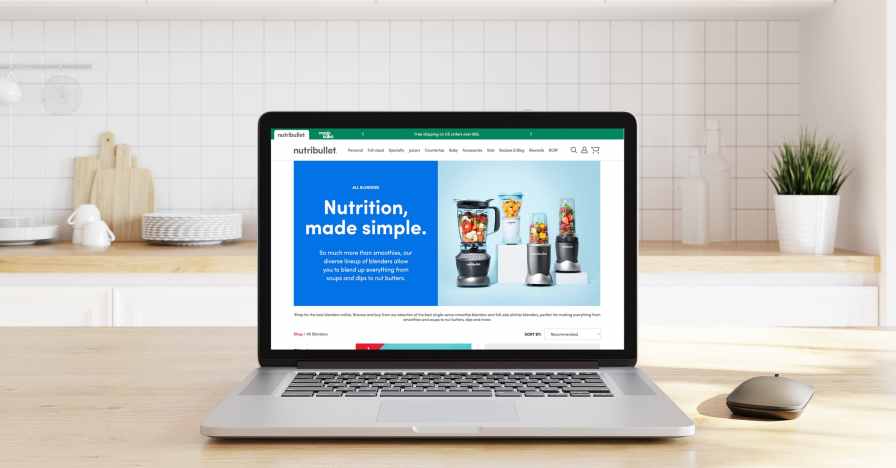
Nutribullet improves conversion rate by 35% with WooPayments

Email marketing ideas – three steps to unlock your next campaign