Get your AI chatbot up and running quickly by following these simple steps.
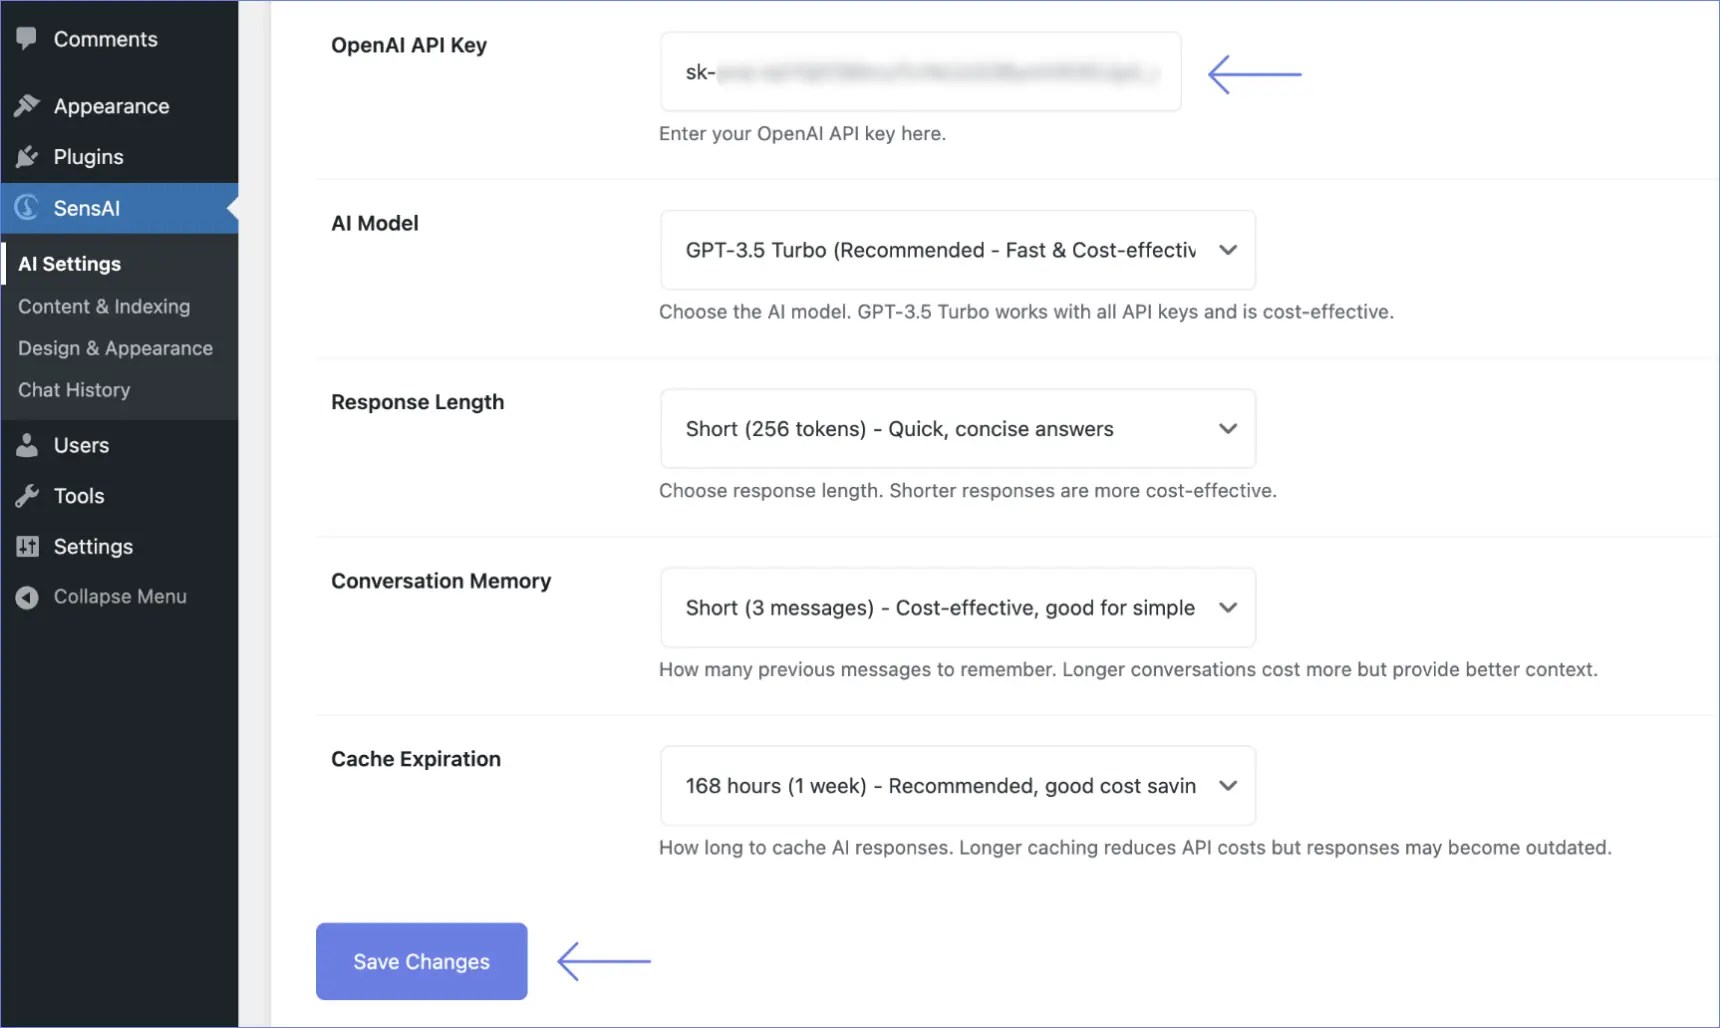
1: Add your API key
↑ Back to top- Go to AI Support Agent > General Settings
- Paste your OpenAI API key into the “OpenAI API Key” field (here is a guide on how to create your API Key)
- Leave other settings at their default values for now
- Click Save Changes
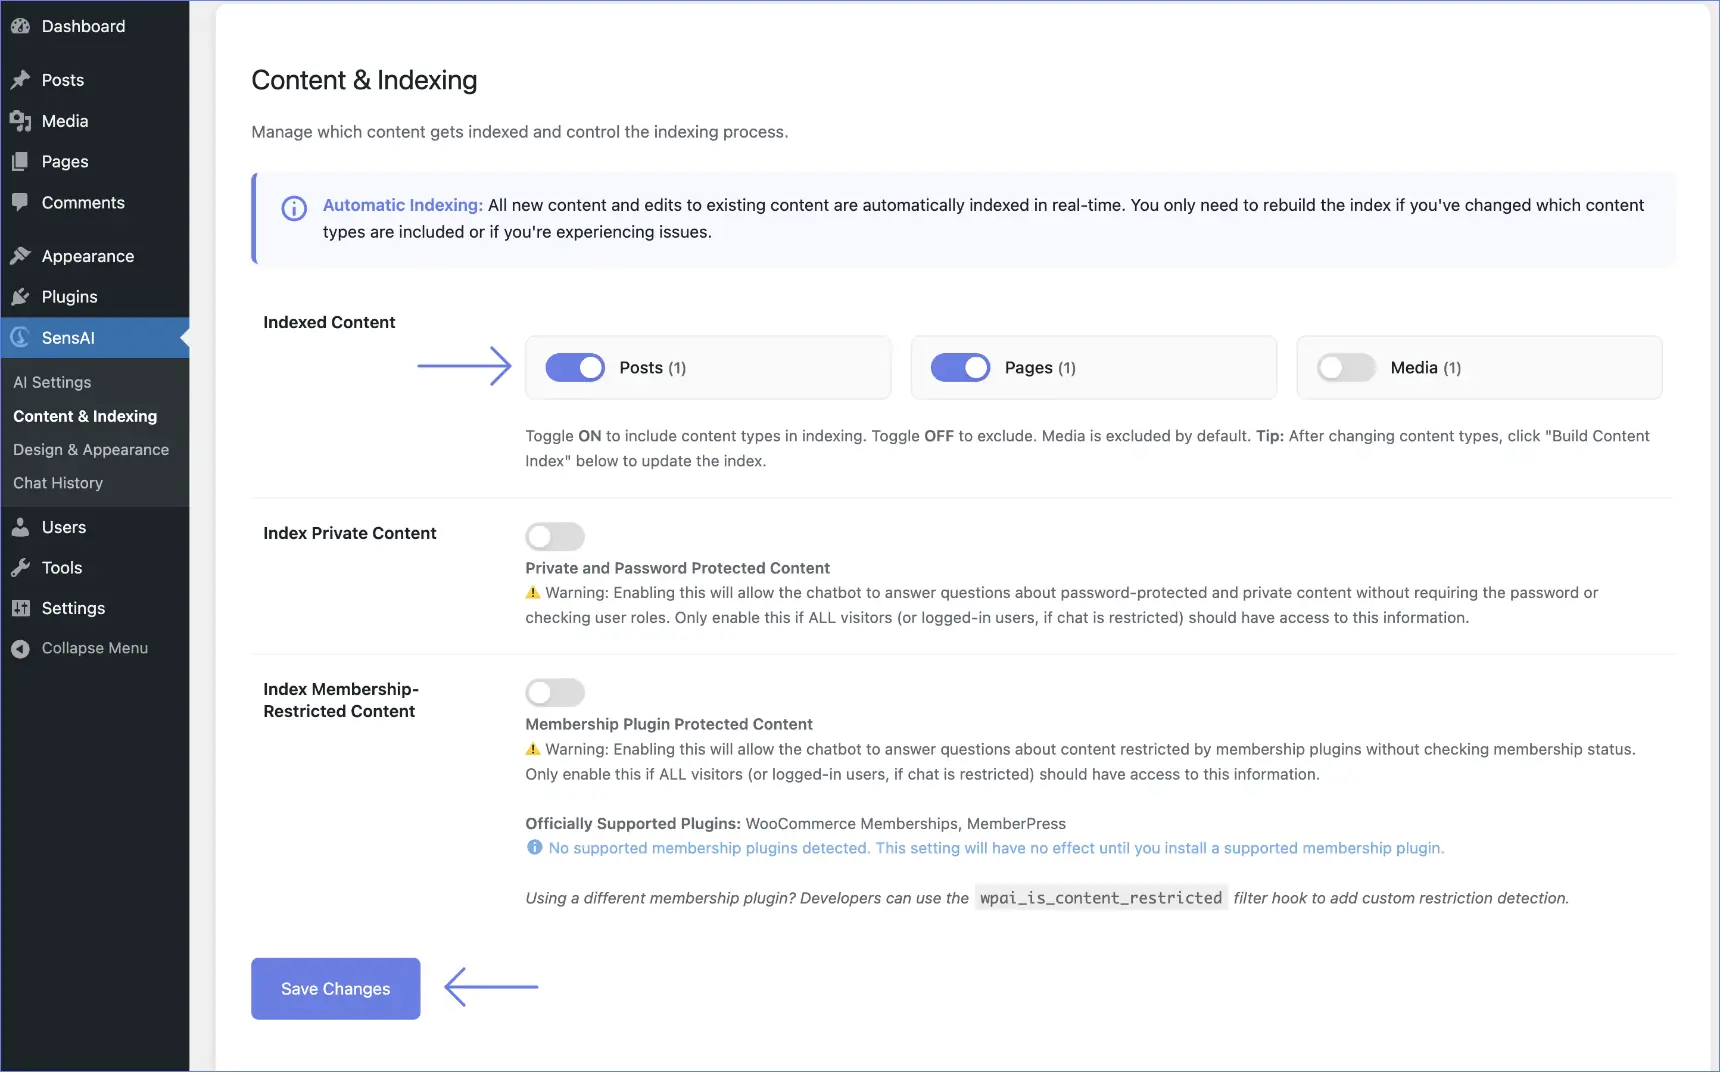
2: Select content to index
↑ Back to top- Navigate to AI Support Agent > Content & Indexing
- You’ll see toggles for each content type (Posts, Pages, Products, etc.)
- By default, everything except Media is enabled
- Click Save Changes if you make any changes to the indexed content types.
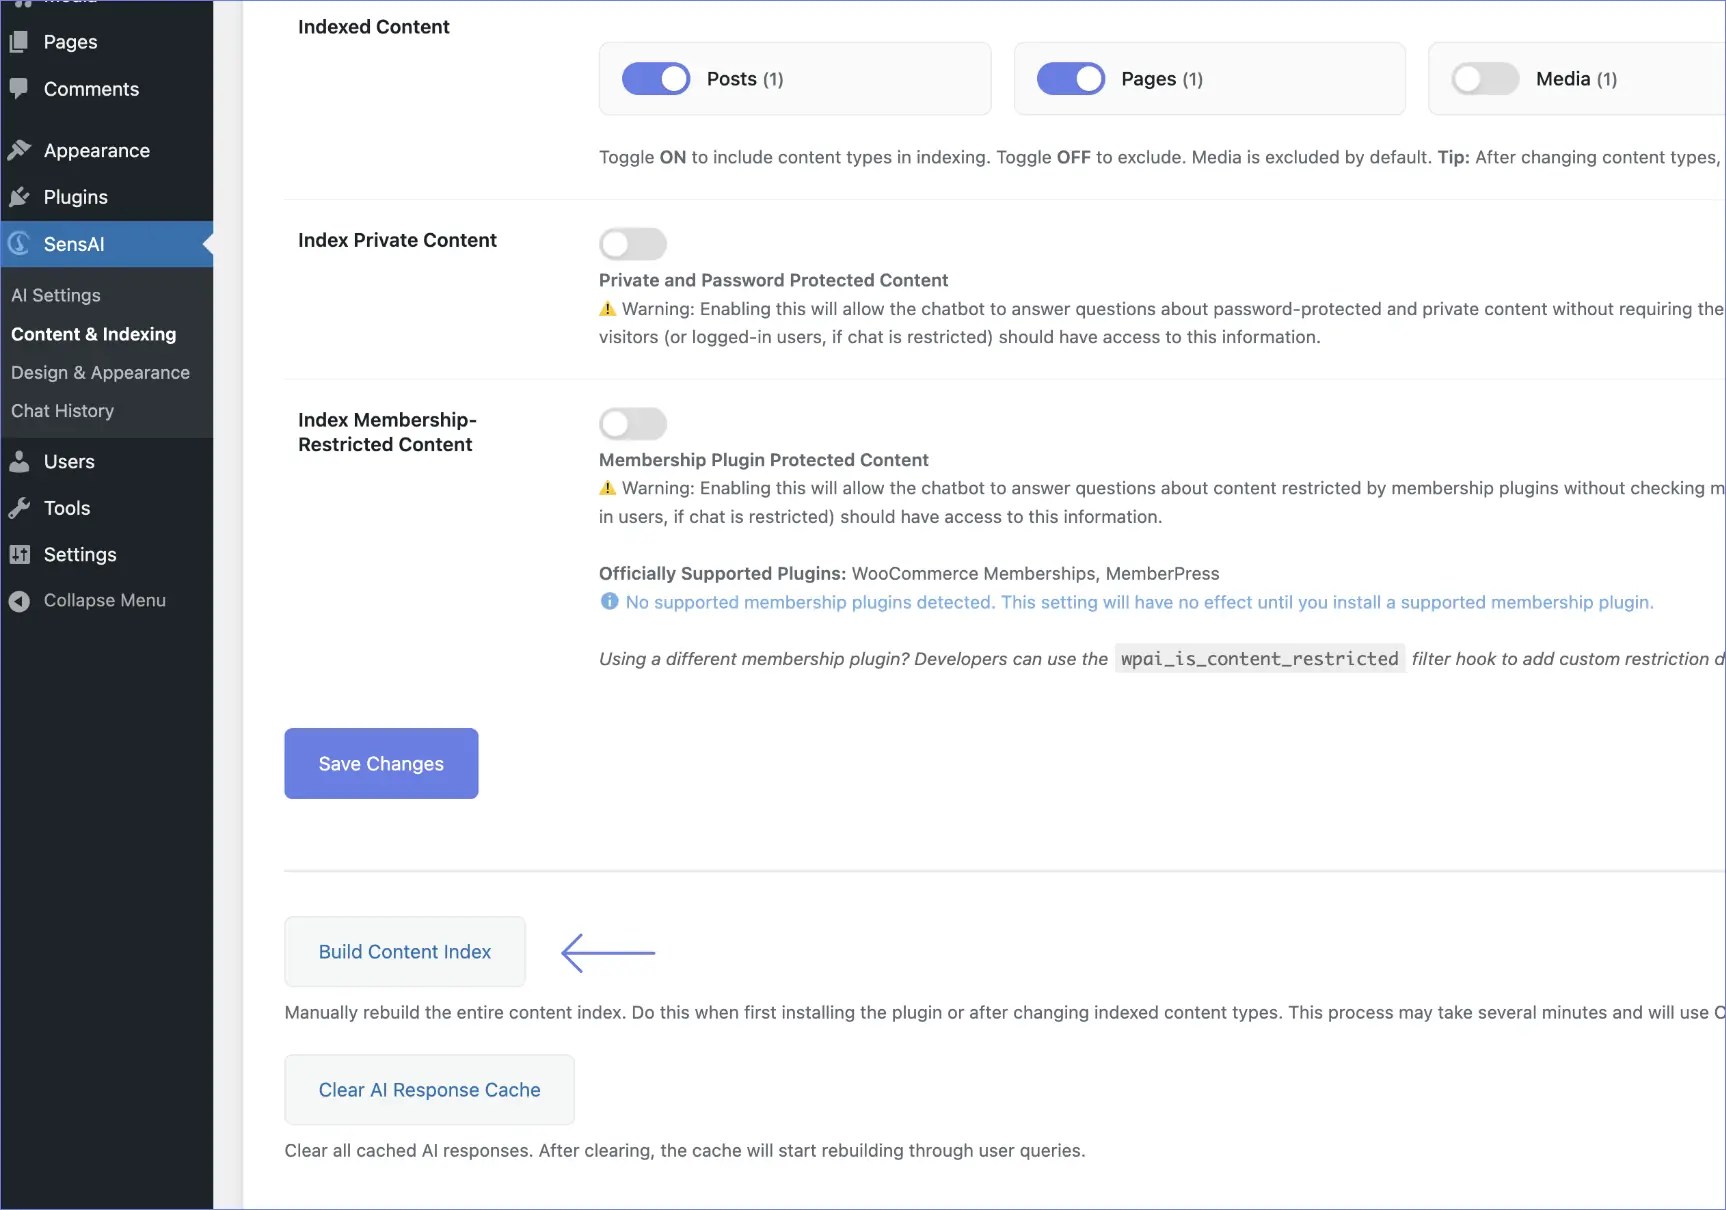
3: Build your content index
↑ Back to top- On the same page, scroll down to Build Content Index
- Click Build Content Index
- In the confirmation modal, click Continue
- Wait for the process to complete (may take a few minutes depending on site size)
- A success message will appear when the indexing is finished
4: Test the chatbot
↑ Back to top- Visit your website (not the admin area)
- You should see a chat bubble in the bottom-right corner
- Click the chat bubble to open the chat
- Try asking a question about your site
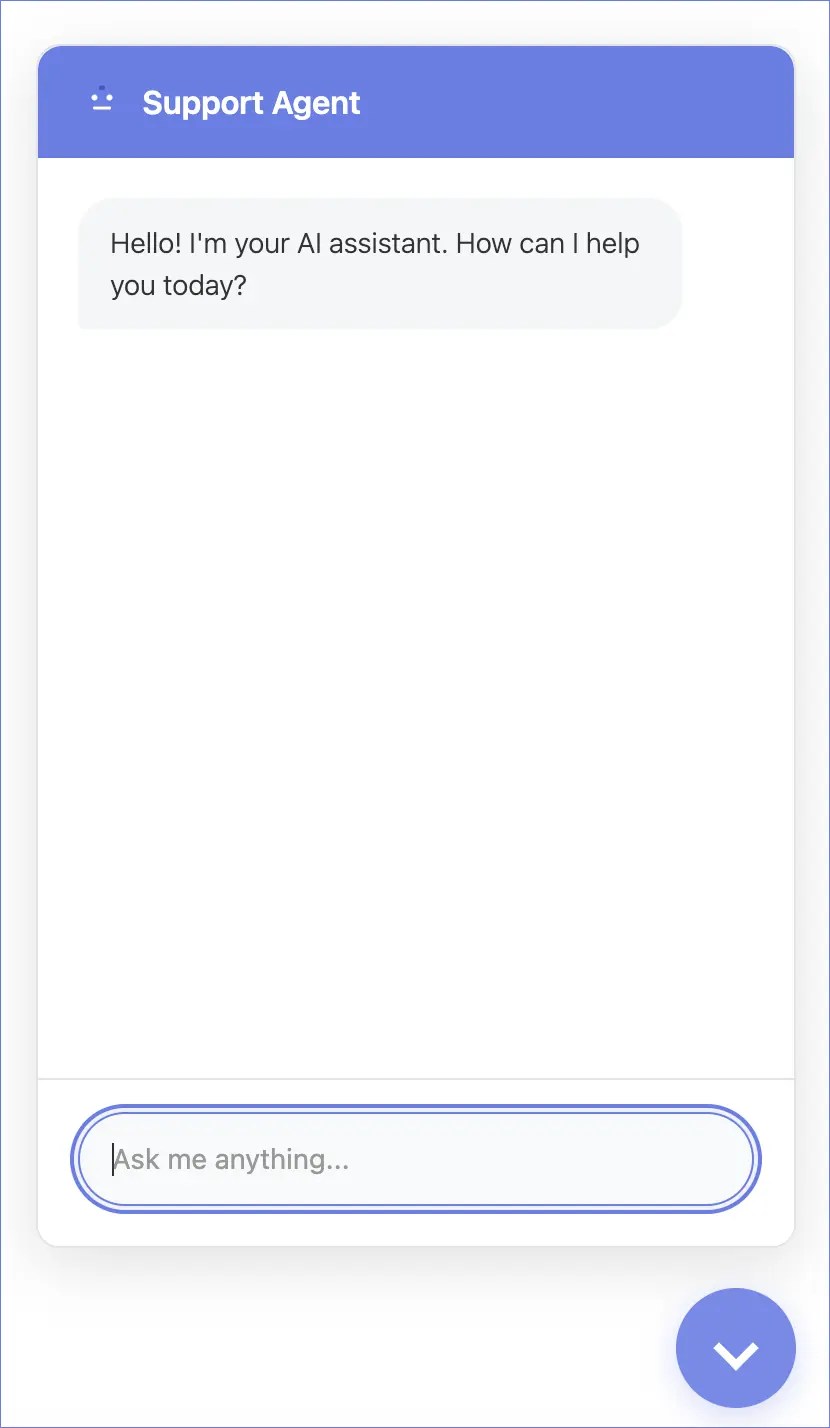
You’re done! Your AI chatbot is now live and ready to assist your visitors.