The Success Dashboard extension for WooCommerce provides a live dashboard for always-visible analytics and new order notifications. Display on a TV, monitor, or screen – ideal for offices, stores & warehouses.
NOTE
This product is no longer available on WooCommerce.com. This document has been left available for existing users, but will no longer be updated.
Installation
↑ Back to top- Download the .zip file from your WooCommerce account.
- Go to: WordPress Admin > Plugins > Add New > Upload and select the ZIP file you just downloaded.
- Install Now and Activate the extension.
More information at: Install and Activate Plugins/Extensions.
Accessing the Success Dashboard
↑ Back to topThere are 3 ways to access the Success Dashboard:
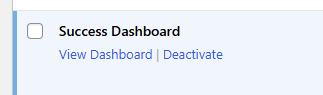
1: From the WordPress Admin > Plugins area of WordPress, find the activated Success Dashboard plugin and click View Dashboard:
2: Go to: WordPress Admin > WooCommerce > Success Dashboard:

3: Visit your website’s homepage URL and append ?wcsd_dashboard=1 to the end of the URL (e.g. https://yourstore.com?wcsd_dashboard=1).
Note that for this to work you will need to be logged into WordPress.
Adding widgets
↑ Back to topIn the bottom right corner of the Success Dashboard you’ll have two blue buttons:

Clicking the right ‘+’ button will present you with the ability to add a widget:
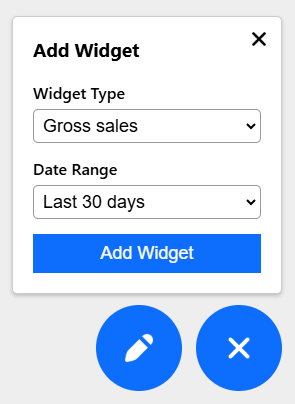
Simply choose the widget type and date range and click Add Widget. The new widget will be added to the first available slot.
Removing widgets
↑ Back to topTo remove a widget simply click the 3 dots in the top-right corner and click Remove:

Customising the color theme and number of columns
↑ Back to topIn the bottom right corner of the Success Dashboard you’ll have two blue buttons:
Clicking the left edit button will present you with the ability to customise the color theme (Light or Dark) and number of columns (1 to 4):

Questions and Feedback
↑ Back to topPurchased the Success Dashboard and need some assistance? Get in touch with us via the Help Desk.