Smart Coupons provide a powerful, “all-in-one” solution for gift cards, store credits, discount coupons, and vouchers, extending the core functionality of WooCommerce coupons.
This document provides a step-by-step guide on restricting a coupon based on the billing email.
Steps to setup coupons based on billing email
↑ Back to top- Navigate to your WordPress Admin Panel.
- Go to Marketing > Coupons and click Add Coupon to create a coupon.
- Choose the appropriate Discount type based on your requirements.
- Set the Coupon Amount.
- Navigate to the Usage restriction tab. Scroll down to the Allowed emails field.
- In the Allowed emails field, enter the email addresses that you want to restrict the coupon to.
Hint: You can also add multiple email addresses using the comma separator.
For example: john@example.com,peter@example.com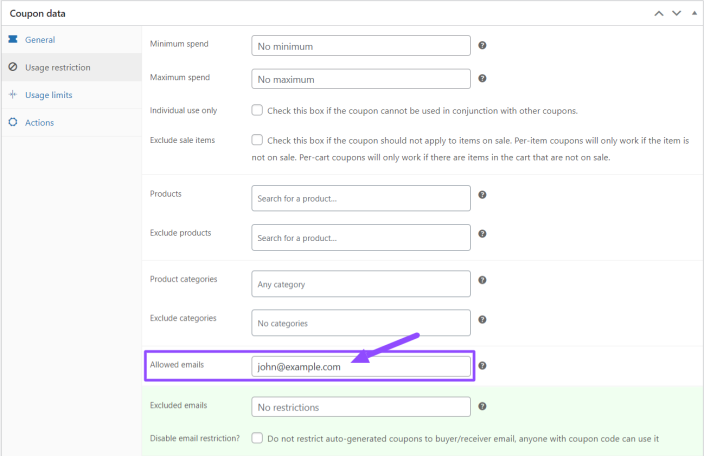
- Once you have configured the email restriction and other coupon settings, click Publish to make the coupon available.

That’s it.
The coupons will also be displayed on the user’s My Account page by enabling the option under WooCommerce > Settings > Smart Coupons tab: Displaying coupons settings, as shown in the screenshot.

Hint: To ensure that your coupon works as intended:
- Go to your store’s checkout page.
- Add products to the cart and proceed to checkout.
- When entering the billing details, use an email address that matches one of the allowed emails listed in the coupon’s settings.
- Apply the coupon code. If the billing email matches one of the allowed emails, the coupon will apply successfully.
If the customer’s billing email does not match any of the allowed emails, the coupon will not be applied.