The WooCommerce Product Document & Attachment Plugin allows you to provide customers with detailed product documents, helping them better understand your products and reduce purchasing barriers.
Installation
↑ Back to topTo start using a product from WooCommerce.com, you can use the “Add to store” functionality on the order confirmation page or the My subscriptions section in your account.
- Navigate to My subscriptions.
- Find the Add to store button next to the product you’re planning to install.
- Follow the instructions on the screen, and the product will be automatically added to your store.
Alternative options and more information at: Managing WooCommerce.com subscriptions.
Configuration
↑ Back to topAfter you have installed and activated the Plugin, go to WooCommerce > Product Documents. Here you will find two tabs: Bulk Attachment and Settings. To configure these, follow the instructions:
Bulk Attachments
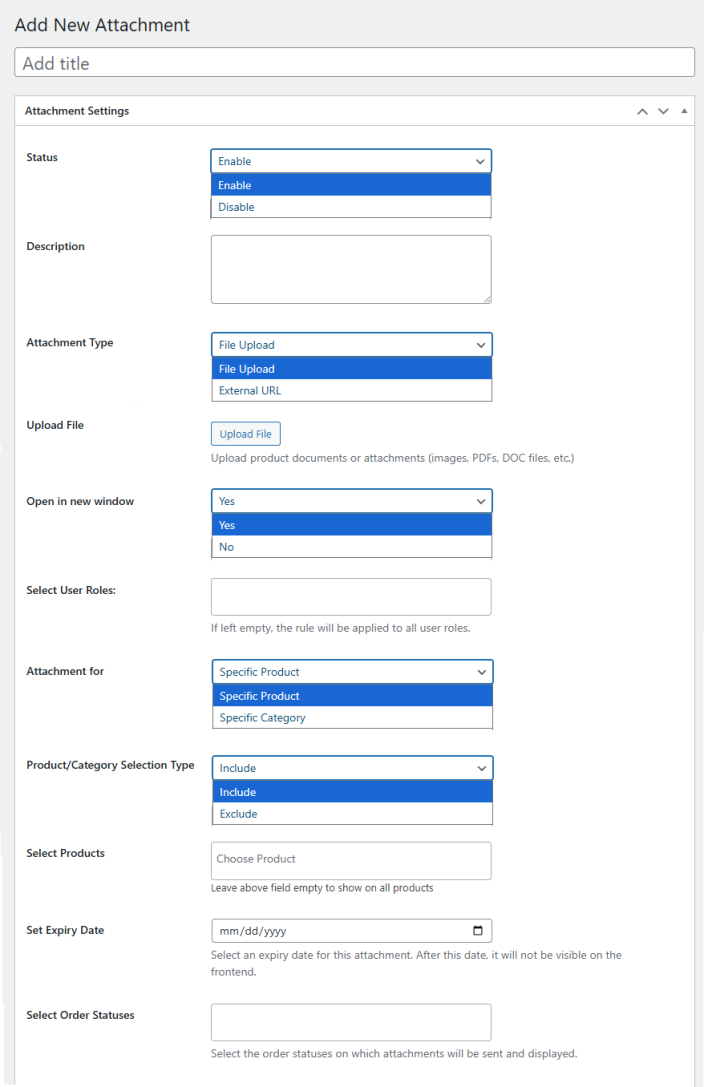
↑ Back to topIn this section, you can create rules for attaching documents to products. Go to WooCommerce > Product Documents > Bulk Attachments, and you will find all the rules you have created or create a new attachment rule. To create a new rule, click on the “Add New Attachment” button and follow the instructions:
- Add a Title for the Attachment
- Status: Set the status for the attachment as enabled or disabled.
- Description: Add description for the product attachment.
- Attachment Type: Select preferred attachment type from the dropdown:
- File Upload
- External URL
- Upload File/External Url: Upload the file or add the external URL based on your prior selection.
- Open In New Window: Select if you want to open the attachment in a new window or the same window.
- Select User Roles: Select teh user roles to which you want to apply the rule.
- Attachment For: Choose from the dropdown if the attachment is for specific products or categories.
- Product/Category Selection Type: Choose the selection type for products/categories as include or exclude.
- Select Products/Categories: Select the category or product that you want to include or exclude from the rule.
- Set Expiry Date: Set an expiry date for the attachment. After this date, it will not be visible on the frontend.
- Select Order Statuses: Select the order statuses on which attachments will be sent and displayed.
Click on “Publish” to apply the rule or Save as a draft.
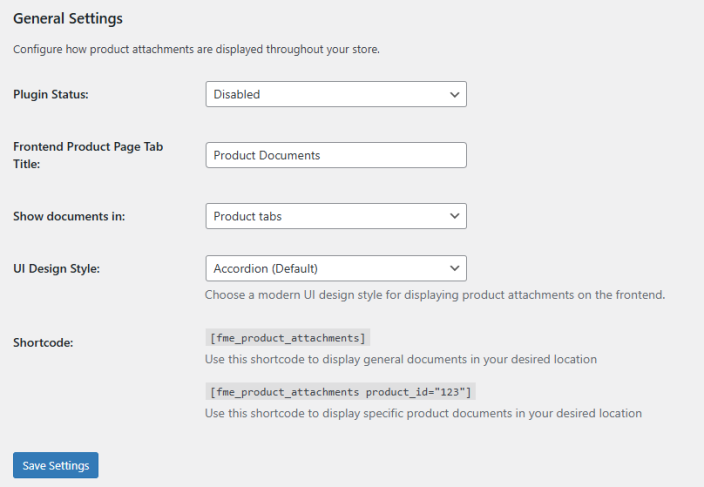
General Settings
↑ Back to topTo configure general settings, go to WooCommerce > Product Documents > General Settings, and configure the following:
- Plugin Status: Set the plugin status as enabled or disabled.
- Frontend Product Page Tab Title: Set the title for the attachment tab on the product page frontend.
- Show Documents In: Select where to show the documents. You can choose between:
- Product Tabs
- After Add to Cart Button
- UI Design Style: Select the design for the attachment. You can choose the following:
- Accordion (Default)
- Card Grid
- Simple Row
- Shortcode: Use shortcodes to display documents on your store. You will have two options to display teh documents:
- General Documents: [fme_product_attachments] – Use this shortcode to display general documents in your desired location.
- Specific Documents: [fme_product_attachments product_id=”123″] – Use this shortcode to display specific product documents in your desired location.
Click on the “Save Settings” button to apply the configured settings.
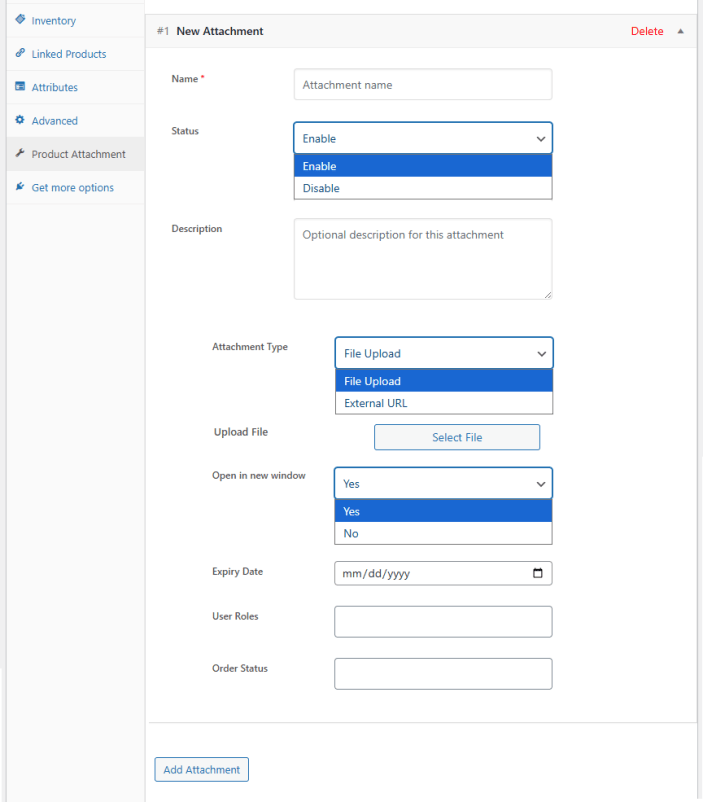
Add Attachments on Product Level
↑ Back to topThe plugin allows you to add multiple attachments on the product level as well. Go to Products > All Products > Edit Specific Product > Product Data > Product Attachment and click on the “Add Attachment” button. You will see the following settings:
- Enable Download: Click the checkbox if you want to make the attachment downloadable.
- Name: Set the name of the attachment.
- Status: Select the status as enabled or disabled.
- Description: Add a description for the attachment.
- Attachment Type: Select how you want to add the attachment.
- File Upload
- External URL
- External URL/File Upload: Add the external URL for the attachment or upload the file.
- Open in New window: Select if you want to open the attachment in a new window.
- Expiry Date: Set an expiration date for the attachment.
- User Roles: Select the user roles for which you want to display the attachment.
- Order Status: Select the order statuses on which attachments will be sent and displayed.
Click the “Add Attachment” button to add more than one attachment. Update the product to save and implement the settings.