Bulk Brand Manager allows the WooCommerce store owner to create the Product Brands in Bulk. This plugins transforms this tedious process of adding brands one by one into a quick, efficient workflow that saves valuable time and reduces errors. Also, its allows to assign the brands directly to the selected products.
Installation
↑ Back to topRequirements
↑ Back to top- WordPress 6.0 or later
- WooCommerce 7.0 or later
- PHP version: 7.4 or higher
To start using a product from WooCommerce.com, you can use the “Add to store” functionality on the order confirmation page or the My subscriptions section in your account.
Alternative opion:
- Upload the plugin ZIP via Plugins → Add New → Upload Plugin
- Activate the plugin

Setup and Configuration
↑ Back to topGetting started
↑ Back to topTo set up your store with Bulk Brand Manager:
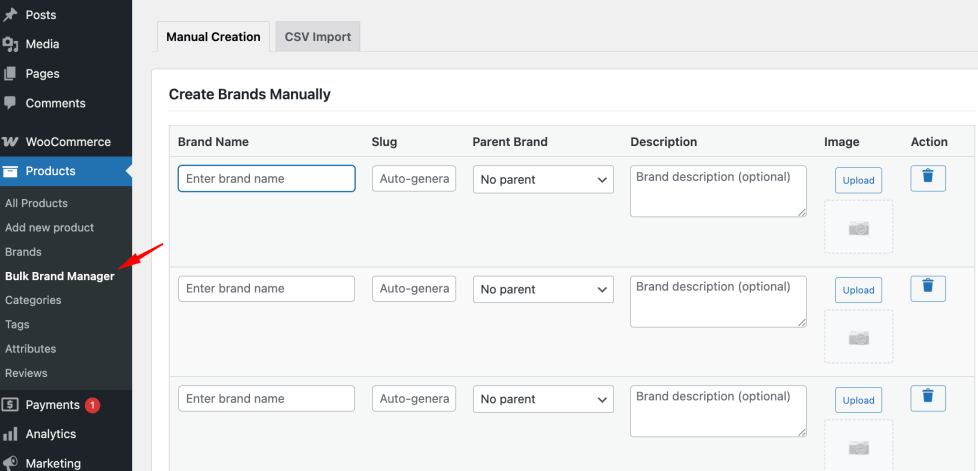
Go to: Products > Bulk Brand Manager.
Manual Creation
In the Manual Creation tab, you will see the Create Brands Manually Table where you can set the Brand Name, Slug, Parent Brand, Description and Image. By default 5 rows will be displayed and you can add more by clicking on the Add More Rows. Fill the fields according your requirements and click on Create Brands button
Notification will be displayed after the form once the Brands creation process is done. Either it is success or any error, notification for both will be displayed here.
E.g you want to add Nike, Adidas, Sony and Apple Brand then you can fill the details in the Create Brand Manually table form as shown below.
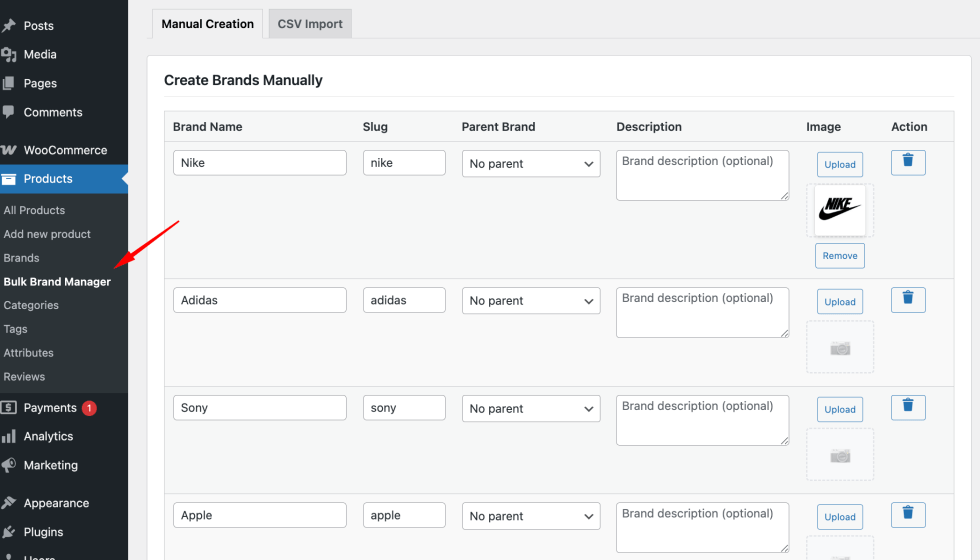
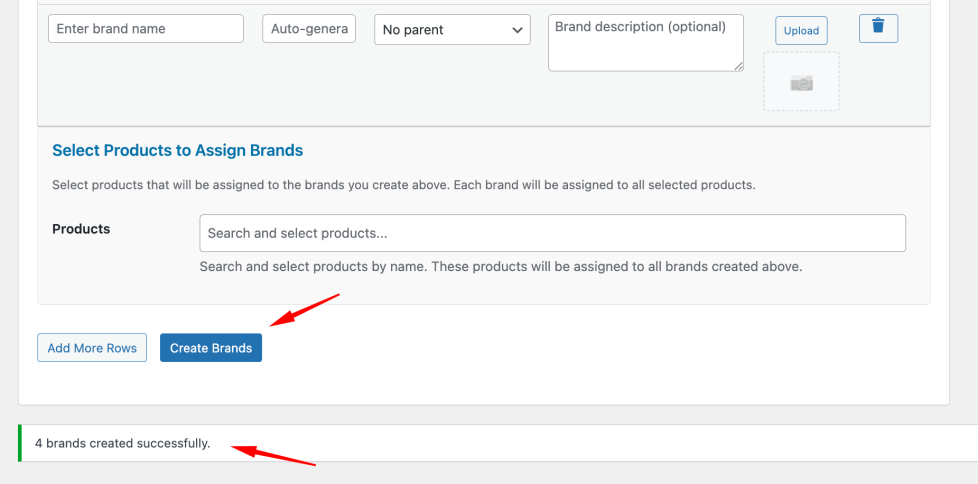
Once all the details are filled then click on Create Brands button. Once it is created then a notice will be displayed as shown below.
Automatically assign brands to product
There is a section called Select Product to Assign Brands on the Manual Creation tab. This section can be used if you want to automatically assign the brands to the product during the brand creation process.
E.g Nike, Adidas, Sony, Apple brands should be automatically get assigned to the Product A then in the Products field you can select the Product A and click on the Create Brands. These brands will be automatically get assigned to the Product A.
CSV Import
If you want to create the brands in bulk using the CSV file then we do have option to import the CSV file to create the brands in bulk.
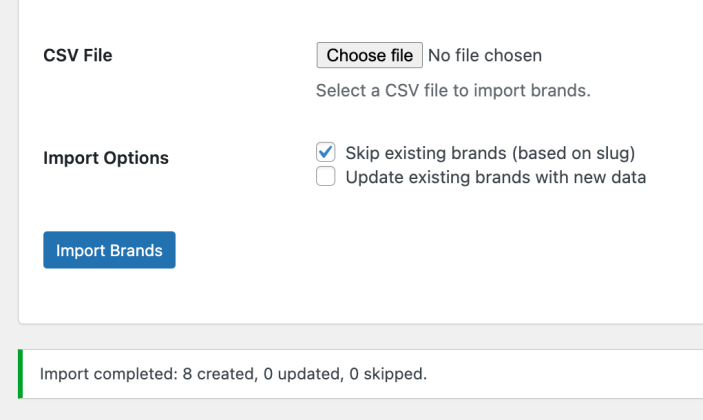
For that you will have to go the CSV Import tab. You will see the options to select the CSV File and Import Options as shown in the below screenshot.
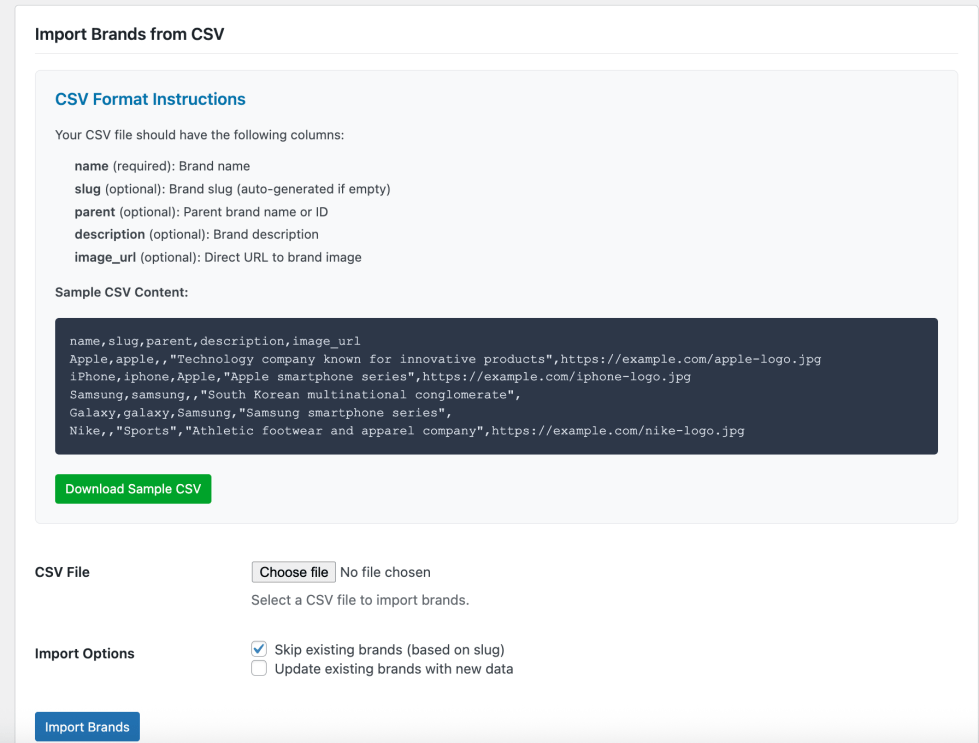
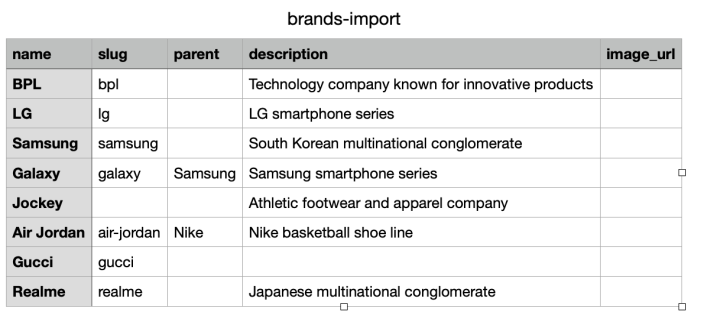
Let’s import one CSV file called brand-import.csv in which I have data as shown in the below image.
Select the CSV file using CSV File option and click on the Import Brands button. Once the brands imported successfully then a notice will be displayed as shown in the below screenshot.
Brand Image
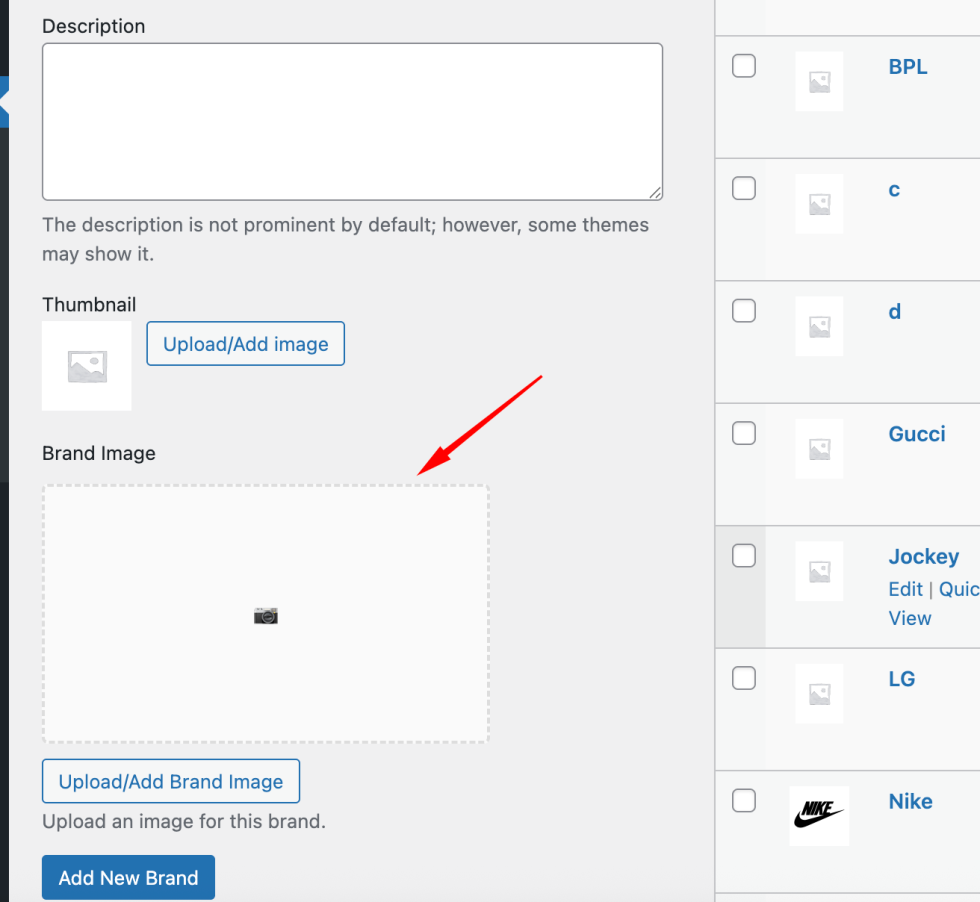
There is also an option to set the Brand Image. When you go to Products -> Brands, here on this page you will see the Brand Image option along with the default brands options.
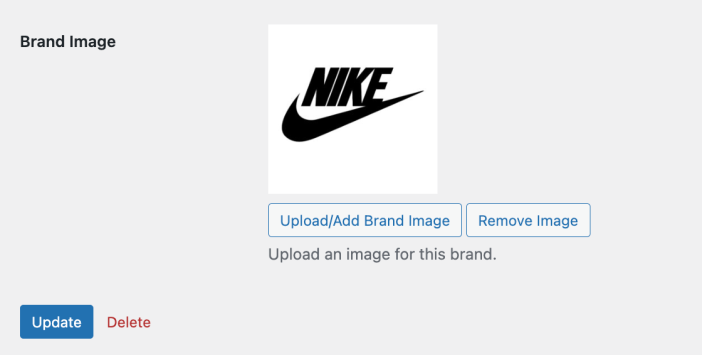
On Edit Brand page also you can see the same option incase you want to add/update the Brand Image.
FAQs
↑ Back to topHelp customers by answering commonly asked questions.
How many brands can be created at a time?
You can create as many as brands you want to create.
Is there an option import the Brand data from the file?
Yes, we do have option to import the data from the CSV.
Question 3
The answer goes here.