Events & Ticketing Manager for WooCommerce helps in holding single or multi-Session events. Sell tickets, track attendees, and manage events within WooCommerce.
Installation
↑ Back to topTo start using a product from WooCommerce.com, you can use the “Add to store” functionality on the order confirmation page or the My subscriptions section in your account.
- Navigate to My subscriptions.
- Find the Add to store button next to the product you’re planning to install.
- Follow the instructions on the screen, and the product will be automatically added to your store.
Alternative options and more information at:
Managing WooCommerce.com subscriptions.

Setup and Configuration
↑ Back to topAfter installation of this extension, Go to WooCommerce → Settings → Event Manager to configure general settings. You will find 5 tabs having different settings fields. Each tab is described below.
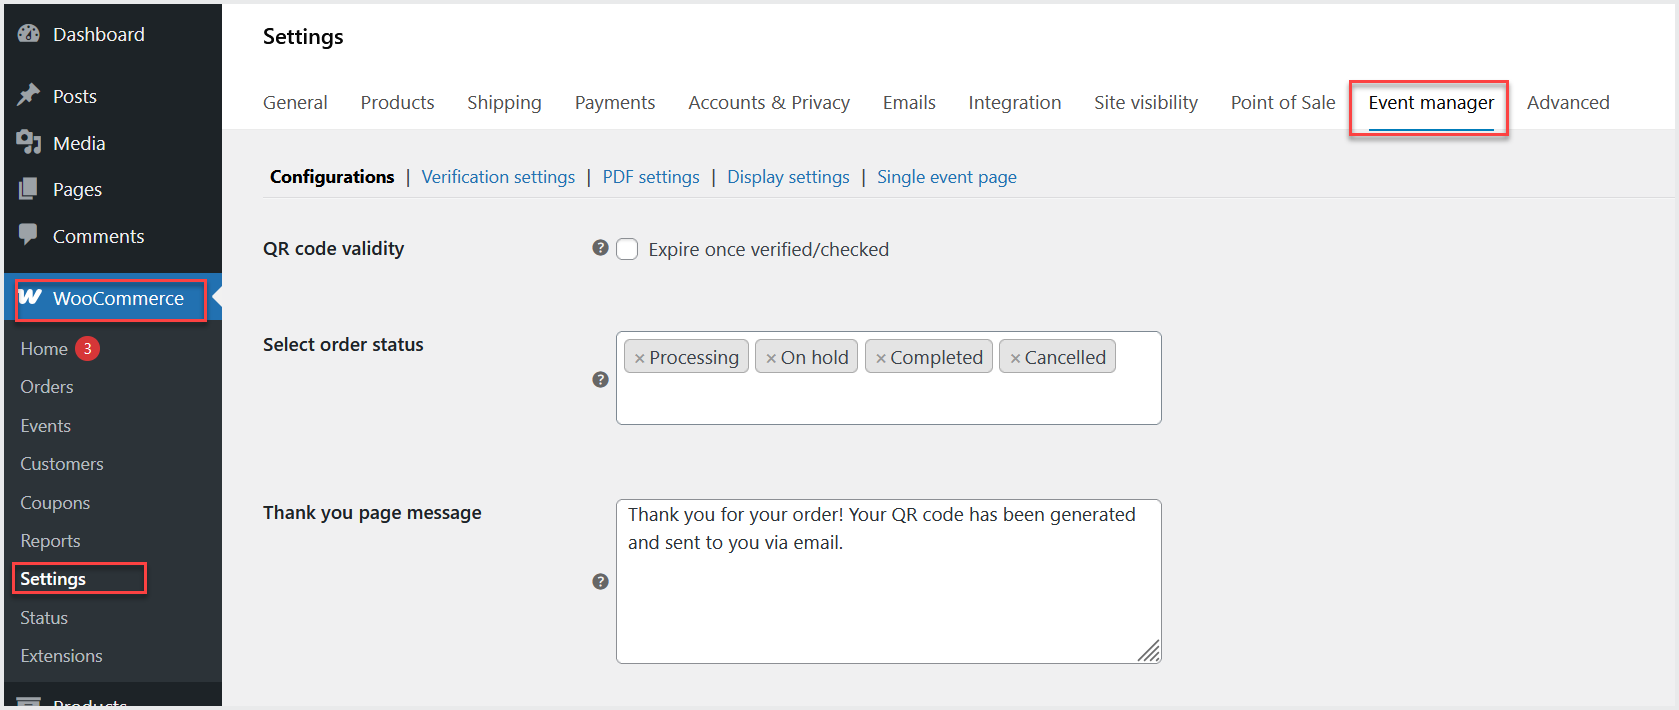
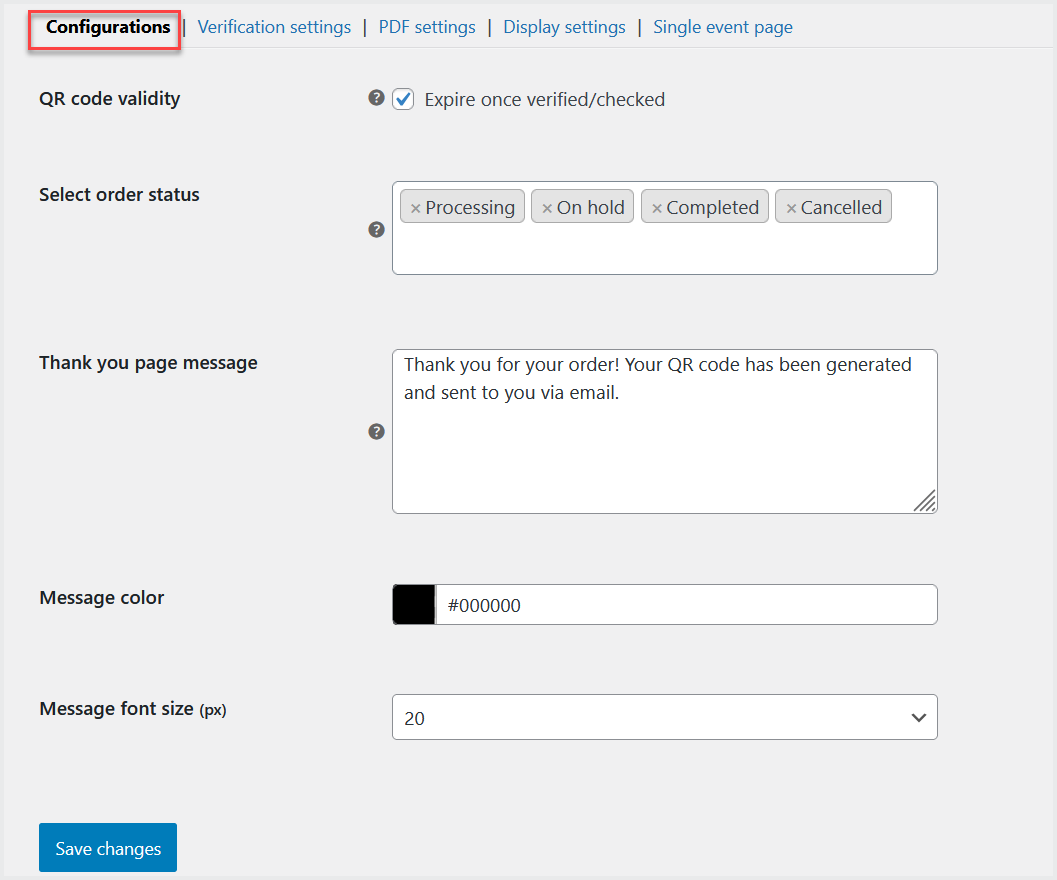
Configuration:
Click the “Configuration” tab for QR code settings. You may choose whether a QR code should expire after it has been verified once or remain reusable for multiple entries. Additionally, you can define the specific order status that will trigger the automatic sending of ticket emails to customers. This section also allows you to customize the Thank You page message, informing customers when and how they will receive their tickets after completing a purchase.
Verification Settings:
In this tab, you can configure the settings for the ticket verification page. You can allow access of the verification page to user roles who can validate tickets using QR code at the time entry.
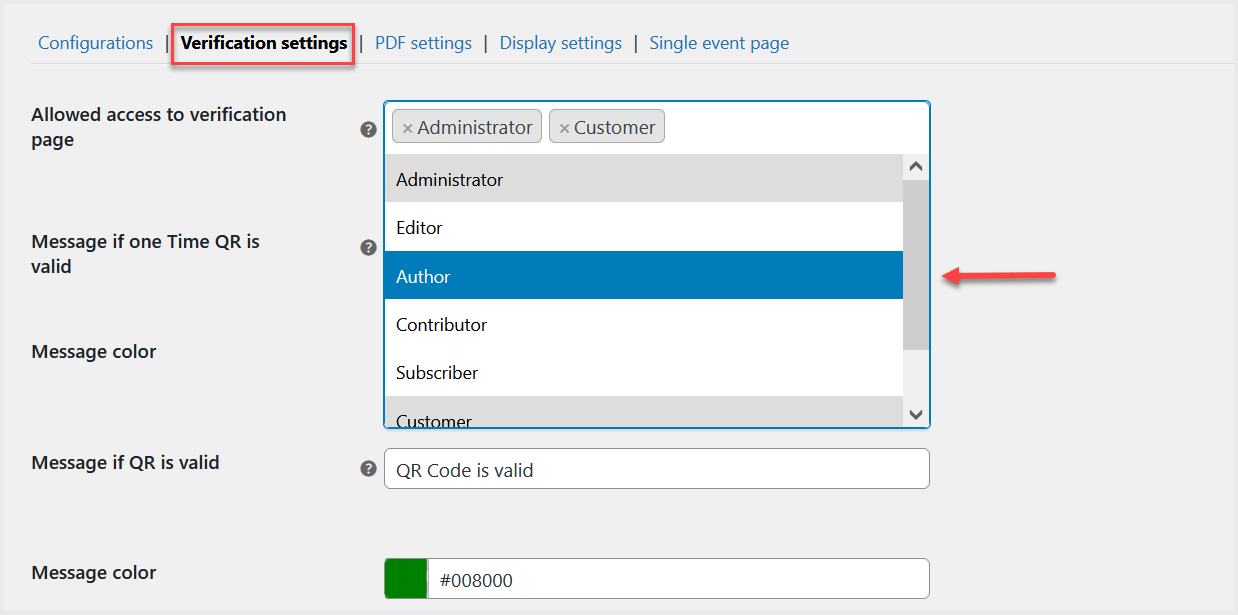
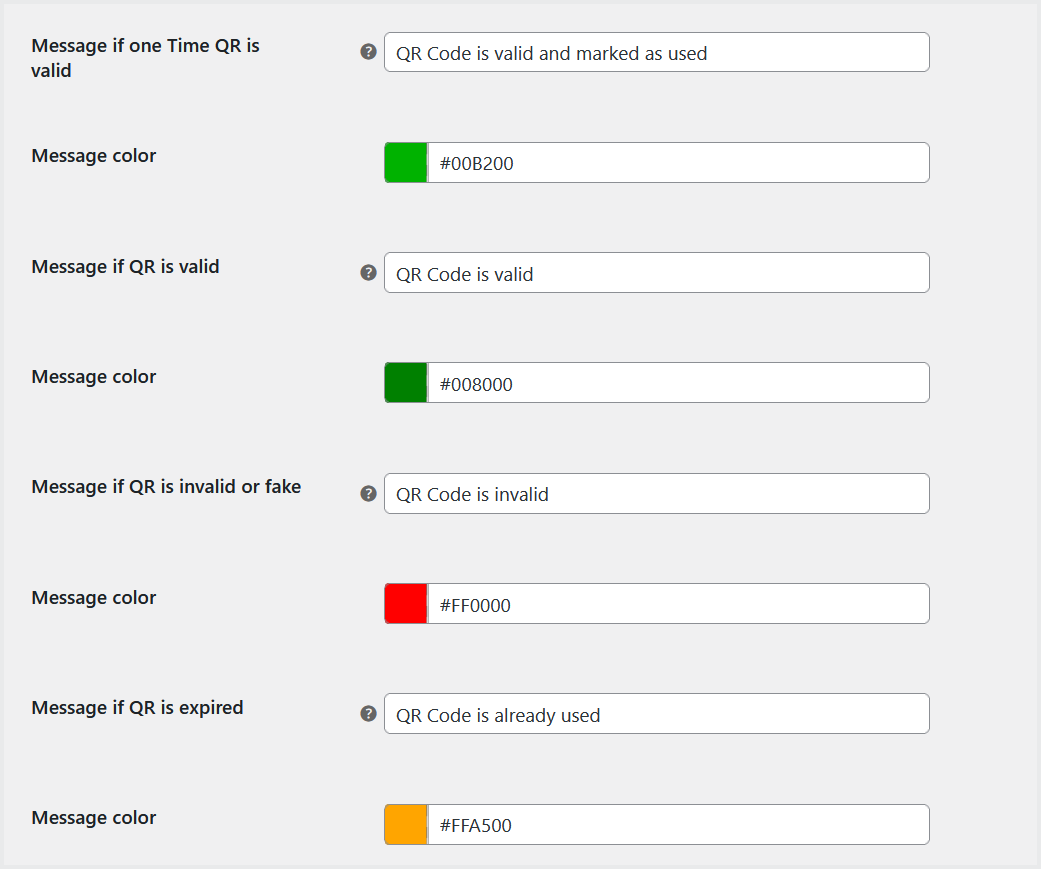
You can also customize the messages that will be displayed when a ticket is valid, fake or invalid, or expired. Additionally, you can customize the appearance of these messages by selecting the colors and styles in which they should be shown, ensuring a clear and user-friendly verification experience.
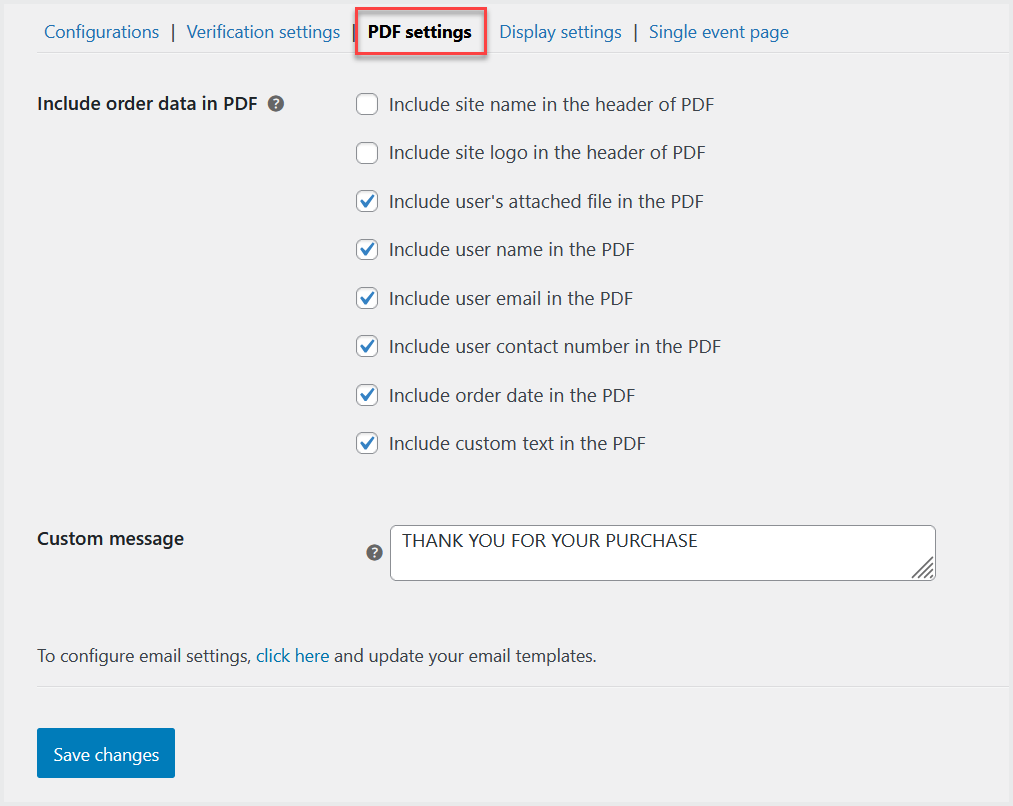
PDF Settings:
↑ Back to topMove to the “PDF Settings” tab, here you will find the PDF tickets related settings. You can select which event and ticket data should be included in the PDF tickets sent to customers. You can also add a custom message that will appear at the bottom of the PDF, allowing you to share important notes, instructions, thank you statements, or branding information.
Display Settings:
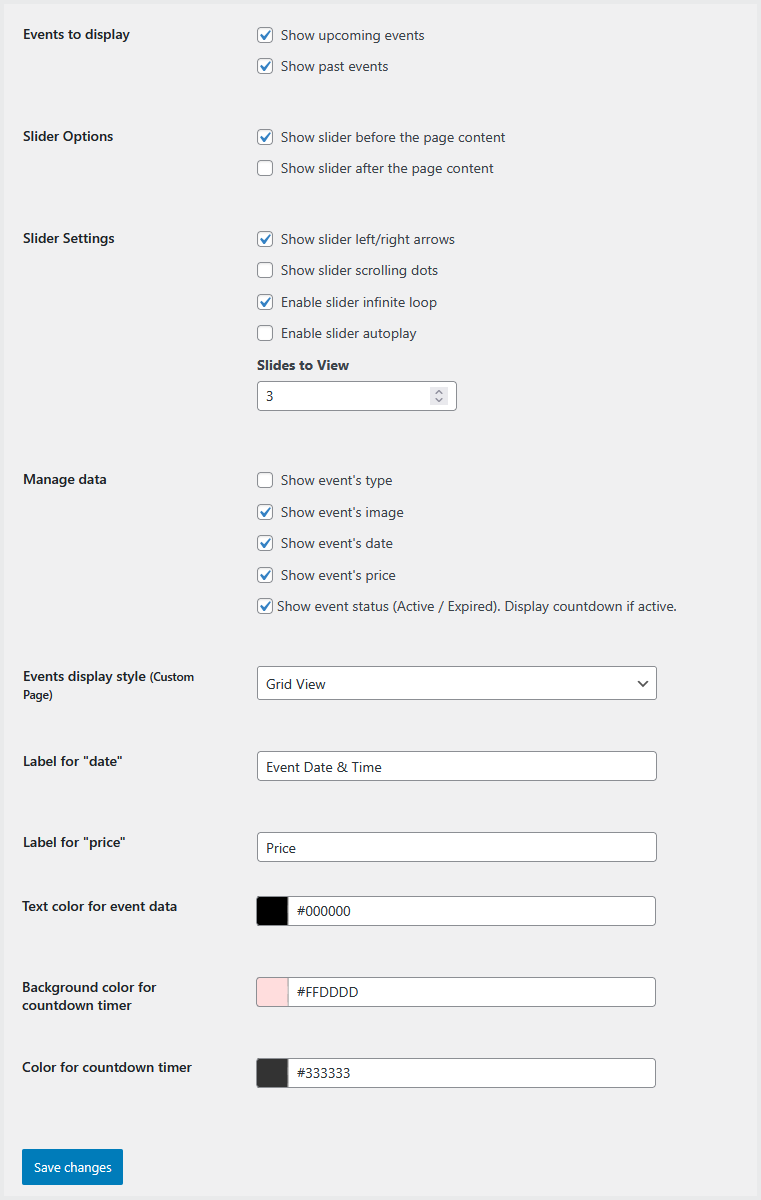
Now click the “Display Settings” tab to configure the display settings. These options allow you to control where events should be shown either in a slider or product listing page or both. Options to display event slider on multiple pages such as home, shop, and category pages.
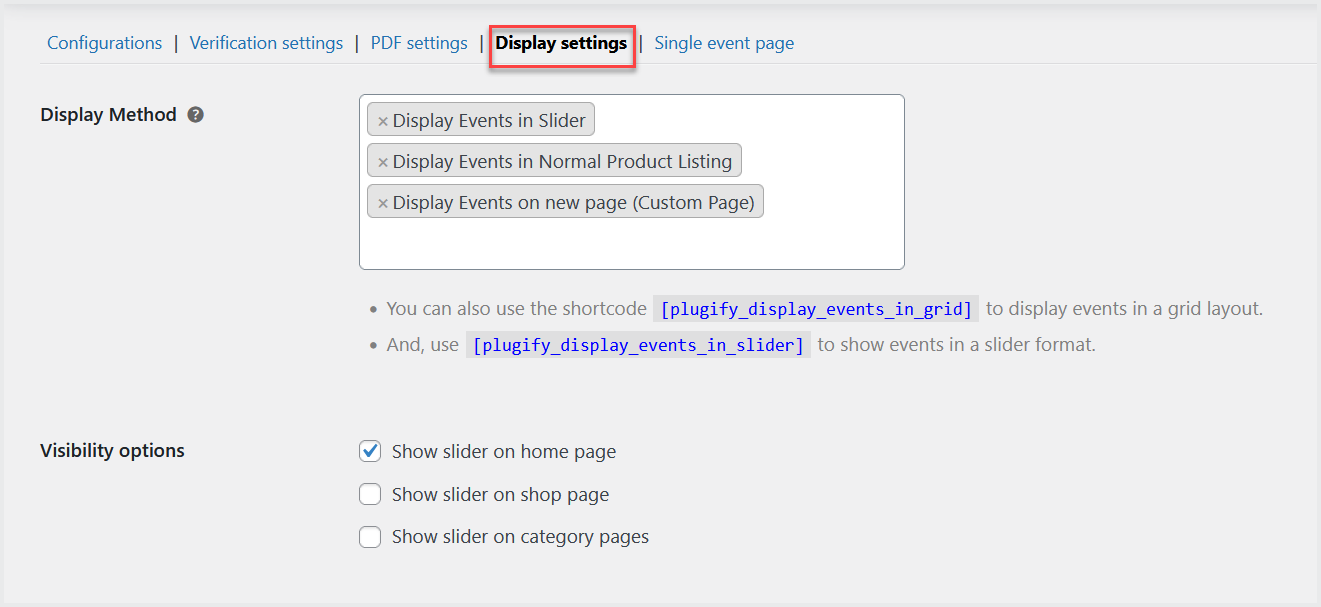
You can also customize the behavior of the event slider, select color schemes, and manage which event data should be included or excluded from the frontend display. This gives you full flexibility to design the event listing and presentation according to your store’s look and feel.
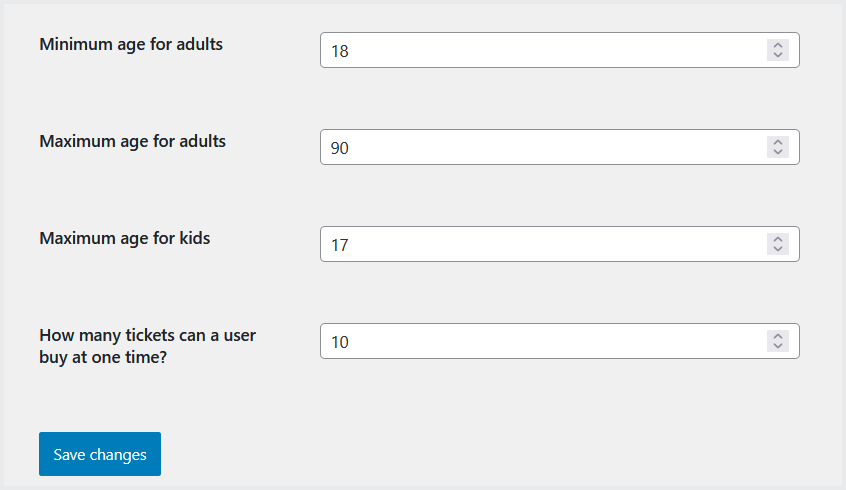
Single Event Page:
↑ Back to topIn this tab, you will find the settings to manage the “Single Event Page”. You can control which event data should be displayed or hide and customize the labels.
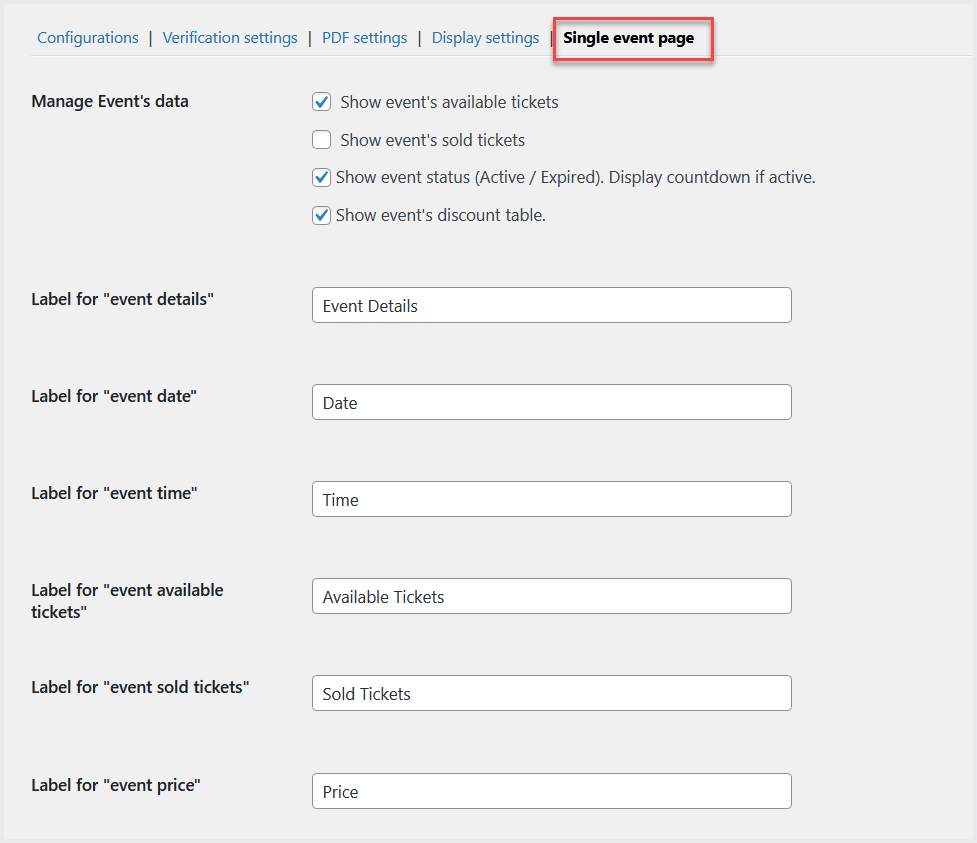
Additionally, you can customize the colors and styles of the displayed information to match your theme and branding preferences.
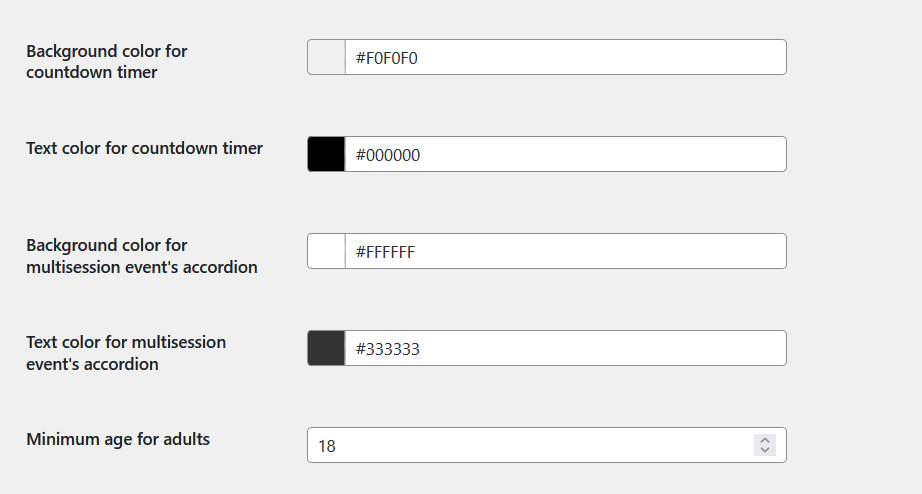
Options are available to set limits such as the maximum number of tickets a single user can purchase, the maximum age for children, and the minimum age for adults.
Create & Manage Events
↑ Back to topGo to WooCommerce>Events at the admin panel, to manage all the events created by you. Here you can see all the existing events with their name, remaining date & time, stock and more in a table form.
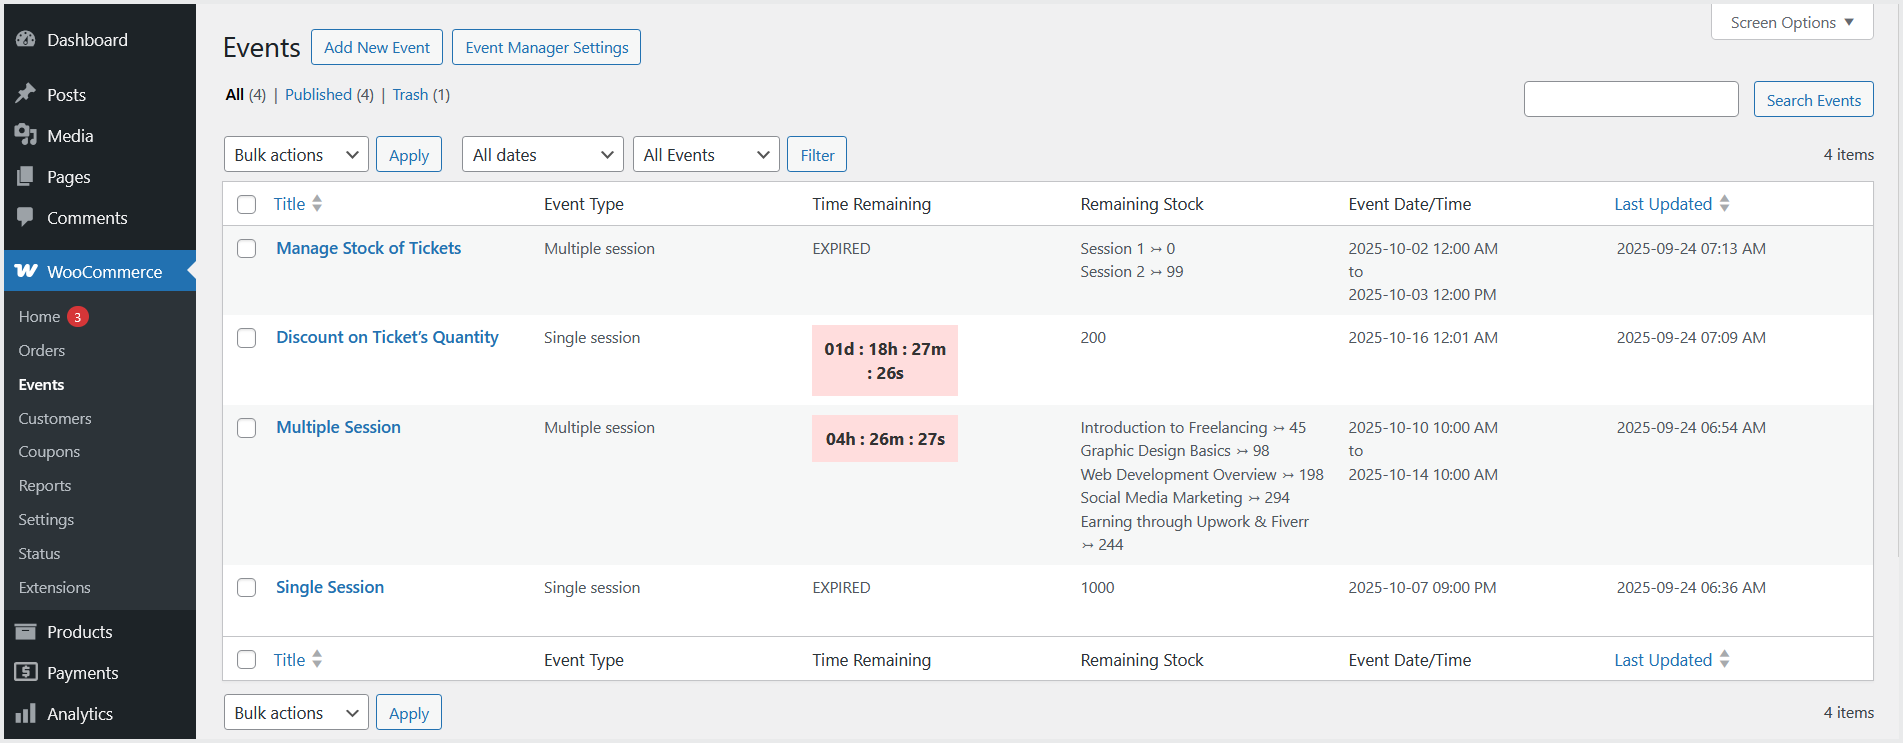
Click the “Add New Event” button to create a new event and you will be redirected to the “Add Event” page.
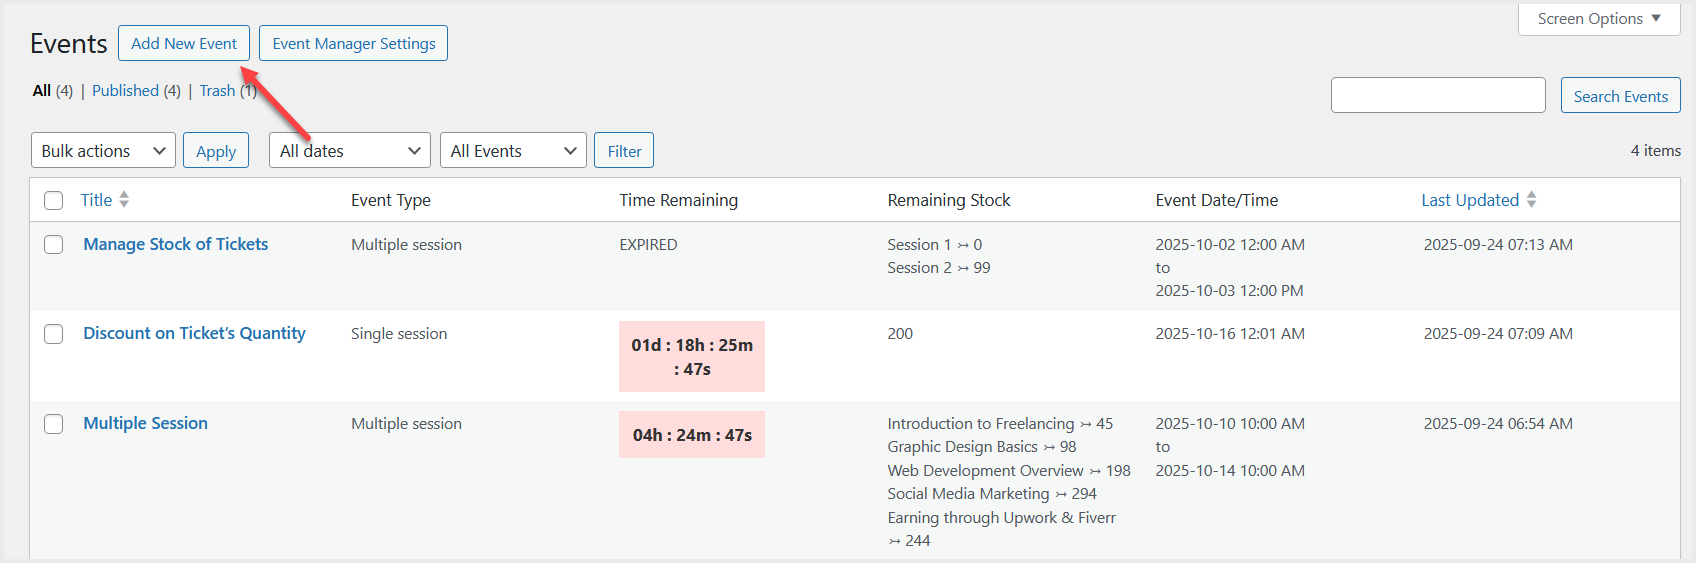
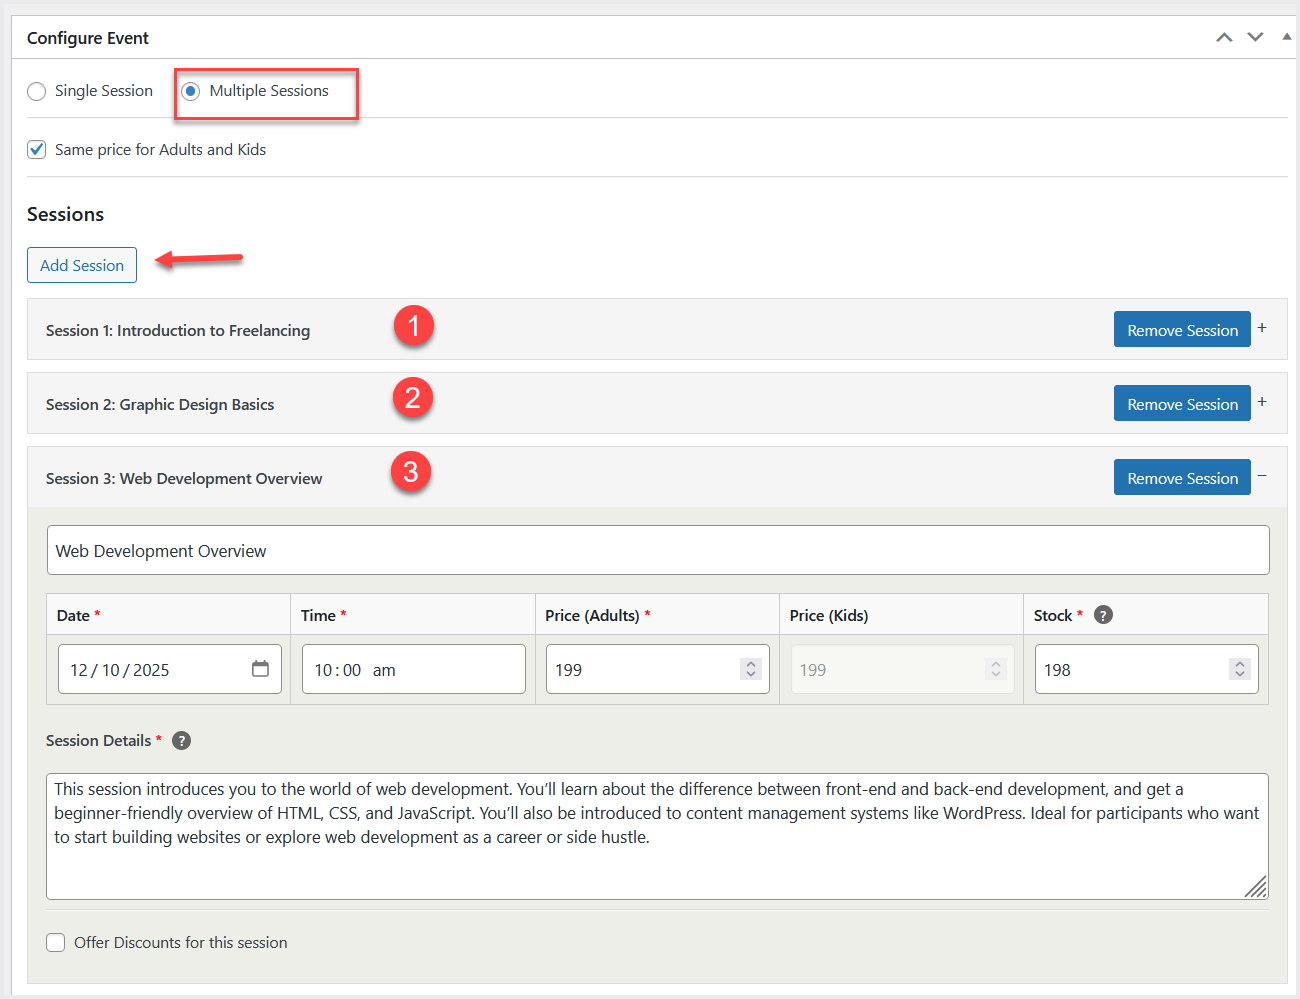
This page provides multiple fields that allow you to configure your event according to your requirements. In each session you can set the event name, time, stock, and price for adults as well as kids.

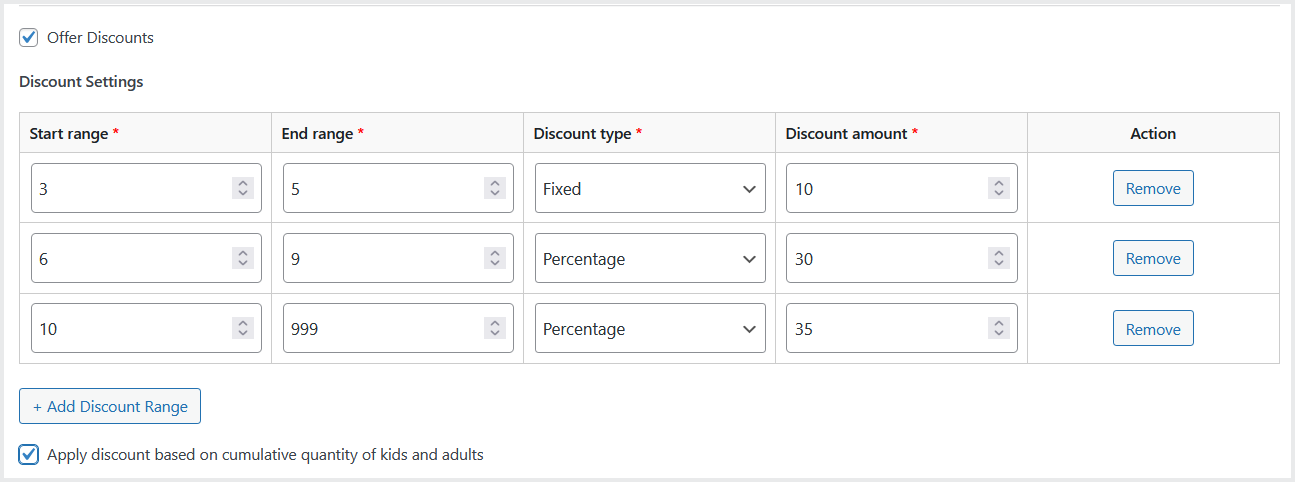
You can also provide the discount based on the quantity of tickets a customer will purchase. Option to give a discount on cumulative quantity of kids and adults.
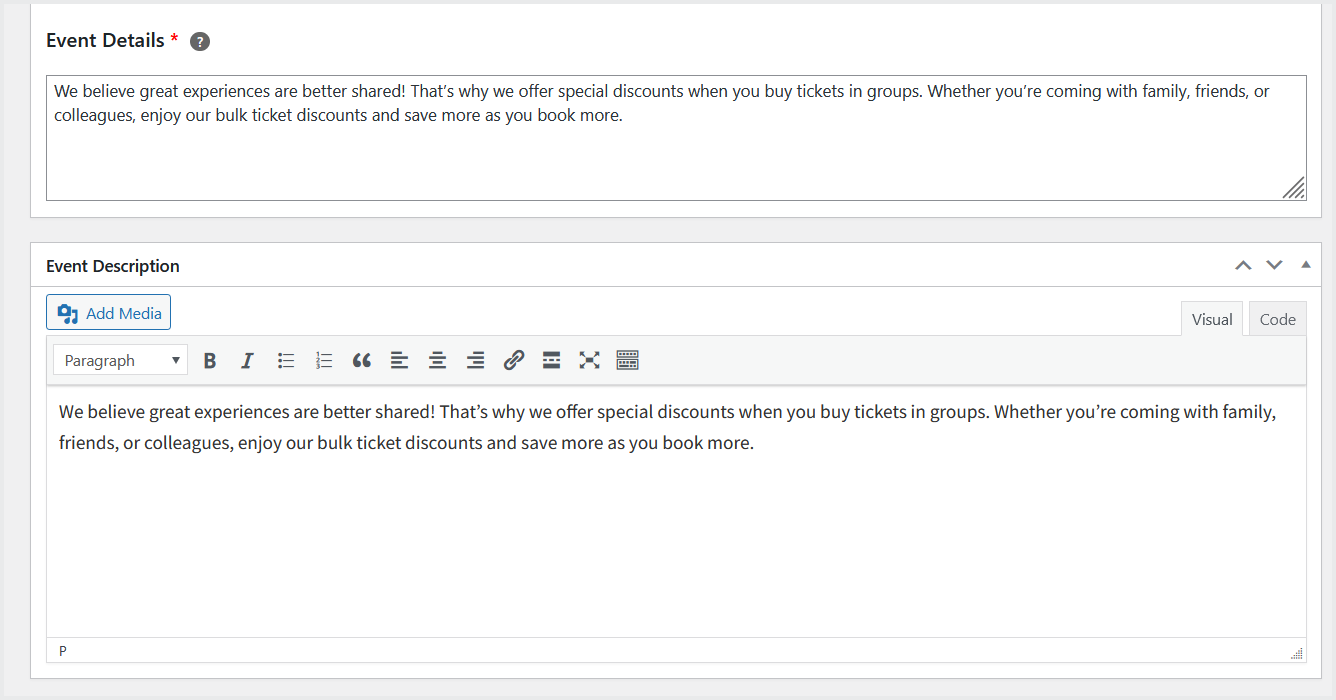
You can also provide event details such as time and location as well as event’s description.
Create Multiple Sessions for Each Event
↑ Back to topSelect “Multi-Session” to create multiple sessions for each event. The setup remains similar, but instead of a single block of details, you will see separate accordions for each session. You can click the “Add Sessions” button as many times as you require to add multiple sessions. And each session setting is the same as described above.
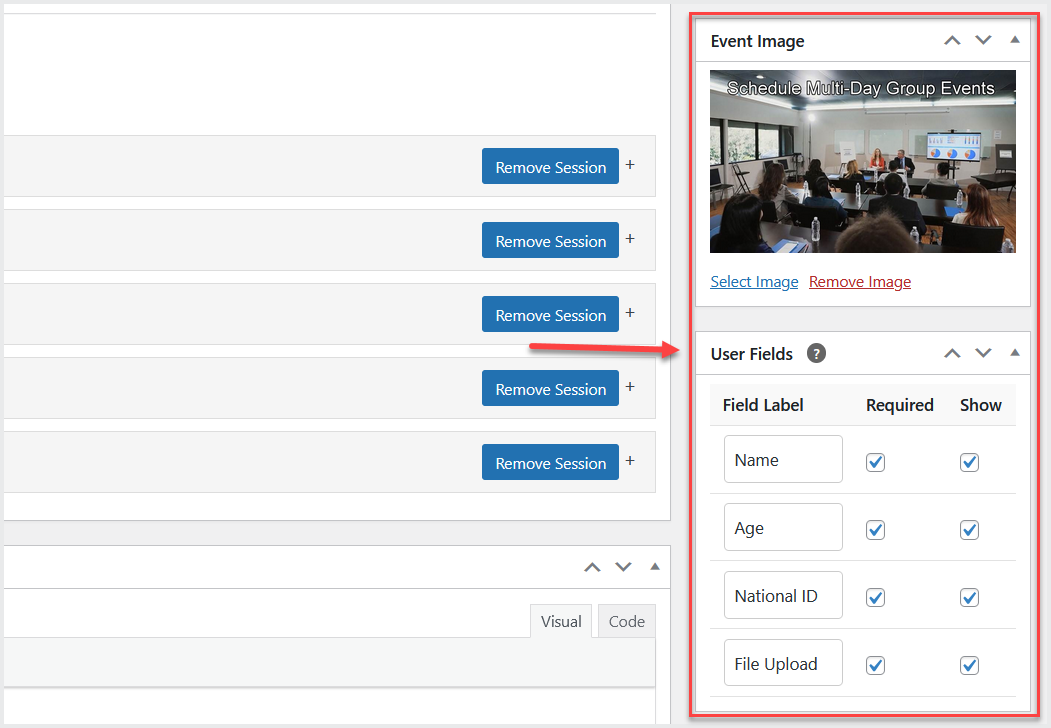
You can upload the event image on the right side of the page and also show/hide form fields.
Event Insights
↑ Back to topYou can also find the “Event Insight “ section at the right bottom of the page to check the total number of sold tickets and attendees by each session once the event is completed.
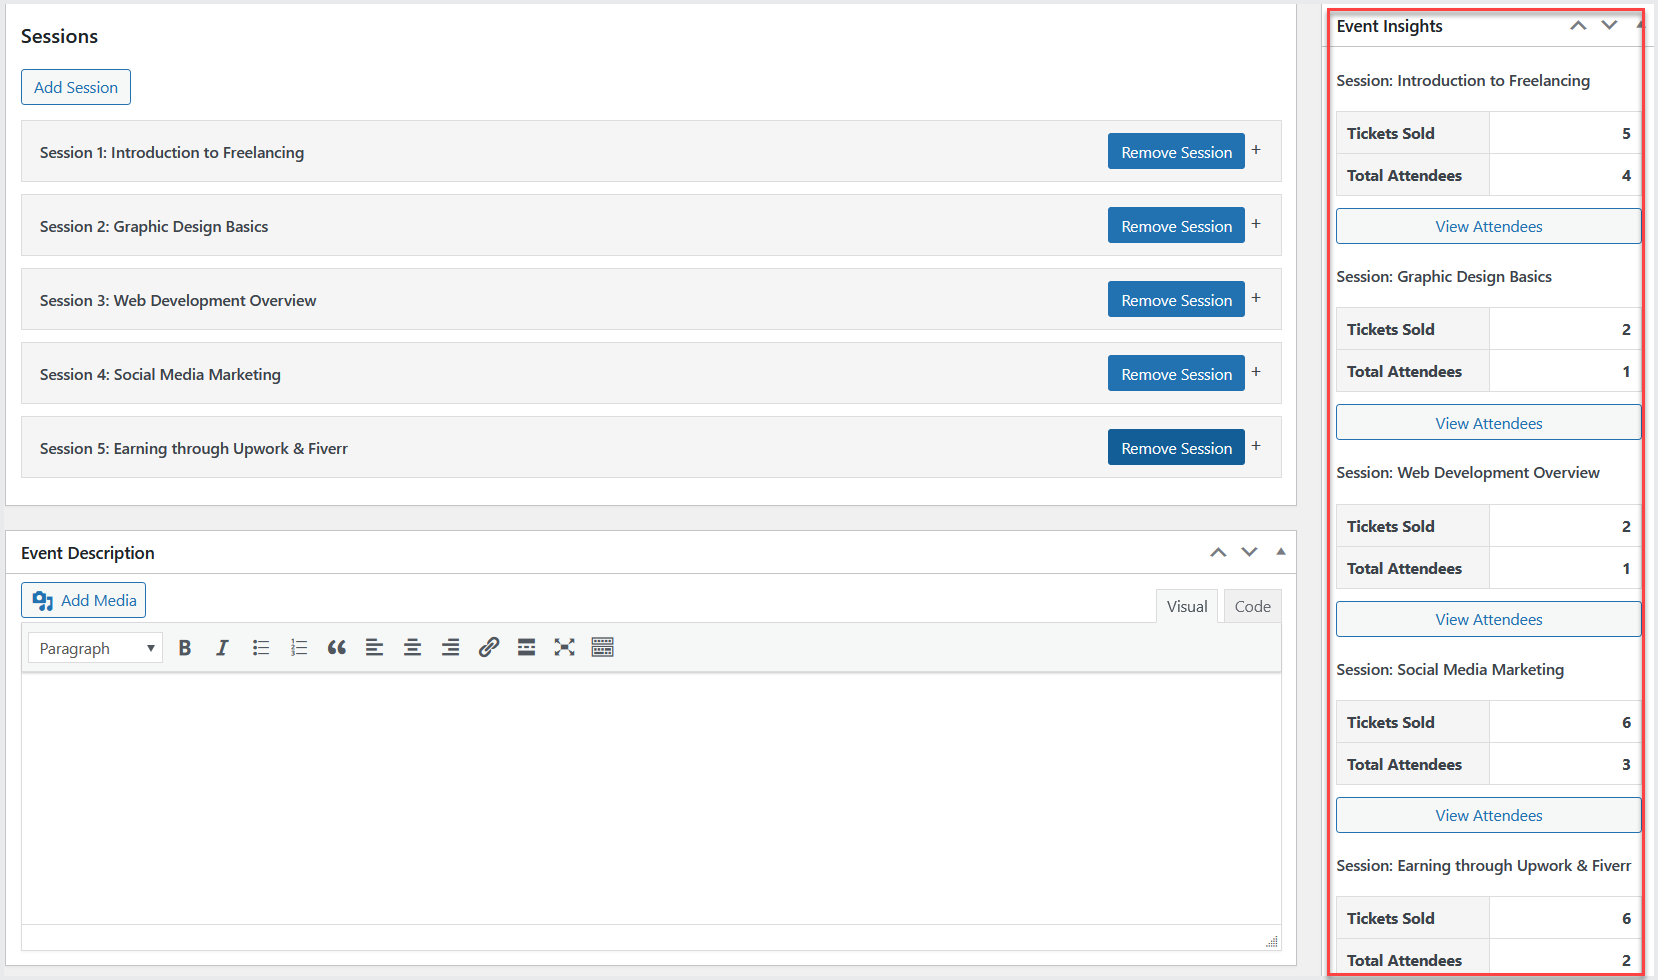
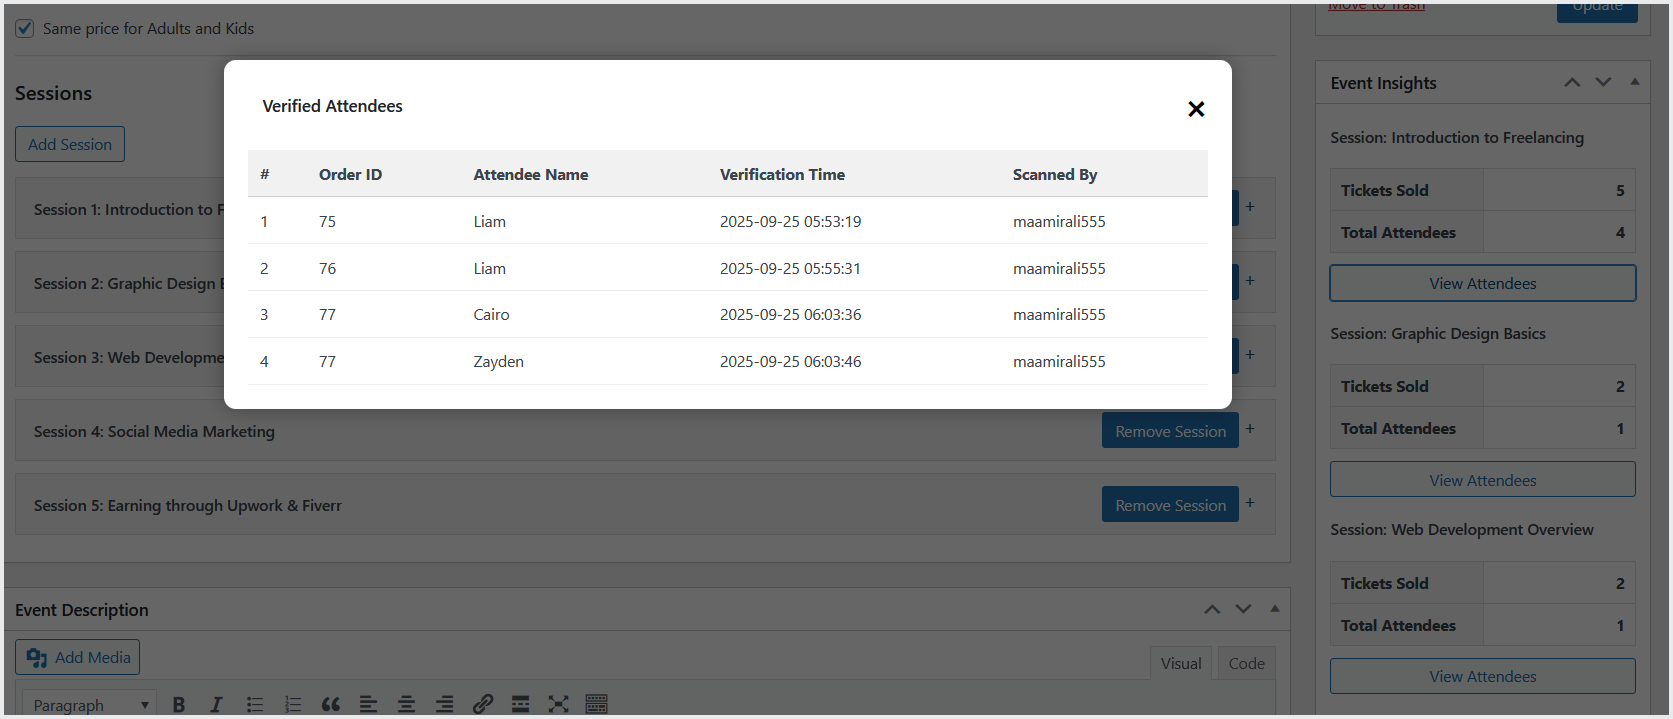
Click the “View Attendance” button to view the attendee names with checked-in time after the completion of event.
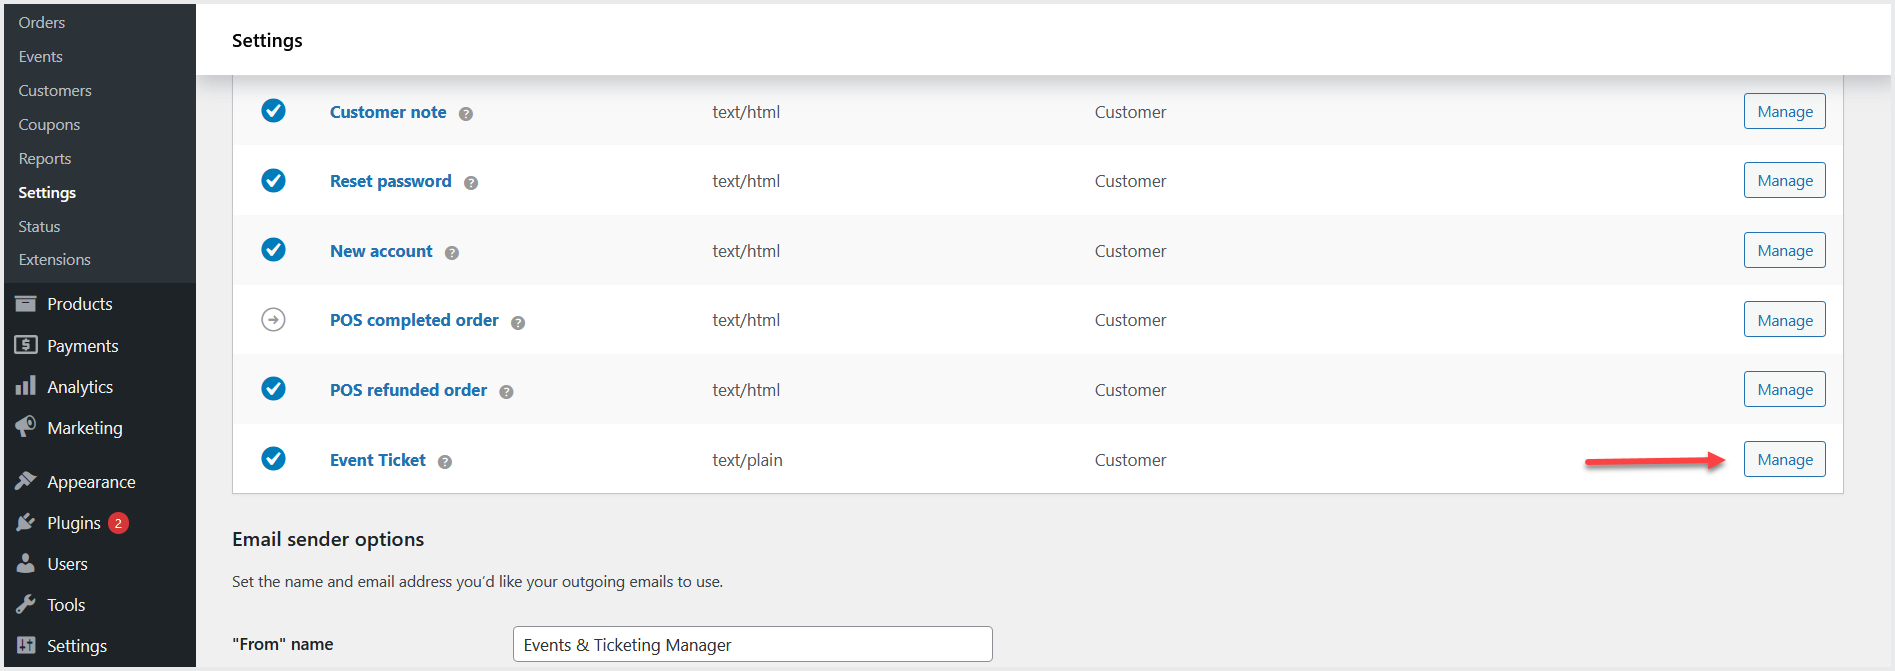
Email Settings:
↑ Back to topGo to WooCommerce>Settings>Email and look for “Event Ticket” and click the “Manage” button to customize the event ticket order email.

User flow:
↑ Back to top- When a visitor arrives at the events listing and opens a single-session event or multiple session page, they will be prompted to complete the attendee information as configured by the admin (required fields are enforced). After filling in attendee details, the user adds the desired number of tickets to the cart. The Cart page displays attendee details, event information (date/time/location), and line-item pricing so the buyer can review everything before checkout.
- At checkout the customer completes payment via the standard WooCommerce flow. Once the order is placed and the order status meets the admin’s configured trigger, the plugin automatically sends a customized email containing the PDF tickets. Each PDF ticket includes a secure QR code.
- On event day, the attendee presents their PDF ticket with QR code. When staff scan the QR code, it provides a verification URL. That URL returns the ticket’s status (for example: Valid, Invalid, Fake, or Expired) so staff can immediately accept or reject entry.