
This walkthrough turns a simple product into a Name Your Price product. The example is a bottle of strawberry soda that customers can buy for $2, $3 or $5, or an amount of their own.
Before you start
↑ Back to top- WooCommerce and Name Your Price 4.0.0 installed and active.
- A simple product to edit, new or existing.
Step 1: Turn on Name Your Price
↑ Back to top- Go to Products and edit the product.
- In the Product data box, tick Name Your Price. It sits next to Virtual and Downloadable, beside the product type dropdown. The product type stays Simple product.
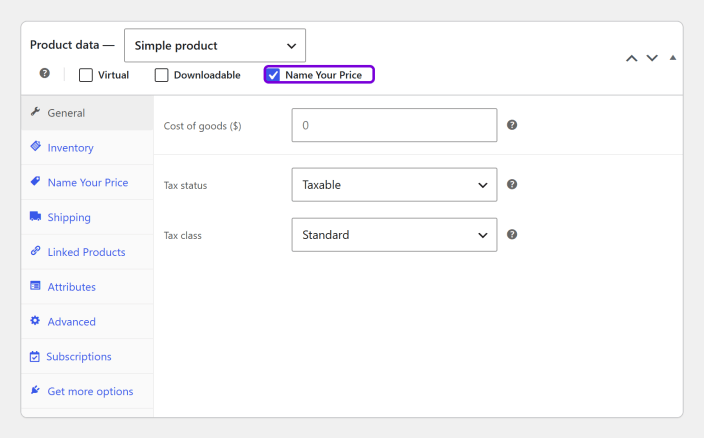
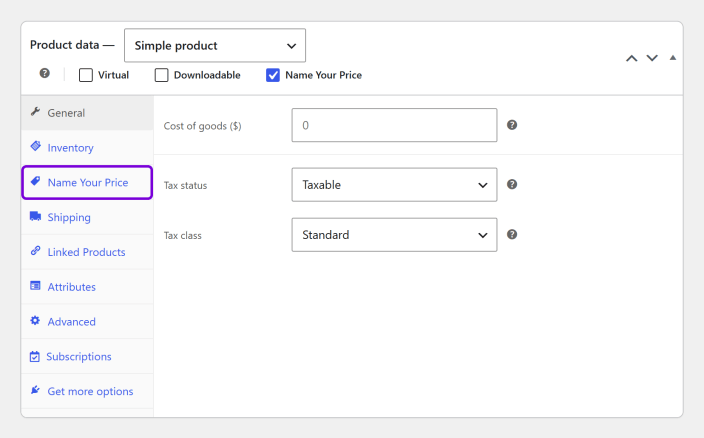
The Regular price and Sale price fields disappear from the General tab, because the customer’s amount is now the price. A new Name Your Price tab appears in the list on the left.
Step 2: Set the prices
↑ Back to top- Open the Name Your Price tab. It opens on Prices.
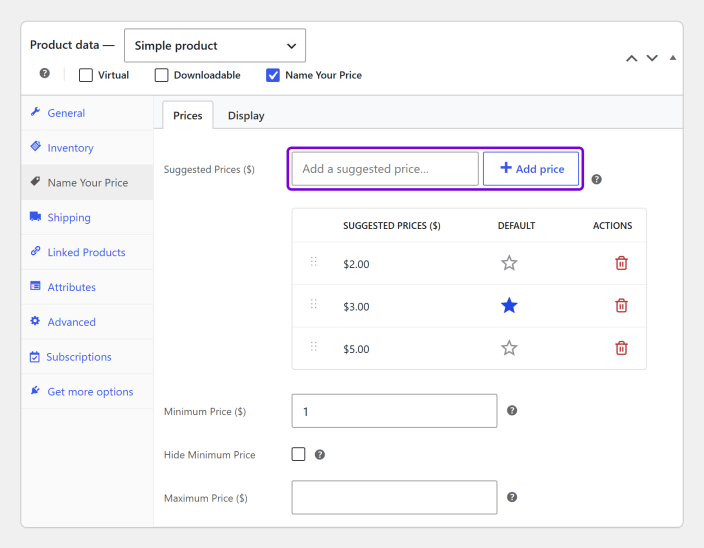
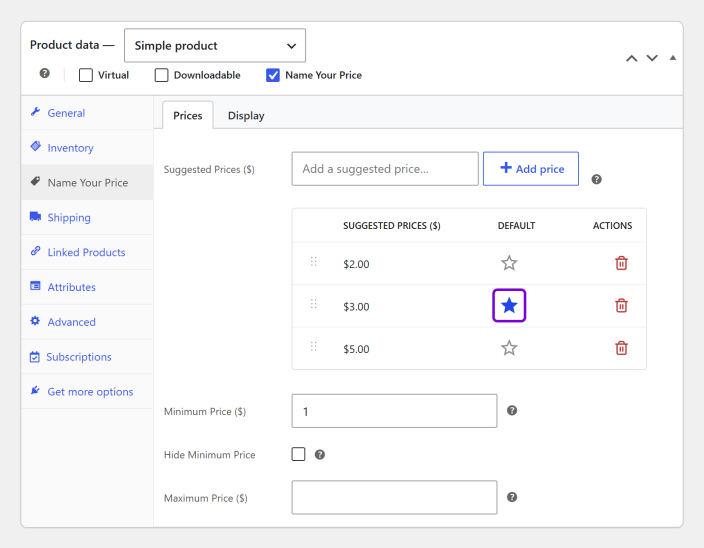
- Type an amount in Suggested Prices and press Enter, or click Add price. Repeat for each amount you want to suggest.
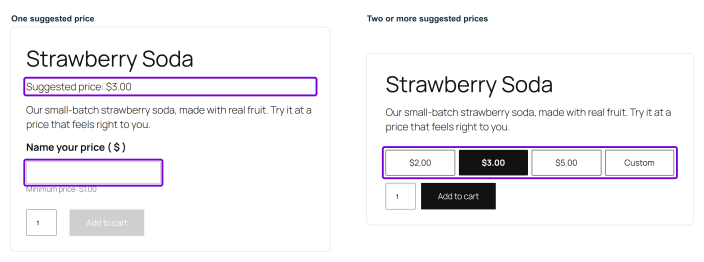
When there are two or more, customers see them as buttons, plus a Custom button for their own amount. With just one, they see it as a Suggested price line above an empty price field.
- Optionally, click the star in the Default column to make one suggested price the default. It is selected when the page loads. With no default, nothing is selected until the customer chooses.
- Set a Minimum Price and Maximum Price if you want limits, and tick Hide Minimum Price to enforce the minimum without showing it. Leave them blank for no limit.
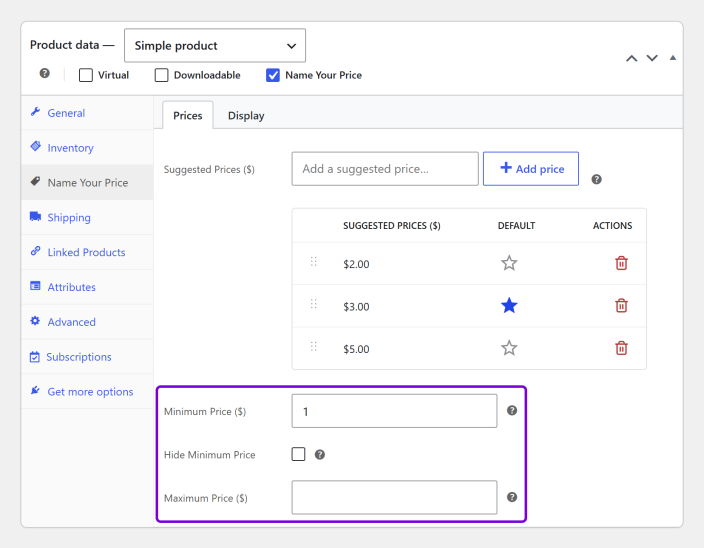
Every field is optional. With nothing set, customers can enter any amount. For how each field behaves on the product page, see Product settings.
Step 3 (optional): Change the wording for this product
↑ Back to top- Click Display at the top of the Name Your Price tab. Here you can change what this product’s page says, such as the price label, the input placeholder or the button text, and hide the quantity field.
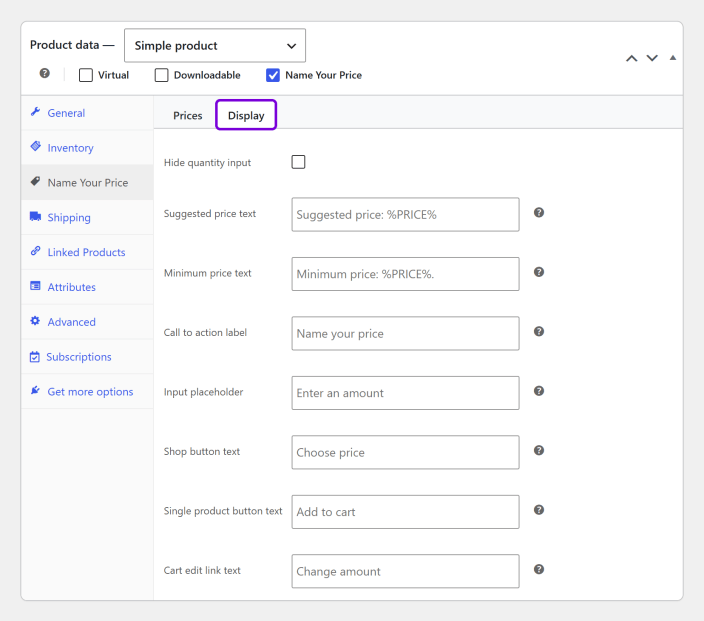
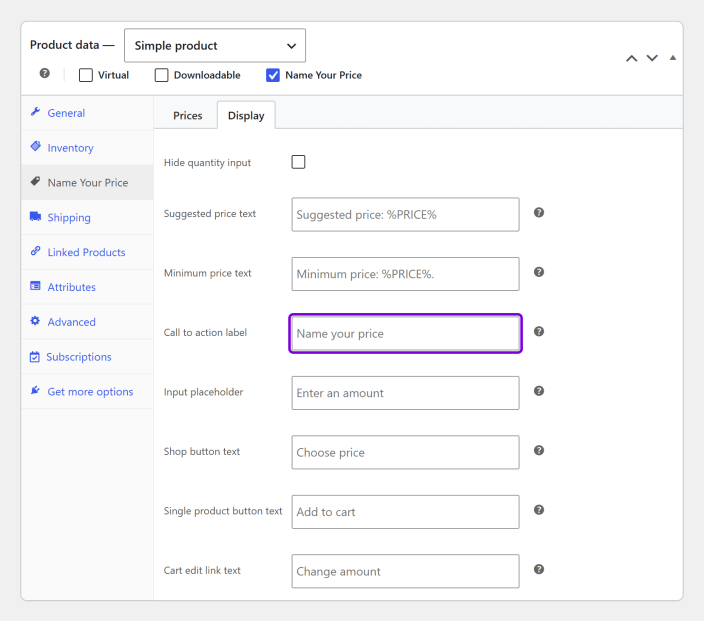
The grey text in each field is the store-wide wording from Settings. Leave a field blank to keep it, or type in it to change it for this product only. See Product settings for what each field does.
Step 4: Publish
↑ Back to topClick Update (or Publish for a new product).
Result
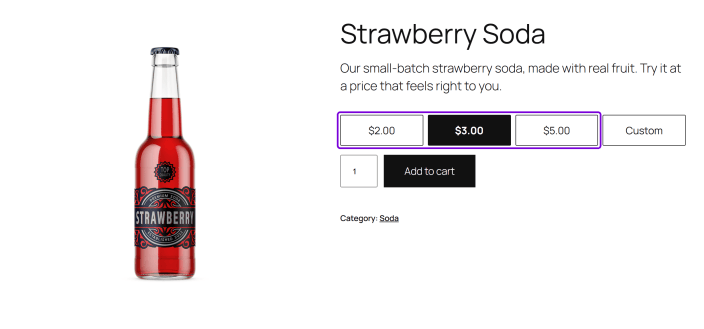
↑ Back to topThe product page shows your suggested prices as buttons, with the default already selected.
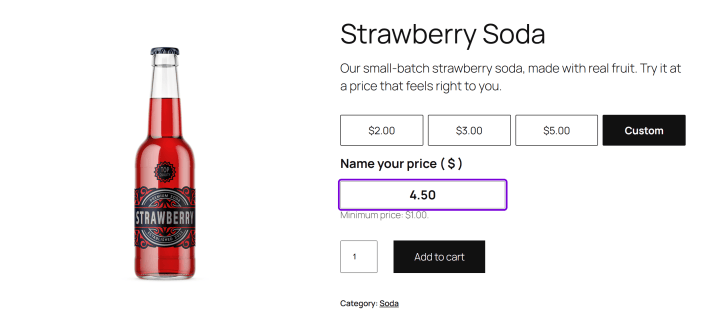
Choosing Custom opens the price field, so customers can type their own amount.
Next steps
↑ Back to top- Product settings: what each price and wording option does, and editing the price from the cart.
Document Version: 1.0.0
Last Updated: November 8th, 2026
NYP Version Covered: 4.0.0