Sales Agents Manager extension allows you to grow your sales faster by managing an entire sales team within your WooCommerce store. Set commissions, assign products, and track their performance.
Installation
↑ Back to topTo start using a product from WooCommerce.com, you can use the “Add to store” functionality on the order confirmation page or the My subscriptions section in your account.
- Navigate to My subscriptions.
- Find the Add to store button next to the product you’re planning to install.
- Follow the instructions on the screen, and the product will be automatically added to your store.
Alternative options and more information at:
Managing WooCommerce.com subscriptions.
Setup and Configuration
↑ Back to topAfter installation of the “Sales Agents Manager” plugin, please go to WooCommerce > Settings > Sales Agent to configure the general settings.
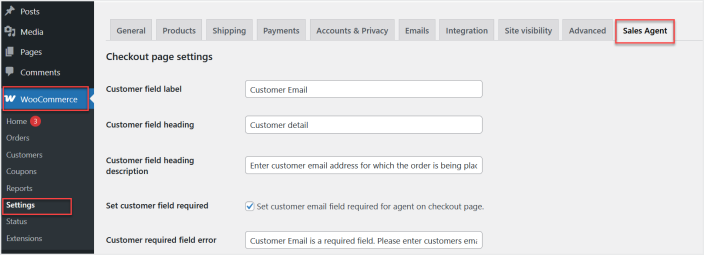
General Settings:
↑ Back to topIn a general setting you can find checkout page, commission, and dashboard settings.
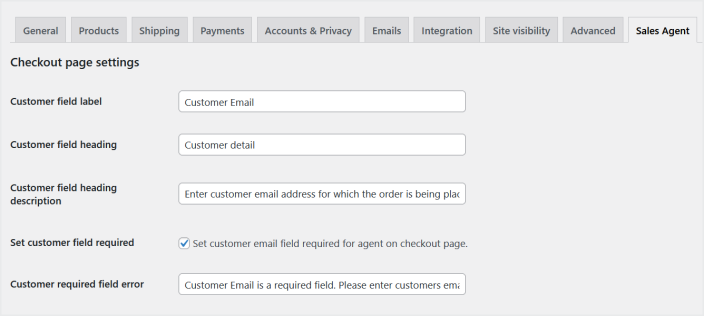
In the checkout page settings you can customize the text of the “Customer Email” field, make it required, and set the error message for this field.
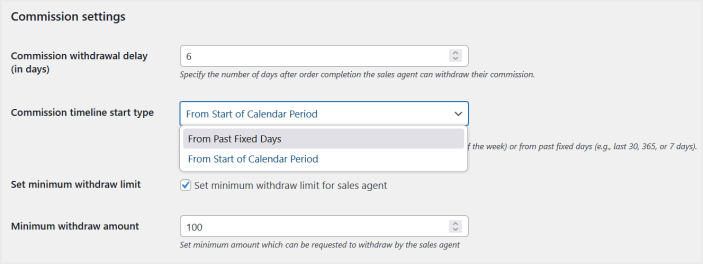
You can specify commission withdrawal delay after sale in days, timeline starting type, and minimum withdrawal limit.
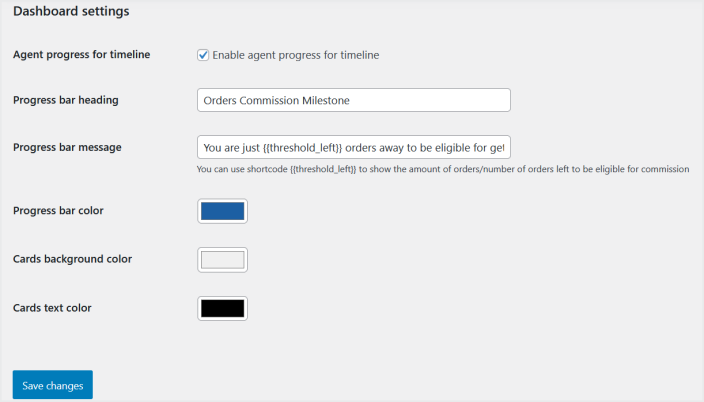
You can also enable and customize target progress bar which will be displayed on sales agent’s dashboard.
Add & Manage Sales Agents:
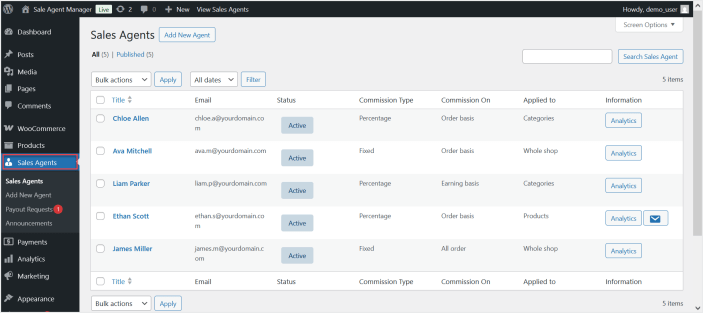
↑ Back to topPlease navigate to the “Sales Agents” menu in the admin menu and click “Sales Agents” to view all the existing sales agents.
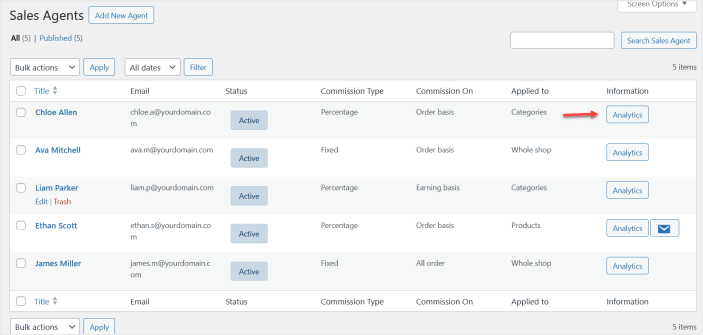
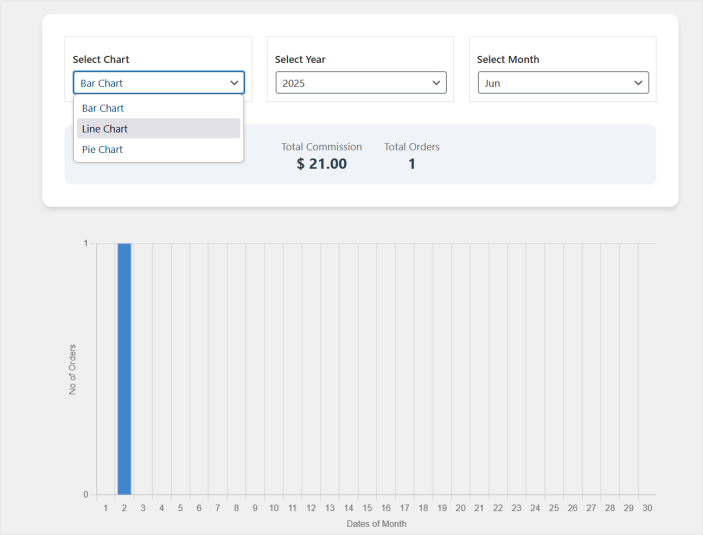
Click the “Analytics” button to view the performance report of any agent by month.
Click the “Add New Agent” button to add a new agent.

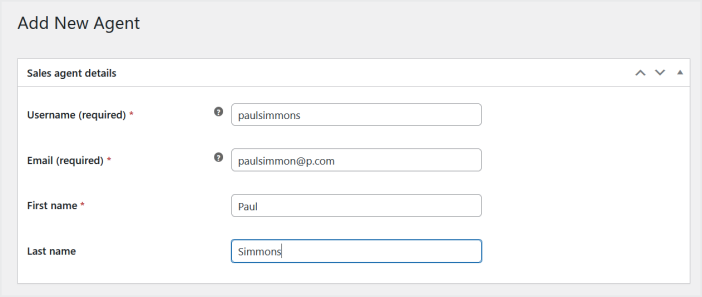
Specify agent details such as username, email, first, and last name.
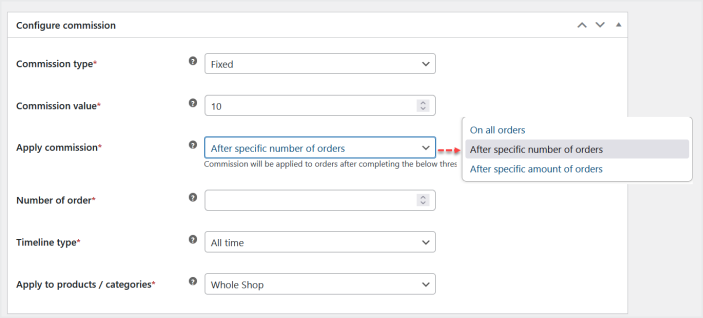
Configure his commission settings such as commission type, value, commission criteria, and products. Then click the “Publish” button to activate this agent.
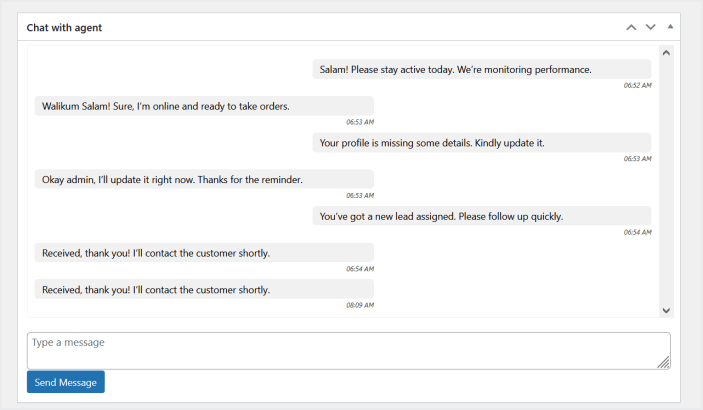
Once you publish it, you can also chat with this agent from the “Chat with agent” section.
Manage Payout Requests:
↑ Back to topIn the “Sales Agents” menu click “Payout Requests” to view paid and pending payout requests made by agents.

Click on “Request ID” of any pending requests to view request details such as bank details and requested payout amount.

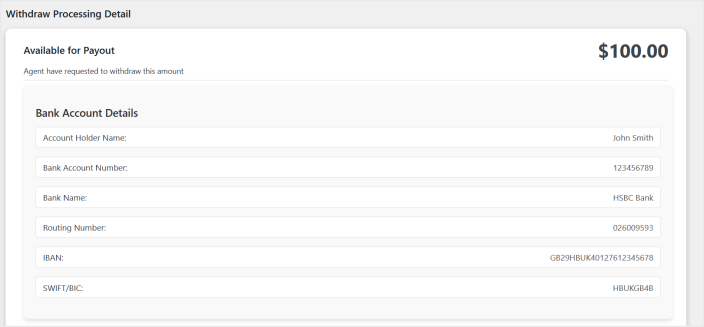
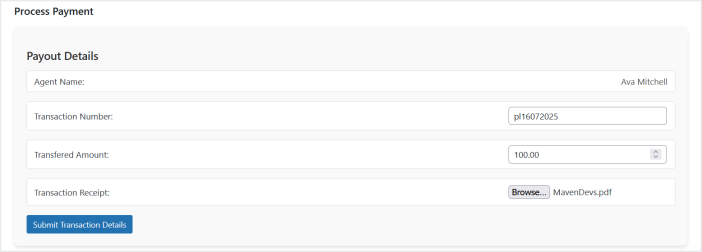
If you have made the payment to that agent by any source then specify the transaction number, amount, upload the receipt and click the submit button. It will deduct the specified amount from the sales agent commission.
Announcements:
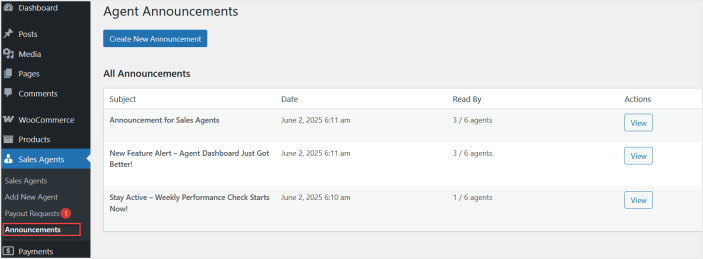
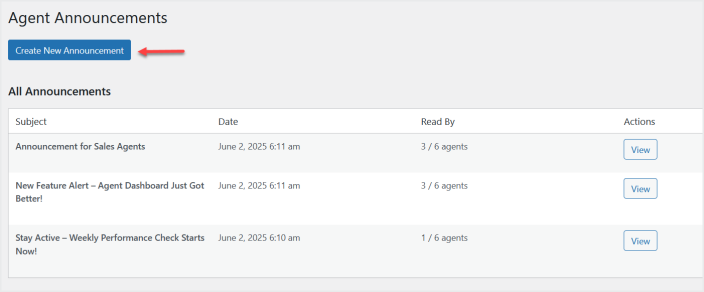
↑ Back to topAdmin can make announcements by navigating to Sales Agents > Announcements. There he can view all the previous announcements he made.
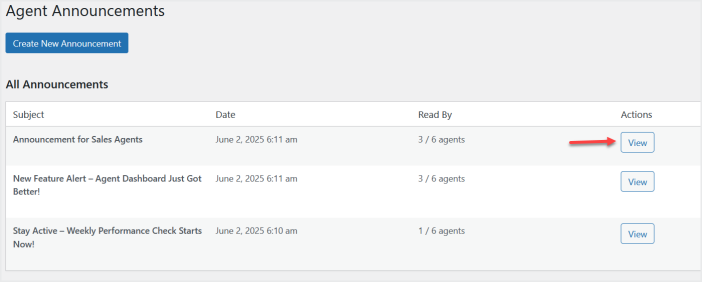
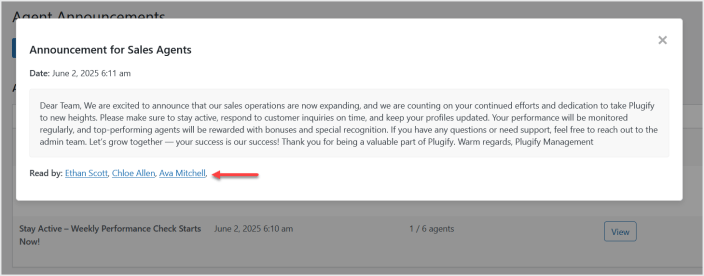
Click “View” button of any announcement to see the name of agents who have viewed this announcement.
Now click the “Create New Announcement” button to create new announcements.
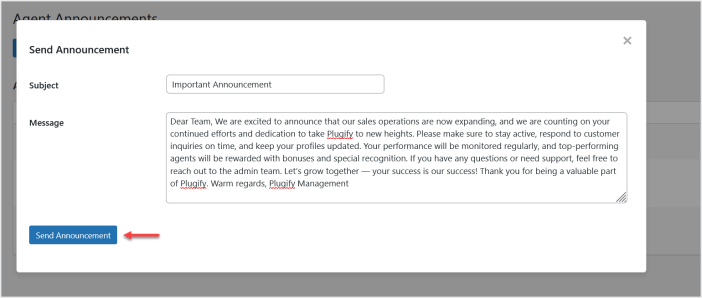
In each announcement you can specify the subject and message and then click the “Send Announcement” button to send this message to all of your agents.
Emails Settings:
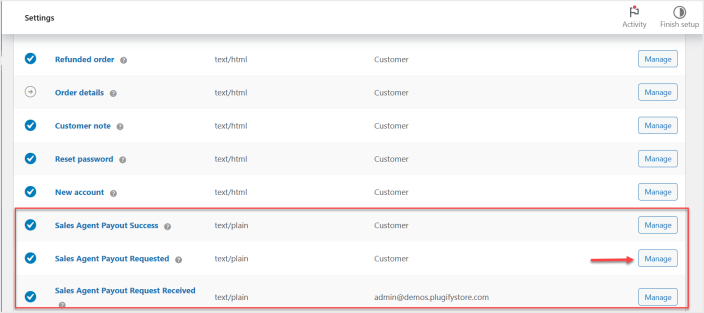
↑ Back to topGo to WooCommerce>Settings>Emails to customize payout success, requests, and, receive emails.
