A plugin that streamlines shipping logistics by exporting order data into carrier-ready CSV files for providers like DHL, Hermes, Deutsche Post, and GLS.
Installation
↑ Back to topTo start using a product from WooCommerce.com, you can use the “Add to store” functionality on the order confirmation page or the My subscriptions section in your account.
- Navigate to My subscriptions.
- Find the Add to store button next to the product you’re planning to install.
- Follow the instructions on the screen, and the product will be automatically added to your store.
Alternative options and more information at:
Managing WooCommerce.com subscriptions.

Setup and Configuration
↑ Back to topCheck the Installation
↑ Back to top
After the automatic installation process, ensure that the plugin is enabled in the Plugins section of your store. You should see the plugin listed in the plugin list.
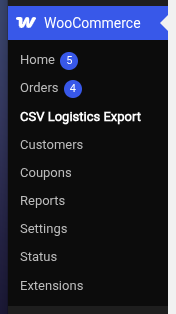
Once the plugin is installed and activated, a new entry called “CSV Logistics Export” will appear in the WooCommerce section of your dashboard.
Getting started
↑ Back to topTo set up your store:
- Go to: WooCommerce > CSV Logistics Export” .
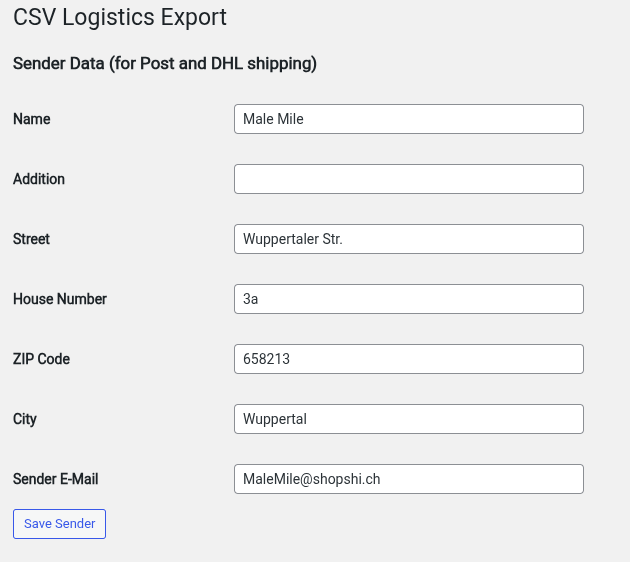
- Fill in the sender information for Post and DHL shipping. These fields are required.
- Save changes.
Usage
↑ Back to topAll orders with the status Processing are automatically displayed in a list. This list provides a clear overview of the most important order information, including Order Number, Customer, Status, and Date.
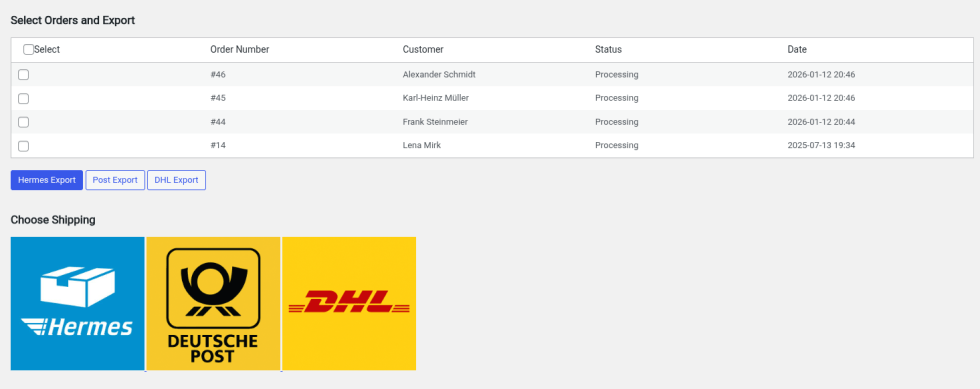
On the left-hand side of each order, a checkbox is available. These checkboxes allow you to select one or multiple orders for export. When selecting orders, it is important to ensure that only orders belonging to the same logistics service provider are selected together. Orders that are processed by different logistics providers must be exported separately. This guarantees that the exported data matches the requirements of the selected shipping service and avoids errors during the import process.
After selecting all relevant orders, click the export button for the appropriate logistics provider. The system will then generate a CSV file containing the selected order data. Once you click Export, the file will be prepared and automatically offered for download by your browser.
Store the downloaded CSV file in a folder where it can be easily located later. This will simplify the next step of the process.
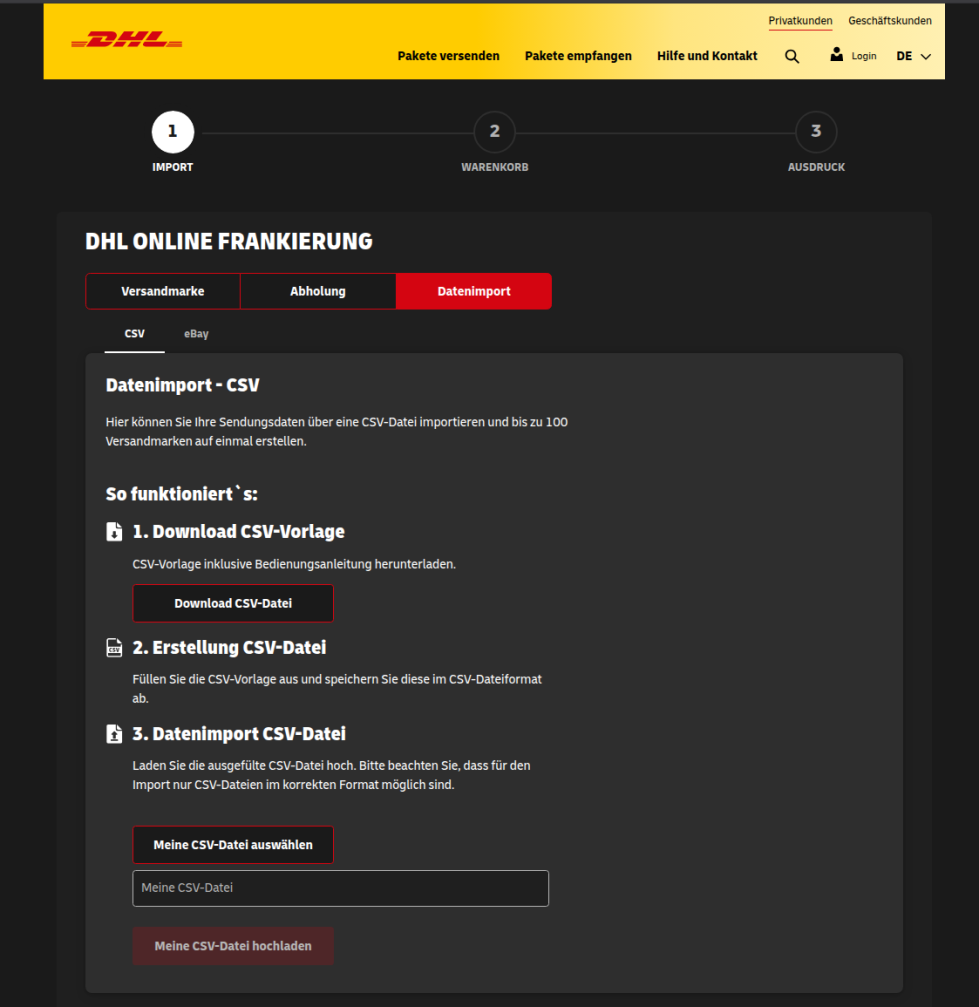
Finally, click on the logo of the corresponding logistics provider to open their official website. On the provider’s website, navigate to the CSV import section. There, select the previously downloaded file and start the import process to upload your order data for shipping processing.
Deutsche Post
↑ Back to top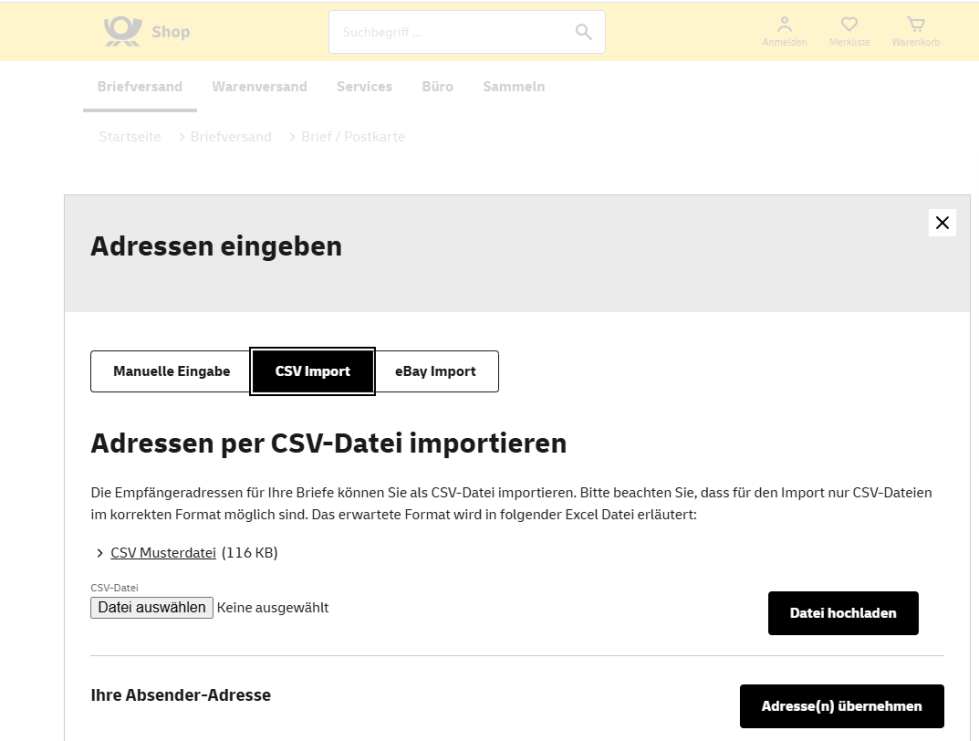
Hermes
↑ Back to top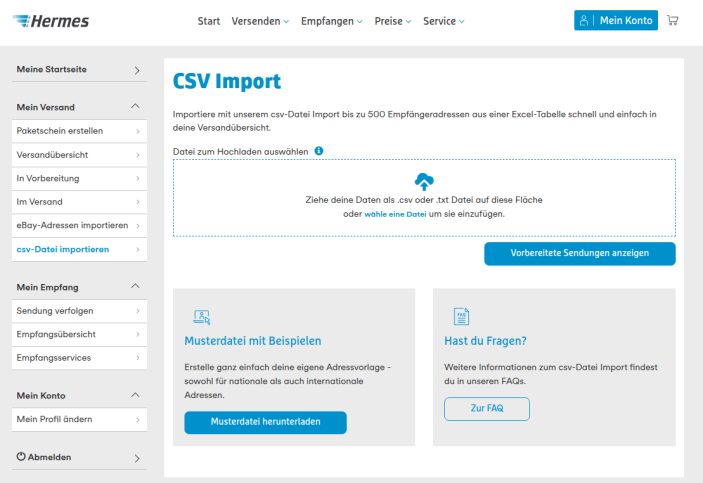
DHL
↑ Back to top