Note: This product has been retired because the feature is available for free in WooCommerce 3.0+. Documentation is no longer being updated.
Installation
↑ Back to top- Download the .zip file from your WooCommerce account.
- Go to: WordPress Admin > Plugins > Add New and Upload Plugin with the file you downloaded with Choose File.
- Install Now and Activate the extension.
Setup and Configuration
↑ Back to topImage tips
↑ Back to topCustomizing the Zoom window
↑ Back to top If you want to change the styling of the Zoom window you can override the default CSS file – you should always use this method to avoid losing your changes when you upgrade
To use your own version of the CSS file instead of the included CSS please do the following
If you want to change the styling of the Zoom window you can override the default CSS file – you should always use this method to avoid losing your changes when you upgrade
To use your own version of the CSS file instead of the included CSS please do the following
- In your theme folder (wp-content/themes/YOUR-THEME-NAME/) create a folder called professor_cloud
- Copy the existing CSS file into that folder (you end up with wp-content/themes/YOUR-THEME-NAME/professor_cloud/woocomm-professor-cloud.css )
- Now edit the woocomm-professor-cloud.css file to your hearts content
Trouble Shooting
↑ Back to topConstant ‘Loading…’ on the main image
Deactivate the scaling option in the Image Zoom settings, this issue is caused by TimThumb permissions being incorrect. If the Zoom works with scaling off them you should use it that way, if you need TimThumb for Zoom to work then you will need to access the directory via FTP and change the folder permissions.No Zoom!
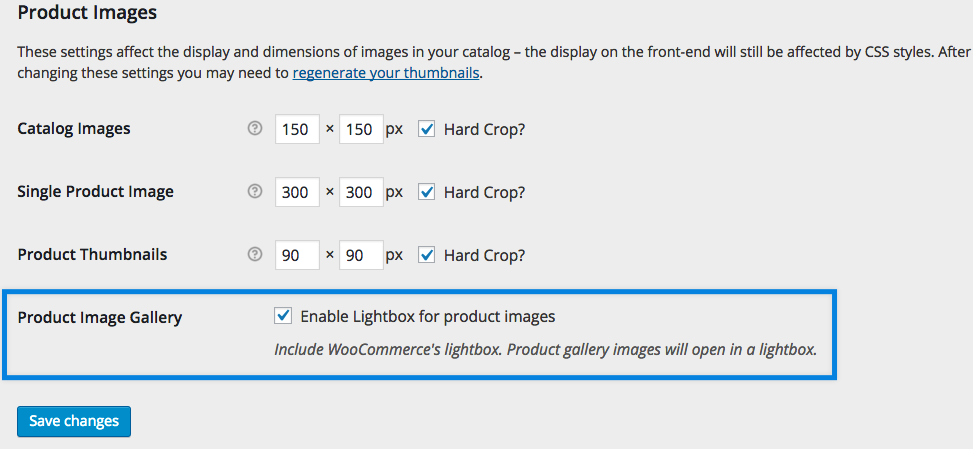
The Image Zoom script file is one of the last to load which means it is vulnerable if another script causes an error. If the zoom is not working then you should load the page again with the console open and look for errors. If there are no errors go to: WP Admin > WooCommerce > Settings > General > Products > Display > Product Images. Make sure that Enable Lightbox is checked.