Use WooCommerce Order Barcodes to identify an order, look it up, mark it complete, or record a customer check-in. This guide covers setup and scanning on your own store.
The extension creates one barcode per order, not one per product. For ticket-level barcodes with WooCommerce Box Office, follow its ticket printing and ticket email instructions.
Before you start
↑ Back to top- Install and activate WooCommerce and Order Barcodes.
- Use an Administrator or Shop Manager account for scanning. Customers, Subscribers, and signed-out visitors don’t have scanning access by default.
- Have a test order ready. Scanning can change order and check-in status, so test the complete workflow before using it at an event or for fulfillment.
Installation
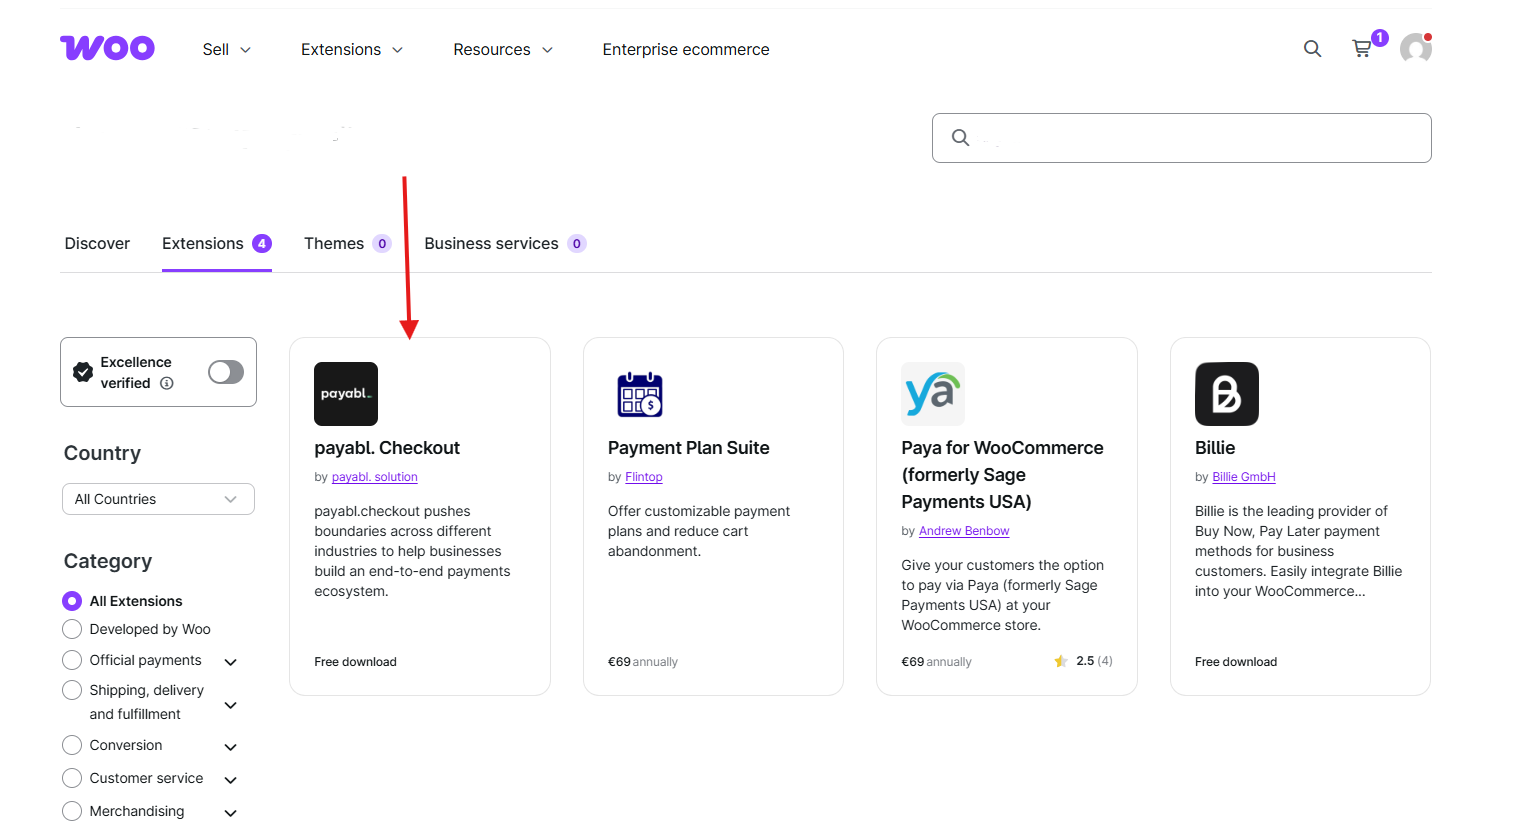
↑ Back to topTo start using a product from WooCommerce.com, you can use the “Add to store” functionality on the order confirmation page or the My subscriptions section in your account.
- Navigate to My subscriptions.
- Find the Add to store button next to the product you’re planning to install.
- Follow the instructions on the screen, and the product will be automatically added to your store.
Alternative options and more information at:
Managing WooCommerce.com subscriptions.
- Go to WooCommerce > Settings > General and find Order Barcodes.
- Select Enable Barcodes.
- Choose a Barcode Type, then set Barcode Color and Background Color. Use strong contrast, such as black on white.
- Select Save changes.
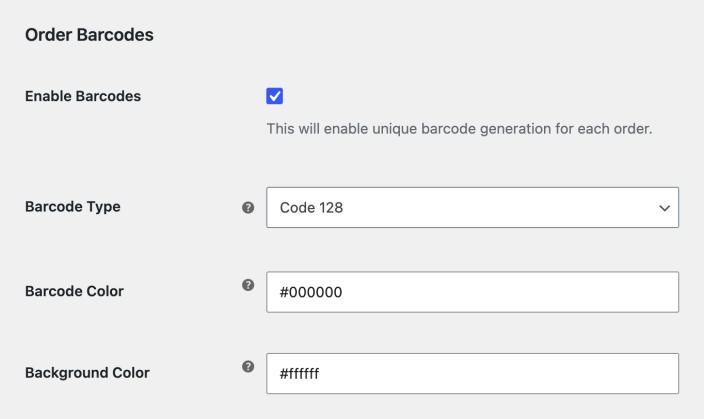
Available types are Code 39, Code 93, Code 128, Data Matrix, and QR Code. Choose a type your scanner or scanning app supports. A device that reads line barcodes may not read Data Matrix or QR codes.
Changing the display format or colors doesn’t replace the stored code that identifies an order. Recheck existing barcodes, printouts, and scanning devices before changing these settings on a working store.
- In your dashboard, go to WooCommerce > Orders and open the order. Find the Order Barcode panel.
- Customers can find their barcode in order emails and in the order details under My account > Orders.
- Use the browser’s print command on the page containing the barcode. Check the preview for a complete image, then test the printed copy with your scanning setup.
For an order placed before the extension was active, open the order in your dashboard. If it has no barcode, the extension generates one when its barcode panel loads.
For a custom admin display, share the developer example for displaying an order barcode with your developer.
- Go to Pages > Add Page and give the page a title, such as Scan orders.
- Add a Shortcode block containing
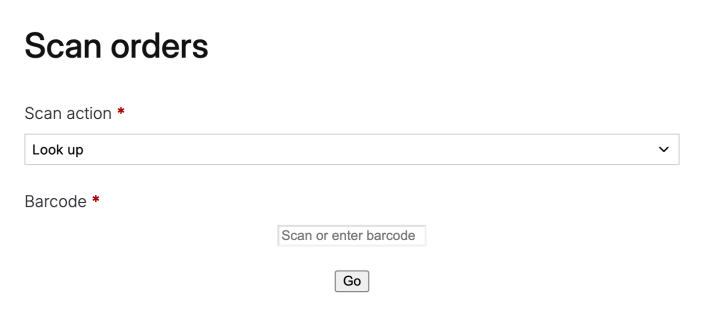
[scan_barcode], then publish the page. - Open the page while signed in with an authorized staff account. You should see Scan action, a Barcode field, and Go.
Choose a scan action
↑ Back to top- Look up displays the matched order without changing its status.
- Complete order marks the matched order as completed.
- Check in records that the customer has checked in.
- Check out records that the customer has checked out.
To preselect an action, use [scan_barcode action="checkin"]. The supported action values are lookup, complete, checkin, and checkout. The result appears on the same page.
- Select Look up for your first test.
- Select the Barcode field and enter the complete code printed below the order’s barcode, or use your scanning device to enter it.
- Select Go or press Enter. Confirm that the correct order appears.
- On test orders, try the other actions you intend to use. Verify the resulting completed, checked-in, or checked-out state before using that action on real orders.
For a phone or tablet, use a scanning app or keyboard that can enter the barcode’s text into this field. A camera app that expects a web address won’t automatically open an order: the barcode contains its identifying code, not an order-page link.
USB scanners typically enter text like a keyboard. Keep the barcode field selected and test your scanner’s input and submission behavior. If scanning doesn’t submit the form, select Go. Third-party hardware and apps have their own setup instructions.
- Sign in with the account you use to manage the store, then reload the scanning page and try again. This loads a current security token.
- If the error continues, check whether a caching plugin or hosting service is serving an old copy of the scanning page. Exclude that page from page caching and clear its cached copy.
- If a fresh page still fails, contact support with the scanning page URL, the error, and the steps that trigger it. Keep the security-token check enabled.
- Confirm you’re signed in with the intended staff account. A customer account doesn’t provide scanning access.
- Ask the store administrator to check the account’s role and any custom permissions. Standard Administrator and Shop Manager accounts can scan.
- If the intended account still can’t scan, contact support. Don’t use a snippet that grants scanning access to every visitor.
Custom roles and permissions plugins can change access. Don’t give event staff full store-management access just so they can scan tickets. If they need limited access, contact support to discuss the requirement; the extension doesn’t include a separate scanner-only role.
The form does not return an order
↑ Back to topChoose a scan action and enter the complete barcode value. Check that you’re on the store that created the order. A missing or mistyped value won’t find the order. For a connection error, retry after checking your connection; if it continues, record the displayed error for support.
First open the order in your dashboard and check its barcode panel. If the image appears there but not in an email, check whether the email client is blocking images. If the image is missing in both places, confirm Enable Barcodes is selected and contact support with the affected order and where the image is missing.
For images that won’t load, ask your host to check whether image requests are being blocked or redirected. Don’t disable hosting security or bot protection as a general workaround.
Check the original barcode in the order first. Keep the complete image and its surrounding blank space visible, use contrasting colors, and avoid stretching it. In print preview, check the image and adjust the page scale if it is clipped. Test a printout before using it at an event.
If an image-optimization service is changing the barcode, exclude the barcode image from that optimization and retest. If the original image itself is broken, ask support or your host to investigate image generation rather than disabling a server image component without a diagnosis.
Questions and support
↑ Back to topSomething missing from this documentation? Still have questions and need assistance?
- If you have a question about a specific extension or theme you’d like to purchase, contact us to get answers.
- If you already purchased this product and need some assistance, get in touch with a Happiness Engineer via our support page and select this product’s name from the Product dropdown.