Blacklist for WooCommerce allows your WooCommerce store to block easy and effectively orders from any customer based on Email, Full Name or Phone Number.
Installation
↑ Back to topTo start using a product from WooCommerce.com, you can use the “Add to store” functionality on the order confirmation page or the My subscriptions section in your account.
- Navigate to My subscriptions.
- Find the Add to store button next to the product you’re planning to install.
- Follow the instructions on the screen, and the product will be automatically added to your store.
Alternative options and more information at:
Managing WooCommerce.com subscriptions.

Setup and Configuration
↑ Back to topGetting started
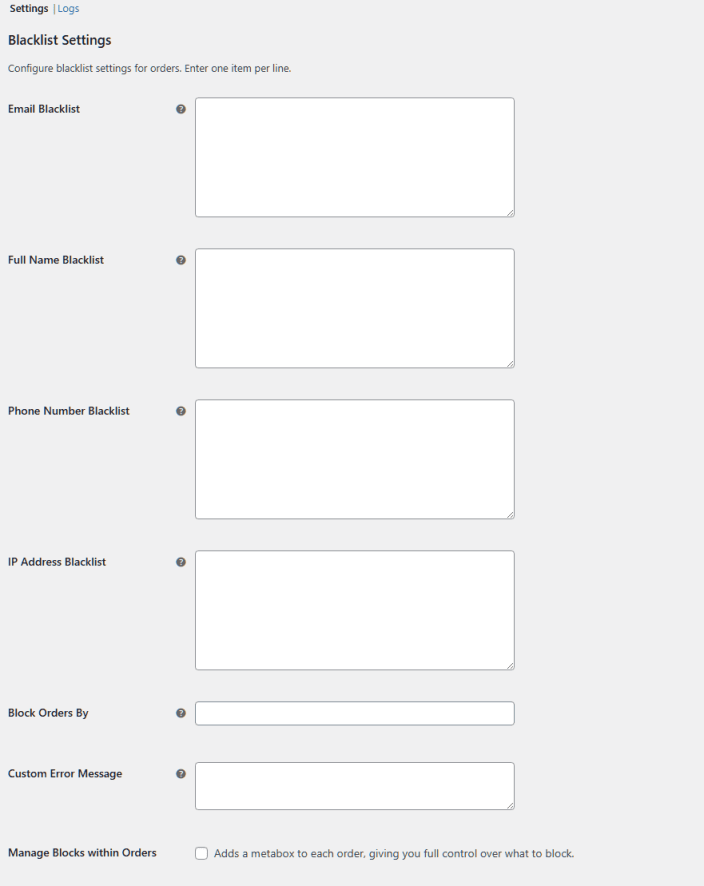
↑ Back to topTo set up your store with Blacklist for WooCommerce:
- Go to: WooCommerce > Settings > Blacklist
- Enter the values you want to blacklist in each field (Email, Full Name, Phone Number or IP Address). Add one item per line.
- Select which block rules you want to apply. All rules are selected by default.
- Save changes and you are ready!
Add Custom message
↑ Back to topCustomize the message displayed to users when a purchase cannot be completed. Use your brand’s tone of voice to clearly explain the issue.
Manage blocks within order
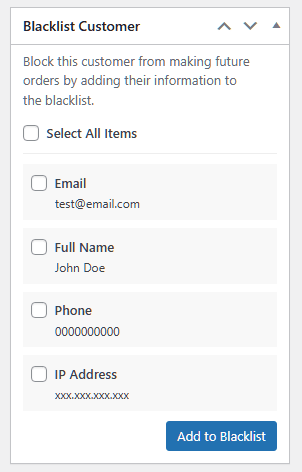
↑ Back to topCheck the Manage Blocks within Orders checkbox and add a metabox to each order, giving you full control over what to block.
Check logs to identify patterns
↑ Back to topKeep an eye on the logs to see which users were banned and why.

Usage
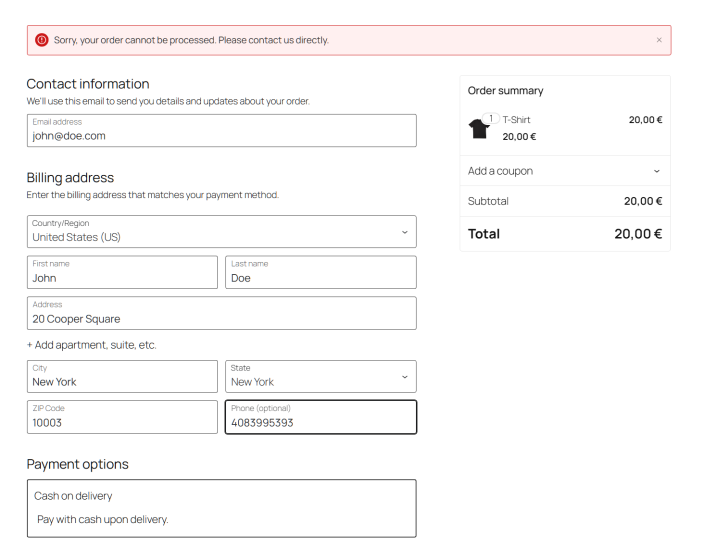
↑ Back to topWhen someone on your blacklist tries to check out, they’ll see a standard error message that doesn’t mention being blacklisted. This keeps your security measures private while still stopping unwanted orders.