Requirements
↑ Back to topBefore starting, check that you have the minimum characteristics to ensure the correct functioning of DWH B2Bify.
- WordPress: version 6.0 or above
- WooCommerce: version 8.0 or above
- PHP: version 7.4 or above
Installation
↑ Back to topTo start using a product from WooCommerce.com, you can use the “Add to store” functionality on the order confirmation page or the My subscriptions section in your account.
- Navigate to My subscriptions.
- Find the Add to store button next to the product you’re planning to install.
- Follow the instructions on the screen, and the product will be automatically added to your store.
Alternative options and more information at:
Managing WooCommerce.com subscriptions.

Setup and Configuration
↑ Back to topGetting started
↑ Back to topTo set up your store with DWH B2Bify:
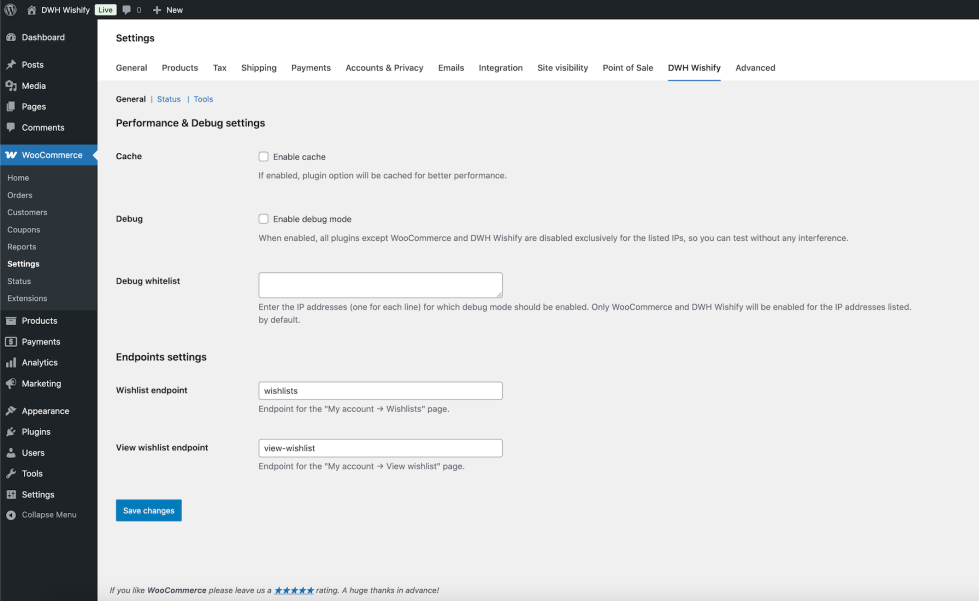
- Go to: WooCommerce > Settings > DWH B2BIFY.
- Optionally enable the cache for better performance.
- Choose and set the configuration you prefer, according to your desired scenario.
- Save changes.
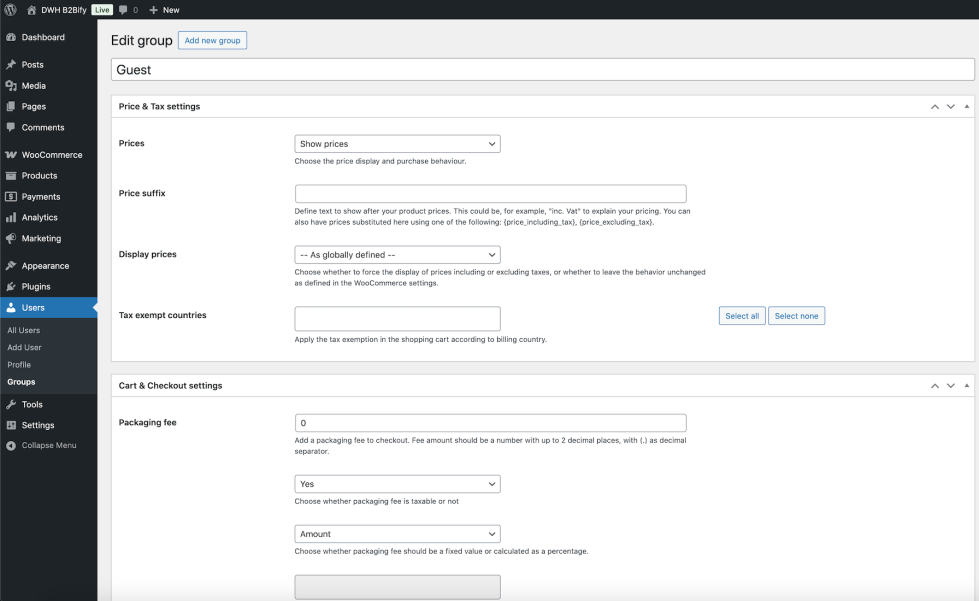
- Go to: Users > All groups.
- Create your desired groups to manage customers rules.
- Set each group according to your desired scenario.
- Save changes.

- Go to: Users > All users > {Edit customer}.
- Assign a group.
- Set other options as you prefer, according to your desired scenario.
- Save changes.
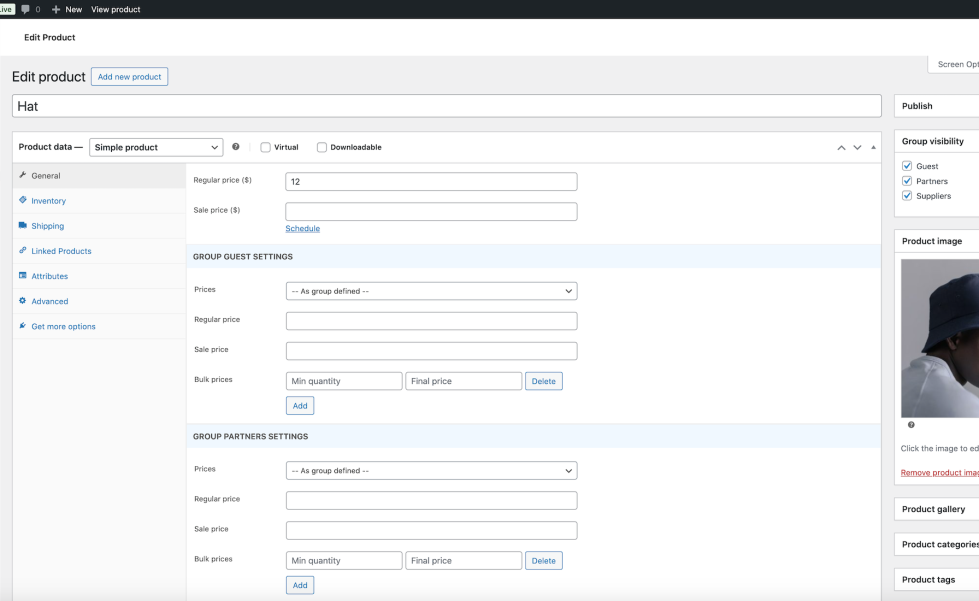
- Go to: Products > All products > {Edit product}.
- Optionally set specific prices and bulk prices rules for groups.
- Optionally set specific inventory rules for groups.
- Optionally set specific visibility rules for groups.
- Save changes.
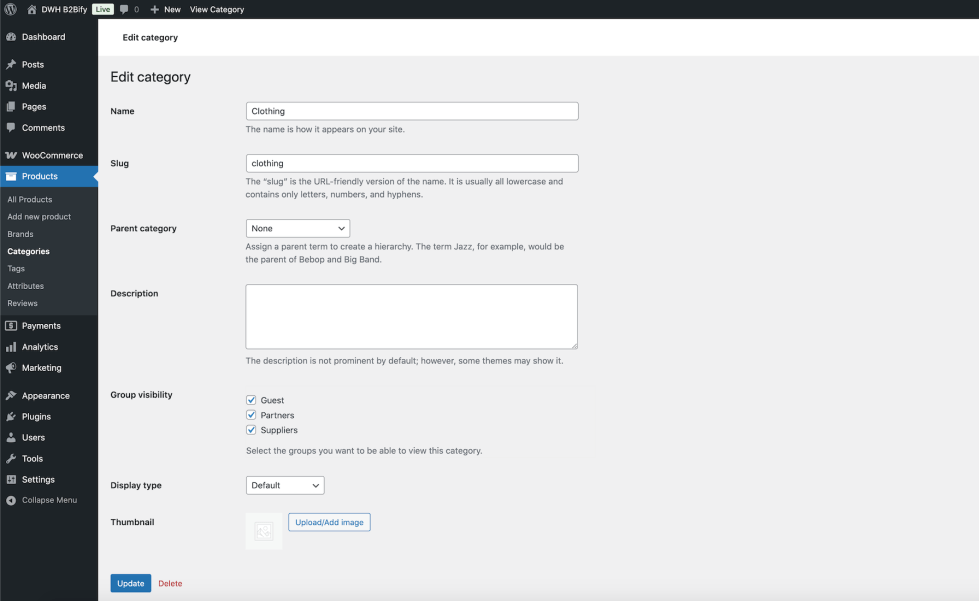
- Go to: Products > Categories > {Edit category}.
- Optionally set specific visibility rules for groups.
- Save changes.
- Go to: Products > Brands > {Edit brand}.
- Optionally set specific visibility rules for groups.
- Save changes.
- Go to: Pages > All pages > {Edit page}.
- Optionally set specific visibility rules for groups.
- Save changes.

- Go to: WooCommerce > Settings > Payments.
- Optionally enable plugin custom payment methods (Invoice payment, Purchase order payment).
- Configure custom payment methods.
- Save changes.

- Go to: WooCommerce > Settings > Emails.
- Optionally enable plugin custom emails (Account approved, New quotation, Order pending quote, Order processed quote).
- Configure custom emails.
- Save changes.
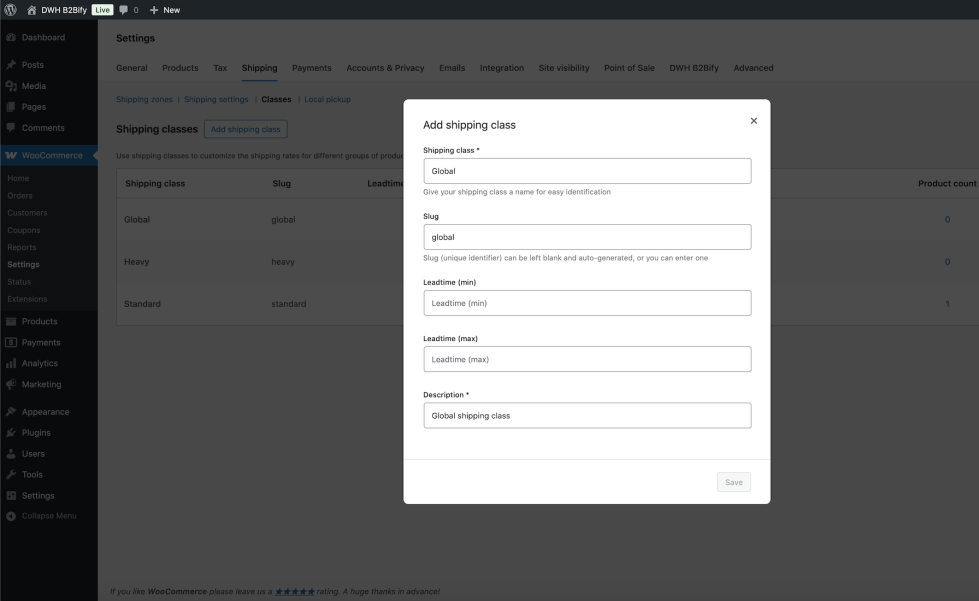
- Go to: WooCommerce > Settings > Shippings > Shipping classes.
- Edit shipping class and optionally set min/max leadtime according to your desired scenario.
- Save changes.
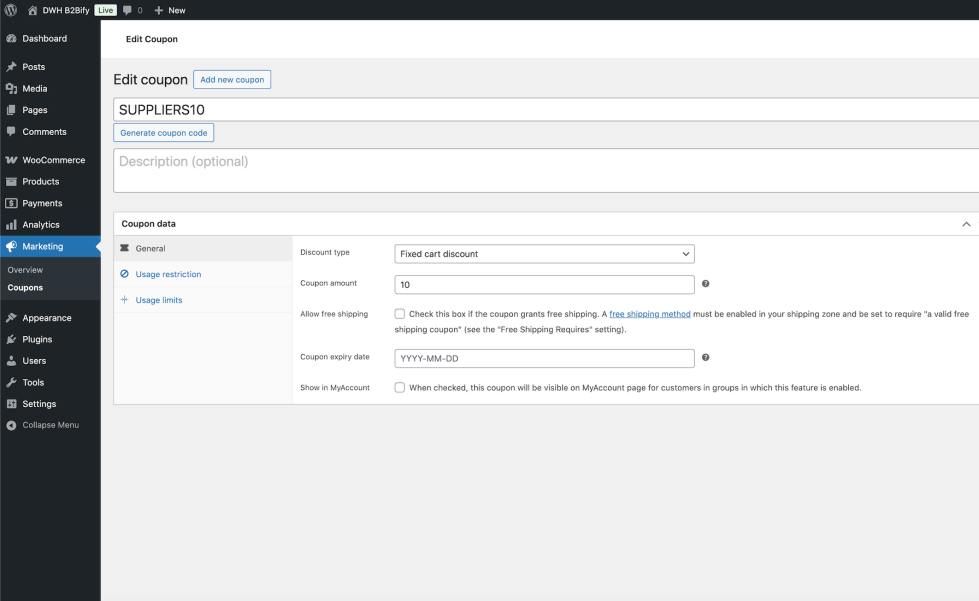
- Go to: Marketing > Coupons > {Edit coupon}.
- Optionally set specific rules for groups.
- Save changes.
Usage
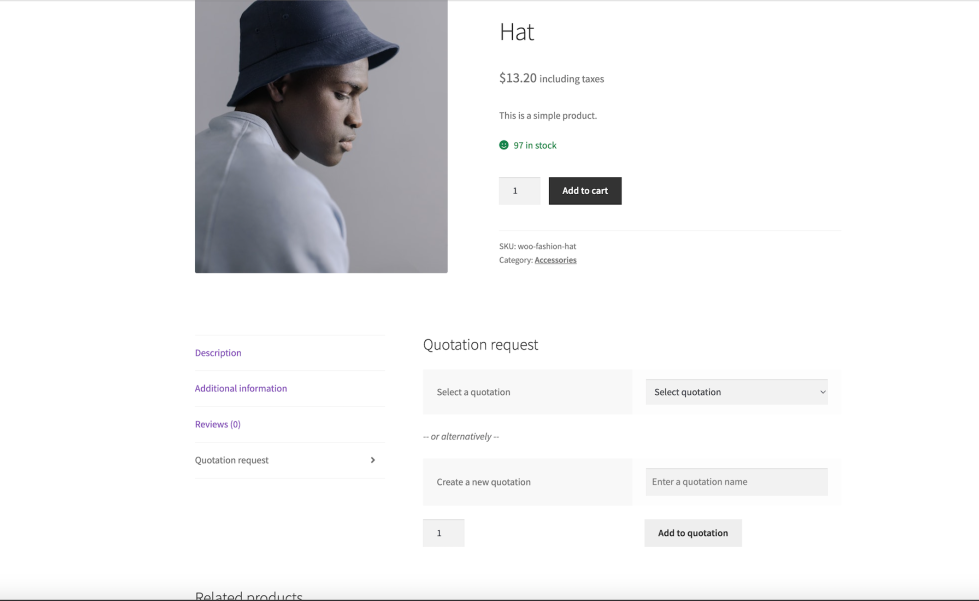
↑ Back to topCustomers can add products to an existing quotation or to a new one.
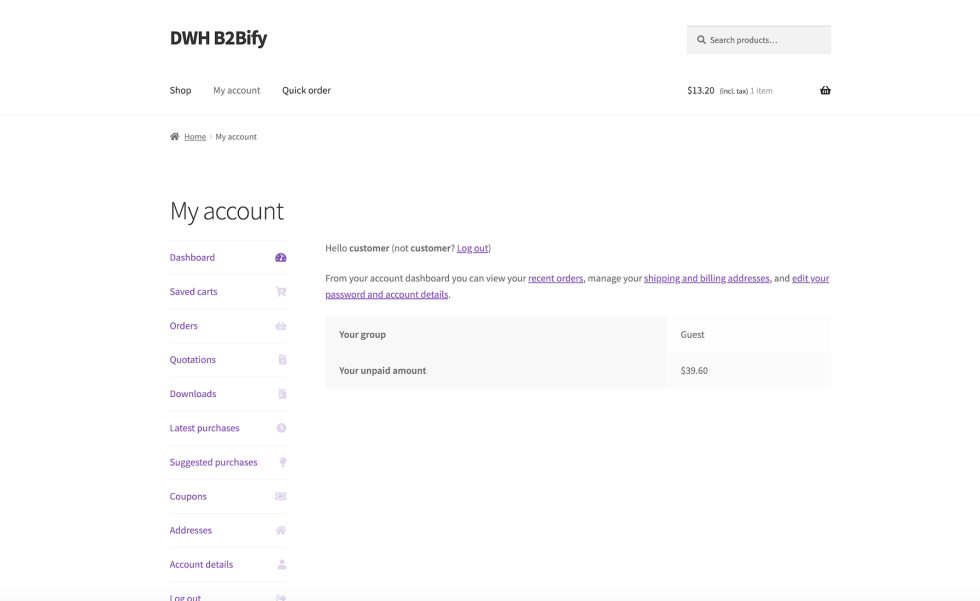
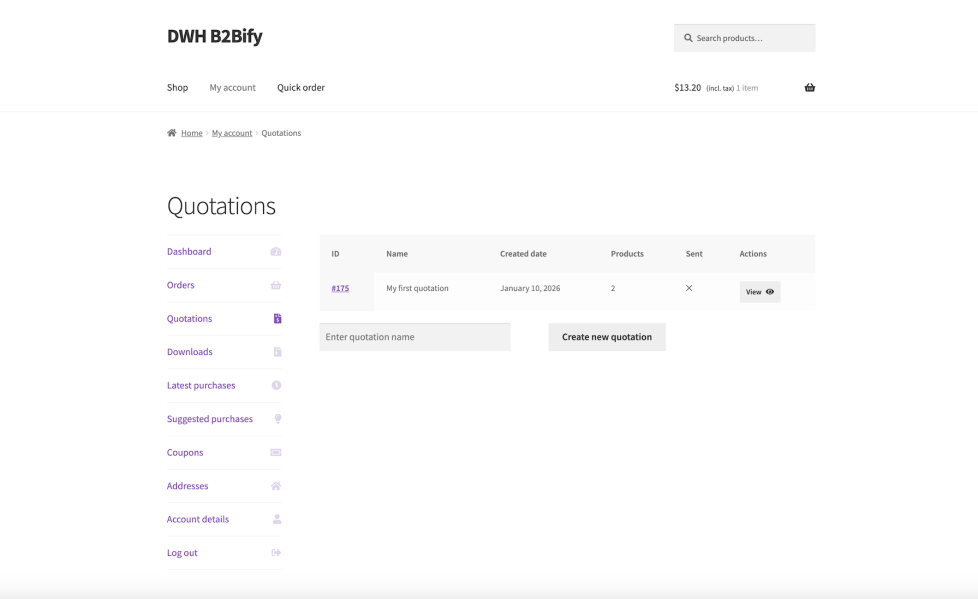
Customers can view and manage their quotations in their MyAccount page.

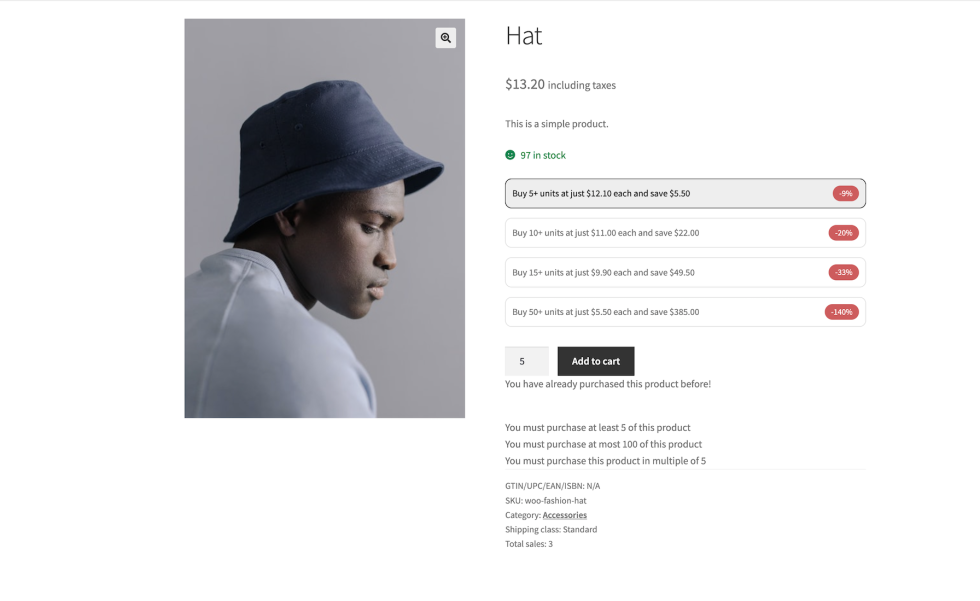
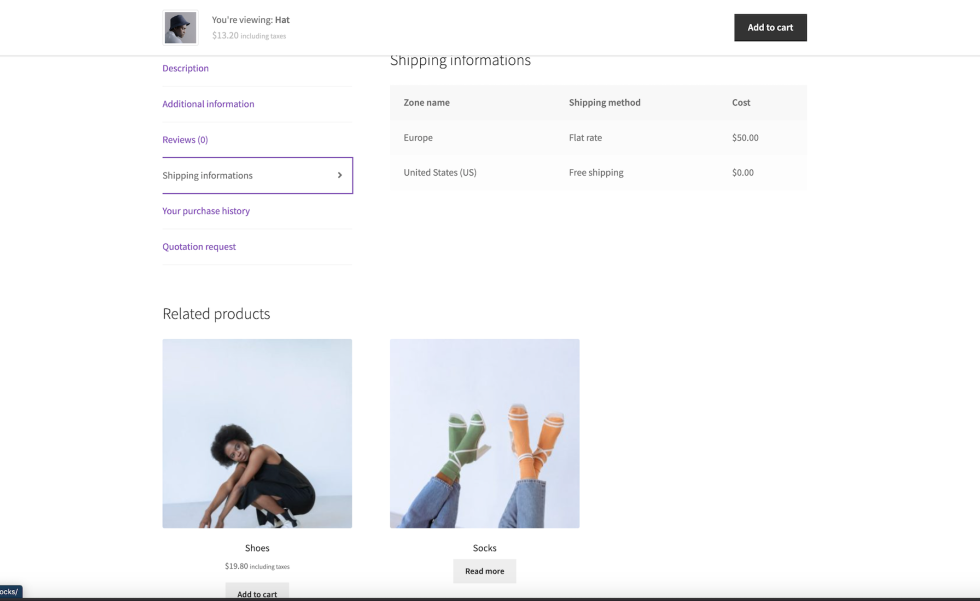
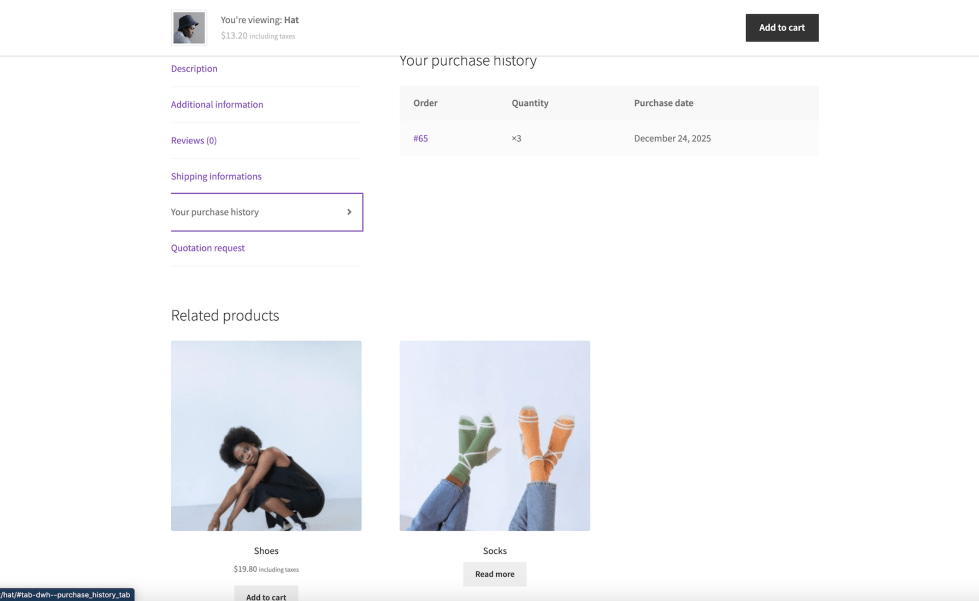
Customers can view their reserved price and bulk price rules in product page. In the same page, they can view all additional informations according to group configuration.
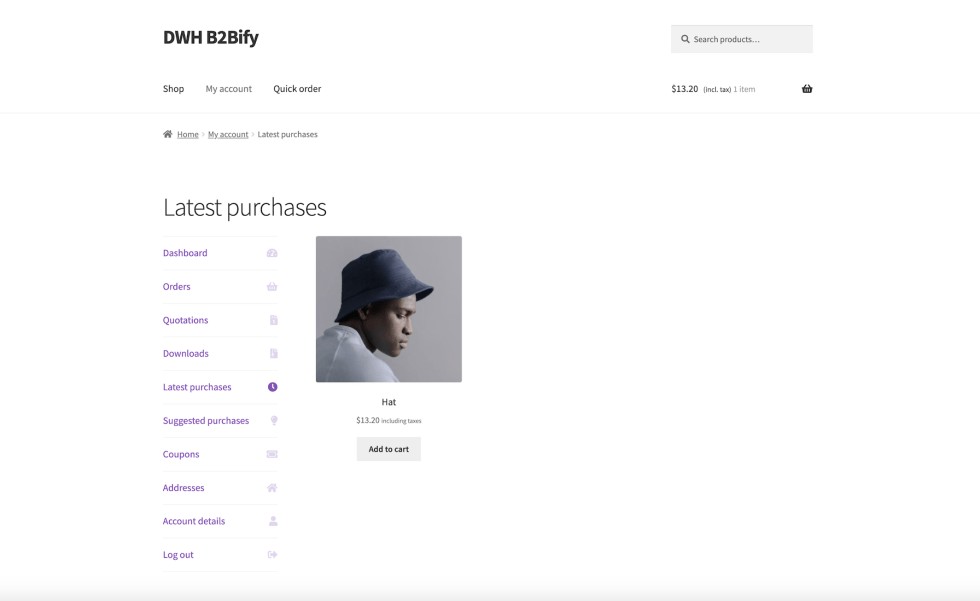
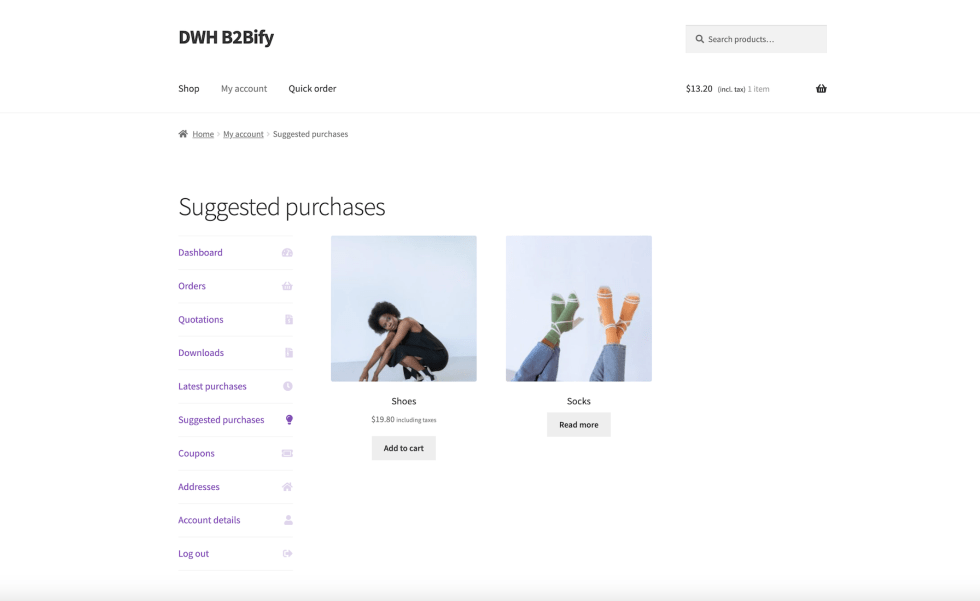
Customers can view their additional data in MyAccount page. In the same page, they can view all additional sections according to group configuration.