Introduction
↑ Back to topThis plugin integrates WooCommerce with Freshsales, allowing users to automatically send form entries to Freshsales as new contacts and leads records. This document provides a comprehensive guide for setting up and using the plugin, including how to configure Freshsales API authentication.
Prerequisites
↑ Back to top- A WordPress website with WooCommerce installed and activated.
- Access to the Freshsales platform.
- Administrator access to your WordPress site.
- API credentials from Freshsales (Api Key and Your bundle alias).
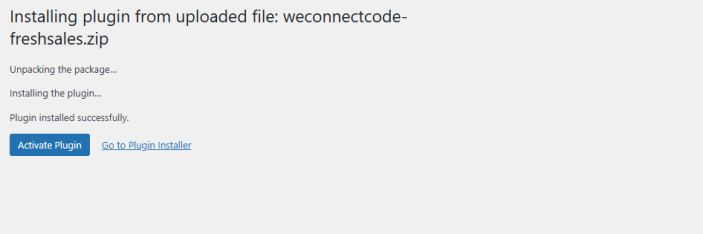
Step 1: Install the Plugin
↑ Back to top- Download the plugin ZIP file.
- Navigate to your WordPress Admin Dashboard.
- Go to Plugins > Add New and click Upload Plugin.
- Upload the plugin ZIP file and click Install Now.
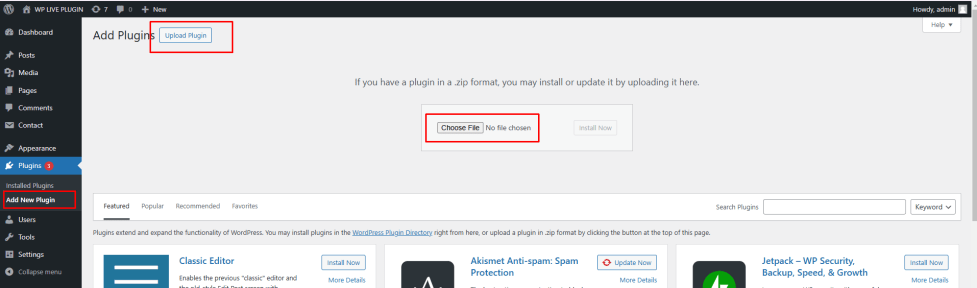
5. Once installed, click Activate.
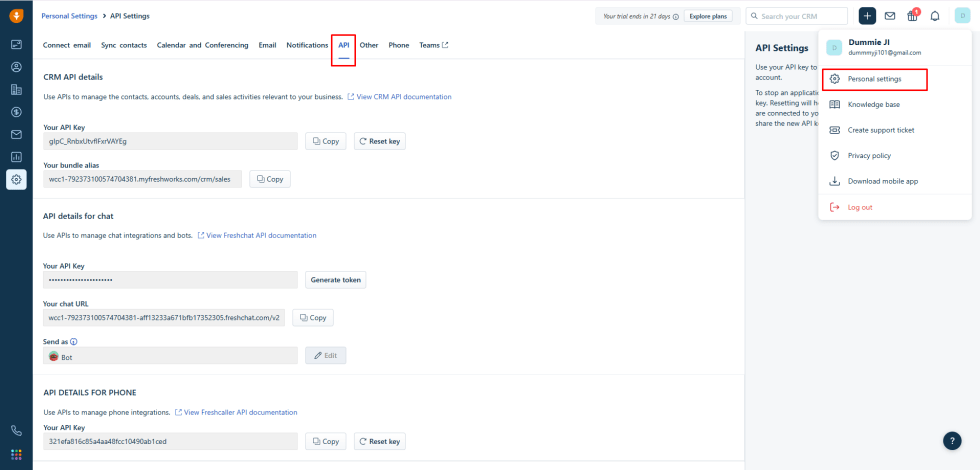
Step 2: Freshsales API Access
↑ Back to topTo use the Freshsales API, you need to obtain the URL and Key.
Freshsales Developer
↑ Back to top- Log in to your Freshsales account.
- Navigate to Personal settings > API.
- Copy the API Key and Your bundle alias displayed under CRM API details.
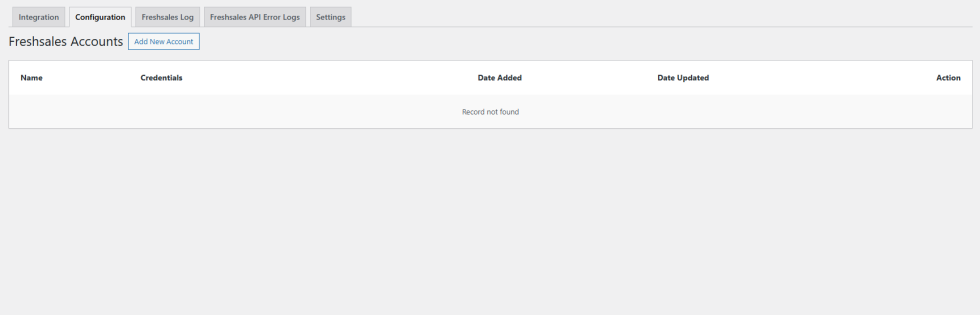
Step 3: Configure the Plugin Settings
↑ Back to top- Go to Configuration > Add New Account in your Plugin At Admin Side.
2. Enter the Instance URL and API Key obtained from Freshsales And Press Add Button.
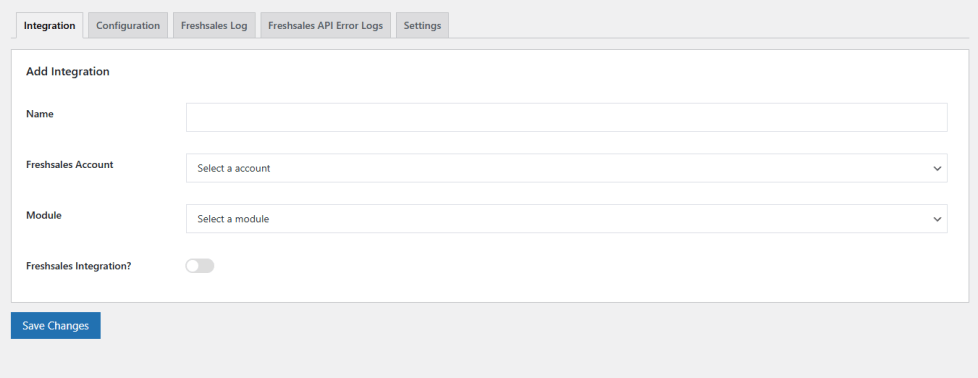
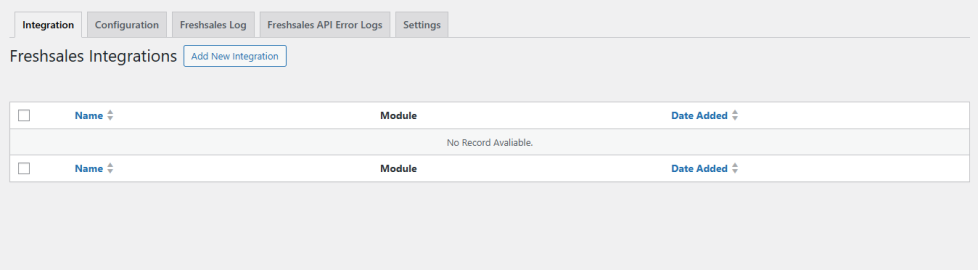
Step 4: Map WooCommerce Fields to Freshsales
↑ Back to top- Navigate to Integration in Our Plugin.
- Click on Add New Integration.
3. Map the WooCommerce fields to the corresponding Freshsales fields (e.g., First Name, Last Name, Email, etc.).
4. Save the mapping.
Step 5: Test the Integration
↑ Back to top- Place a test Order in your WooCommerce.
- Log in to Freshsales and verify that the entry has been added correctly.
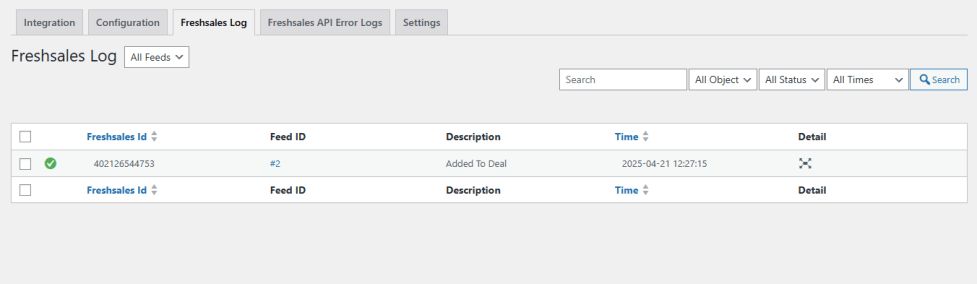
Troubleshooting
↑ Back to top- Authorization Error: Ensure the Api Key and Your bundle alias are correct.
- Data Not Syncing: Verify that field mappings are correctly set up.
- Debug Logs: Check the plugin’s logs for error messages.