Let’s connect multiple WooCommerce stores into a single store to manage products, inventory, and orders easily in one place.
Installation
↑ Back to top- Download the connect-manage-multiple-stores.zip file from your WooCommerce account.
- At the WordPress Admin Panel, go to Plugins > Add New and Upload Plugin with the file you downloaded after purchase.
- Install Now and Activate extension.
More information at: Install and Activate Plugins/Extensions.
Configuration
↑ Back to topAfter installation, go to WooCommerce > Connected Stores > Manage Stores to connect the new store.

Connect New Store
↑ Back to topClick “Add New Store” button to add/connect new store.

Now specify store name , link, consumer secret and consumer key of the store you want to connect.

How to create a Consumer Key and Secret?
- Go to WooCommerce → Settings in your store.
- Click the Advanced tab and select REST API.
- Click Add Key and enter the required details.
- Set Permissions to Read/Write.
- Click Generate API Key, then copy the Consumer Key and Secret for use below.

Manage Stores
↑ Back to topAt the admin panel, Go to WooCommerce>Connected Stores>Manage Stores to view all the connected stores.

Click “Manage” button for any store you want to manage.

Manage Products
↑ Back to topIn a “Products” tab you can view all the products of this store with price, stock, SKU, and more.

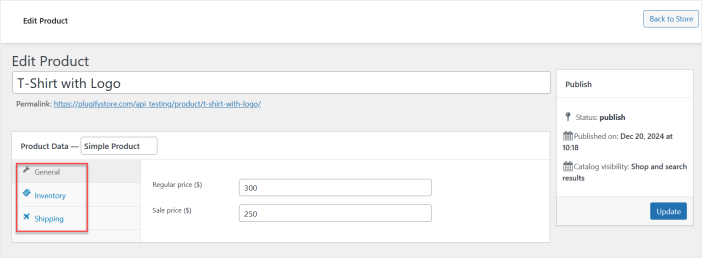
You can edit any product to update the product name, price, inventory, and shipping dimensions.
Manage Orders
↑ Back to topVisit the “Orders” tab to view all the existing and new orders of this store.

Click any order to view the order details, such as billing and shipping. You can also change the status of this order from here.

Individual Store Report
↑ Back to topNow click the “Store Report” tab to view order counts by status and product counts by type.

Cumulative Orders Report
↑ Back to topIn the backend, go to WooCommerce > Connected Stores and click “Order Report” to view the order counts of all the stores and their grand total.
