Use the WooCommerce Pay for Post plugin to block posts and pages for users and ask them to buy a product to gain access to restricted content.
Installation
↑ Back to top- Download the pay-for-post.zip file from your WooCommerce account.
- At the WordPress Admin Panel, go to Plugins > Add New and Upload Plugin with the file you downloaded after purchase.
- Install Now and Activate extension.
More information at: Install and Activate Plugins/Extensions.
Setup and Installation
↑ Back to topAfter installing the Pay for Post plugin, go to WooCommerce > Settings > Pay for Post to configure its settings. Here, you will find three tabs such as general settings, page restrictions, and post restrictions.
General Settings:
↑ Back to topClick the “General Settings” tab, where you can customize messages, button text, and colors.

Pages Restrictions:
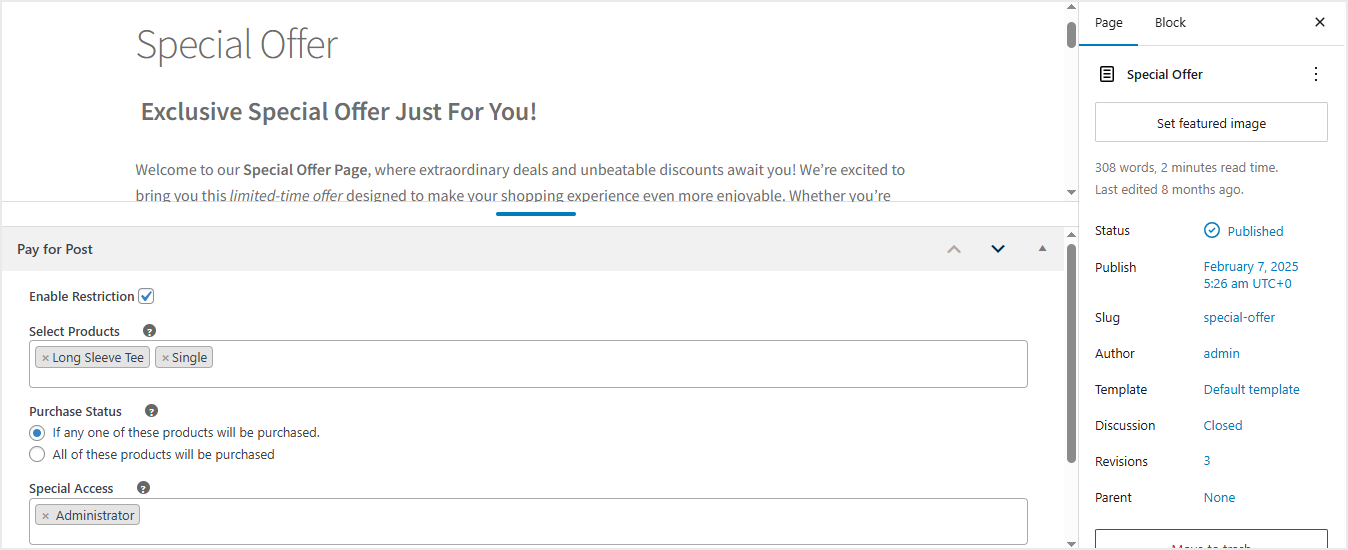
↑ Back to topMove to the “Pages Restrictions” tab, here you will see the list of all the pages of your store. Check the “Enable Restriction” option to restrict any page and add single or multiple products that users have to buy to access this page. Make all or any of the selected products needed by customers to access the page.

Select the user roles you want to provide special access, and, select the order statuses on which you want to grant access to customers.

Posts Restrictions:
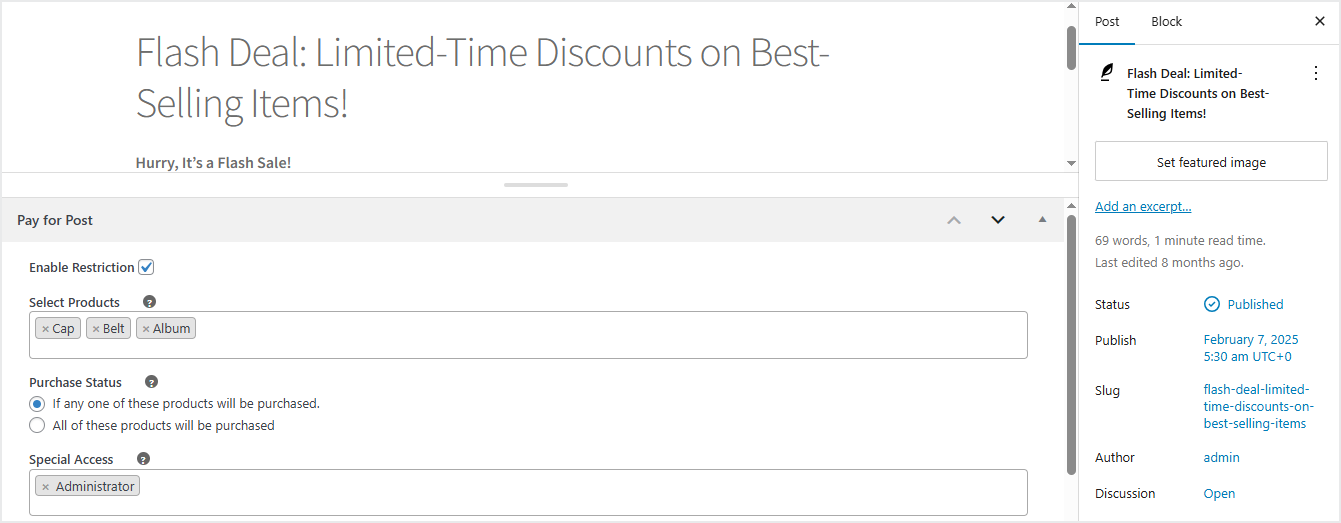
↑ Back to topClick the “Posts Restrictions” tab, here you will see the list of all the posts of your store. Check the “Enable Restriction” option to restrict any post, add multiple products that users have to buy to access this post, select the user roles you want to provide special access, and, select the order statuses on which you want to grant access to customers.

You can also restrict posts and pages by editing them.