Enhance product visibility and improve user experience by displaying your products in the slider with the WooCommerce product slider.
Installation
↑ Back to top- Download the Product Slider and Carousel Plugin for WooCommerce from your WooCommerce dashboard.
- At the WordPress admin panel, go to Plugins > Add New > Upload and select the ZIP file you just downloaded.
- Click Install Now, and then Activate Plugin.
Configuration
↑ Back to topAfter you have installed and activated the Plugin, go to WooCommerce > Product Slider. Here, you can add multiple sliders and use their shortcodes on any page to display the slider.
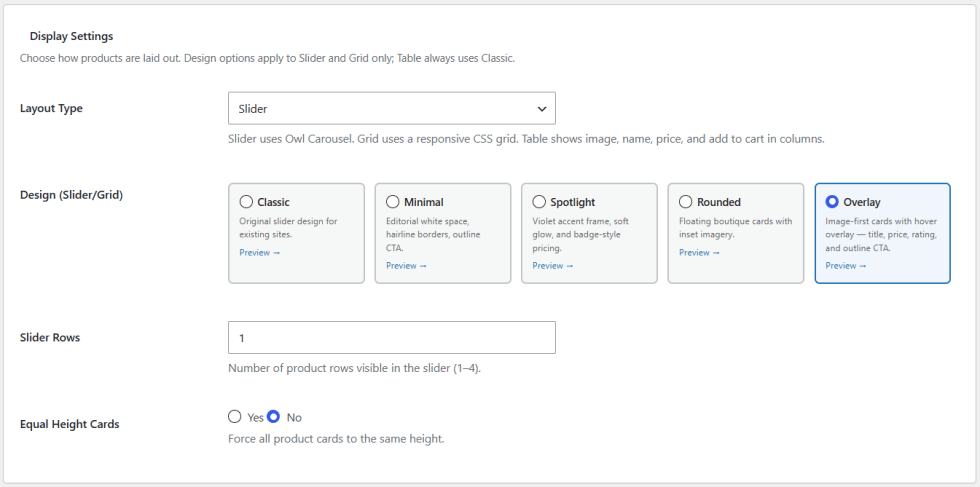
Display Settings
↑ Back to top- Layout Type: Select the layout type for the slider: Slider, Grid, or Table.
- Design: Choose a card design for the Slider or Grid layout: Classic, Minimal, Spotlight, Rounded, or Overlay.
- Slider Rows: Set the number of product rows visible in the slider (1-4).
- Equal Height Cards: Force all product cards to the same height.
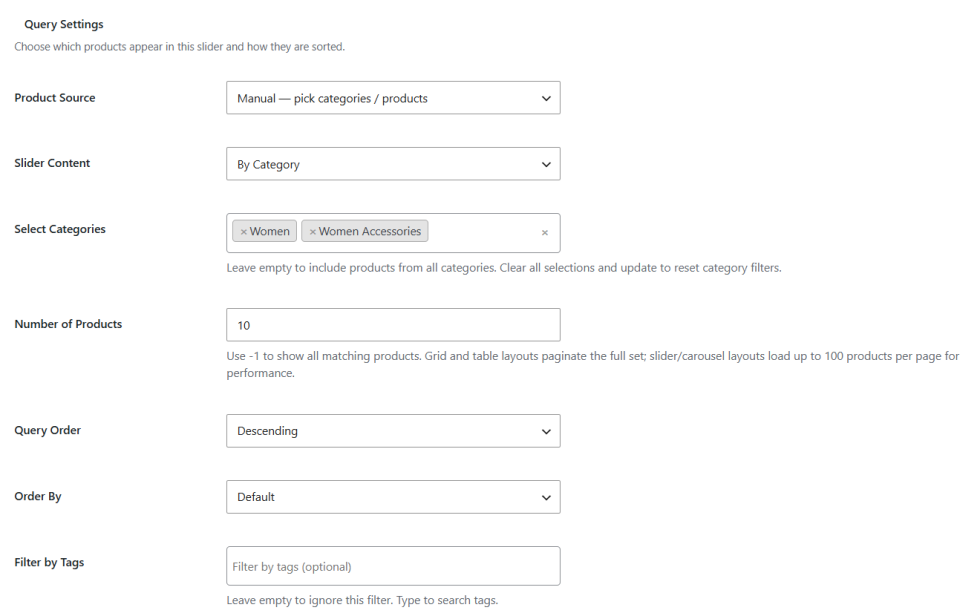
Query Settings
↑ Back to top- Product Source: Select how products are pulled into the slider: Manual, Dynamic, or Context-based.
- Slider Content: Select products or categories to display in the slider. A multiselect box will be displayed upon choosing the option.
- Number of Products: Set the number of products in the slider. Use -1 for all products.
- Query Order: Display in ascending or descending order.
- Order By: Set the order by criteria for ascending/descending.
- Filter by Tags: Filter products by tags.
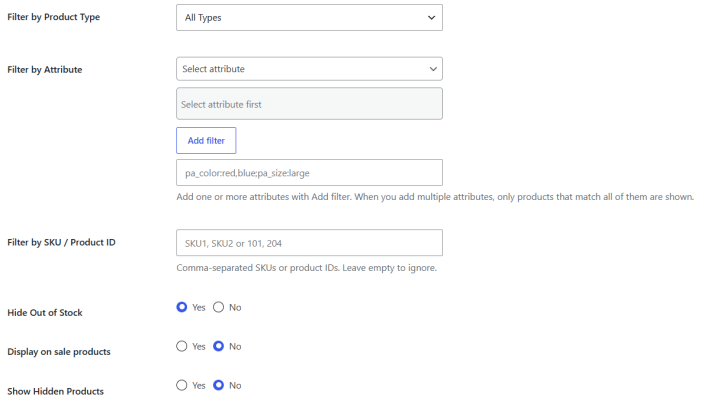
- Filter by Product Type: Filter products by type.
- Filter by Attribute: Filter products by attribute.
- Filter by SKU / Product ID: Enter comma-separated SKUs or product IDs to filter products.
- Hide Out of Stock: Option to hide out-of-stock products.
- Display On Sale Products: Option to display sale products in the slider or not.
- Show Hidden Products: Option to show or hide hidden products in the slider.
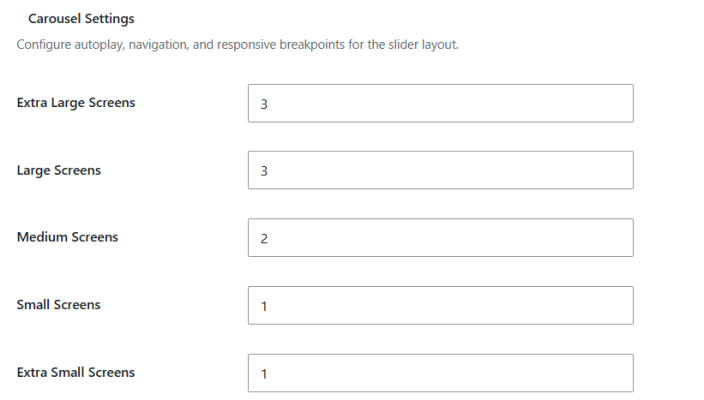
Carousel Settings
↑ Back to top- Extra Large Screens: Set the number of products visible on extra large screens.
- Large Screens: Set the number of products visible on large screens.
- Medium Screens: Set the number of products visible on medium screens.
- Small Screens: Set the number of products visible on small screens.
- Extra Small Screens: Set the number of products visible on extra small screens.
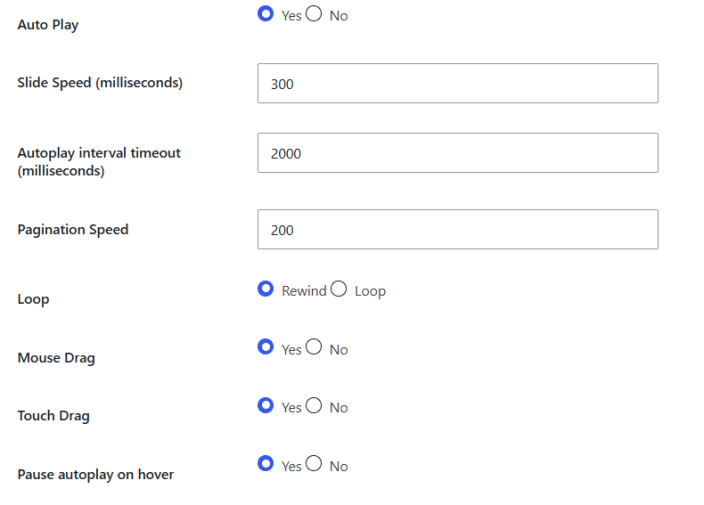
- Auto Play: Option to set the slider on auto-play or manually.
- Slider Speed (milliseconds): Set the speed of product slides in milliseconds.
- Autoplay Interval Timeout: Set the autoplay interval timeout.
- Pagination Speed: Set the pagination speed in milliseconds.
- Loop: Slide the products in a loop or in the rewind position.
- Mouse Drag: Option to drag the slider with the mouse.
- Touch Drag: Enable touch drag (for touch screen).
- Pause Autoplay on Hover: Option to pause the autoplay slider on hover.
Style Settings
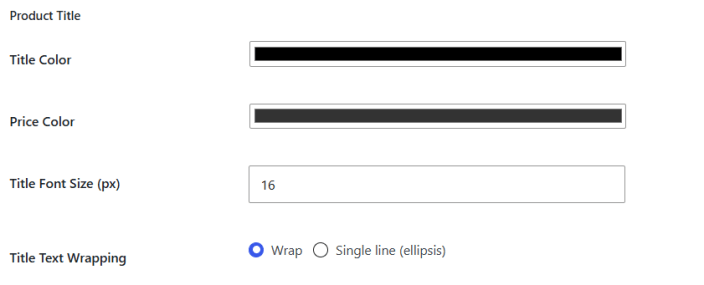
↑ Back to top- Title Color: Set the color of the product title.
- Price Color: Set the color of the product price.
- Title Font Size (px): Set the font size of the product title in pixels.
- Title Text Wrapping: Set the title to wrap or display as a single line with ellipsis.
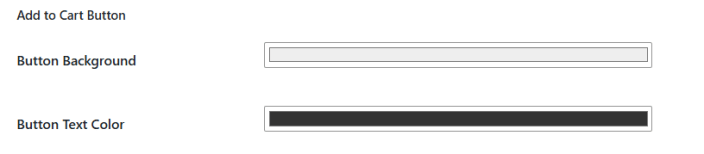
- Button Background: Choose the background color of the Add to Cart button.
- Button Text Color: Select the text color of the Add to Cart button.
- Image Flip on Hover: Enable or disable image flip on hover.
- Image Lightbox: Enable or disable the image lightbox.
- Image Zoom on Hover: Enable or disable image zoom on hover.

- Quantity Selector: Show or hide the quantity selector on product cards.

Advanced Settings
↑ Back to top- Shortcode: Copy the shortcode to display the slider on any page, post, or widget area.
- Keyboard Navigation: Enable or disable keyboard navigation for the slider.
- Slider Direction (RTL): Set the slider direction. Compatible with WPML, Polylang, and any RTL WordPress theme.
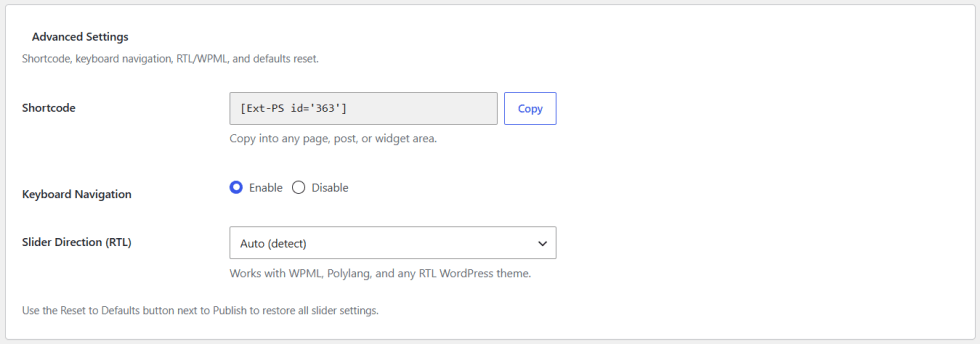
Note: After adding a new slider, you will find a shortcode in each slider tab in WooCommerce > Product Slider. You just need to copy that shortcode and add it to any page to display a slider.